Skip to content
About
Contact
Cookie Policy
Copyright Policy
Disclaimer
Search
Home
Dinner
Appetizer
Desserts
Drinks
About
Contact
Privacy Policy
Toggle Menu
Home
/
Dinner
- Page 58
Dinner
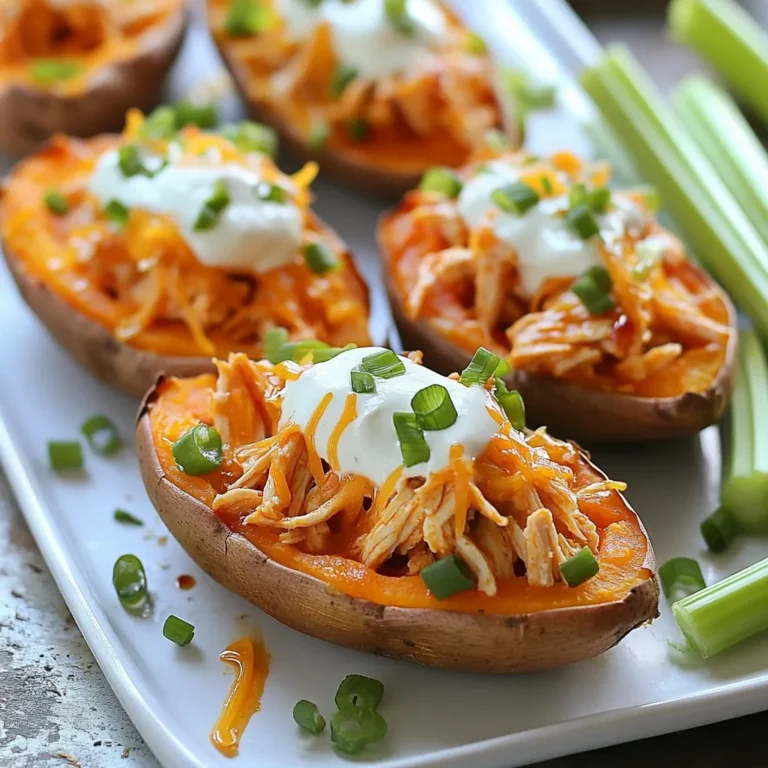
Buffalo Chicken Stuffed Sweet Potatoes Flavorful Delight
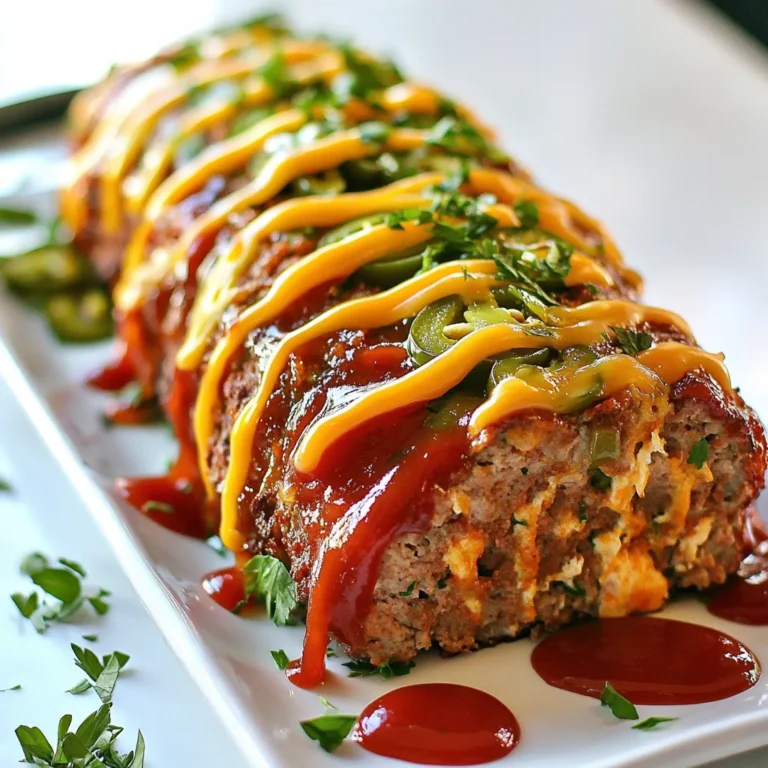
Jalapeño Popper Meatloaf Simple and Flavorful Dish
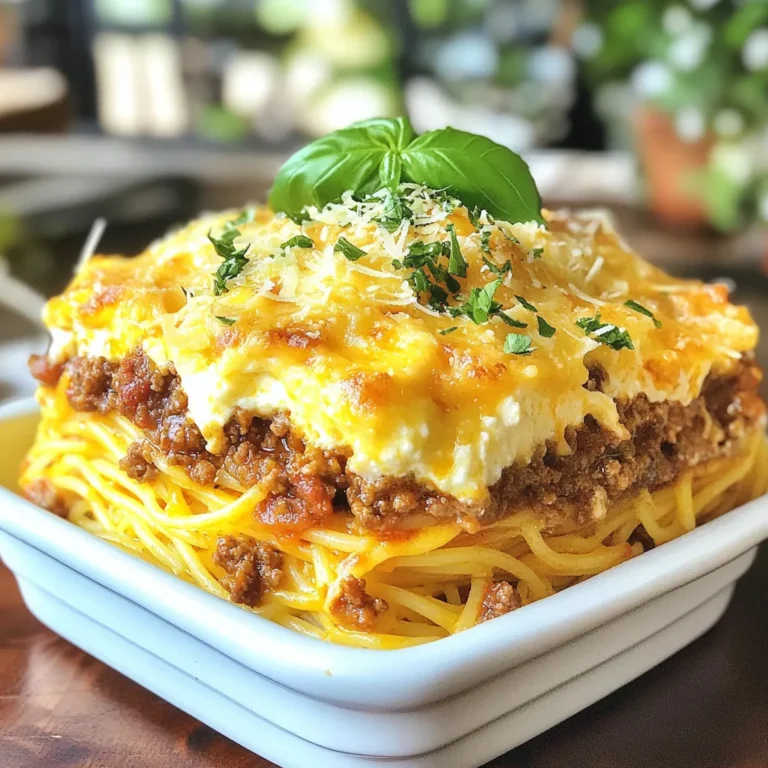
Million Dollar Spaghetti Delightful Comfort Food Recipe
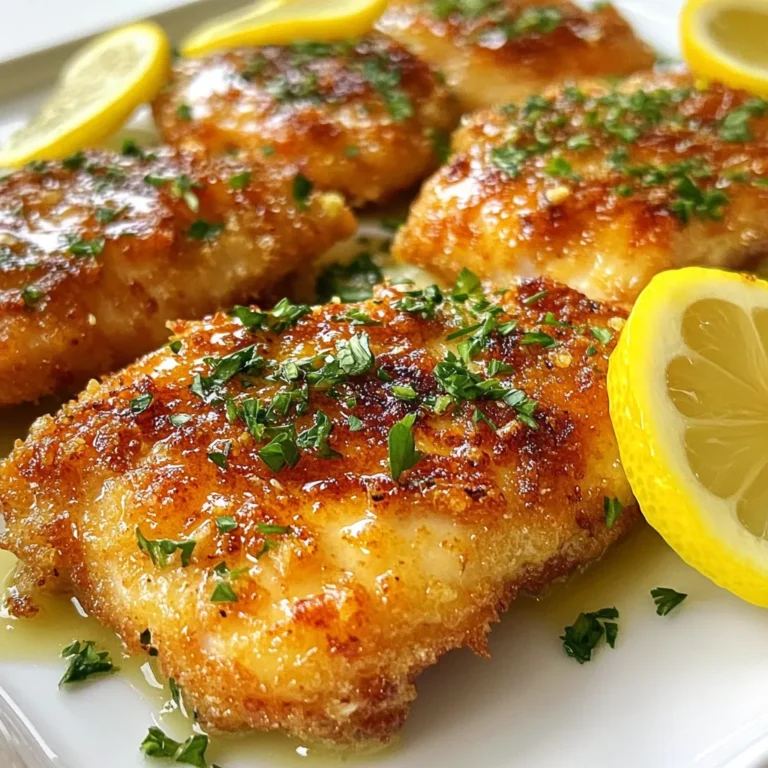
Lemon Chicken Romano Savory Dish to Savor Now
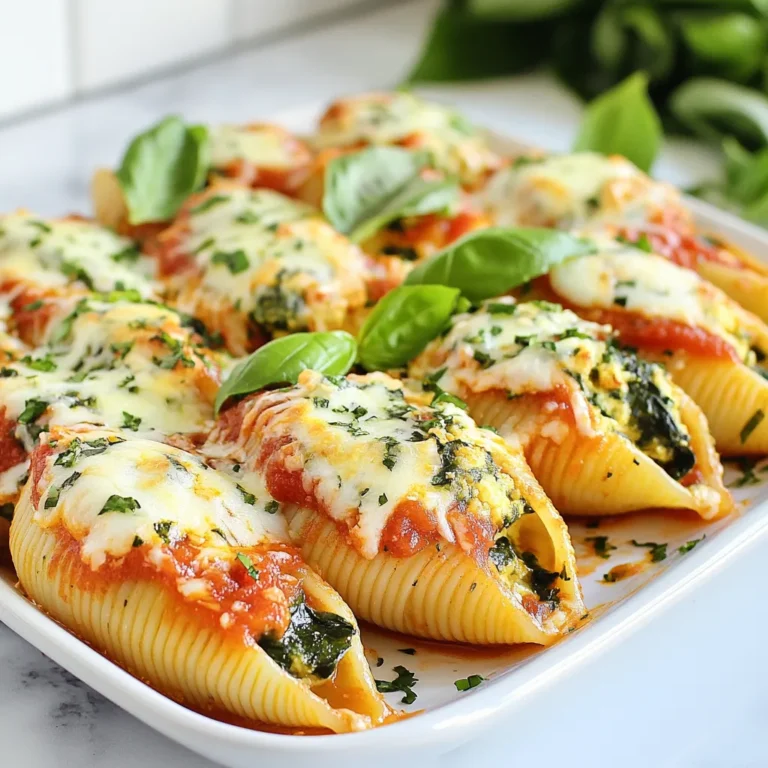
Savory Spinach Ricotta Stuffed Shells Simple Recipe
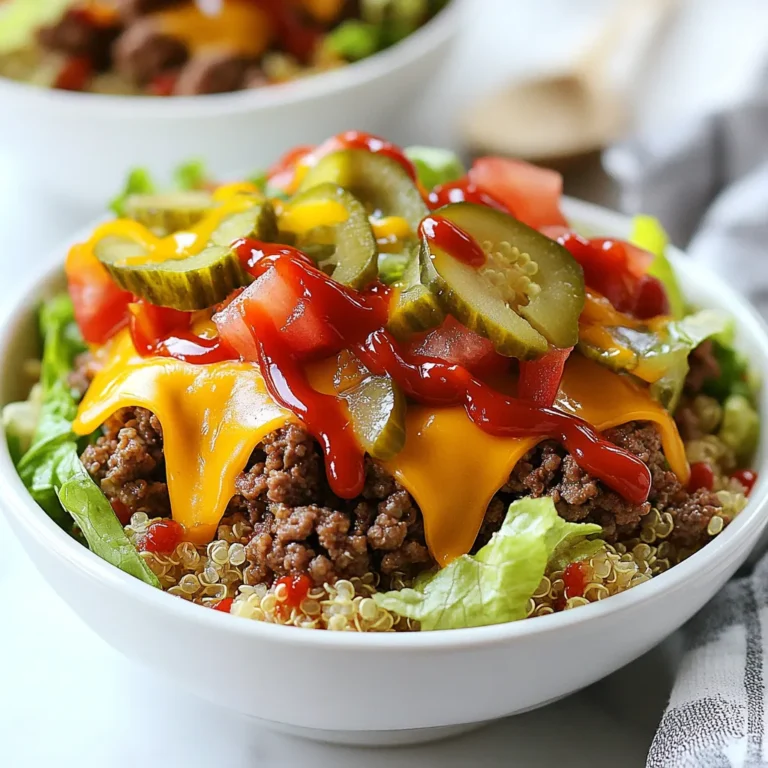
High Protein Cheeseburger Bowls Tasty and Simple Meal
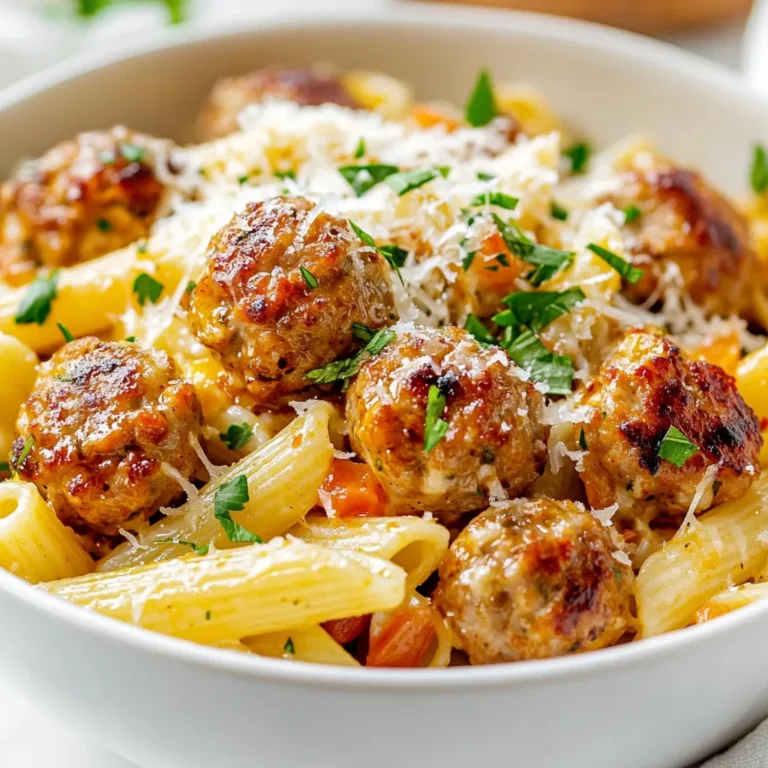
One-Pot Cajun Meatball Pasta Quick and Tasty Meal
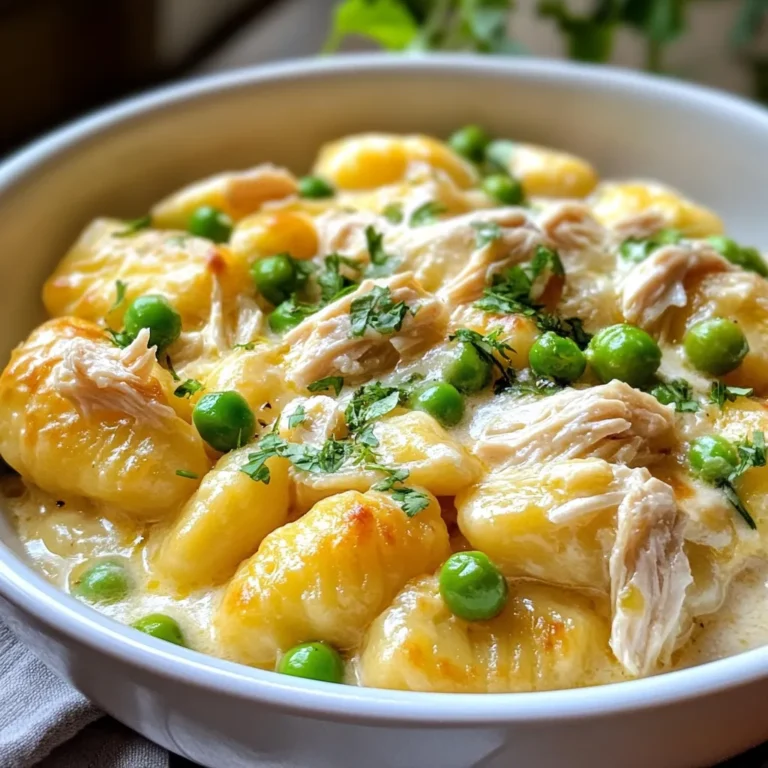
Crack Chicken Gnocchi Creamy Comfort Food Delight
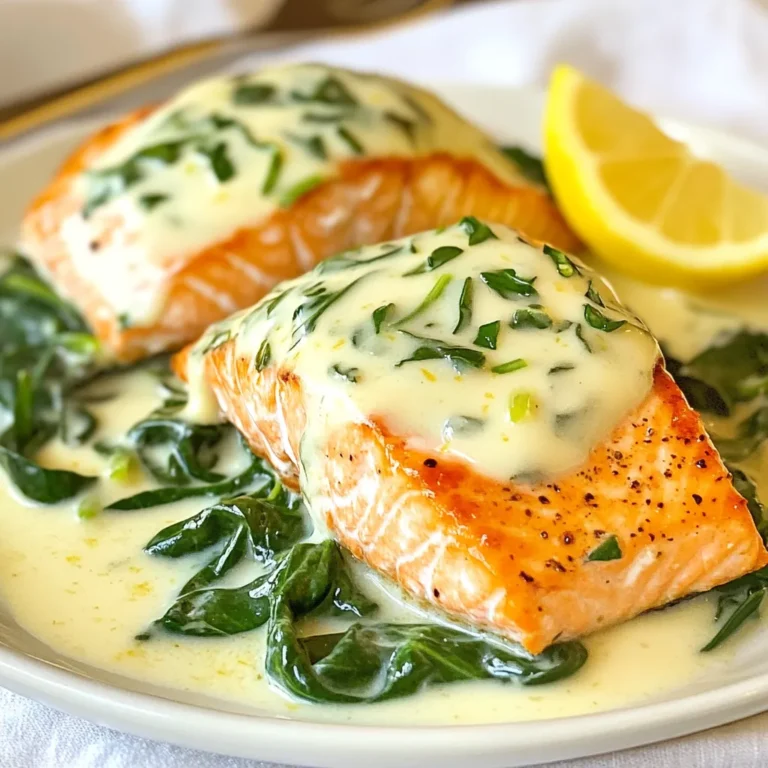
Salmon Florentine Delightful and Creamy Dinner Recipe
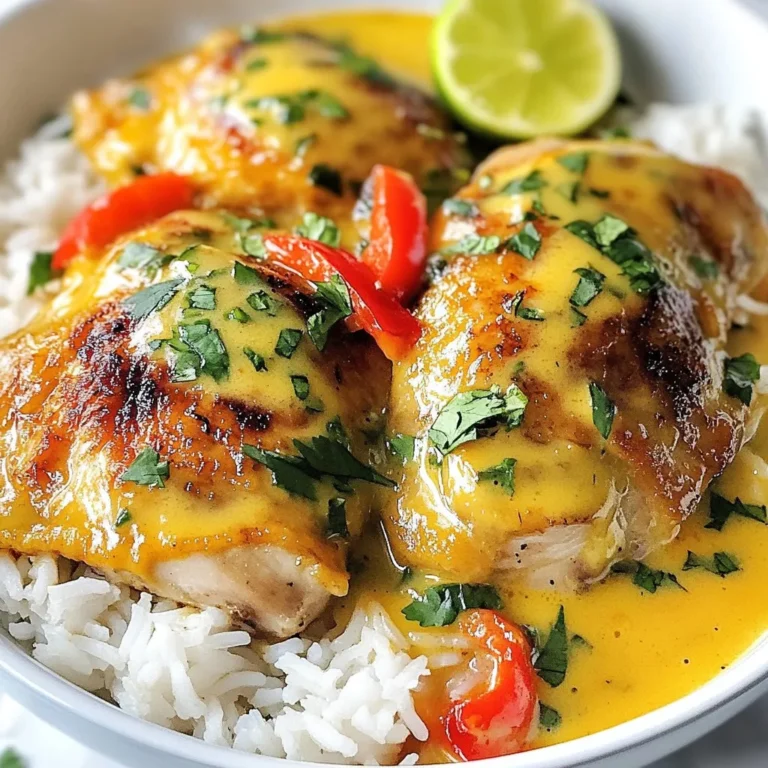
Flavorful Brazilian Coconut Chicken Easy and Delicious Meal
Page navigation
Previous Page
Previous
1
…
56
57
58
59
60
…
63
Next Page
Next
Home
Dinner
Appetizer
Desserts
Drinks
About
Contact
Privacy Policy
Toggle Menu Close
Search for:
Search