Skip to content
About
Contact
Cookie Policy
Copyright Policy
Disclaimer
Search
Home
Dinner
Appetizer
Desserts
Drinks
About
Contact
Privacy Policy
Toggle Menu
Home
/
Dinner
- Page 59
Dinner
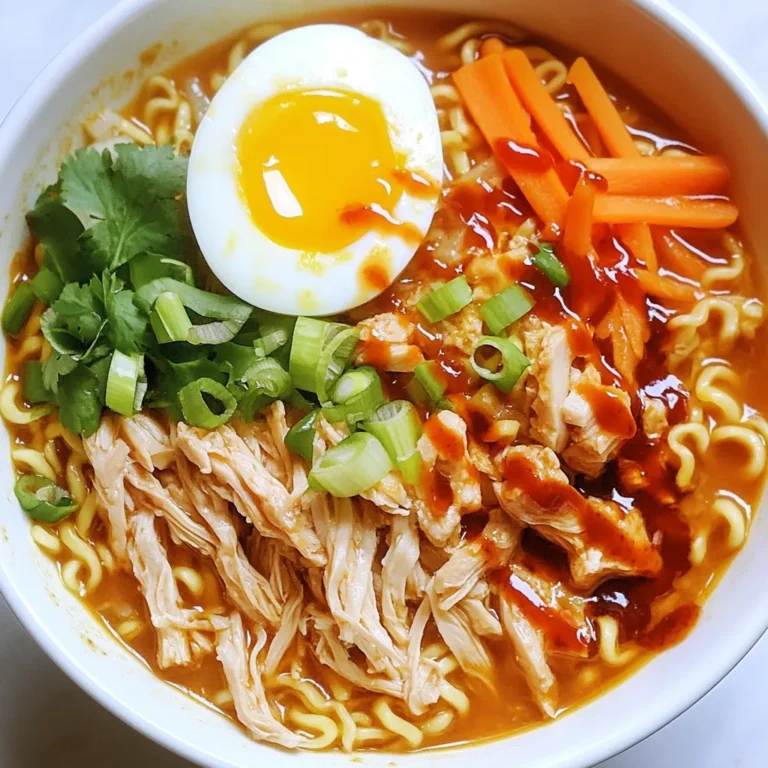
Fiery Chicken Ramen Packed with Bold Flavors
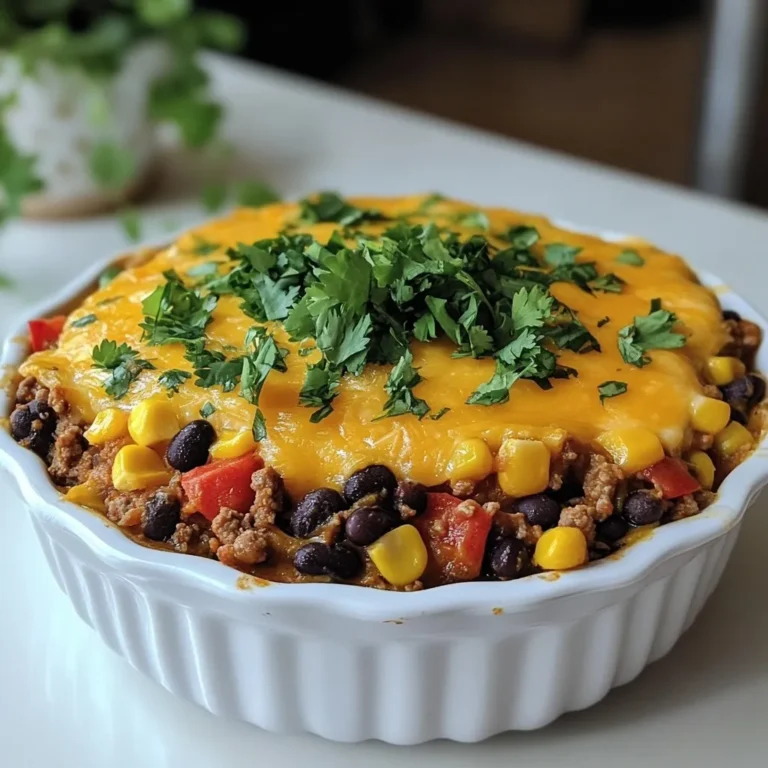
Texas Tamale Pie Flavorful and Easy Family Meal
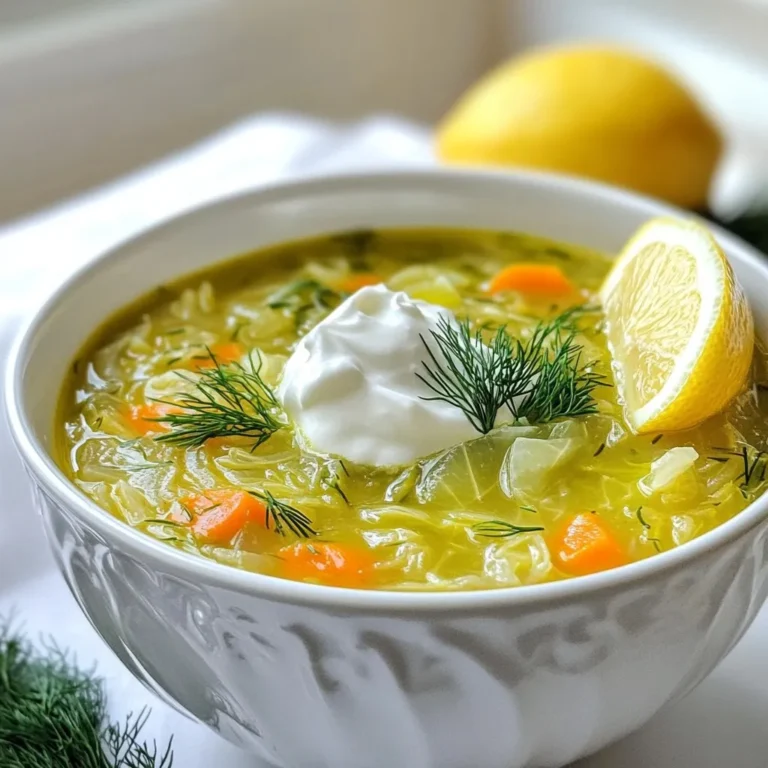
Lemon Dill Cabbage Soup Flavorsome and Simple Recipe
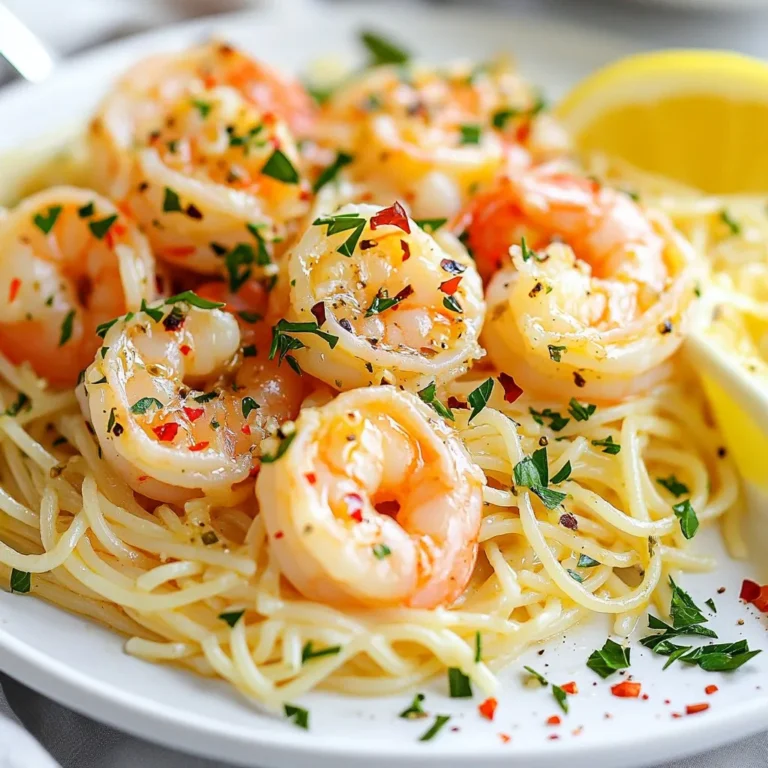
Garlic Butter Shrimp Scampi Flavorsome and Easy Dish
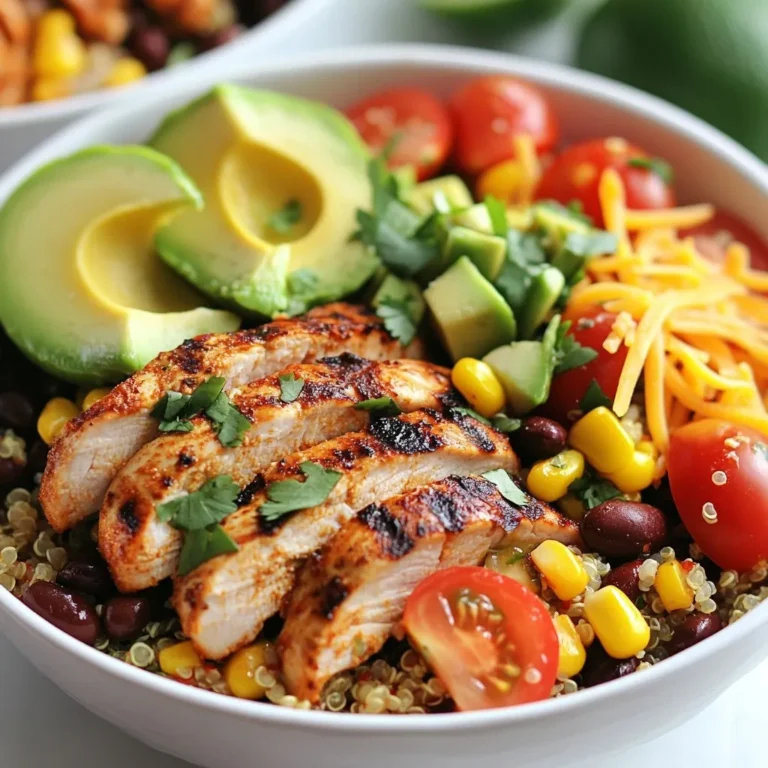
Savory Southwest Chicken Burrito Bowls Recipe Guide
Slow Cooker Keto Butter Chicken Flavorful and Easy Meal
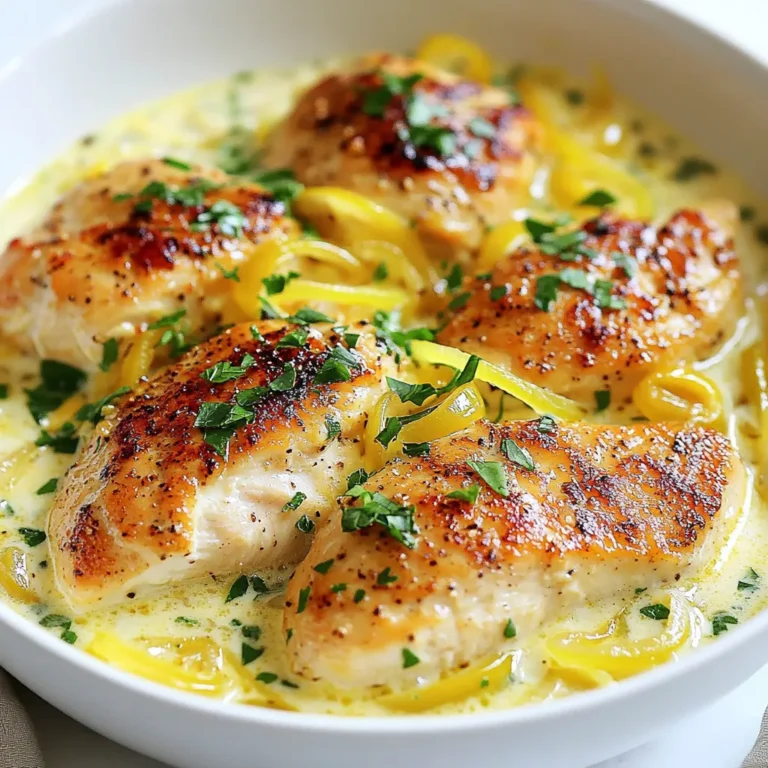
Creamy Pepperoncini Chicken Skillet Simple and Tasty
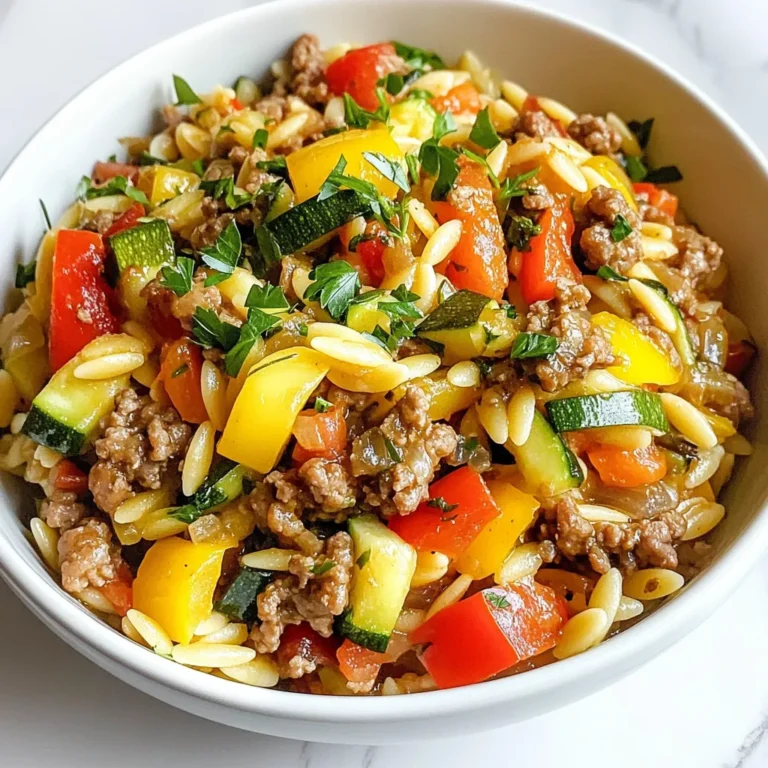
Ground Turkey and Orzo Flavorful Family Meal
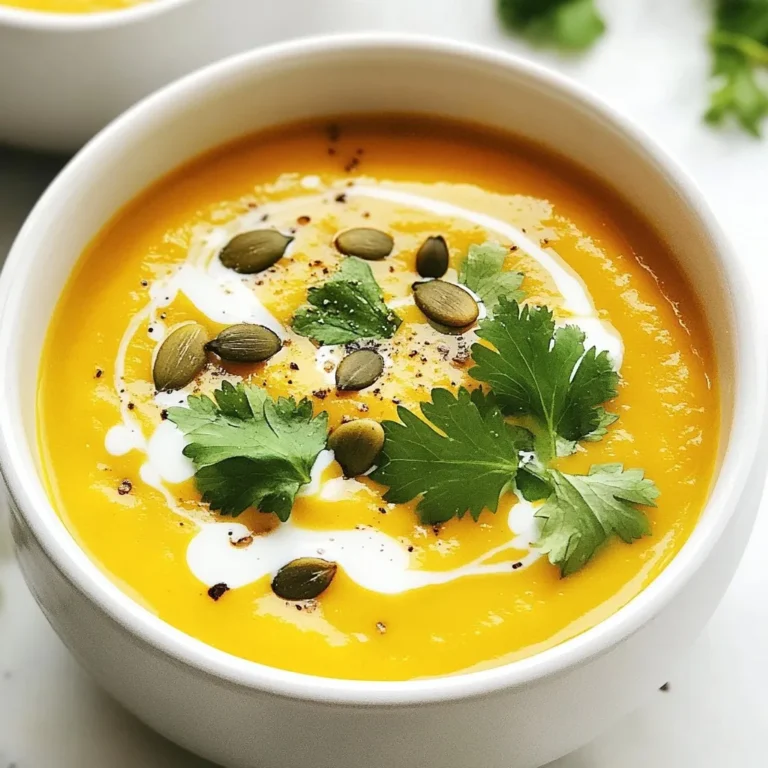
Roasted Butternut Squash Soup Flavorful and Simple Recipe
Creamy Garlic Tuscan Chicken Flavorful and Easy Recipe
Page navigation
Previous Page
Previous
1
…
57
58
59
60
61
…
63
Next Page
Next
Home
Dinner
Appetizer
Desserts
Drinks
About
Contact
Privacy Policy
Toggle Menu Close
Search for:
Search