Skip to content
About
Contact
Cookie Policy
Copyright Policy
Disclaimer
Search
Home
Dinner
Appetizer
Desserts
Drinks
About
Contact
Privacy Policy
Toggle Menu
Home
/
Dinner
- Page 60
Dinner
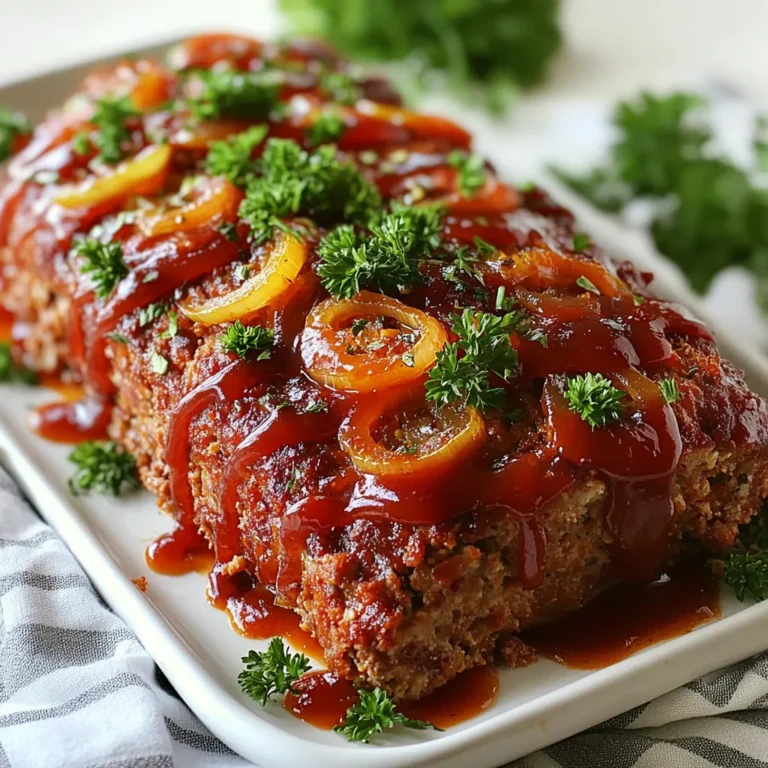
Sweet Tangy Glazed Meatloaf Savory and Simple Dish
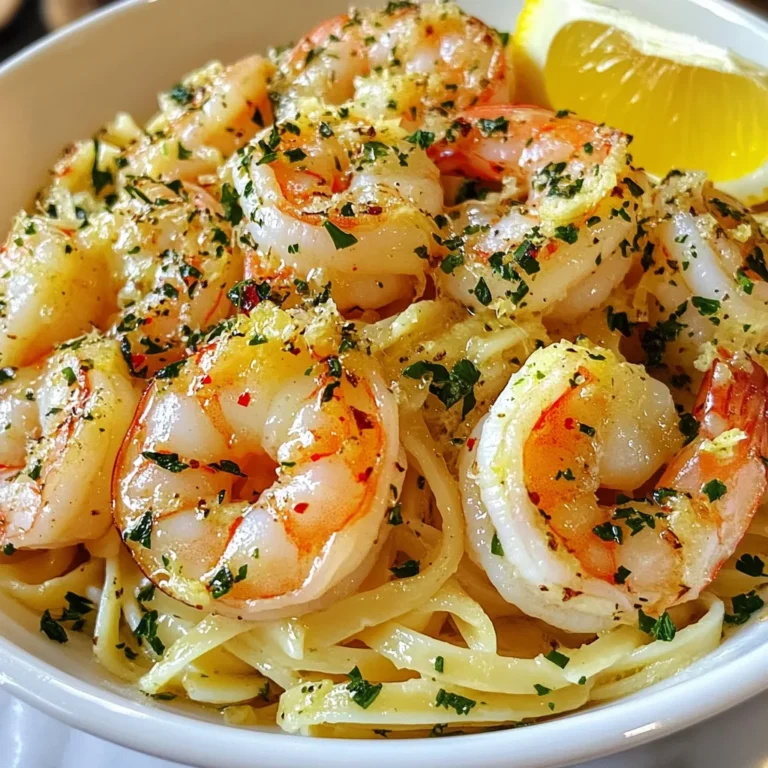
Garlic Butter Shrimp Scampi Flavorful and Easy Recipe
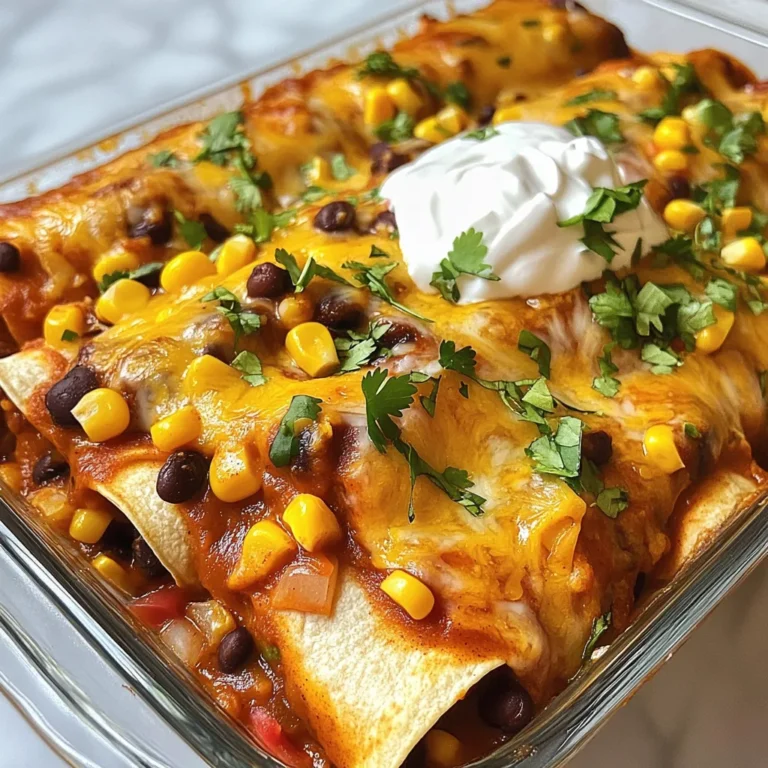
Bean and Cheese Enchiladas Easy and Flavorful Recipe
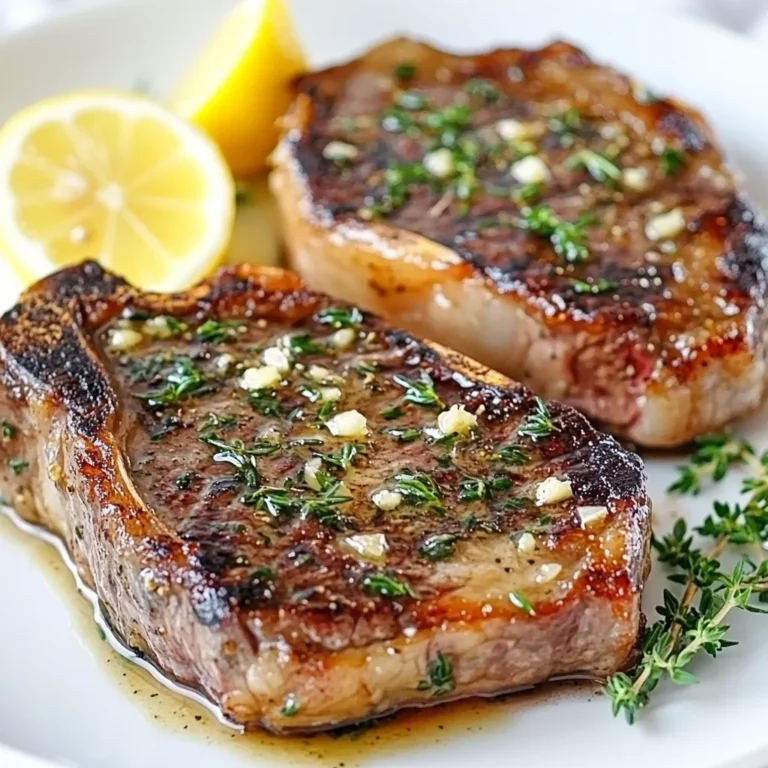
Ultimate Garlic Butter Steak Recipe for Flavorful Grilling
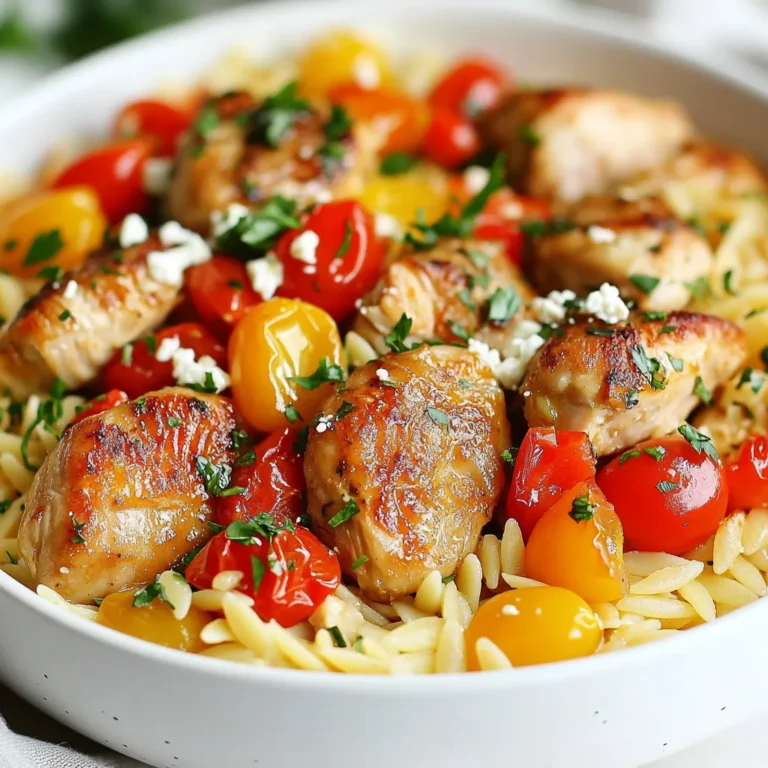
Skillet Chicken Orzo Flavorful and Quick Dinner Recipe
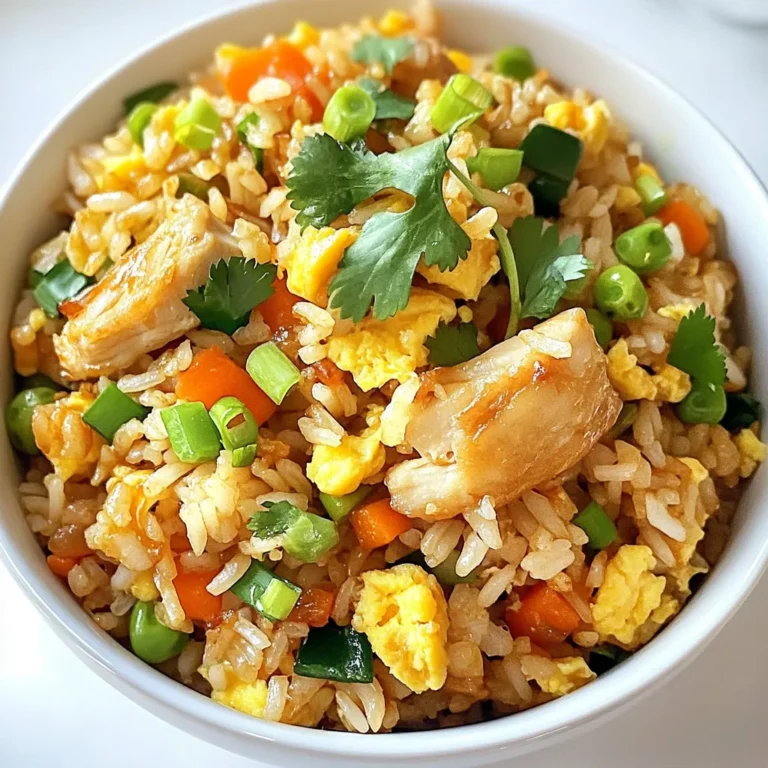
Blackstone Chicken Fried Rice Flavorful Griddle Dish
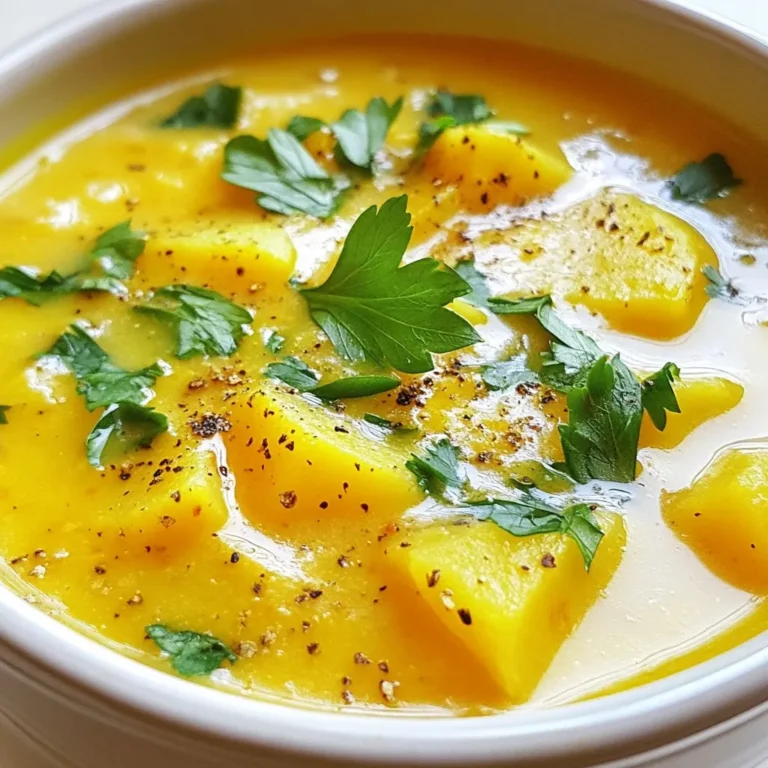
Vegan Carrot Potato Soup Rich and Hearty Delight
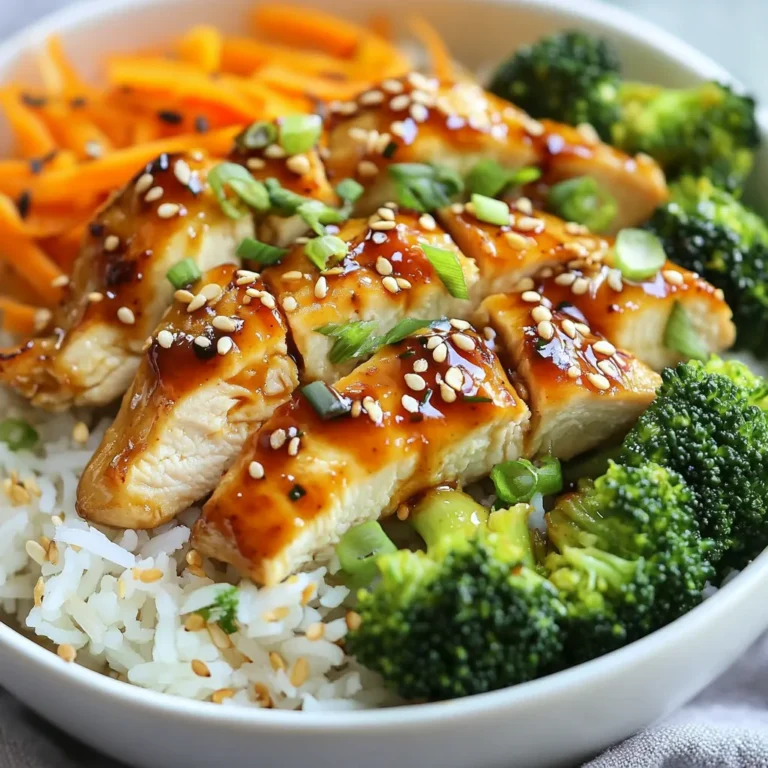
Hot Honey Chicken Bowl Flavorful Weeknight Meal
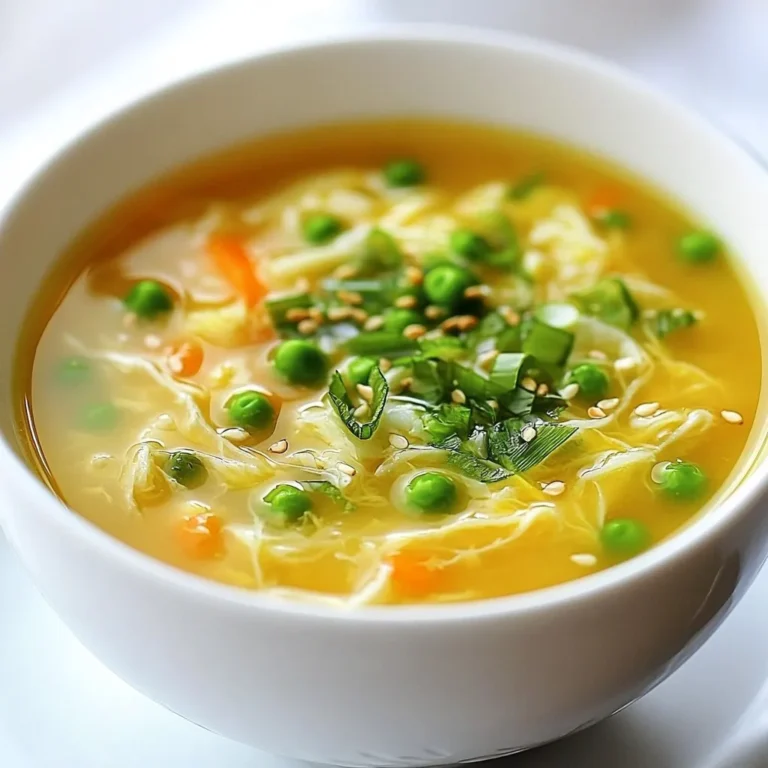
Minute Egg Drop Soup Quick and Simple Recipe Guide
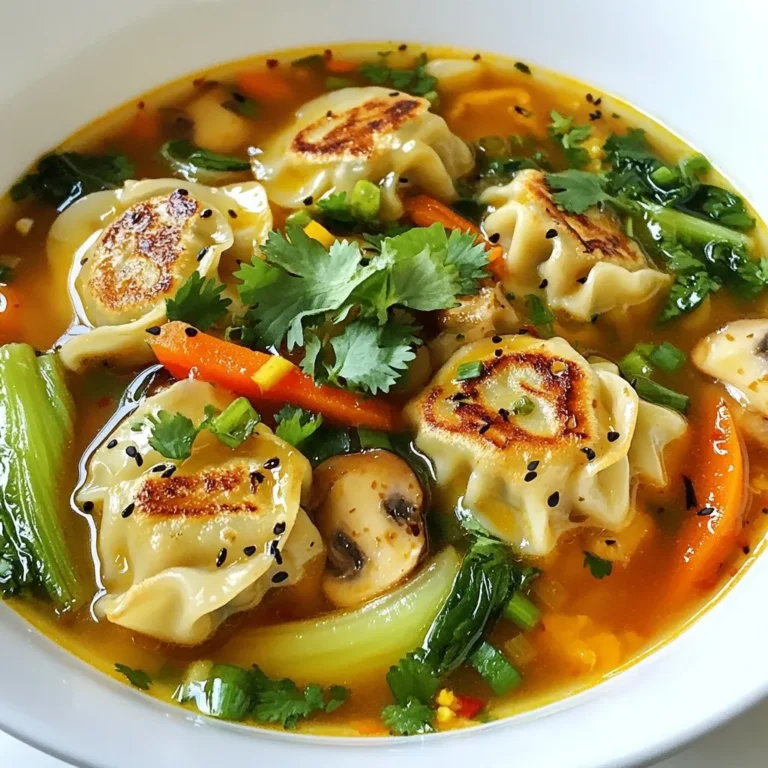
Flavorful Potsticker Soup Easy and Comforting Recipe
Page navigation
Previous Page
Previous
1
…
58
59
60
61
62
63
Next Page
Next
Home
Dinner
Appetizer
Desserts
Drinks
About
Contact
Privacy Policy
Toggle Menu Close
Search for:
Search