Skip to content
About
Contact
Cookie Policy
Copyright Policy
Disclaimer
Search
Home
Dinner
Appetizer
Desserts
Drinks
About
Contact
Privacy Policy
Toggle Menu
Home
/
Dinner
- Page 61
Dinner
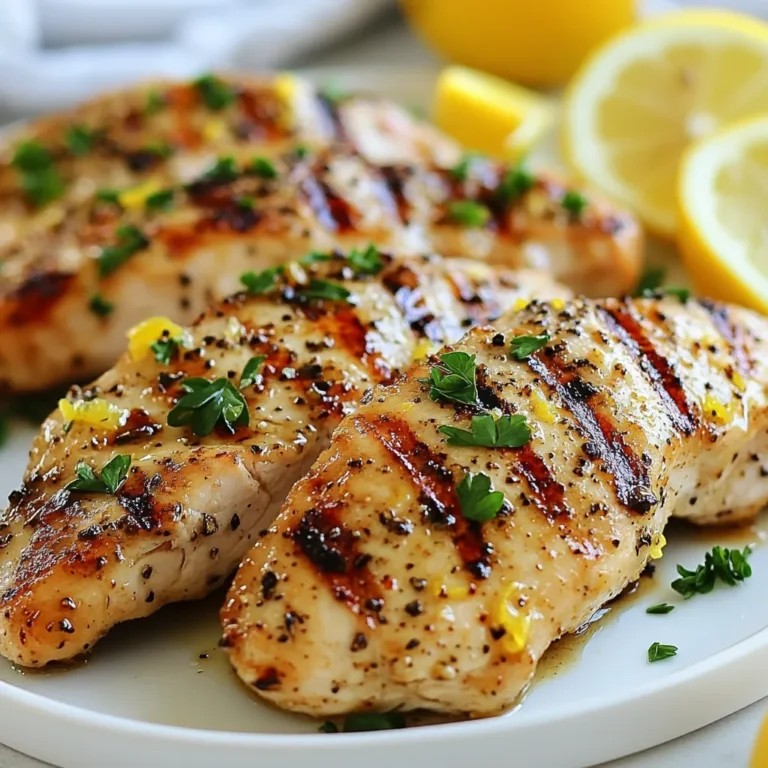
Lemon Pepper Chicken Flavorful and Easy Recipe Guide
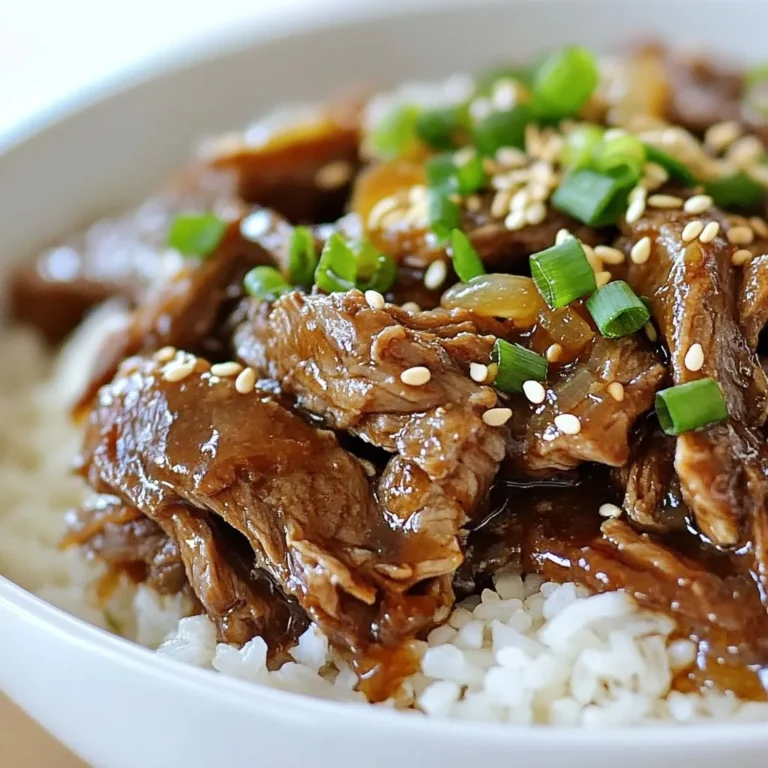
Savory Slow Cooker Korean Beef Sides to Enjoy
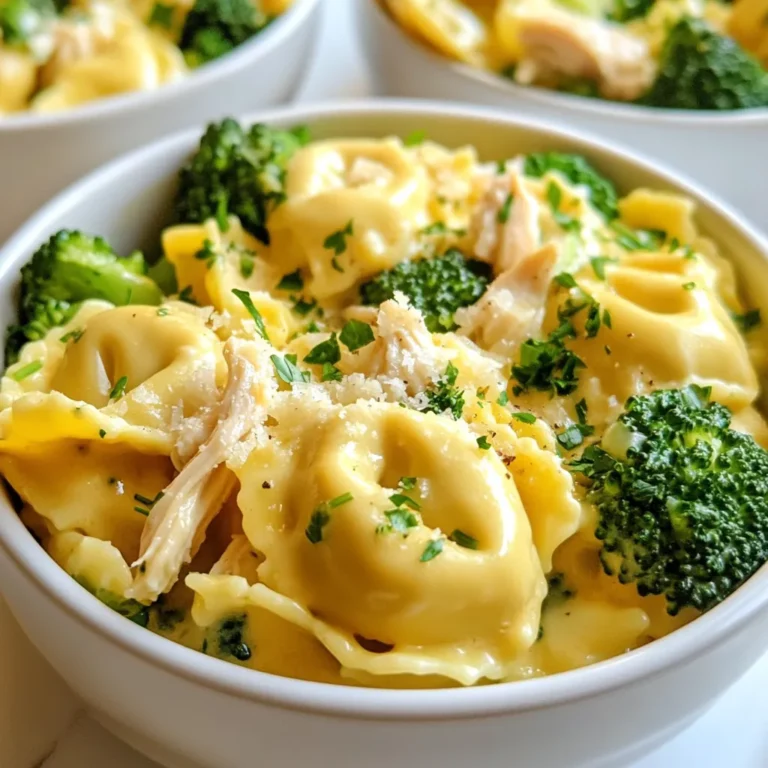
Chicken Tortellini Broccoli Creamy Comfort Dish
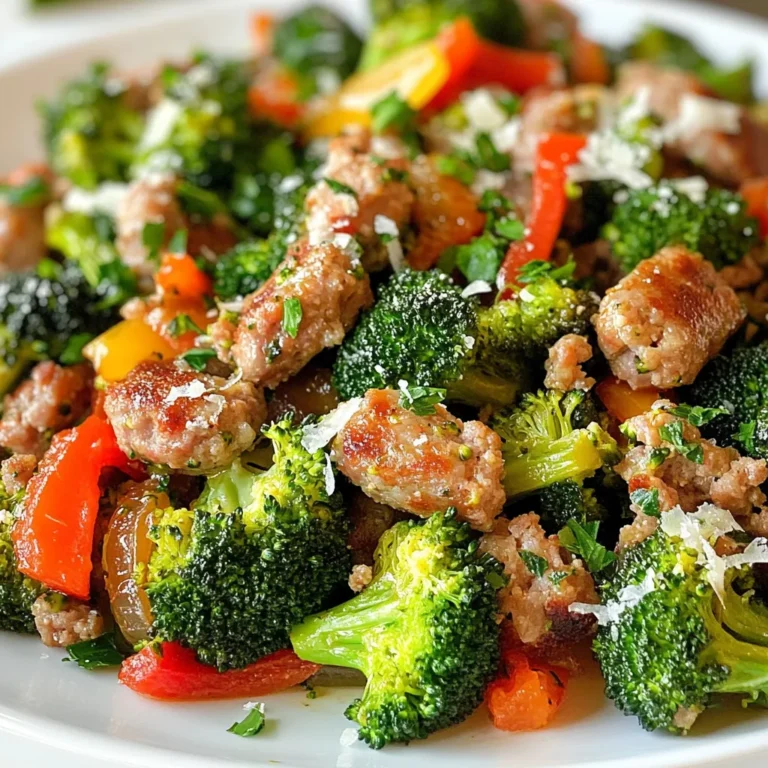
Sausage and Broccoli Skillet Simple Dinner Delight
Mexican Chicken with Cheese Sauce Flavorful Delight
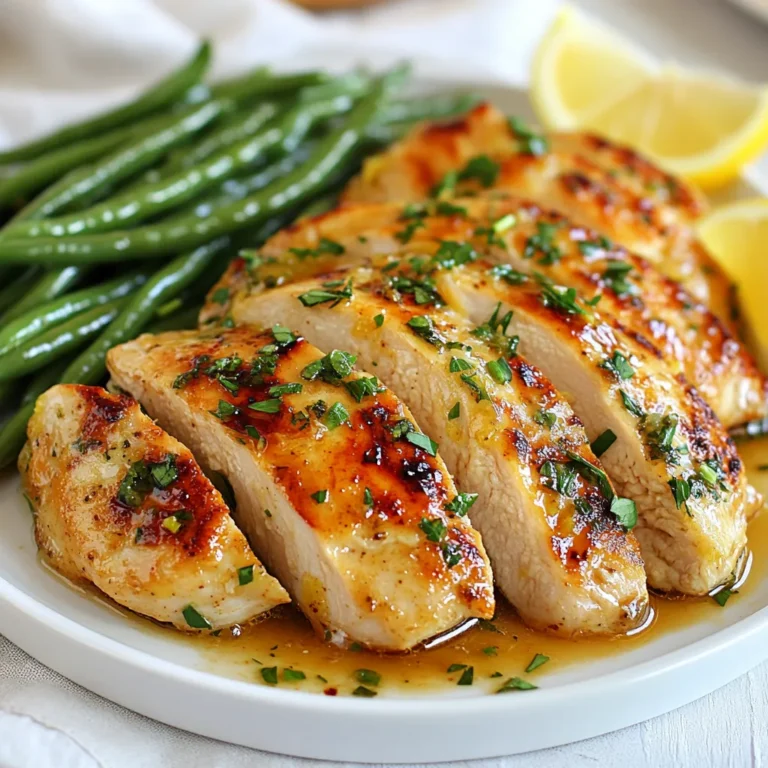
Chicken and Green Beans Simple Flavorful Recipe
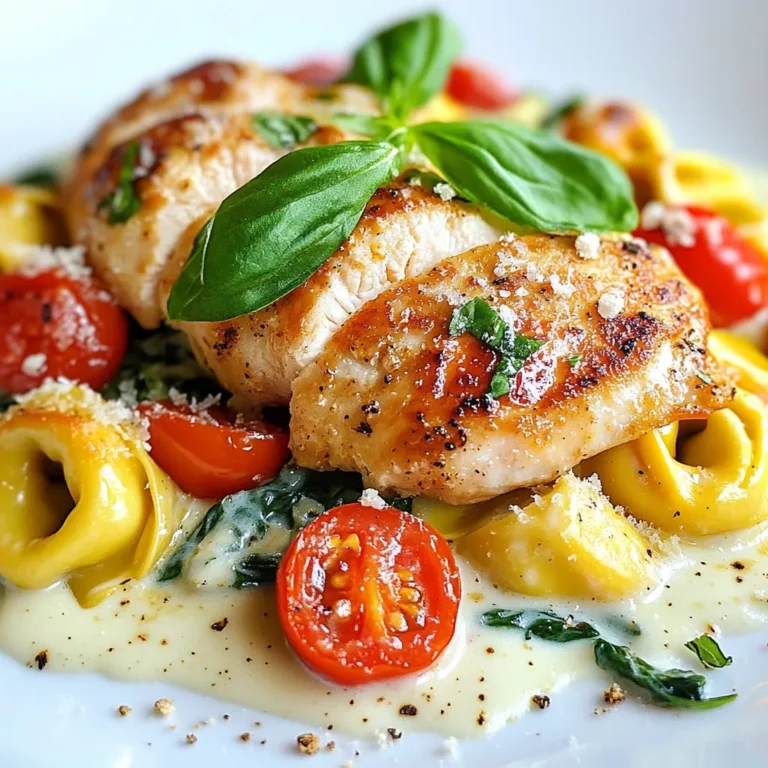
Marry Me Chicken Tortellini Irresistible Recipe Guide
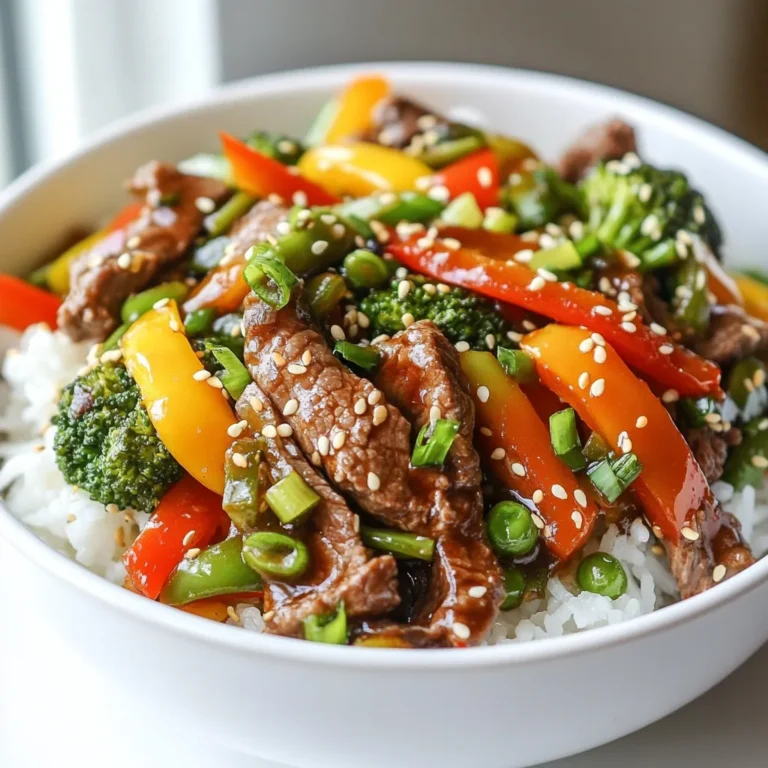
Quick Beef Stir-Fry with Veggies Flavorful and Easy Meal
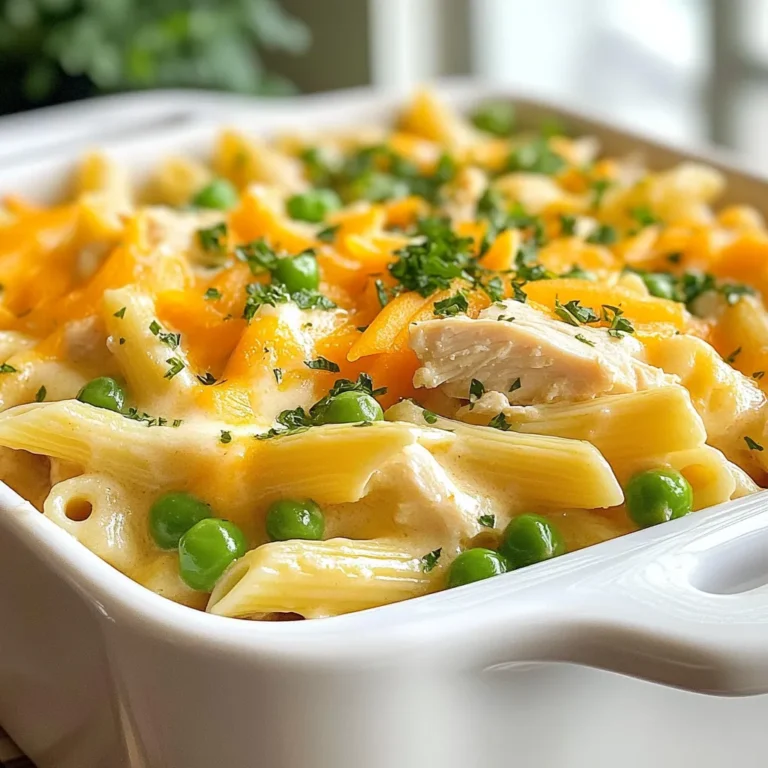
Chicken Pot Pie Pasta Comforting and Creamy Dish
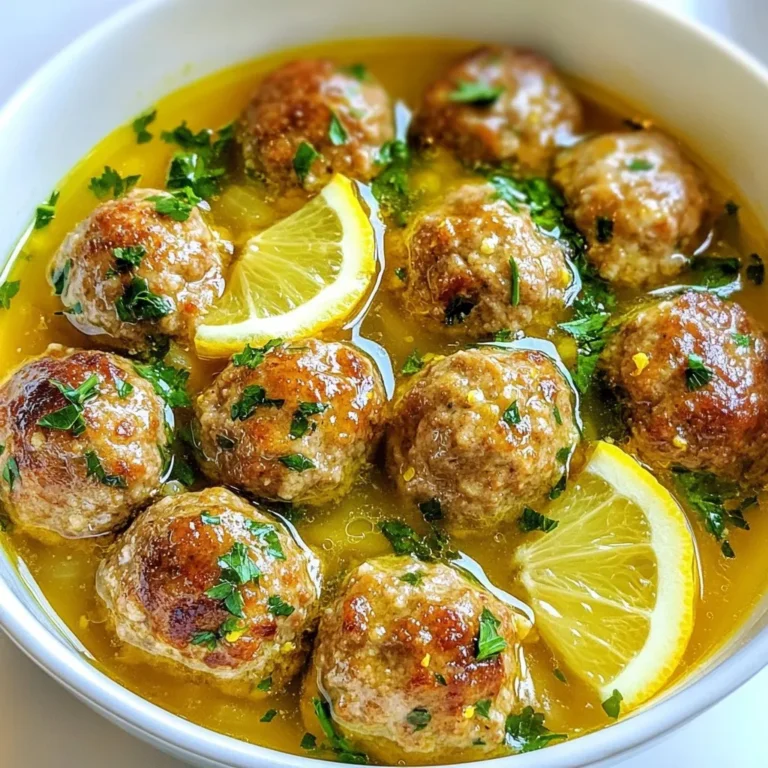
Greek Meatballs in Lemon Sauce Flavorful and Easy Recipe
Page navigation
Previous Page
Previous
1
…
59
60
61
62
63
Next Page
Next
Home
Dinner
Appetizer
Desserts
Drinks
About
Contact
Privacy Policy
Toggle Menu Close
Search for:
Search