Skip to content
About
Contact
Cookie Policy
Copyright Policy
Disclaimer
Search
Home
Dinner
Appetizer
Desserts
Drinks
About
Contact
Privacy Policy
Toggle Menu
Home
/
Dinner
- Page 62
Dinner
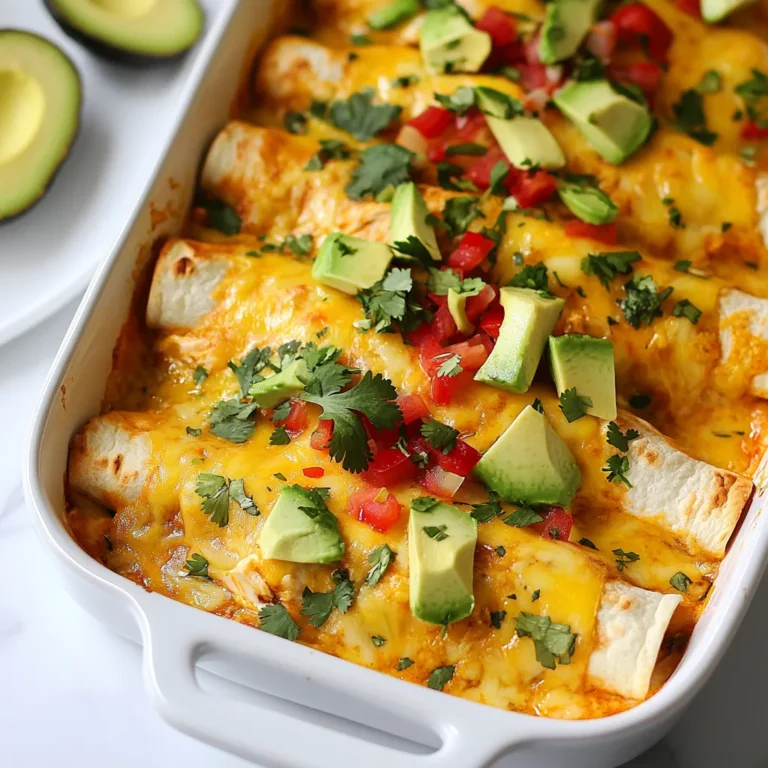
Cheesy Chicken Enchiladas Easy and Flavorful Recipe
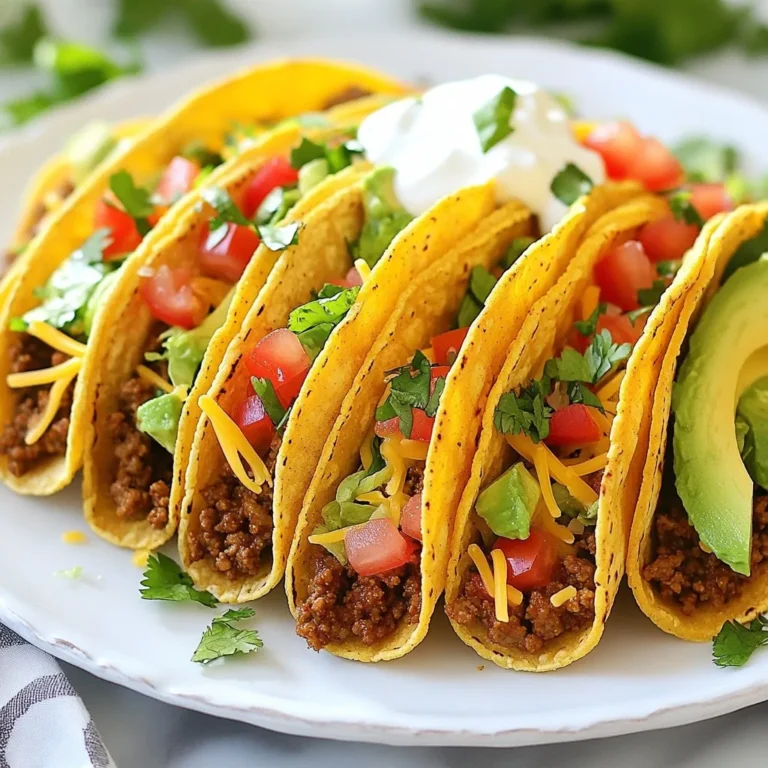
Crispy Baked Ground Beef Tacos Delightful Dinner Idea
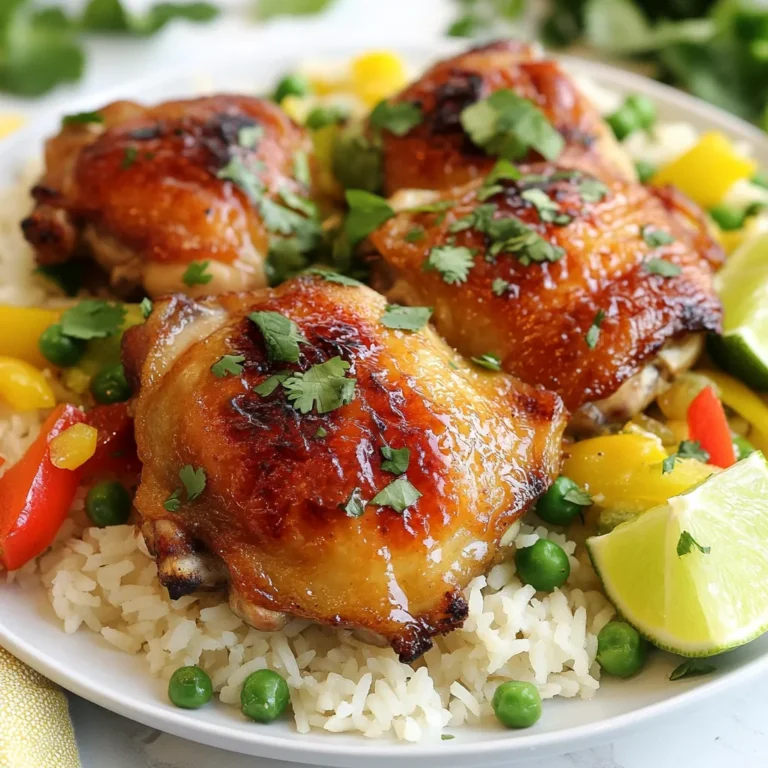
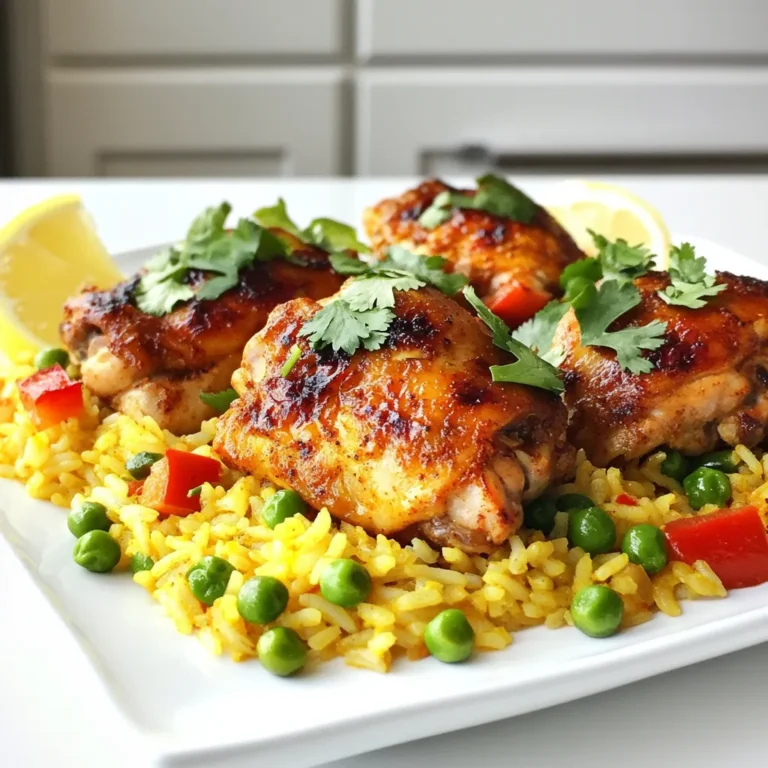
Peruvian Chicken and Rice Flavorful Comfort Dish
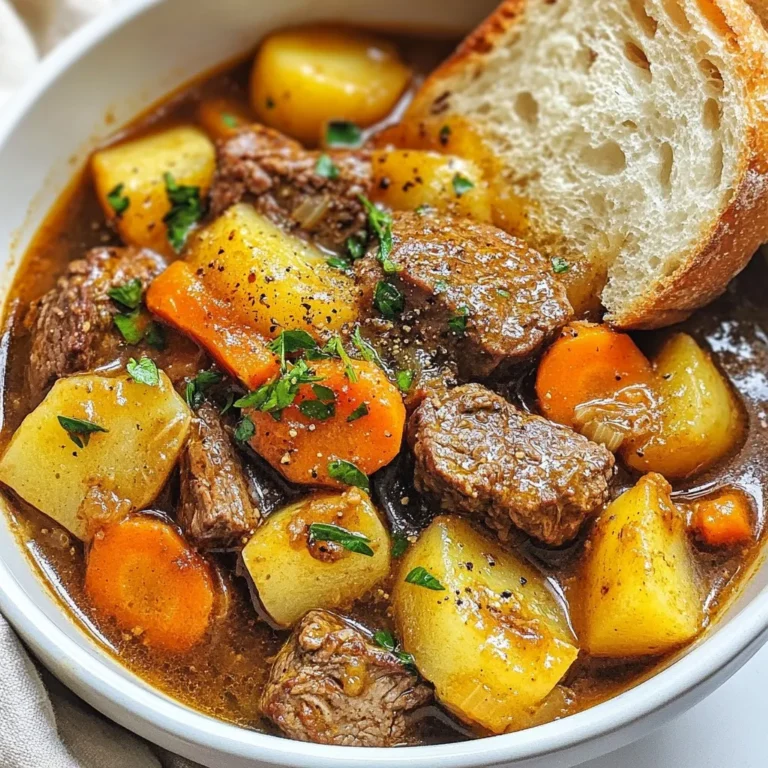
Instant Pot Beef Stew Flavorful and Hearty Meal
Peruvian Chicken and Rice Flavorful Dinner Recipe
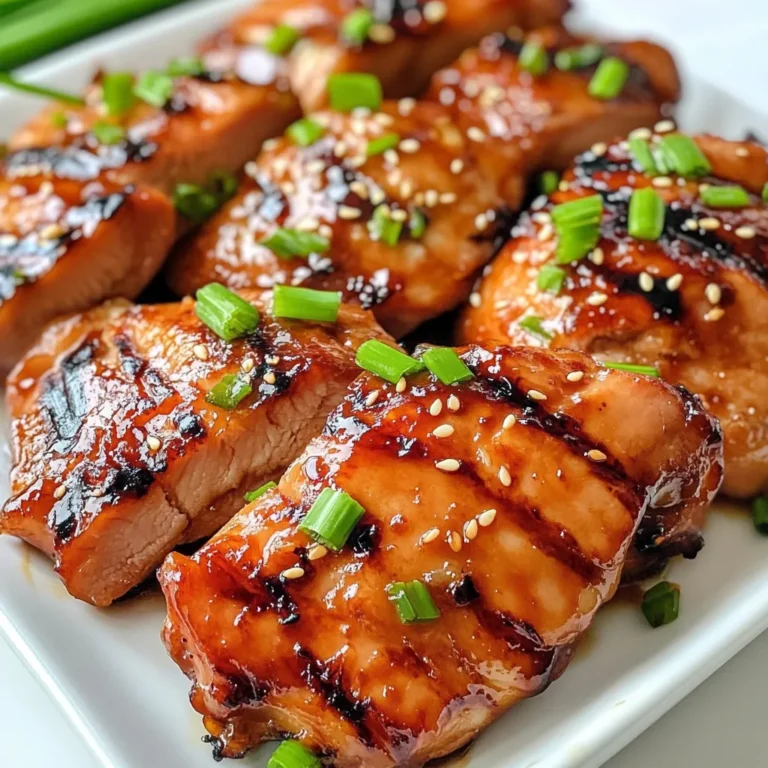
Sticky Char Siu Chicken Tasty Homemade Recipe
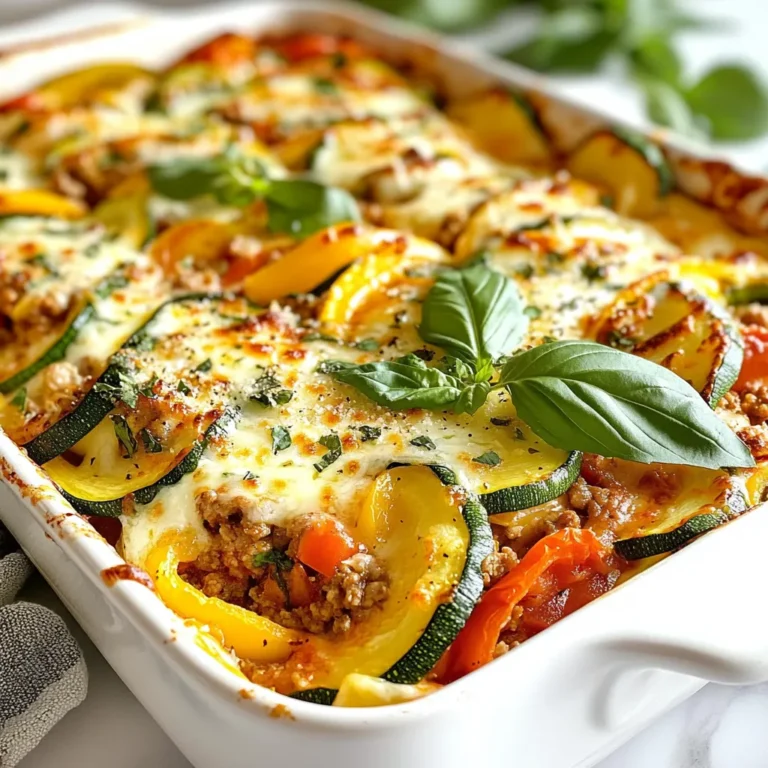
Zucchini Pizza Casserole Easy and Flavorful Dish
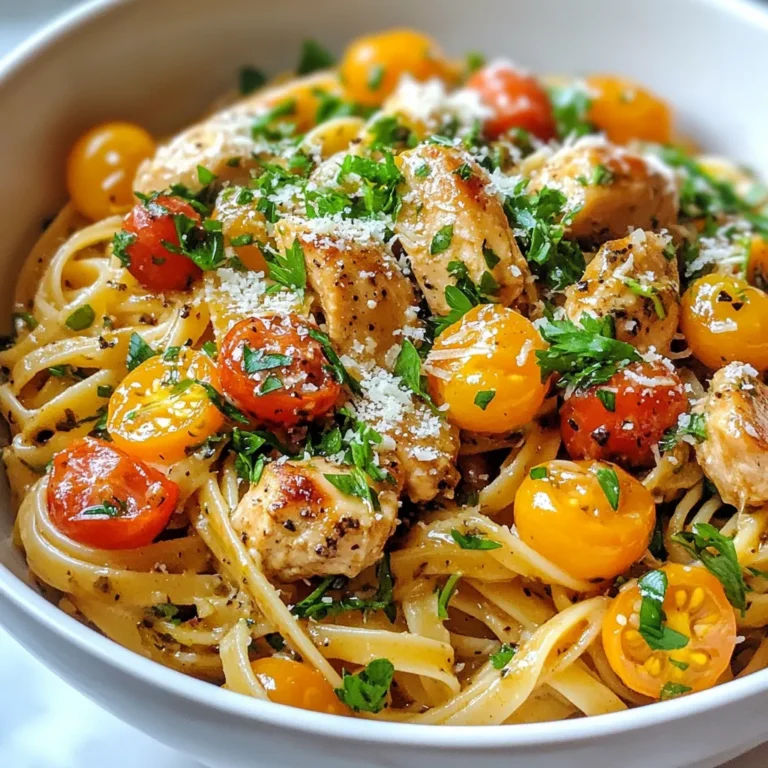
Cowboy Butter Chicken Linguine Savory Delight Recipe
Keto Loaded Cauliflower Soup Rich and Creamy Delight
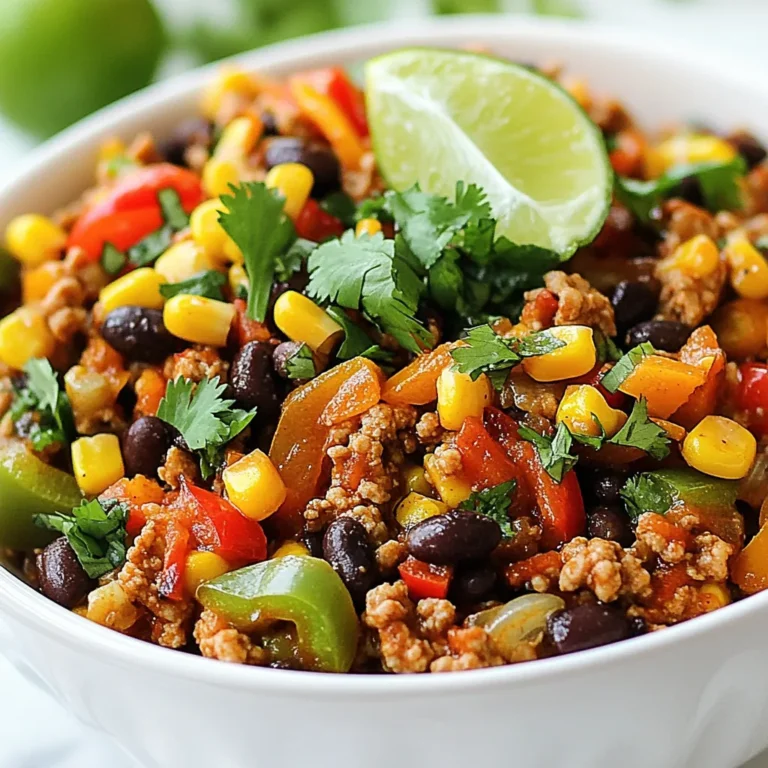
Ground Turkey Pepper Skillet Easy and Flavorful Meal
Page navigation
Previous Page
Previous
1
…
60
61
62
63
Next Page
Next
Home
Dinner
Appetizer
Desserts
Drinks
About
Contact
Privacy Policy
Toggle Menu Close
Search for:
Search