Skip to content
About
Contact
Cookie Policy
Copyright Policy
Disclaimer
Search
Home
Dinner
Appetizer
Desserts
Drinks
About
Contact
Privacy Policy
Toggle Menu
Home
/
Dinner
- Page 63
Dinner
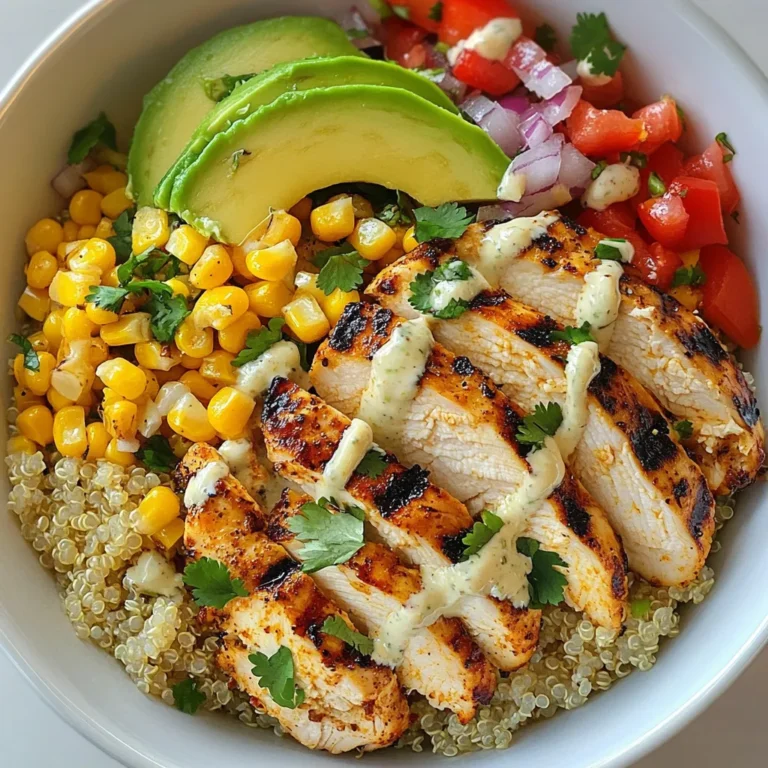
Street Corn Chicken Bowl Flavorful and Satisfying Meal
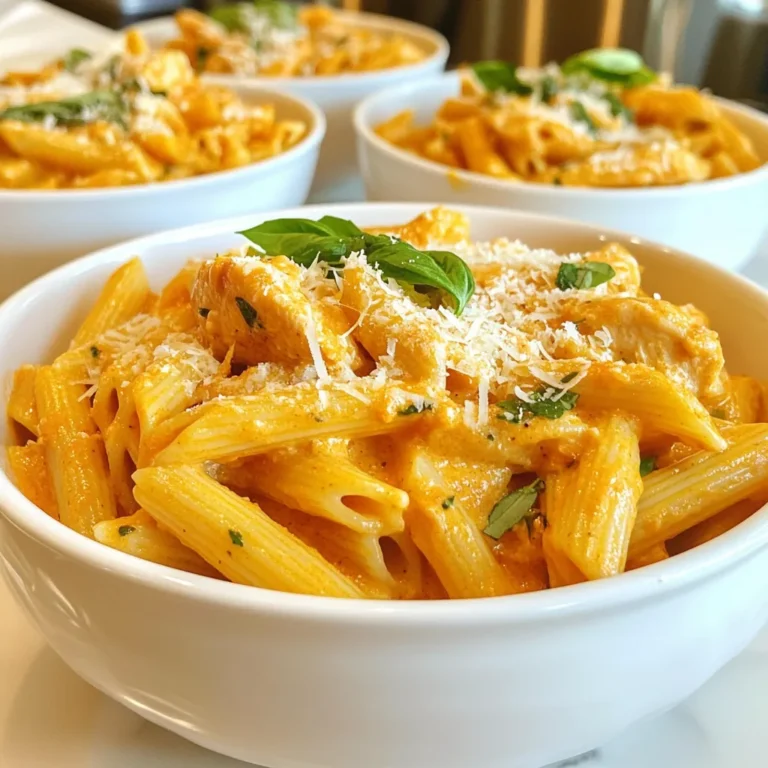
Chicken Penne Alla Vodka Flavorful Comfort Meal
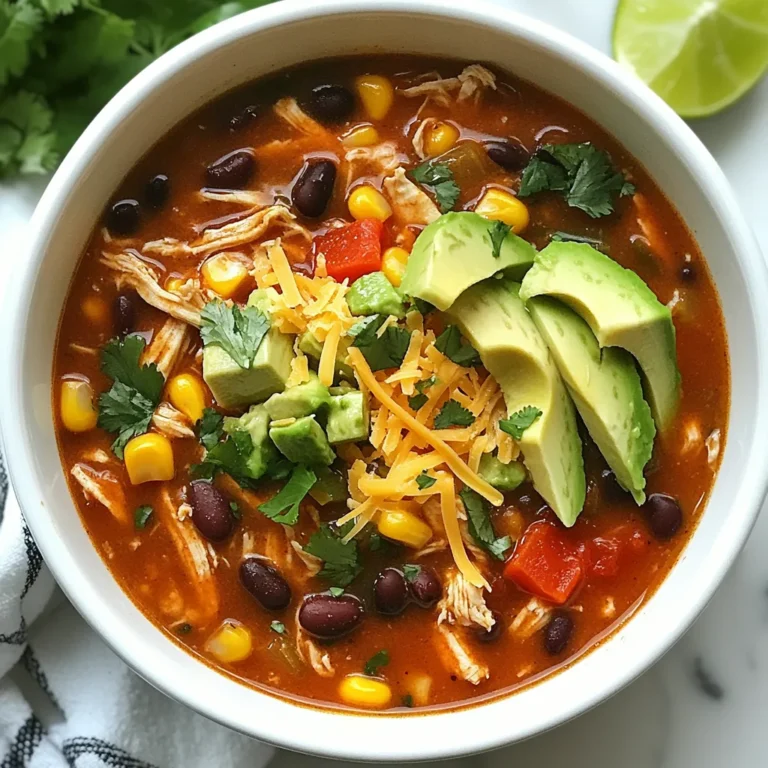
Chicken Enchilada Soup Hearty and Flavorful Recipe
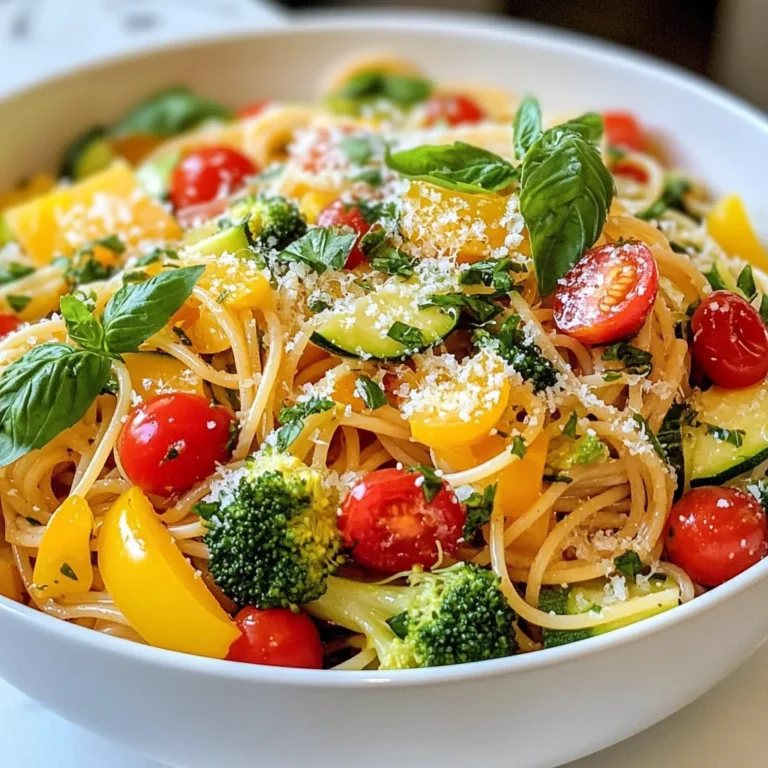
Vegetarian Pasta Primavera Fresh and Flavorful Dish
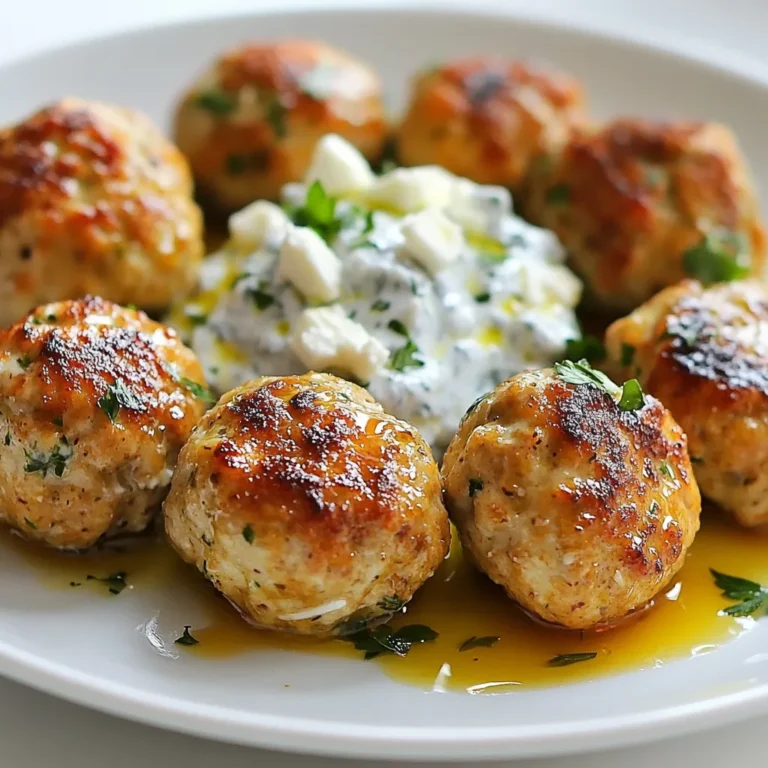
Greek Chicken Meatballs Flavorful and Healthy Recipe
Lemon Boursin Orzo Bake Flavorful and Easy Recipe
Page navigation
Previous Page
Previous
1
…
61
62
63
Home
Dinner
Appetizer
Desserts
Drinks
About
Contact
Privacy Policy
Toggle Menu Close
Search for:
Search