Skip to content
About
Contact
Cookie Policy
Copyright Policy
Disclaimer
Search
Home
Dinner
Appetizer
Desserts
Drinks
About
Contact
Privacy Policy
Toggle Menu
Home
/
Dinner
- Page 7
Dinner
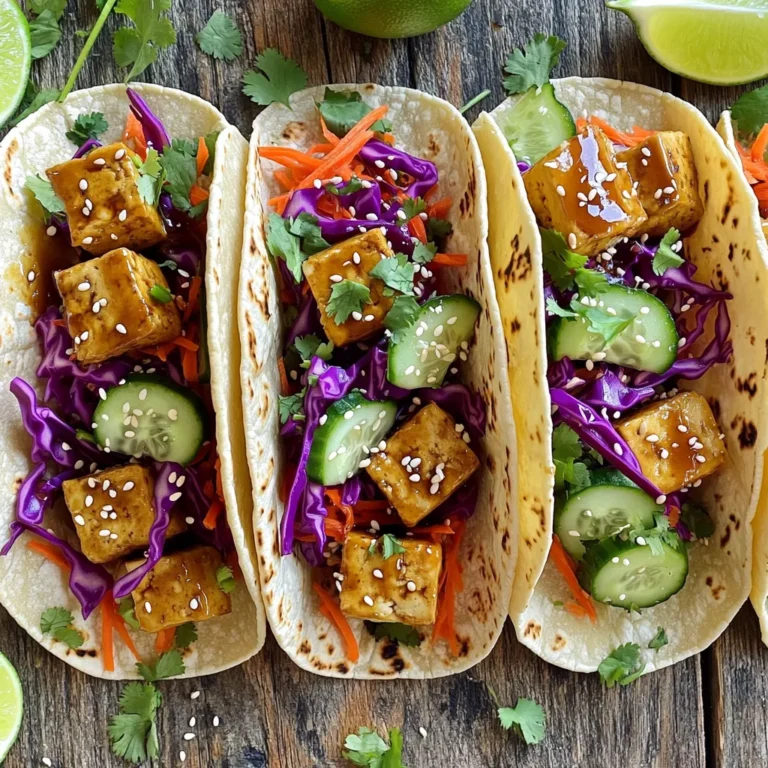
Crispy Teriyaki Tofu Tacos Flavorful and Fresh Meal
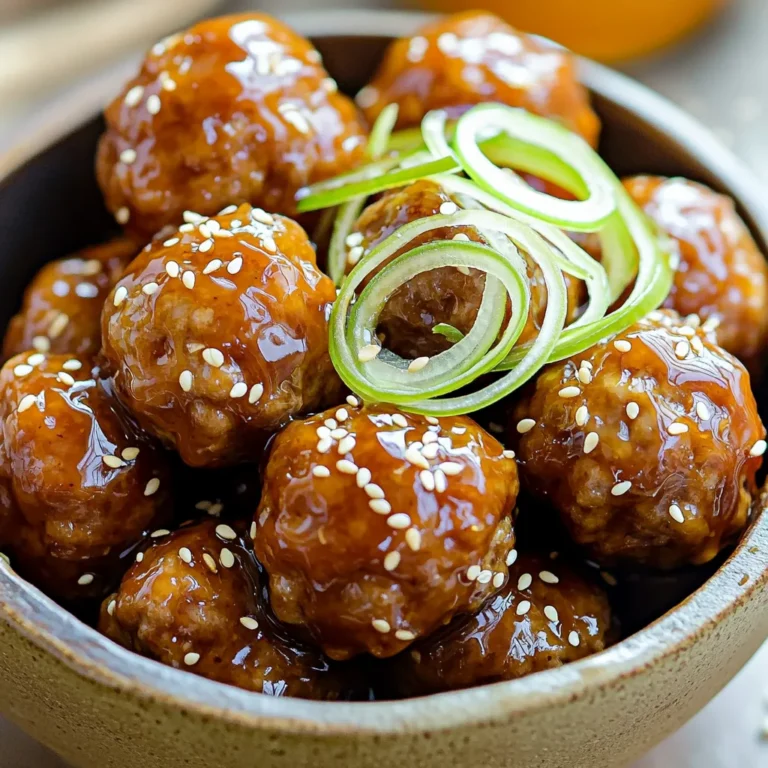
Honey Garlic Glazed Meatballs Simple and Tasty Dish
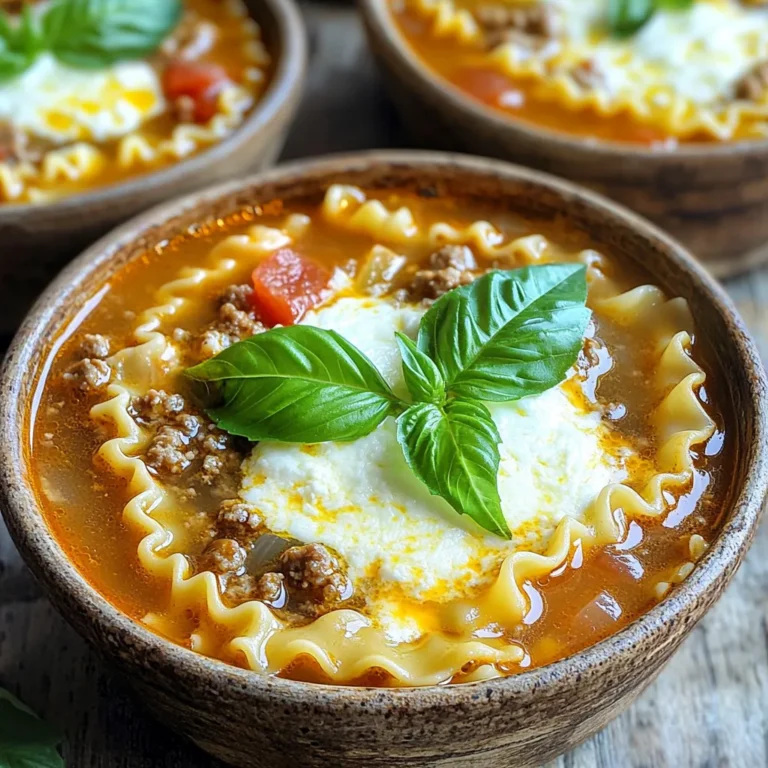
One Pot Lasagna Soup Hearty and Comforting Meal
Paleo Crockpot Salsa Chicken Delightful and Easy Dish
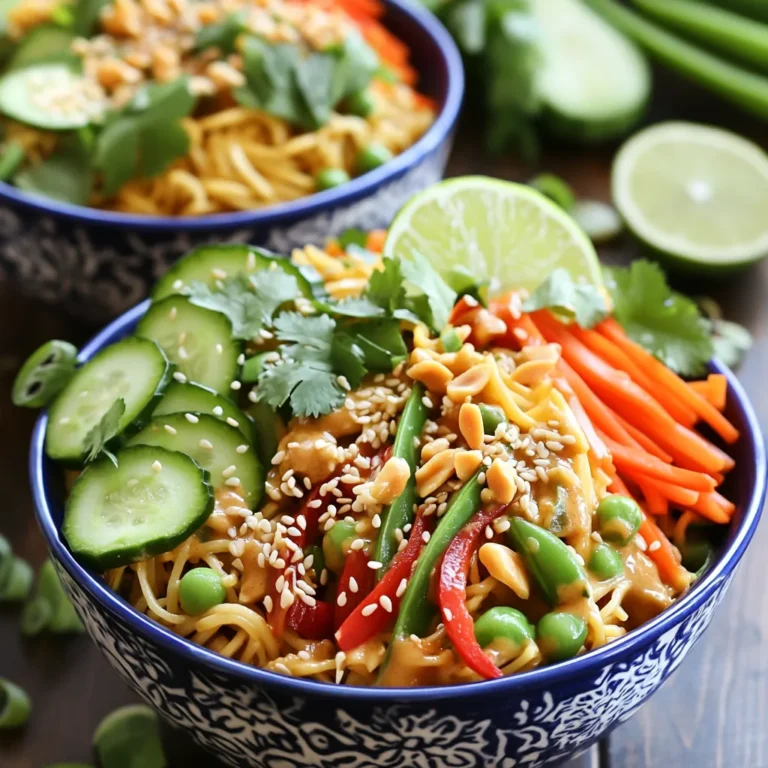
Thai Peanut Noodles Flavorful and Easy Recipe Guide
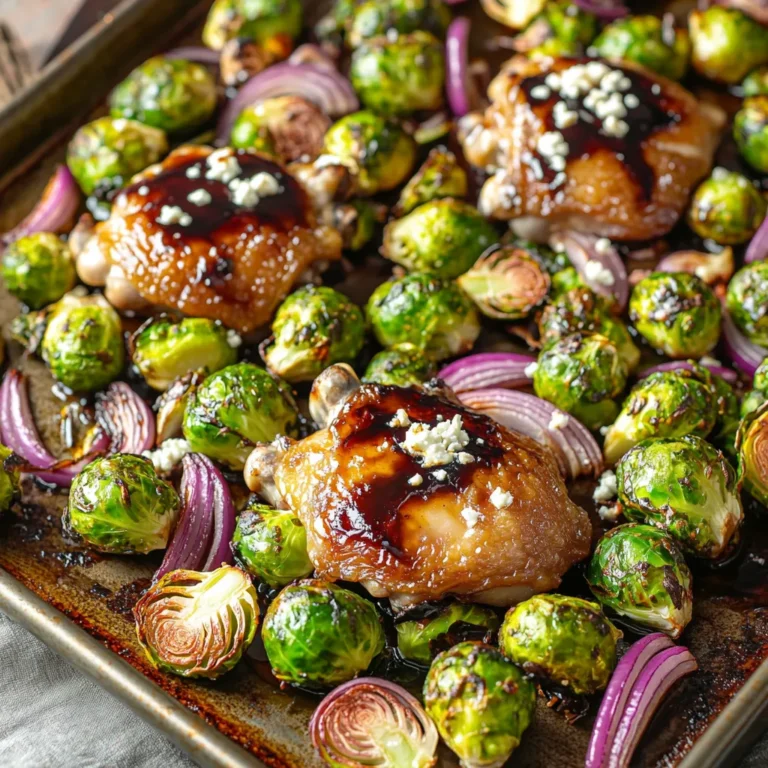
Sheet-Pan Balsamic Chicken & Brussels Sprouts Delight
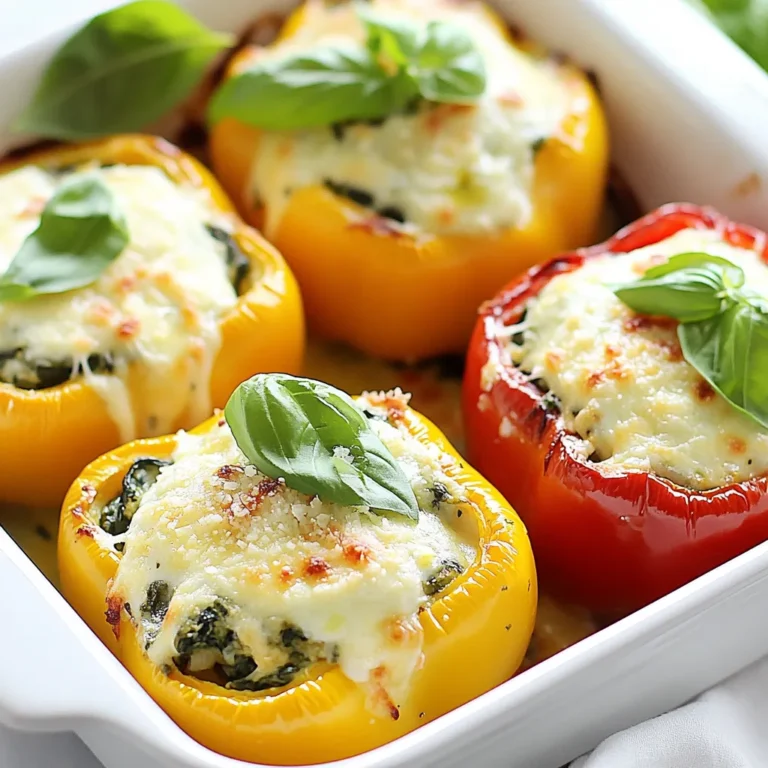
Spinach Ricotta Stuffed Peppers Flavorful and Easy Meal
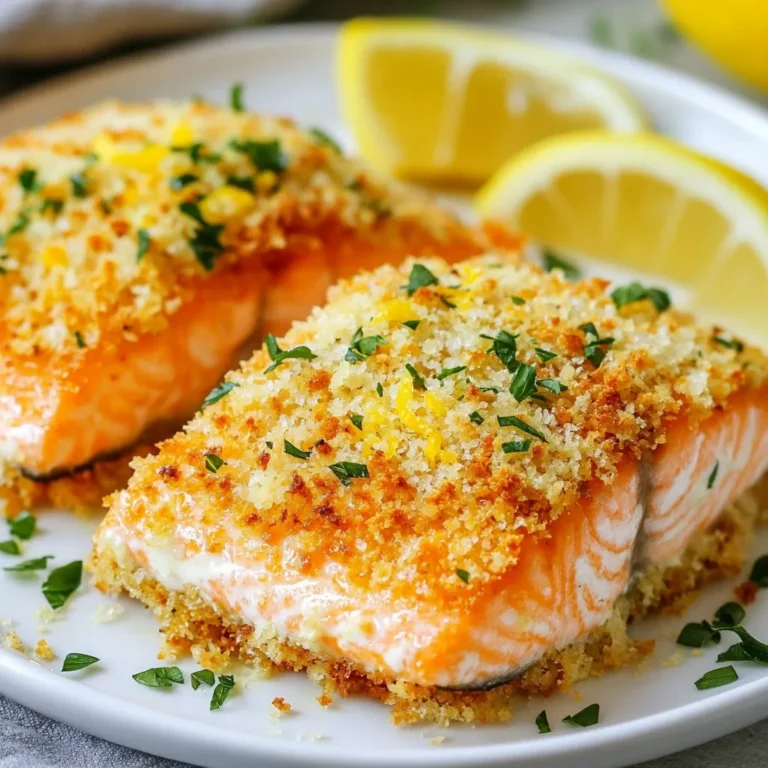
Air Fryer Parmesan Crusted Salmon Simple and Tasty
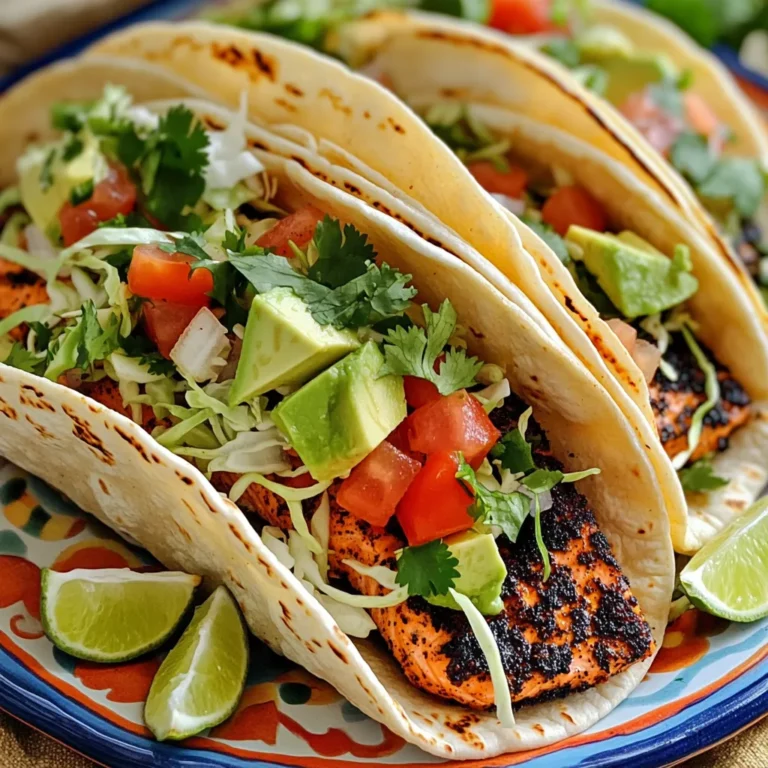
Blackened Salmon Tacos Sheet Pan Easy Flavor Burst
Minute Lemon Garlic Orzo Salad Fresh and Flavorful
Page navigation
Previous Page
Previous
1
…
5
6
7
8
9
…
63
Next Page
Next
Home
Dinner
Appetizer
Desserts
Drinks
About
Contact
Privacy Policy
Toggle Menu Close
Search for:
Search