Skip to content
About
Contact
Cookie Policy
Copyright Policy
Disclaimer
Search
Home
Dinner
Appetizer
Desserts
Drinks
About
Contact
Privacy Policy
Toggle Menu
Home
/
Dinner
- Page 9
Dinner
Chili Lime Shrimp Tacos Sheet Pan Bold and Zesty Meal
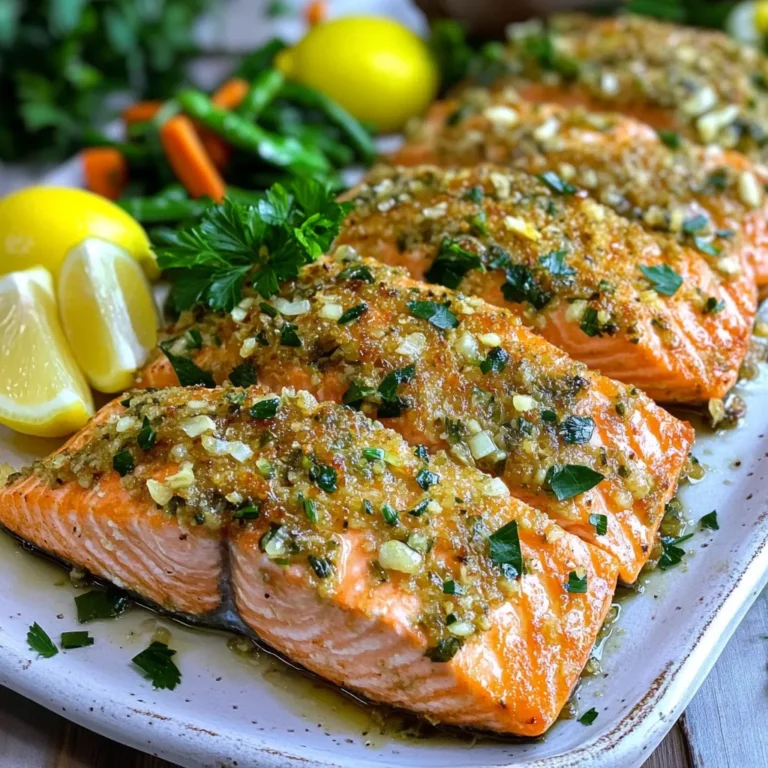
Garlic Herb Crusted Salmon Air Fryer Easy Recipe
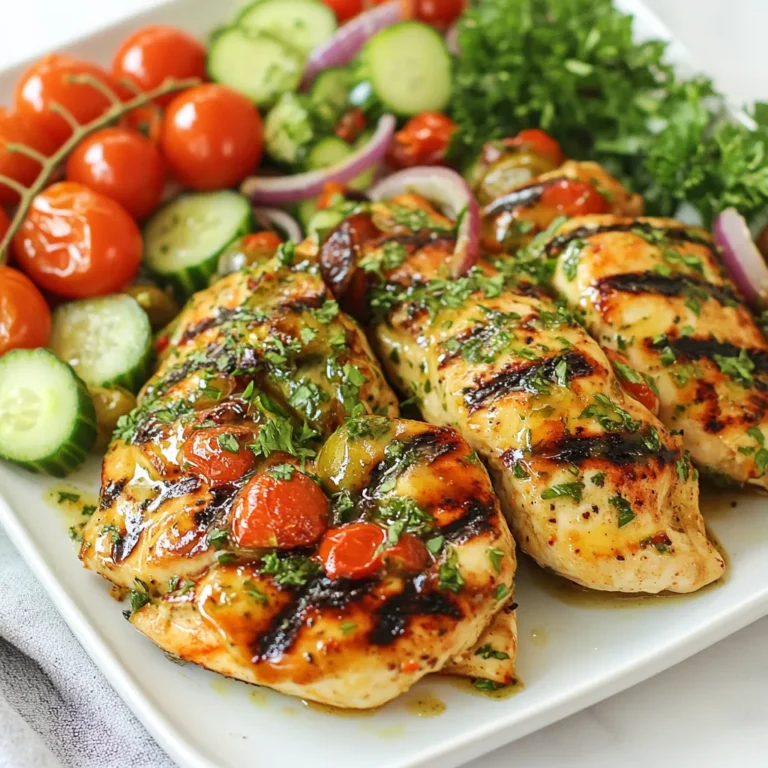
High Protein Mediterranean Chicken Flavorful Dish
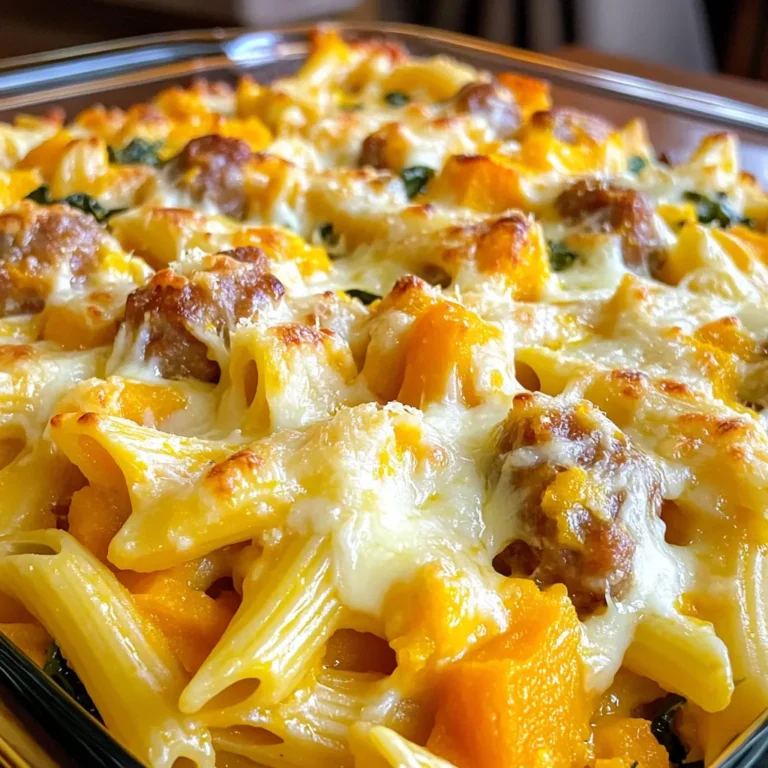
Butternut Squash Sausage Pasta Bake Flavorful Feast
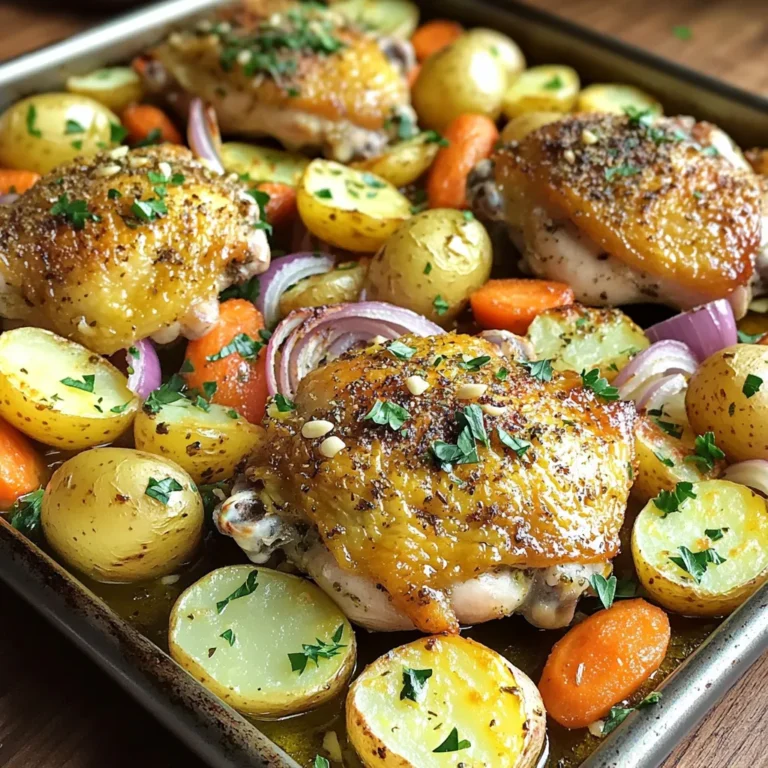
Herb Roasted Chicken & Potato Sheet Pan Delight
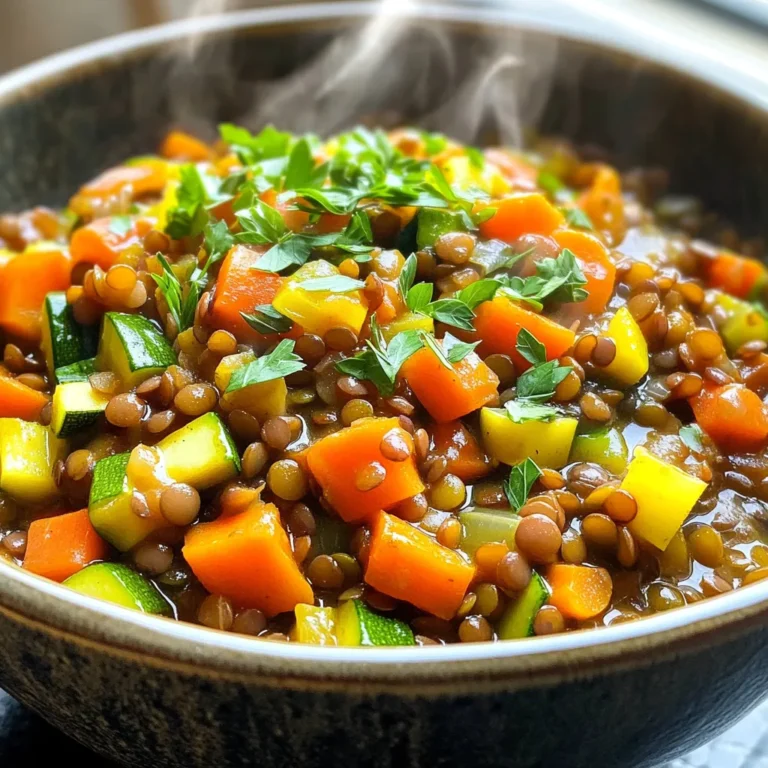
Rustic Lentil Vegetable Stew Slow Cooker Delight
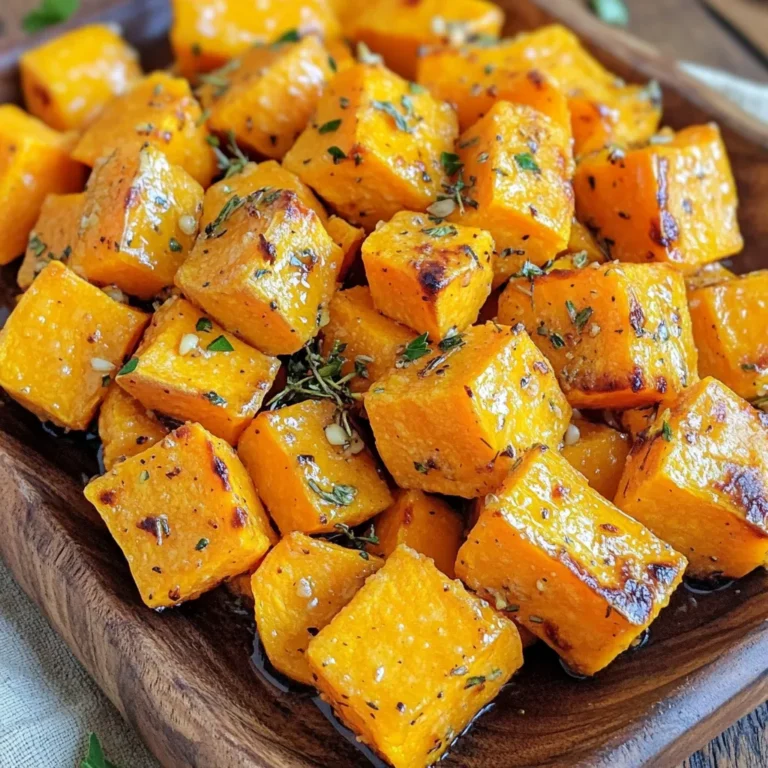
Garlic Herb Roasted Sweet Potatoes Flavorful Side Dish
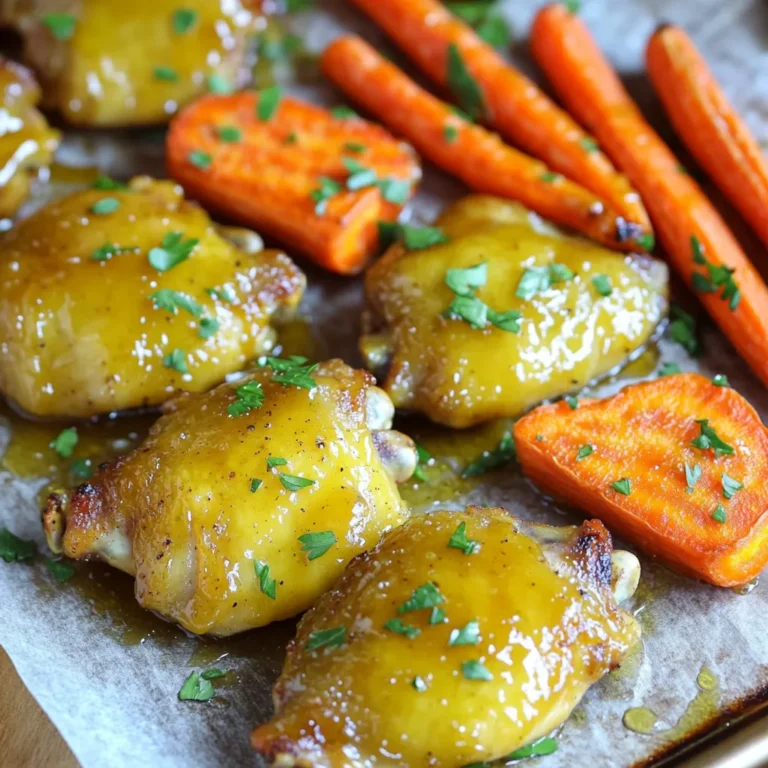
Sheet-Pan Honey Mustard Chicken and Carrots Delight
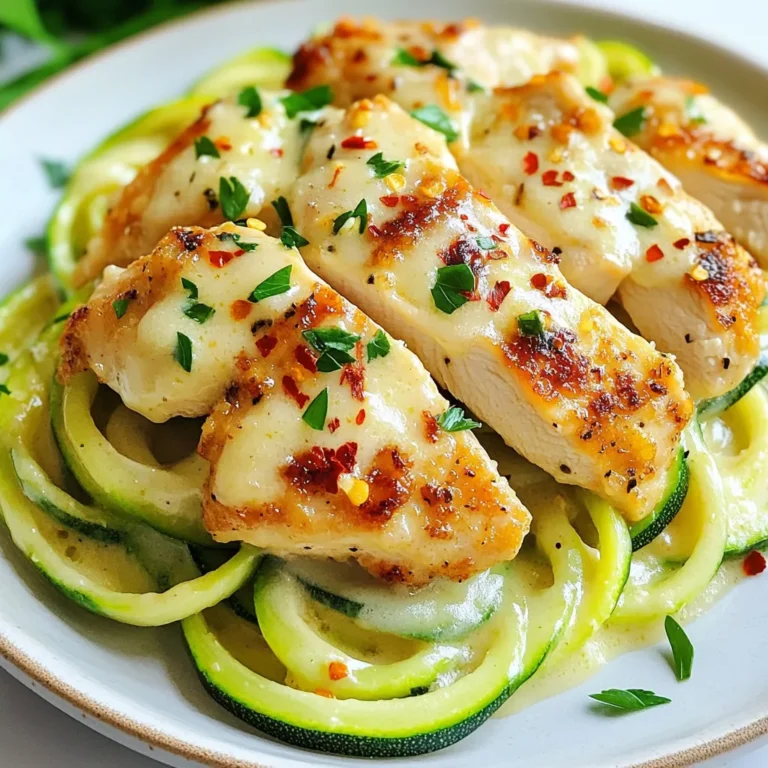
Zucchini Noodle Chicken Alfredo Flavorful Dinner Delight
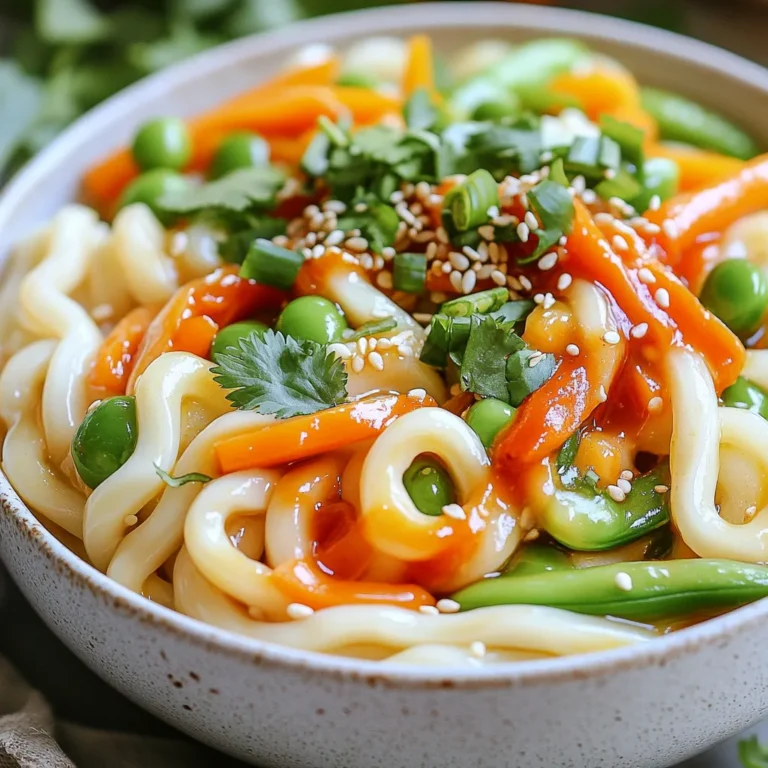
Minute Spicy Sesame Udon Bowls Quick and Simple Recipe
Page navigation
Previous Page
Previous
1
…
7
8
9
10
11
…
63
Next Page
Next
Home
Dinner
Appetizer
Desserts
Drinks
About
Contact
Privacy Policy
Toggle Menu Close
Search for:
Search