Skip to content
About
Contact
Cookie Policy
Copyright Policy
Disclaimer
Search
Home
Dinner
Appetizer
Desserts
Drinks
About
Contact
Privacy Policy
Toggle Menu
Home
/
Drinks
- Page 2
Drinks
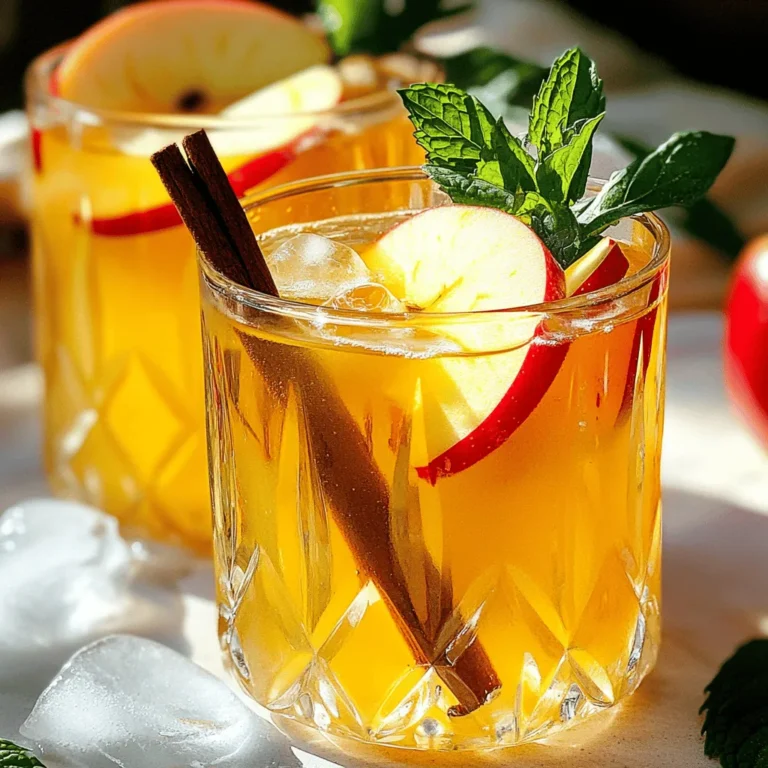
Sparkling Apple Cider Mocktail Refreshing Party Drink
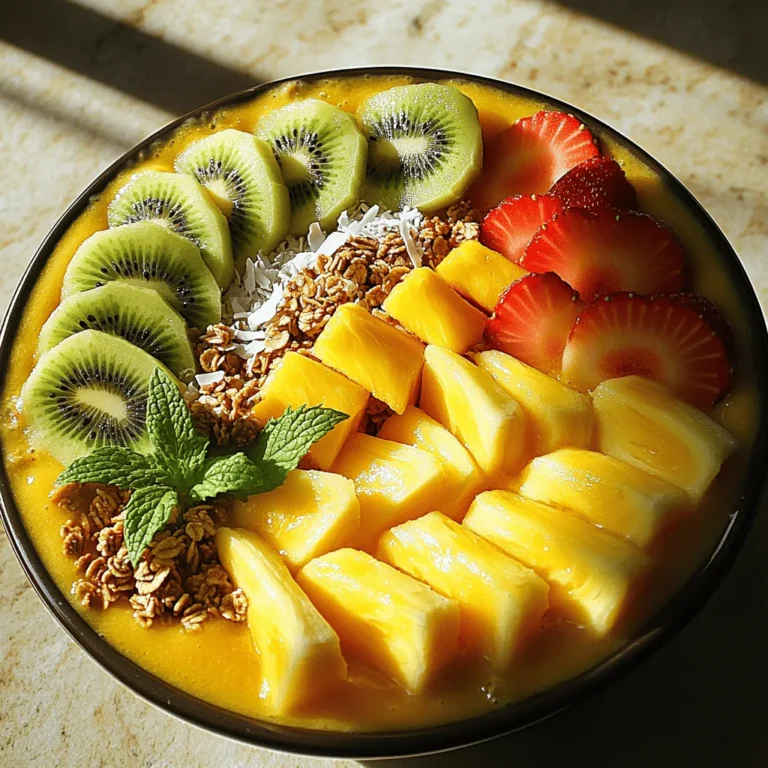
Tropical Smoothie Bowl Flavorful and Healthy Delight
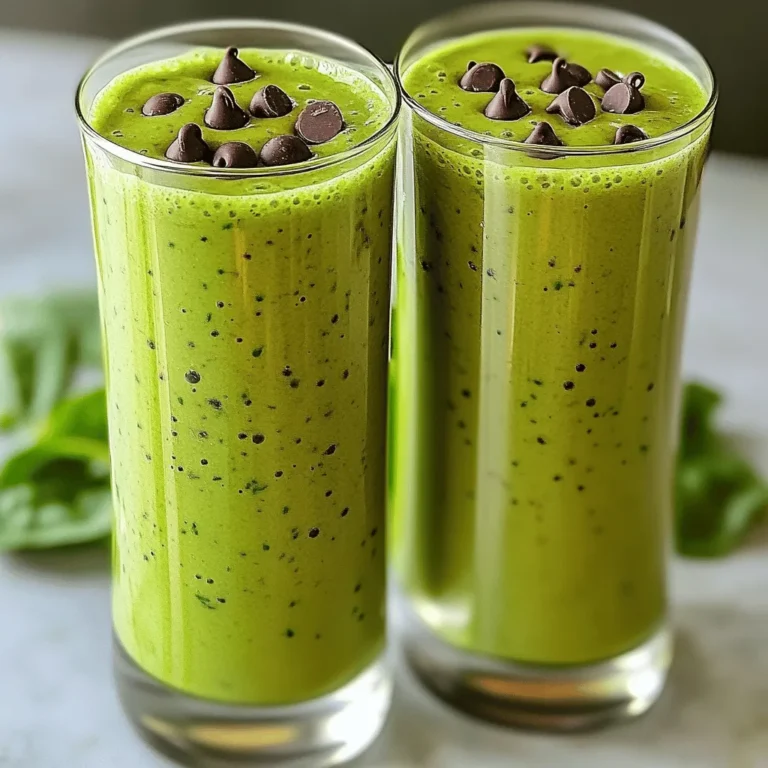
Mint Chocolate Chip Smoothie Healthy and Refreshing Drink
Coconut Pineapple Matcha Freeze Refreshing Summer Treat
Banana Nutmeg Smoothie Rich and Creamy Delight
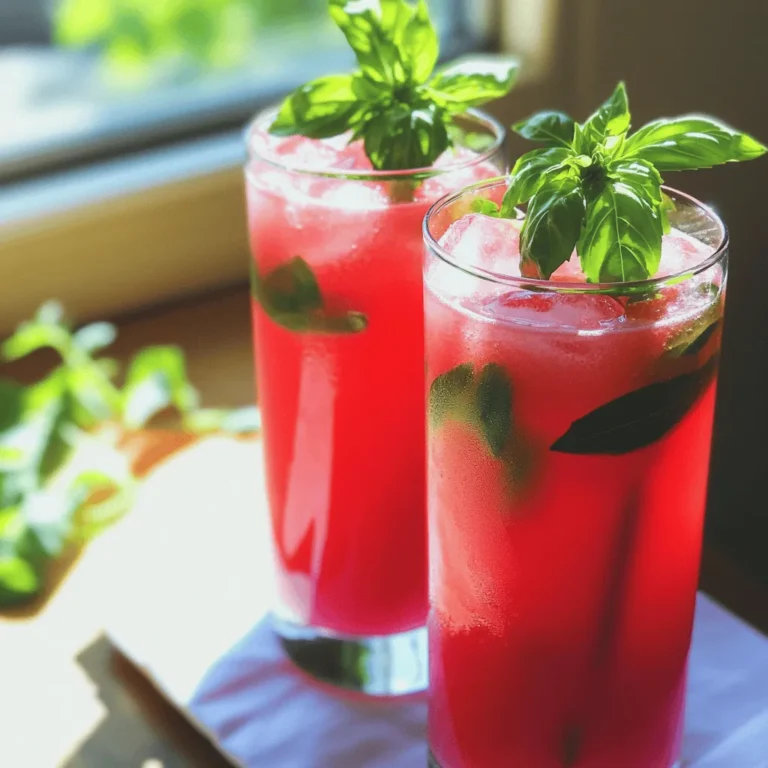
Refreshing Watermelon Basil Cooler Summer Sip Delight
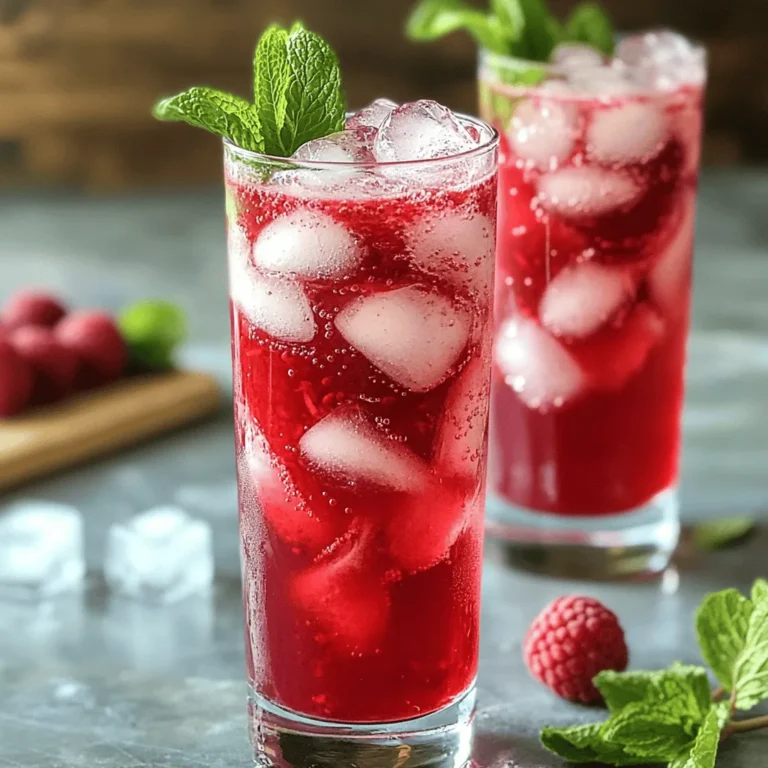
Raspberry Hibiscus Tea Sparkler Refreshing Drink Recipe
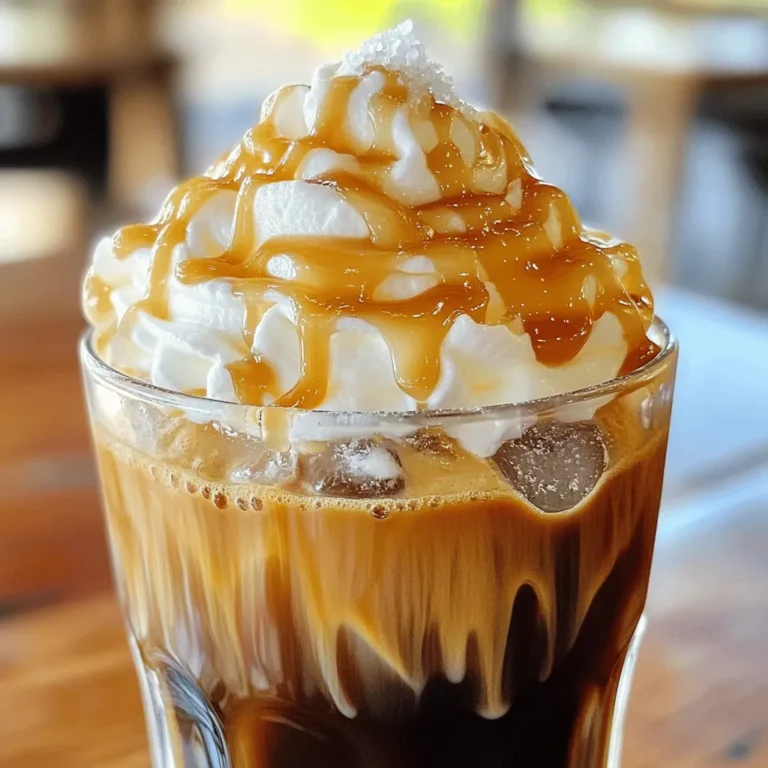
Dark Roast Caramel Cold Foam Flavorful Refreshing Treat
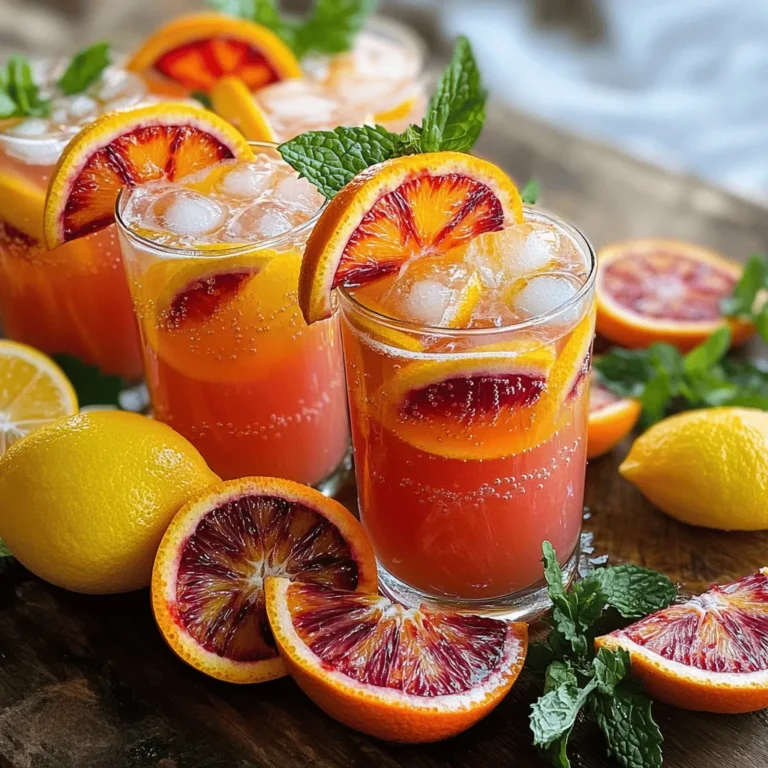
Blood Orange Vanilla Lemonade Refreshing Summer Sip
Chocolate Hazelnut Affogato Shake Creamy Delight
Page navigation
Previous Page
Previous
1
2
3
4
Next Page
Next
Home
Dinner
Appetizer
Desserts
Drinks
About
Contact
Privacy Policy
Toggle Menu Close
Search for:
Search

![For the Coconut Pineapple Matcha Freeze, you will need: - 1 cup full-fat coconut milk - 1 cup fresh pineapple chunks - 2 teaspoons matcha powder - 2 tablespoons honey or agave syrup - 1/2 cup crushed ice - A pinch of sea salt - Fresh pineapple slices and shredded coconut for garnish If you cannot find fresh pineapple, canned pineapple works well. Just drain it first. For a dairy-free option, stick with full-fat coconut milk. You can also swap honey for agave syrup if you prefer a vegan option. For a lighter version, use light coconut milk. If you want a sweeter drink, add more honey or agave. When picking fresh pineapple, look for a sweet smell at the base. The skin should be firm but not hard. Choose coconuts that feel heavy with water inside. Shake them to check. If you hear sloshing, it’s fresh. Always check the matcha powder color; it should be bright green. This shows it is high quality and fresh. Start by gathering all your ingredients. Use one cup of full-fat coconut milk for creaminess. Add one cup of fresh pineapple chunks for sweetness. Sprinkle in two teaspoons of matcha powder for flavor and color. I like to sweeten mine with two tablespoons of honey or agave syrup. Adjust the amount based on your taste. Don’t forget a half cup of crushed ice for that frosty texture. Lastly, a pinch of sea salt brightens all the flavors. Place everything in your blender. Blend the mixture on high speed. Watch for lumps, especially from the matcha powder. If you see any, stop the blender. Scrape down the sides to mix it well. Blend again until you have a smooth and creamy texture. This step is key for a delightful drink. Once blended, taste your Coconut Pineapple Matcha Freeze. If it needs more sweetness, add more honey or agave syrup. Blend briefly again to mix in the extra sweetener. Pour the mixture into serving glasses. Fill each glass about three-quarters full. This helps achieve the right texture and looks great. Transfer the glasses to the freezer and chill for about 30 minutes. This step makes it firm but not too hard. Finally, stir gently before serving to keep it creamy. Enjoy your refreshing summer treat! To make the best Coconut Pineapple Matcha Freeze, start by pouring your mix into serving glasses. Fill each glass about three-quarters full. This way, you have enough room for blending later. Place the filled glasses in the freezer for about 30 minutes. This helps the drink firm up just right without freezing solid. Creaminess is key for this drink. To keep it smooth, blend the mixture until it’s fully combined. If you find lumps of matcha, blend again or scrape the sides of the blender. After the chilling time, give the drink a gentle stir before serving. This keeps the texture creamy and light. Make your drink pop with fun garnishes! Add a slice of fresh pineapple on the rim of the glass. You can also sprinkle some shredded coconut on top for a tropical vibe. Use colorful straws or spoons for an extra flair. These small touches make your Coconut Pineapple Matcha Freeze feel special and inviting. For the full recipe, check out the recipe section above. {{image_4}} You can switch up the flavors in your Coconut Pineapple Matcha Freeze. Try adding mango for a tropical twist. Blend in some strawberries for a berry delight. You might also enjoy a hint of lime for a zesty finish. Each of these options adds a new layer of flavor. Feel free to mix and match to find your favorite combo. Making this treat vegan is easy! Replace honey or agave syrup with maple syrup or a sugar-free sweetener. This way, you can enjoy the same creamy texture without dairy. You can also use a low-sugar milk option, like almond or oat milk. This keeps the taste delicious while lowering the sugar content. You can experiment with different milks based on your taste. Almond milk gives a nice nutty flavor. Cashew milk adds extra creaminess. Coconut milk is still the best for that rich taste. For sweeteners, try coconut sugar or stevia. Adjust the amounts to fit your taste buds. Keep in mind that each milk and sweetener gives a unique flavor profile. This lets you customize your Coconut Pineapple Matcha Freeze just the way you like it! For the complete recipe, check out the [Full Recipe]. To store leftover Coconut Pineapple Matcha Freeze, pour it into an airtight container. Seal tightly and put it in the freezer. This drink tastes best when fresh, but it can last up to a week. Make sure to label the container with the date. If your Coconut Pineapple Matcha Freeze becomes too hard, don’t worry! Simply take it out of the freezer. Let it sit for a few minutes to soften. Then, scoop it back into your blender. Add a splash of coconut milk to help it blend smoothly. Blend until you achieve your desired texture. The best way to enjoy your Coconut Pineapple Matcha Freeze is fresh. However, if you store it properly, it can last up to one week in the freezer. For the best flavor, consume it within the first few days. Always check for any changes in smell or color before serving. Enjoy your tropical treat! Matcha is a special type of green tea made from finely ground tea leaves. Unlike regular green tea, you drink the whole leaf in matcha. This gives matcha a richer flavor and more nutrients. Regular green tea is steeped, and you discard the leaves. Matcha has a bright green color and a creamy texture. It also has a unique taste that is both sweet and grassy. This makes it perfect for drinks like Coconut Pineapple Matcha Freeze. Yes, you can make Coconut Pineapple Matcha Freeze in advance. Prepare the drink and pour it into glasses. Cover them with plastic wrap or lids. Place the glasses in the freezer for up to a few days. If you freeze them longer, the texture may change. To serve, let them sit at room temperature for a few minutes. Stir gently before enjoying. Coconut Pineapple Matcha Freeze has many health benefits. Matcha is high in antioxidants, which help fight free radicals. It can boost your energy and improve focus. Coconut milk adds healthy fats that are good for your heart. Pineapple is rich in vitamins and helps digestion. This drink is a tasty way to hydrate while getting nutrients. Enjoying it can make you feel refreshed and energized. You now know the key ingredients for a delicious Coconut Pineapple Matcha Freeze. Choose fresh items for great taste. Follow the step-by-step guide to blend for the perfect texture. Use tips to serve this drink in fun ways. Try different flavors or make it vegan. Store leftovers well for later enjoyment. This drink is a tasty way to enjoy matcha's health benefits. Enjoy making and sharing this refreshing treat!](https://joymealplan.com/wp-content/uploads/2025/06/95f0bd42-8f40-4f80-b2de-1daa2e62c0ea-768x768.webp)
![The Banana Nutmeg Smoothie is simple and delightful. Here’s what you need to make it: - 2 ripe bananas, peeled and sliced - 1 cup almond milk (or any milk of your choice) - 1 tablespoon Greek yogurt (or a dairy-free alternative) - 1 tablespoon honey or maple syrup - 1/2 teaspoon ground nutmeg - 1/2 teaspoon pure vanilla extract - 1/4 cup rolled oats - Ice cubes (optional) These ingredients create a rich, creamy base for your smoothie. The ripe bananas give natural sweetness. Almond milk adds creaminess without dairy. Greek yogurt boosts protein and texture. Honey or maple syrup lets you adjust sweetness. Ground nutmeg adds a warm spice, while vanilla brings out the flavors. Oats add fiber and make it filling. You can use ice cubes for a frosty treat. Using the Full Recipe ensures you’ll get a perfectly blended smoothie every time. - Begin by measuring and slicing the bananas. Use ripe bananas for the best taste. - Gather all ingredients for easy access. This makes the process quick and fun. - Combine bananas, almond milk, Greek yogurt, sweetener, nutmeg, and vanilla in the blender. This mix gives a rich flavor. - Blend until smooth and creamy, ensuring no chunks remain. A good blend makes the drink silky. - Taste the smoothie and adjust sweetness if necessary. You might want it sweeter or less sweet. - Pour into glasses and garnish with nutmeg. This adds a lovely aroma and look to your drink. For the complete recipe, check the [Full Recipe]. To get the right thickness for your smoothie, adjust the almond milk. If you want a thicker smoothie, use less almond milk. For a thinner texture, add more. Frozen bananas can also help. They make the smoothie frostier and give it a nice chill. You can change the sweetness level easily. If you want it sweeter, add more honey or maple syrup. You can also try other natural sweeteners like agave nectar or stevia. Just remember to mix well after each addition to taste. The right glassware can make your smoothie look great. Tall, clear glasses work best. Add a fun straw for style. You can garnish with a slice of banana or a sprinkle of nutmeg on top. For snacks, serve with a handful of nuts or granola. These pair well and add crunch to your meal. For the full recipe, check out the detailed instructions provided above. {{image_4}} If you want a dairy-free option, try using oat milk or coconut milk. Both add a unique flavor and creaminess. You can also swap Greek yogurt for silken tofu or coconut yogurt. These alternatives keep your smoothie rich without dairy. For a protein boost, consider adding a scoop of plant-based protein powder. Pea protein works well and blends smoothly. You can also use nut butter like almond or peanut. It adds flavor and makes your smoothie more filling. To make your smoothie even tastier, try adding cinnamon or ginger. These spices pair well with banana and nutmeg. If you want to switch up the fruit, include berries or mango for a fresh twist. Both enhance sweetness and flavor, creating a delightful mix. To store leftover smoothie in the fridge, pour it into an airtight container. This helps keep the smoothie fresh. It’s best to consume it within 24 hours. If you notice any separation, just shake it before drinking. You can freeze smoothie leftovers for later. Pour the smoothie into ice cube trays or a freezer-safe container. This way, you can use it later in other smoothies or drinks. To thaw, leave it in the fridge overnight or blend it while still frozen. You can safely store banana nutmeg smoothie for about 1-2 days in the fridge. If it smells sour or looks off, throw it away. Trust your senses! Always check for signs that the smoothie is no longer good to consume. This smoothie offers many health benefits. Bananas are rich in potassium, which helps to keep your heart healthy. They also provide fiber, which aids digestion. Nutmeg adds a warm flavor and has antioxidants that support your body. Almond milk is low in calories and dairy-free, making it a great choice for many diets. Greek yogurt adds protein, which is key for muscle health. Together, these ingredients make a tasty and nutritious drink. Yes, you can make this smoothie ahead of time. Just follow these steps for the best results: - Make the smoothie and pour it into a jar. - Seal the jar tightly and store it in the fridge. - Consume it within 24 hours for the best taste and texture. If you want it chilled, add ice cubes before blending. This keeps it fresh and cool. Making this smoothie vegan is easy! Just swap a few ingredients: - Use any plant-based milk, like oat or soy milk. - Replace Greek yogurt with coconut yogurt or another dairy-free option. - Choose maple syrup instead of honey for sweetness. These simple changes let you enjoy a creamy and rich banana nutmeg smoothie without any animal products. In this blog post, we explored a simple banana nutmeg smoothie. You learned about the key ingredients, step-by-step blending instructions, and tips for an ideal texture. We also discussed delicious variations and storage tips to keep your smoothie fresh. Remember, a great smoothie is easy to make and fun to customize. Enjoy experimenting with flavors and ingredients. Your smoothie journey starts now, and I hope it brings you joy and health!](https://joymealplan.com/wp-content/uploads/2025/06/0b571da2-630d-4e34-a7cd-67cccb04eb80-768x768.webp)