Skip to content
About
Contact
Cookie Policy
Copyright Policy
Disclaimer
Search
Home
Dinner
Appetizer
Desserts
Drinks
About
Contact
Privacy Policy
Toggle Menu
Home
/
Drinks
- Page 4
Drinks
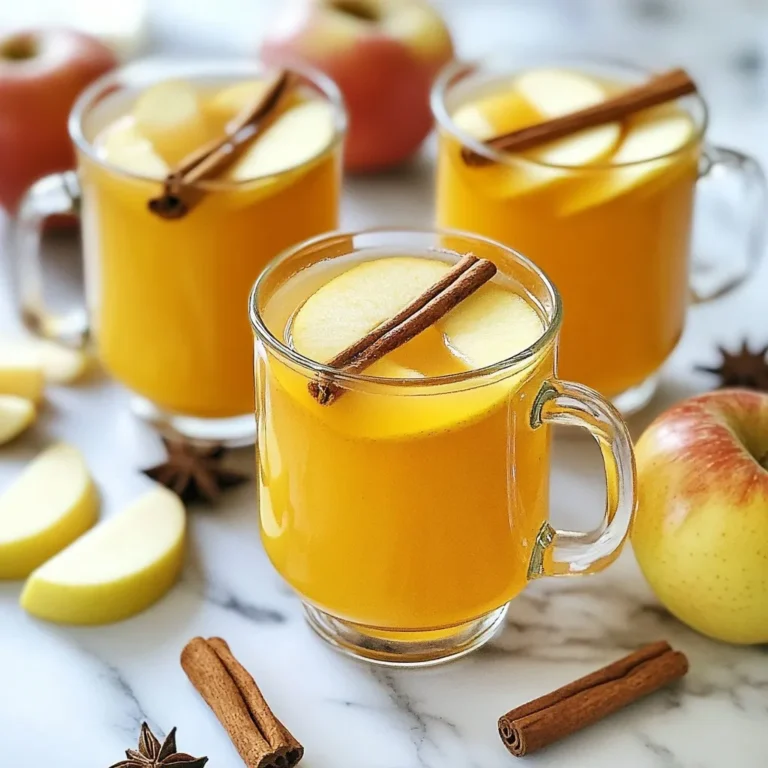
Instant Pot Apple Cider Irresistible Fall Drink
Mocha Dalgona Whipped Coffee Delightful Recipe Guide
Page navigation
Previous Page
Previous
1
2
3
4
Home
Dinner
Appetizer
Desserts
Drinks
About
Contact
Privacy Policy
Toggle Menu Close
Search for:
Search