
Looking for a sweet and simple treat that’s bound to impress? Let me introduce you to the Cherry Cream Cheese Danish! This delightful pastry combines creamy, rich filling with fruity cherry goodness. Perfect for breakfast or dessert, you can whip it up in no time. Join me as I guide you through easy steps and tips, ensuring your danish turns out flaky and delicious every time. Let’s get baking!
Ingredients
Let’s dive into the delightful ingredients that make up the Cherry Cream Cheese Danish. Each component plays a key role in creating this sweet treat.
Detailed List of Ingredients
– Puff pastry: This is the base of the danish. It adds a flaky and buttery texture that is hard to resist. I recommend using one sheet of puff pastry, thawed for ease of use.
– Cream cheese mixture: This is where the magic begins. You need 8 oz of softened cream cheese, blended with 1/4 cup of granulated sugar and 1 teaspoon of pure vanilla extract. This mixture provides a creamy and sweet contrast to the tart cherries.
– Cherry filling: For the fruity burst, use 1 cup of cherry pie filling. This adds a juicy sweetness that brings the danish to life. You can opt for homemade or store-bought cherry filling.
– Optional flavor enhancements: To elevate the flavor, consider adding the zest of 1 lemon. This brightens the cream cheese mixture and adds a refreshing twist. I always love adding a touch of zest for extra flavor!
These ingredients come together to create a tasty and simple treat.
Step-by-Step Instructions
Pre-Baking Preparations
– Preheat the oven: Start by setting your oven to 400°F (200°C). This ensures even baking and a crispy crust.
– Prepare the baking sheet: Line a baking sheet with parchment paper. This helps prevent sticking and makes cleanup easy.
Rolling and Cutting the Pastry
– Techniques for rolling out puff pastry: Place the thawed puff pastry on a lightly floured surface. Use a rolling pin to roll it into a rectangle about 1/4 inch thick. Keep the dough even for best results.
– How to cut into shapes: Use a sharp knife or pizza cutter to slice the pastry. You can cut it into two large rectangles or four smaller squares. Choose the size you prefer for serving.
Filling and Assembling
– Preparing the cream cheese filling: In a bowl, mix softened cream cheese, granulated sugar, and vanilla extract. If you like, add lemon zest for extra flavor. Beat until smooth and creamy.
– Adding the cherry filling: Spoon cherry pie filling over the cream cheese mixture. Avoid overfilling to keep the pastries neat.
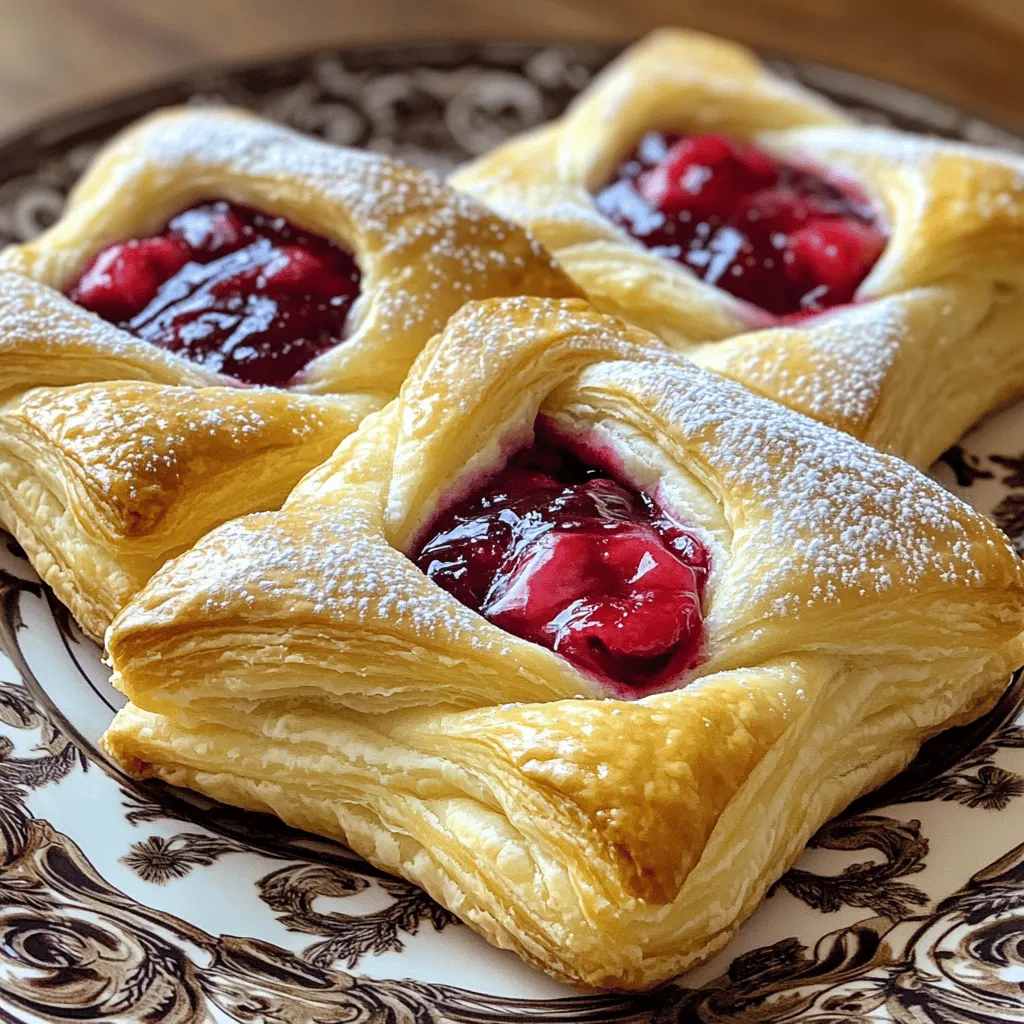
– Sealing the danishes: Fold the corners of the pastry over the filling. Bring them toward the center to form a diamond shape. Use a fork to press down the edges. This seals in the filling.
Baking and Finishing Touches
– Baking time and temperature: Place the danishes on the prepared baking sheet. Bake for 15-18 minutes. They should puff up and turn golden brown.
– Cooling and dusting with powdered sugar: Once baked, let the danishes cool for a few minutes. Then, dust the tops with powdered sugar for a sweet finish.
Tips & Tricks
Common Mistakes to Avoid
– Overfilling pastries: It’s easy to get excited and add too much filling. This leads to messy danishes. Aim for a generous spoonful of cream cheese and a small scoop of cherry filling. Leave space around the edges for sealing.
– Not sealing edges properly: Sealing the edges is key. If they’re not sealed, the filling will leak during baking. Use a fork to press down firmly on the edges after folding.
Perfecting Texture and Flavor
– Recommended cream cheese brands: For the best taste, use high-quality cream cheese brands like Philadelphia or Organic Valley. These brands provide a creamy texture and rich flavor. Look for full-fat options for the best results.
– Adding lemon zest for brightness: A bit of lemon zest adds a fresh taste. It cuts the richness of the cream cheese and enhances the overall flavor. Just one teaspoon can brighten your danish.
Enhancements for Presentation
– Drizzling icing: A simple icing can take your danish to the next level. Mix powdered sugar with a splash of milk until smooth. Drizzle this over the cooled danishes for a sweet touch.
– Serving suggestions: Serve your danishes warm on a decorative plate. Pair them with coffee or tea to make a delightful snack. They also work well as a sweet breakfast treat.
Remember, these tips can help you create a stunning and tasty Cherry Cream Cheese Danish.
Variations
Flavor Variations
You can easily switch up the flavor of your Cherry Cream Cheese Danish. Try different fruit fillings like:
– Blueberries
– Strawberries
– Apples
– Peaches
Each fruit gives a unique taste, bringing new life to this treat. For cream cheese alternatives, consider using:
– Mascarpone cheese for a richer flavor
– Greek yogurt for a lighter option
Adding spices or extracts can enhance the taste. Consider using:
– Almond extract for a nutty note
– Cinnamon for warmth
– Nutmeg for a cozy touch
Dietary Modifications
If you need a gluten-free option, look for gluten-free puff pastry. Many stores offer great choices. For those who want a vegan version, try these cream cheese substitutes:
– Cashew cream for a rich texture
– Tofutti cream cheese for a similar taste
These small changes let everyone enjoy this yummy Danish.
Storage Info
How to Store Leftovers
After enjoying your cherry cream cheese danish, you may have some left. To keep them fresh, place them in an airtight container. Store the container in the fridge for up to three days. This helps maintain the flavor and texture.
When it’s time to eat your leftover danishes, you want them to be crispy. Preheat your oven to 350°F (175°C). Place the danishes on a baking sheet. Heat them for about 5-10 minutes. This method gives you that fresh-baked taste again.
Best Practices for Freezing
You can also freeze danishes for later. If you want to freeze them before baking, assemble the danishes as you normally would. Place them on a baking sheet and freeze until solid. Once frozen, transfer them to a freezer bag. Seal the bag tightly, and they can last for up to three months.
If you prefer freezing after baking, let the danishes cool completely. Then, wrap each one in plastic wrap. Place them in a freezer bag, and they will stay good for about three months. When you’re ready to enjoy, reheat them in the oven as mentioned above for the best result.
Now you know how to store your cherry cream cheese danishes!
FAQs
How long does it take to make Cherry Cream Cheese Danish?
Making Cherry Cream Cheese Danish takes about 40 minutes. You need 20 minutes for prep and 15-18 minutes for baking. To save time, gather all your ingredients before you start. This way, you move quickly and smoothly through the recipe.
Can I use homemade cherry filling?
Yes, you can use homemade cherry filling! If you have fresh cherries, cook them down with sugar and a bit of lemon juice. For a faster option, use canned cherry filling. Both options taste great and work well with the cream cheese.
What can I serve with Cherry Cream Cheese Danish?
Pair your danish with coffee or tea for a perfect match. Fresh fruit or a fruit salad adds a nice touch too. You could also serve it with whipped cream for a richer experience.
Is Cherry Cream Cheese Danish suitable for breakfast?
Absolutely! Cherry Cream Cheese Danish is a tasty breakfast treat. It works well for brunch too. You can serve it at gatherings or enjoy it on a cozy morning at home.
Can I make these danishes in advance?
You can prepare the filling and pastry ahead of time. Just keep them in the fridge until you are ready to bake. This is especially handy for events or gatherings. You can also freeze them before baking for later use.
In this article, we explored how to make Cherry Cream Cheese Danish from scratch. We covered ingredients, step-by-step instructions, and tips to perfect your danish. Remember to choose the right fillings and avoid common mistakes. Think about different flavors and dietary needs to make your recipe unique. With the right techniques, your danish can impress anyone. Enjoy baking, and don’t forget to have fun with your creations!


