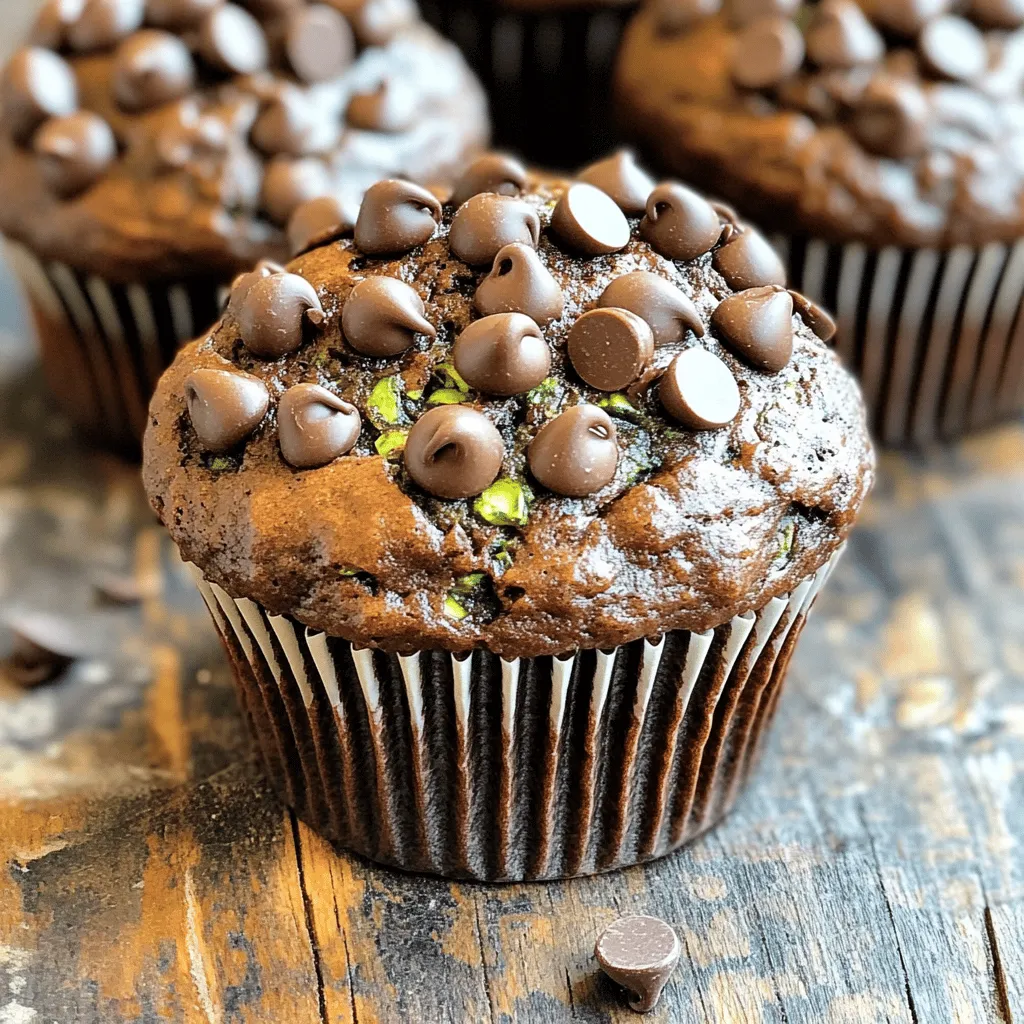
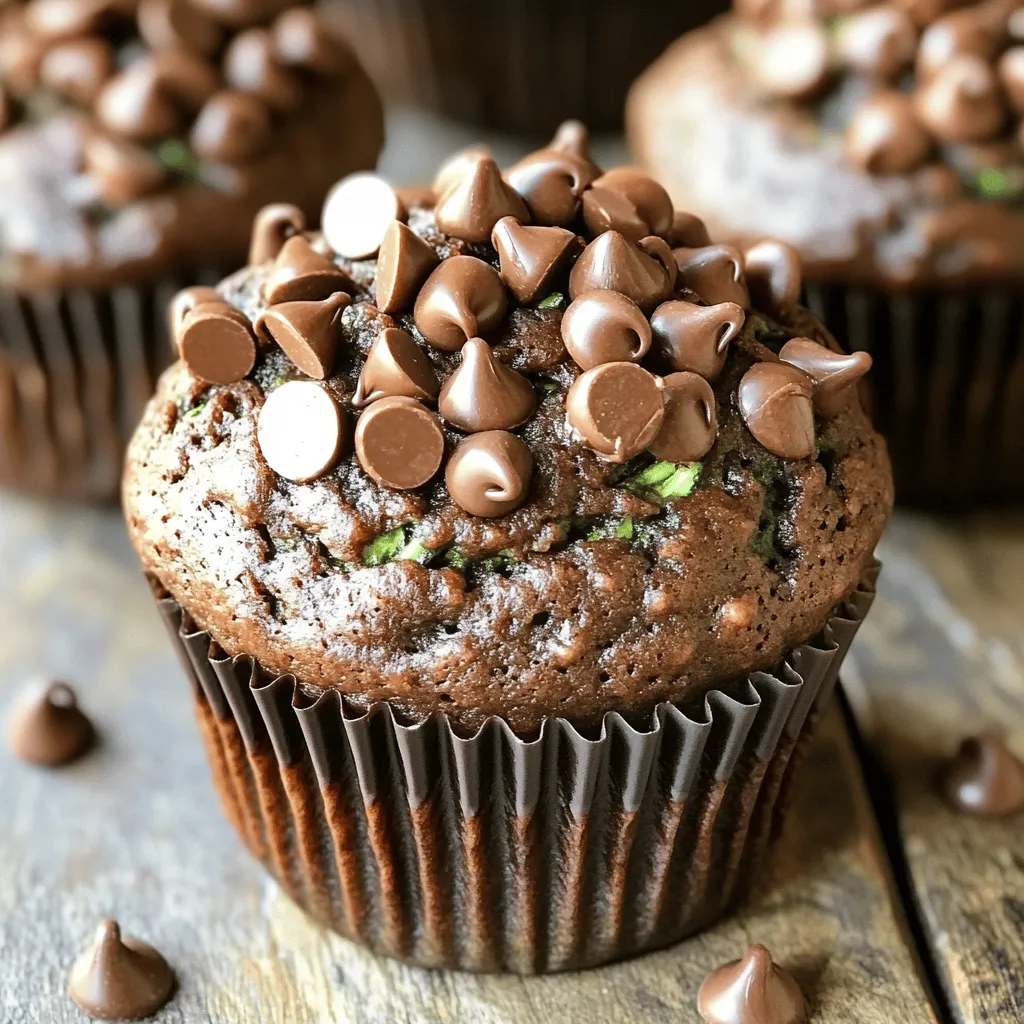
Looking for a delightful way to sneak veggies into your treats? These chocolate zucchini muffins are the answer! Moist, flavorful, and bursting with chocolatey goodness, this recipe makes it easy to enjoy a guilt-free snack. I’ll guide you step-by-step to create these tasty muffins. Let’s dive into the ingredients and get baking! You won’t want to miss this delicious twist on a classic!
Ingredients
To make these delightful chocolate zucchini muffins, you need the following fresh and simple ingredients:
– 1 medium zucchini, grated (approximately 1 cup)
– 1 cup all-purpose flour
– 1/2 cup unsweetened cocoa powder
– 1 teaspoon baking soda
– 1/2 teaspoon baking powder
– 1/2 teaspoon salt
– 1 cup granulated sugar
– 1/2 cup brown sugar, packed tightly
– 1/2 cup vegetable oil
– 2 large eggs
– 1 teaspoon vanilla extract
– 1/2 cup semi-sweet chocolate chips (plus extra for topping)
Each item plays a key role. The zucchini adds moisture and nutrition without a strong taste. The cocoa powder and sugars create a rich and sweet flavor. The baking soda and baking powder help the muffins rise. Using both types of sugar gives depth to the taste. Vegetable oil keeps the muffins soft, and the eggs bind everything together. The chocolate chips add extra chocolate goodness, making every bite a treat.
Step-by-Step Instructions
Preheat and Prepare
First, preheat your oven to 350°F (175°C). This step is key to making perfect muffins. While the oven heats, prepare your muffin tin. You can use paper liners or grease each cup with oil. This helps the muffins come out easily.
Combine Dry Ingredients
In a medium bowl, mix the all-purpose flour, cocoa powder, baking soda, baking powder, and salt. Use a whisk to blend everything well. This mix adds structure and flavor to your muffins.
Mix Wet Ingredients
In a large bowl, combine granulated sugar, brown sugar, and vegetable oil. Whisk these together until smooth. Then, add the eggs one at a time. Mix well after each egg. Finally, stir in the vanilla extract. This mixture should be shiny and creamy.
Combine and Fold
Gently fold the grated zucchini into the wet mixture. This adds moisture and flavor. Next, gradually add the dry ingredients to the wet mix. Stir gently until just combined. Be careful not to overmix, or your muffins may turn out tough. Fold in the semi-sweet chocolate chips, ensuring they’re evenly distributed. Save some for topping later.
Baking Process
Spoon the batter into the prepared muffin cups, filling each about two-thirds full. Sprinkle the reserved chocolate chips on top for extra sweetness. Bake in your preheated oven for 18-20 minutes. To check for doneness, insert a toothpick into the center of a muffin. It should come out clean or with just a few moist crumbs. Once done, let the muffins cool in the tin for about 5 minutes before moving them to a wire rack. Enjoy your delicious chocolate zucchini muffins!
Tips & Tricks
Ensuring Moist Muffins
To make your chocolate zucchini muffins moist, mixing is key. Start by whisking the dry ingredients gently. This helps blend the flour and cocoa without creating lumps. When you add the wet ingredients, fold them in gently. Avoid stirring too much. Overmixing can make the muffins tough. You want them light and fluffy. Keep it simple. The grated zucchini adds moisture, so don’t skip it!
Best Practices for Baking
Oven temperature matters. Preheat your oven to 350°F (175°C). This helps muffins rise evenly. If your oven runs hot, lower the temperature by 25°F. Baking time is also important. Check your muffins around 18 minutes. Use a toothpick to test doneness. If it comes out clean or with a few moist crumbs, they’re ready. If not, give them a few more minutes.
Troubleshooting Common Issues
What if your muffins are dry? This can happen if you overbake them. Always check for doneness at the lower end of the time range. If they’re unevenly baked, it could be an oven issue. Rotate the muffin tin halfway through baking. This ensures even heat. Remember, practice makes perfect! Use these tips to improve your baking skills.
Variations
Gluten-Free Option
To make gluten-free chocolate zucchini muffins, use a gluten-free flour blend. Look for a blend that works for baking. Substitute the all-purpose flour with an equal amount of this blend. You might also add a bit of xanthan gum to help with texture. This will give your muffins a nice rise and chewy bite.
Vegan Version
To make these muffins vegan-friendly, replace eggs with flax eggs. Mix one tablespoon of ground flaxseed with three tablespoons of water and let it sit for five minutes. This mixture will help bind your muffins without eggs. Swap the vegetable oil for applesauce, which keeps muffins moist. You can also use dairy-free chocolate chips to enhance the flavor.
Flavor Additions
Spices can add depth to your muffins. Consider adding cinnamon or nutmeg for warmth. For a crunch, mix in chopped nuts like walnuts or pecans. You can also try adding shredded coconut for a tropical twist. These small changes can take your muffins to the next level. If you want more chocolate, toss in an extra half cup of chocolate chips. Enjoy experimenting!
Storage Info
Best Ways to Store Muffins
To keep your chocolate zucchini muffins fresh and moist, store them in an airtight container. You can place parchment paper between layers to avoid sticking. This method helps maintain their delightful texture. Keep the container at room temperature for up to three days. If you live in a humid area, refrigerating them may be a good idea. Just remember to let them come to room temperature before eating.
Freezing Guidelines
You can freeze these muffins for later enjoyment. First, let them cool completely. Then, wrap each muffin tightly in plastic wrap. Place them in a freezer-safe bag or container. This helps prevent freezer burn. To reheat, thaw the muffins in the fridge overnight. Warm them up in the microwave for about 20-30 seconds. Enjoy them warm for the best taste!
Shelf Life
These chocolate zucchini muffins last about three days at room temperature. If you refrigerate them, they can last up to a week. When frozen, they stay good for about three months. Always check for any signs of spoilage before serving. With proper storage, you’ll enjoy these moist and flavorful treats whenever you like!
FAQs
Can I use frozen zucchini in this recipe?
Yes, you can use frozen zucchini. Thaw the zucchini first and drain extra water. This helps keep your muffins moist. If you have fresh zucchini, use it for better texture. Grating it finely allows it to blend well in the batter.
How do I know when the muffins are done baking?
To check if your muffins are done, use a toothpick. Insert it into the center of a muffin. If it comes out clean, your muffins are ready. A few moist crumbs are fine, but no wet batter should stick to the toothpick. This method gives you a precise way to test doneness.
Can I make mini chocolate zucchini muffins?
Yes, mini muffins are a great idea! If you use a mini muffin tin, fill each cup halfway. Bake for about 12-15 minutes. Keep an eye on them, as they bake faster than regular muffins. You can also adjust the recipe to make around 24 mini muffins instead of 12 regular ones.
What are the health benefits of zucchini in muffins?
Zucchini adds moisture without much fat. It is low in calories and high in nutrients. Zucchini provides vitamins A and C, plus fiber. This helps with digestion and keeps you full. Adding zucchini to muffins is a tasty way to boost nutrition. You can enjoy your muffins and feel good about it!
These chocolate zucchini muffins blend tasty flavor with healthy ingredients. We explored the key steps, from mixing the zucchini with cocoa to ensuring a moist texture. Remember, don’t overmix and check for doneness with a toothpick. You can even try variations like gluten-free or vegan. Store them well to keep them fresh. Enjoy baking and sharing these delicious muffins with family and friends!


