If you’re looking for a simple, tasty snack, you’re in the right place! Crispy baked sweet potato fries are easy to make and full of flavor. With just a handful of ingredients, you can create a healthy treat that’s perfect for any time of day. Whether you enjoy them plain or with your favorite dip, these fries will become a go-to in your kitchen. Let’s dive into the recipe!
Ingredients
To make crispy baked sweet potato fries, you need simple ingredients. Here is the list:
– 2 large sweet potatoes
– 2 tablespoons olive oil
– 1 teaspoon smoked paprika
– 1 teaspoon garlic powder
– 1 teaspoon onion powder
– ½ teaspoon salt
– ½ teaspoon black pepper
– ½ teaspoon cayenne pepper (optional)
– Fresh parsley for garnish
These ingredients work together to create a tasty snack. Sweet potatoes give a sweet, earthy flavor. Olive oil helps them crisp up in the oven. The spices add depth and warmth. You can easily find these ingredients at your local store.
Step-by-Step Instructions
Preparing the Oven and Ingredients
– Preheat oven to 425°F (220°C)
– Line a baking sheet with parchment paper
Start by preheating your oven. This helps cook the fries evenly. While the oven heats, line a baking sheet with parchment paper. This keeps the fries from sticking and makes cleanup easy.
Preparing the Sweet Potatoes
– Peel and slice sweet potatoes into fries
Next, take your sweet potatoes and peel them. Use a sharp vegetable peeler for this task. After peeling, slice the sweet potatoes into long, thin shapes. Try to keep the fries the same size. This ensures they cook at the same rate.
Tossing the Fries
– Mix olive oil and spices for the marinade
– Coat the sliced sweet potatoes evenly
In a large bowl, mix olive oil with spices. Use smoked paprika, garlic powder, onion powder, salt, black pepper, and cayenne pepper if you like heat. Stir well until everything blends. Add your sliced sweet potatoes to the bowl. Toss them gently to coat each fry with the marinade. This will add great flavor.
Baking the Fries
– Spread fries in a single layer on the baking sheet
– Bake for 20 minutes, flip, and bake an additional 10-15 minutes
Now, spread the fries on the baking sheet. Make sure they are in a single layer. This spacing is key for crispiness. Place the sheet in the oven and bake for 20 minutes. After that, use a spatula to flip the fries over. Bake them for another 10-15 minutes until golden brown. Keep an eye on them to avoid burning.
Tips & Tricks
Achieving Maximum Crispiness
To make the crispiest sweet potato fries, slice the potatoes evenly. Uniform thickness helps them cook at the same rate. Aim for about 1/4 inch thick pieces. This way, each fry will be golden and crunchy.
When you place the fries on the baking sheet, give them space. Avoid overcrowding the pan. If they touch, they will steam instead of crisp up. Use two baking sheets if needed.
Flavor Enhancements
Adding extra seasonings can boost the taste of your fries. Try adding cumin for a warm flavor or a pinch of cinnamon for sweetness. You can also use ranch seasoning for a tasty twist.
If you want a healthier option, swap olive oil for cooking spray. This will cut down on calories without losing flavor. You can also bake the fries without oil for a lighter snack.
Serving Suggestions
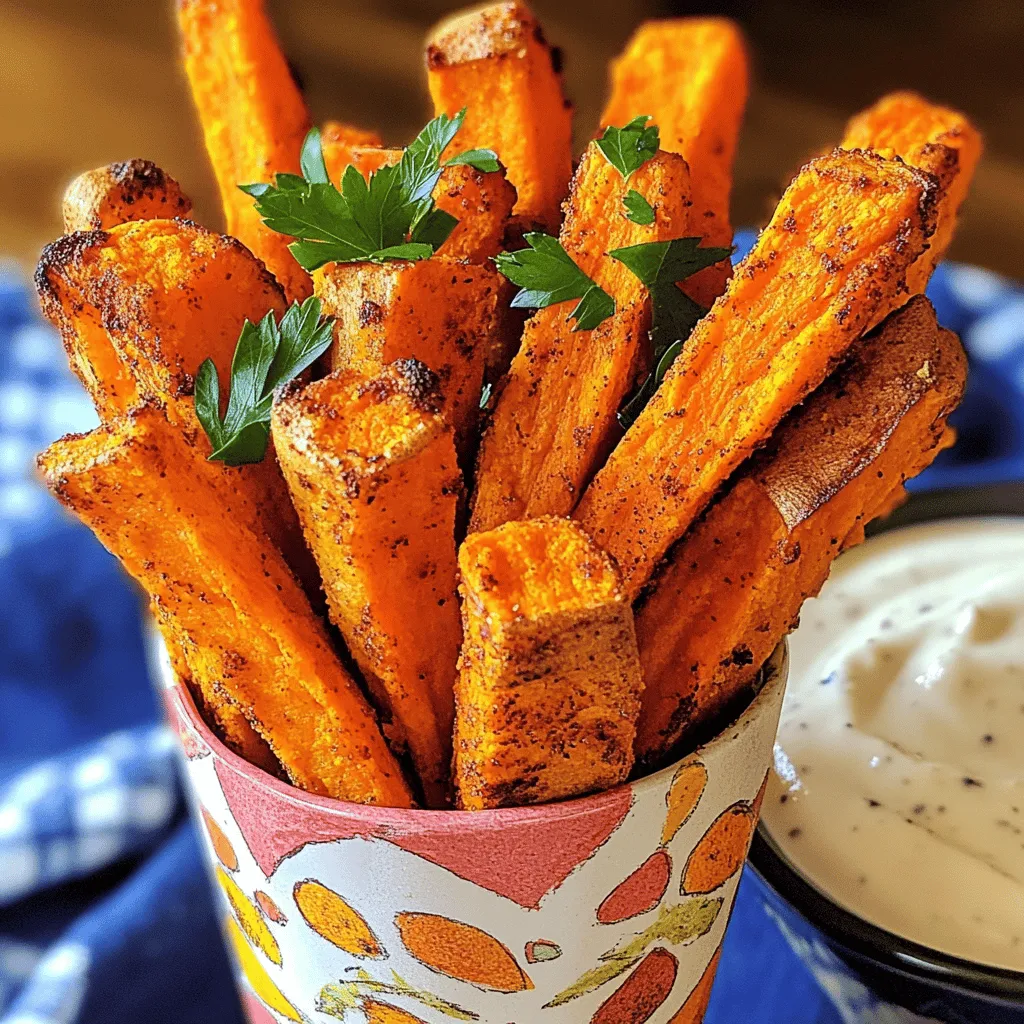
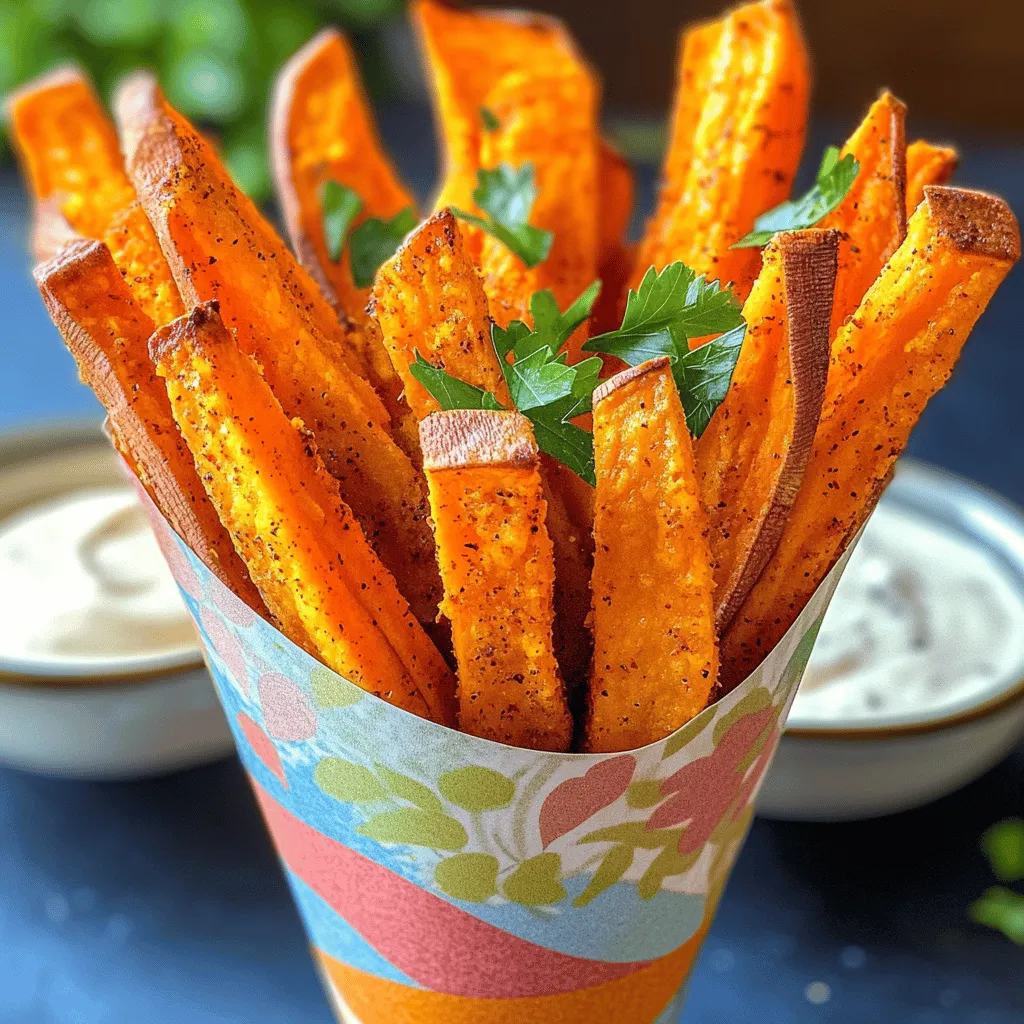
Get fun with your presentation! Serve the fries in a mason jar or a colorful cone. This makes your snack look special and inviting.
Dipping sauces also add a lot to the experience. Honey mustard is a perfect match, giving a sweet and tangy taste. Spicy mayo adds a nice kick. You can even mix ketchup with a bit of hot sauce for a fun dip.
Variations
Sweet Potato Fries with Different Seasonings
You can change up your sweet potato fries by adding different seasonings. For a sweet twist, try cinnamon and sugar. This mix gives a fun, dessert-like flavor. If you like heat, add spicy jalapeño or chili powder. These spices will give your fries a nice kick. Experimenting with seasonings makes each batch unique!
Cooking Methods
You can cook sweet potato fries in different ways to change the flavor. An air fryer is a great choice if you want extra crispy fries. Just follow the same steps as baking but adjust the time to about 15-20 minutes. For a smoky flavor, try grilling them. Grill until they are tender and have nice marks from the grill.
Diet-Specific Variations
If you’re concerned about diets, there are easy swaps. Sweet potato fries are naturally gluten-free, so you can enjoy them without worry. For vegan-friendly fries, just use olive oil and the seasonings in the recipe. There’s no need for animal products here. Both variations taste amazing and fit many diets.
Storage Info
Storing Leftovers
To keep your leftover sweet potato fries fresh, store them in an airtight container. Place them in the fridge. They will last for about 3 days. When you want to eat them again, reheating is key. To get that crispy texture back, use the oven. Set it to 400°F (200°C). Spread the fries on a baking sheet and heat for about 10 minutes. This method keeps them crunchy and tasty.
Freezing Fries
If you want to freeze uncooked fries, follow these steps. Start by slicing the sweet potatoes as you normally would. Next, spread the fries out on a baking sheet in a single layer. Freeze them for about 1 hour. Once they are frozen, transfer them to a zip-top bag. Remove as much air as you can before sealing. They can stay fresh in the freezer for up to 3 months.
When you’re ready to cook the frozen fries, there’s an easy way to reheat them. Preheat the oven to 425°F (220°C). Spread the frozen fries on a baking sheet without thawing them first. Bake for 25 to 30 minutes, flipping halfway through. This method ensures they will come out crisp and delicious. Enjoy your crispy baked sweet potato fries!
FAQs
How do I make crispy baked sweet potato fries?
To make crispy baked sweet potato fries, start with dry sweet potatoes. Cut them into even pieces. This helps them cook evenly. Coat the fries well with olive oil and spices. Spread them out on the baking sheet. Don’t let them touch! Bake at 425°F (220°C) for 20 minutes. Flip them halfway to crisp all sides. This method lets air flow around the fries, which helps them get crispy.
Can I use other types of potatoes?
Yes, you can use other potatoes like russet or Yukon gold. These types will give you a different taste and texture. Russet potatoes are starchy and can get very crispy. Yukon golds are creamy and have a rich flavor. Just remember to cut them the same size for even cooking. Experimenting with different potatoes can be fun and tasty.
What dipping sauces pair well with sweet potato fries?
Sweet potato fries go great with many sauces. Honey mustard is a popular choice. It pairs well with the sweet flavor of the fries. Spicy mayo adds a nice kick. You can mix mayo with sriracha for heat. BBQ sauce also works well and adds a smoky touch. Try different sauces to find your favorite!
You learned how to make tasty sweet potato fries from scratch. We covered key ingredients, step-by-step baking, and tips for crispiness. I shared flavor options and ways to store leftovers. Sweet potatoes offer many cooking choices, like air frying or grilling. For a fun twist, try unique seasonings or fun serving styles.
Now, it’s time to enjoy your delicious fries. With these steps and ideas, you can make this dish over and over again. Happy cooking!


