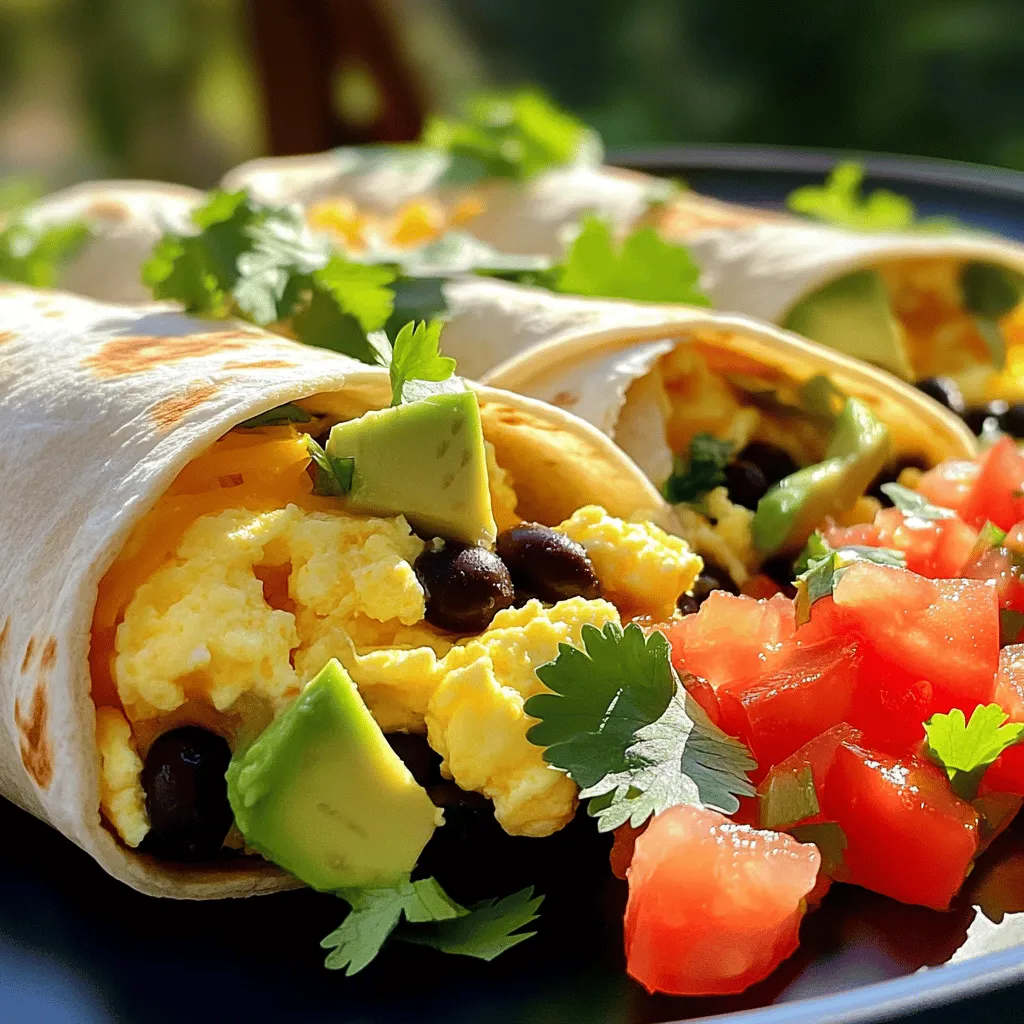
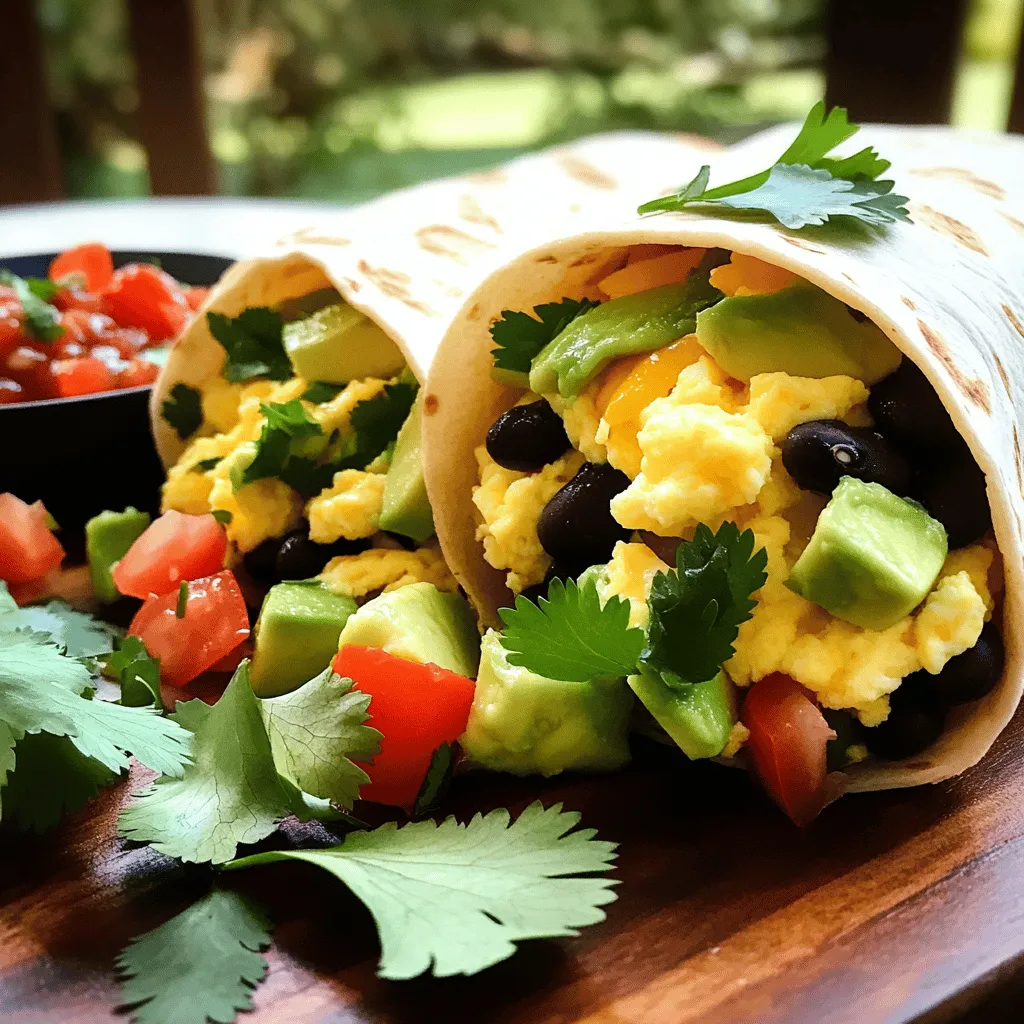
Looking for a quick and tasty breakfast? These Easy Breakfast Burritos are just what you need! Packed with eggs, beans, and cheese, they’re simple to make and even easier to customize. Whether you’re in a rush or want a weekend treat, this recipe is perfect. Let’s gather our ingredients and whip up these delicious burritos in no time! Trust me, you’ll love the flavors and convenience.
Ingredients
List of Ingredients
– 4 large eggs
– 1 cup cooked black beans, drained and rinsed
– 1 cup shredded cheddar cheese
– 1 ripe avocado, diced
– 1 medium tomato, diced
– 1 small red onion, finely chopped
– 1 jalapeño, finely chopped (optional for heat)
– 4 flour tortillas (10-inch size)
– 1 tablespoon olive oil
– 1 teaspoon ground cumin
– Salt and freshly cracked black pepper, to taste
– Fresh cilantro, chopped (for garnish)
– Salsa or hot sauce (for serving)
I love starting with fresh ingredients. They make all the difference. The eggs provide protein and richness. Black beans add fiber and a nice texture. Cheddar cheese brings creaminess and flavor. Avocado adds creaminess, while tomatoes and onions give a fresh crunch. If you enjoy heat, jalapeños are a great touch.
Make sure to use large flour tortillas. They hold all the goodness inside. Olive oil helps sauté the veggies and adds flavor. Ground cumin gives the eggs a warm spice. Don’t forget salt and pepper to enhance all the flavors. Fresh cilantro is perfect for a bright finish, while salsa or hot sauce adds a kick to each bite.
Kitchen Tools Needed
– Non-stick skillet
– Mixing bowl
– Whisk
– Spatula
Having the right tools makes cooking easy. A non-stick skillet ensures your eggs cook without sticking. A mixing bowl is perfect for whisking the eggs. Use a whisk to blend the eggs smoothly. A spatula helps stir and serve the eggs without breaking them.
Nutritional Information
– Approximate calories per burrito: 350
– Macronutrient breakdown:
– Protein: 18g
– Carbs: 40g
– Fats: 15g
This recipe is filling and balanced. Each burrito offers a good amount of protein, carbs, and fats. It’s a great start to your day.
Step-by-Step Instructions
Prepping the Ingredients
Start by whisking the eggs in a bowl. Add a pinch of salt, black pepper, and ground cumin. Whisk until the mixture is smooth. This adds flavor to your eggs.
Next, chop the vegetables. Dice the avocado and tomato into small pieces. Finely chop the red onion and jalapeño. If you want heat, use the jalapeño.
Cooking the Eggs
Heat your non-stick skillet over medium heat. Add the olive oil and let it shimmer. Once hot, toss in the chopped onion and jalapeño (if using). Sauté them for about three minutes. The onion should turn soft and fragrant.
Now, pour in the whisked eggs. Stir gently as they cook. Scramble the eggs until they are just set, which takes about five to six minutes.
Assembling the Burritos
Lay the flour tortillas flat on your clean surface. Spoon an even amount of the egg mixture onto each tortilla. Then, sprinkle shredded cheese on top.
To roll the burrito, fold the sides inward first. Then, roll from the bottom up. Make sure it is tight to hold all the filling inside.
Final Cooking Steps
Place the burritos seam-side down back in the skillet. Cook them on low heat for two to three minutes. This toasts the tortillas and melts the cheese.
Once done, remove the burritos from the skillet. Cut each burrito in half for easier serving. Garnish with chopped cilantro. Serve with salsa or hot sauce for an extra kick.
Tips & Tricks
Tips for Perfect Scrambled Eggs
– Ideal cooking temperature: Keep your skillet on medium heat. This helps the eggs cook evenly without burning.
– Avoiding overcooking the eggs: Stir gently and remove them from heat while soft. Eggs continue to cook even off the heat, so stop when they are just set.
Storing Leftover Burritos
– Cooling and refrigerating tips: Let burritos cool completely. Wrap them tightly in foil or plastic wrap. Store in the fridge for up to three days.
– Reheating methods for best results: Use the microwave for quick heating. For a crispy wrap, place in a skillet over low heat until warm.
Serving Suggestions
– Accompaniments like salsa and hot sauce: Serve with fresh salsa or your favorite hot sauce for added flavor.
– Ideal drinks to pair with breakfast burritos: Enjoy with a fresh orange juice or a hot cup of coffee. These drinks complement the meal beautifully.
Variations
Vegetarian Options
You can easily make a vegetarian breakfast burrito. First, substitute eggs with tofu or an egg substitute. Tofu scrambles well and soaks up flavors nicely. You can also add more vegetables like spinach or bell peppers for extra nutrition. These veggies add color and taste, making your burrito fun and healthy.
Protein Variations
If you crave protein, you have many options. You can use cooked sausage or bacon for a hearty touch. Cook them until crispy for the best flavor. If you prefer plant-based proteins, try black beans, lentils, or tempeh. These options keep your burrito filling and satisfying.
Flavor Enhancements
To make your burrito pop, add different spices or sauces. A dash of chili powder or paprika can elevate the taste. You could also drizzle hot sauce for a spicy kick! Incorporating different cheeses can change the flavor profile, too. Try pepper jack for heat or feta for a tangy twist.
Storage Info
How to Store Burritos
To keep your burritos fresh, follow these tips:
– Refrigeration: Wrap each burrito in foil or plastic wrap. Place them in an airtight container. They stay good in the fridge for up to 3 days.
– Freezing: For longer storage, freeze burritos. Wrap each one tightly in foil, then place in a freezer bag. They can last up to 3 months in the freezer.
Shelf Life
How long do refrigerated burritos last? When stored properly in the fridge, burritos last about 3 days.
Signs of spoilage to watch out for include:
– Unpleasant smell
– Discoloration of ingredients
– Excess moisture or freezer burn if frozen
Reheating Instructions
Best methods for reheating frozen burritos include:
– Microwave: Remove foil and wrap in a damp paper towel. Heat for 2-3 minutes or until hot.
– Oven: Preheat to 350°F (175°C). Remove foil, place on a baking sheet, and heat for about 15 minutes.
Tips for maintaining texture and flavor:
– For crispy burritos, reheat in a skillet over medium heat. This keeps the tortilla nice and crunchy.
– Add a splash of water to the skillet to create steam. Covering it helps heat the inside without burning the outside.
FAQs
Can I make breakfast burritos ahead of time?
Yes, you can make breakfast burritos ahead of time. Meal prepping is a great idea for busy mornings. To do this, follow these steps:
– Prepare the filling: Cook your eggs, beans, and other fillings as usual.
– Assemble the burritos: Roll them up tightly and wrap each one in foil or plastic wrap.
– Store them: Place the wrapped burritos in a sealed container in the fridge for up to three days.
For longer storage, you can freeze them. Just make sure to wrap them well to avoid freezer burn. When ready to eat, thaw in the fridge overnight, then reheat in the microwave or oven.
How do I customize my breakfast burrito?
Customizing your breakfast burrito is fun and easy. Here are some options:
– Different fillings: Try adding cooked sausage, bacon, or tofu for protein. You can also add veggies like peppers, mushrooms, or spinach.
– Toppings: Consider fresh salsa, sour cream, or guacamole. A sprinkle of cheese or chopped herbs adds flavor.
To balance flavors, mix creamy ingredients like avocado with crunchy items like lettuce. This way, you create a tasty bite every time.
What can I substitute for flour tortillas?
If you want alternatives to flour tortillas, you have options:
– Corn tortillas: These are gluten-free and add a nice flavor.
– Whole wheat tortillas: These offer more fiber and a nutty taste.
– Low-carb options: Look for cauliflower or almond flour tortillas if you want to reduce carbs.
These substitutes change the taste but still work well with your fillings.
Can I serve breakfast burritos for lunch or dinner?
Breakfast burritos can be enjoyed any time of day. Here are some suggestions:
– Lunch or dinner: Pair them with a salad or some roasted veggies.
– Variations: Add spices like chili powder or hot sauce to make them more savory for lunch or dinner.
With creative twists, breakfast burritos become a versatile dish for any meal.
In this blog post, we explored how to make delicious breakfast burritos. We covered ingredients, tools, and steps for perfect eggs and assembly. I shared tips for storage and delicious variations.
Remember, these burritos are versatile. They fit any meal and diet. With a few changes, you can customize them to your taste. Enjoy your cooking and savor every bite!


