Looking for a quick and healthy meal that’s both satisfying and delicious? You’re in luck! This Easy Chickpea Salad Sandwich is your answer. It’s packed with protein, easy to make, and perfect for lunch or a snack. Plus, you can whip it up in no time with fresh ingredients. Let’s dive into this wholesome recipe that everyone will love, no matter their diet!
Ingredients
Required Ingredients for Easy Chickpea Salad Sandwich
To make a tasty chickpea salad sandwich, you need simple ingredients. Here’s what you will need:
– 1 can (15 oz) chickpeas, thoroughly drained and rinsed
– 2 tablespoons mayonnaise (or a plant-based alternative)
– 1 tablespoon Dijon mustard
– 1 celery stalk, finely diced
– 1 small red onion, finely chopped
– 1 small carrot, grated for texture
– 1 tablespoon fresh dill, finely chopped (or 1 teaspoon dried dill)
– 1 tablespoon freshly squeezed lemon juice
– Salt and black pepper to taste
– 4 slices of whole grain bread
– Fresh lettuce leaves for garnish
These items blend well together, creating a creamy and crunchy sandwich filling.
Substitutions for Dietary Restrictions
If you have dietary needs, you can easily swap some ingredients. Here are some ideas:
– Chickpeas: You can use canned white beans or lentils.
– Mayonnaise: Try avocado or tahini for a different taste.
– Dijon Mustard: Use yellow mustard if you prefer milder flavors.
– Celery: Cucumbers or bell peppers also add crunch.
– Dill: Fresh parsley or cilantro can give a fresh twist.
These swaps keep the dish tasty while meeting your needs.
Tips for Selecting Fresh Produce
Choosing fresh produce makes a big difference. Here are my tips:
– Chickpeas: Look for canned varieties with no added salt.
– Celery: Choose stalks that are crisp and bright green.
– Onions: Select firm onions with a smooth skin.
– Carrots: Pick carrots that are firm and not soft.
– Dill: Fresh dill should smell strong and be vibrant in color.
Fresh ingredients enhance flavor and nutrition in your sandwich. Enjoy making your Easy Chickpea Salad Sandwich with these tips!
Step-by-Step Instructions
Preparation and Mixing of Ingredients
Start by gathering your ingredients. You will need one can of chickpeas, mayonnaise, Dijon mustard, a celery stalk, red onion, a small carrot, fresh dill, lemon juice, salt, and pepper.
1. Open the chickpeas and drain them well. Rinse them under cold water. This helps remove extra salt.
2. Put the chickpeas in a large bowl. Use a fork or potato masher to mash them. It’s okay to leave some whole for texture.
3. Next, add the mayonnaise and Dijon mustard to the bowl. This will keep the salad creamy and flavorful.
4. Chop the celery, onion, and grate the carrot. Add these to the bowl along with the dill and lemon juice.
5. Mix everything together until well combined. Taste your mixture and add salt and pepper as needed.
Assembling the Sandwich
Now that your mixture is ready, it’s time to build your sandwich.
1. Take two slices of whole grain bread. Lay them flat on a clean surface.
2. Spread a generous amount of the chickpea salad on each slice. Make sure to cover the bread evenly.
3. Add a handful of fresh lettuce on top of the chickpea spread. This adds a nice crunch.
4. Place the remaining slices of bread on top to complete your sandwich.
Toasting and Serving Suggestions
If you like a warm sandwich, follow these steps.
1. Toast the bread in a toaster or a skillet until golden brown. This gives the sandwich a nice crunch.
2. Once toasted, slice each sandwich diagonally for easy handling.
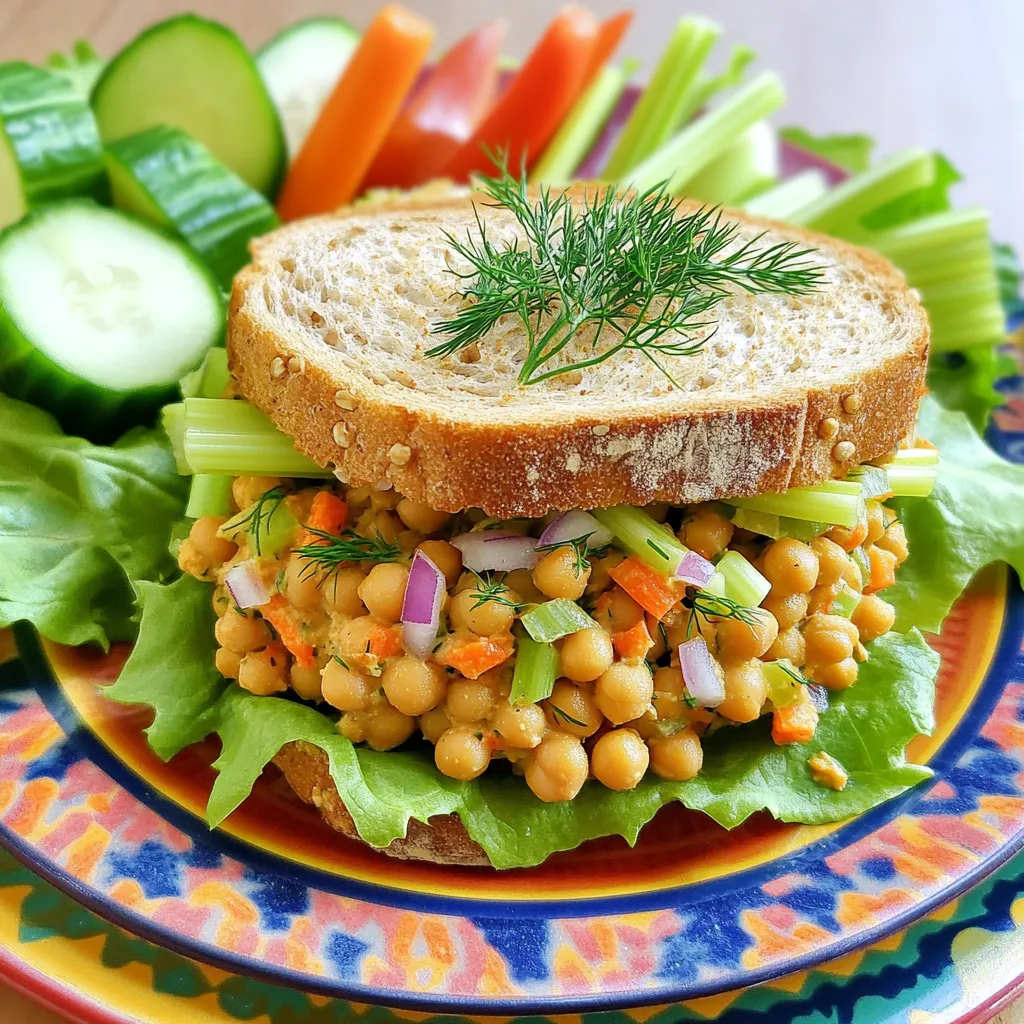
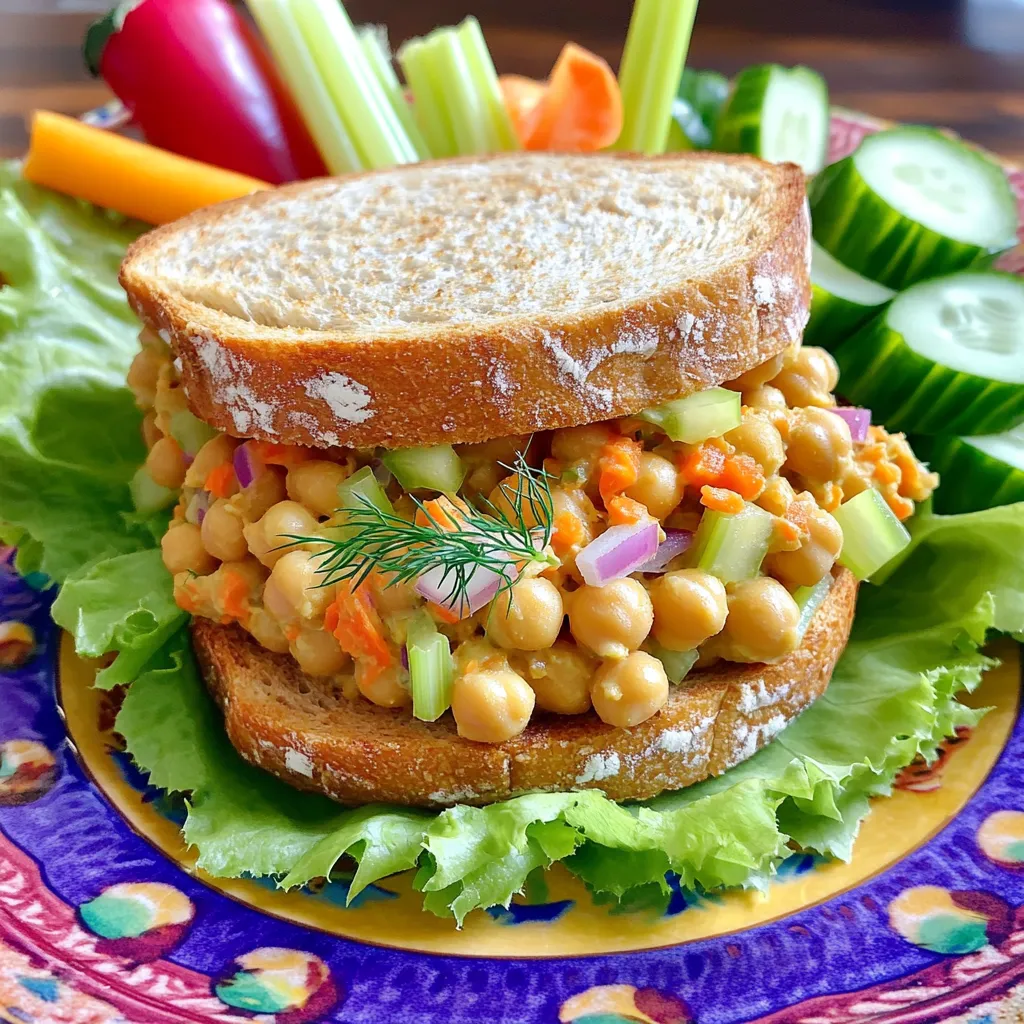
3. Serve your sandwiches on a colorful plate. Pair them with fresh vegetable sticks like cucumbers or bell peppers for a bright and healthy meal.
4. For a nice touch, sprinkle some extra dill on top of the sandwiches before serving.
Enjoy your Easy Chickpea Salad Sandwich, a quick and healthy meal that tastes great!
Tips & Tricks
How to Perfect the Chickpea Salad Consistency
To get the best texture, mash the chickpeas gently. You want some whole pieces to add bite. If you mash them too much, the salad may become too creamy. Use a fork or masher for control. Aim for a mix of chunky and smooth. This balance gives your salad a nice mouthfeel.
Flavor Enhancements and Seasoning Tips
For a tasty kick, add spices like garlic powder or paprika. These flavors mix well with the chickpeas. Also, fresh herbs can brighten the dish. Try parsley or cilantro for a fresh twist. Don’t forget to adjust salt and pepper. Taste as you go to find your perfect blend. A squeeze of extra lemon juice can also enhance the freshness.
Recommended Tools for Easier Preparation
Using the right tools makes cooking fun and easy. A sturdy mixing bowl is key for combining ingredients. A good masher helps you get that perfect consistency. Keep a sharp knife handy for chopping veggies. A cutting board is essential for safe prep. If you love cooking, consider a food processor for quick mixing. It speeds up the process and makes cleanup easier.
Variations
Add Protein: Enhancing with Other Ingredients
You can easily boost this chickpea salad sandwich with more protein. Consider adding diced cooked chicken, turkey, or even tofu for a plant-based option. Each of these choices adds flavor and texture. You can also mix in some cooked quinoa or lentils for a twist. These additions make the sandwich heartier and more filling.
Different Spreads and Breads to Use
You can change up the spreads and breads to keep things exciting. Instead of mayonnaise, try using hummus or avocado for creaminess. These options add unique flavor and nutrition. For bread, you can use sourdough, pita, or even lettuce wraps for a lighter choice. Each option gives the sandwich a new spin while still tasting great.
Vegan and Gluten-Free Options
You can easily make this sandwich vegan and gluten-free. Use a plant-based mayonnaise to keep it vegan. For a gluten-free version, choose gluten-free bread or lettuce wraps. This way, everyone can enjoy the sandwich without missing out. These options ensure that your meal is inclusive and delicious for all diets.
Storage Info
How to Store Leftover Chickpea Salad
If you have leftover chickpea salad, store it in an airtight container. This keeps it fresh. Place it in the fridge. It will last for about three days. Make sure to cover it well to avoid drying out. The flavors will blend and improve as it sits.
Best Practices for Keeping Sandwiches Fresh
To keep your chickpea salad sandwiches fresh, wrap them tightly in plastic wrap. You can also use aluminum foil for extra protection. Store them in the fridge. Try to eat them within two days for the best taste. If you notice the bread getting soggy, consider packing the salad and bread separately.
Freezing Options and Duration
You can freeze the chickpea salad if you want to save it for later. Use a freezer-safe container or bag. It will stay good for up to three months. When you are ready to eat it, thaw it in the fridge overnight. Then, mix it again before serving. However, I do not recommend freezing the assembled sandwich. The bread may get mushy after freezing. For the best results, always prepare the sandwiches fresh.
FAQs
What can I use instead of mayonnaise in a chickpea salad sandwich?
You can use plain yogurt or mashed avocado. Both options add creaminess and flavor. If you want a lighter choice, try hummus or tahini. These alternatives keep the sandwich tasty while being healthier.
Can I make this sandwich ahead of time?
Yes, you can make this sandwich ahead of time. Store the chickpea mixture in the fridge for up to three days. Just keep the bread separate until you’re ready to eat. This helps to keep the bread from getting soggy.
What are some good sides to serve with a chickpea salad sandwich?
Fresh veggie sticks are great. Try carrot, cucumber, or bell pepper sticks for crunch. A simple green salad is also a good option. You can even add some fruit like apples or grapes for a sweet touch. For a fun twist, serve with baked chips or whole grain crackers. These sides balance the meal and add variety.
This blog post walks you through making an easy chickpea salad sandwich. We covered the ingredients needed, tips for fresh produce, and how to mix and serve your salad. You learned about variations, storage tips, and answers to common questions.
Enjoy this healthy and tasty meal any day. Feel free to get creative with flavors and ingredients. Trust your choices, and make it your own. You’ll love the results!


