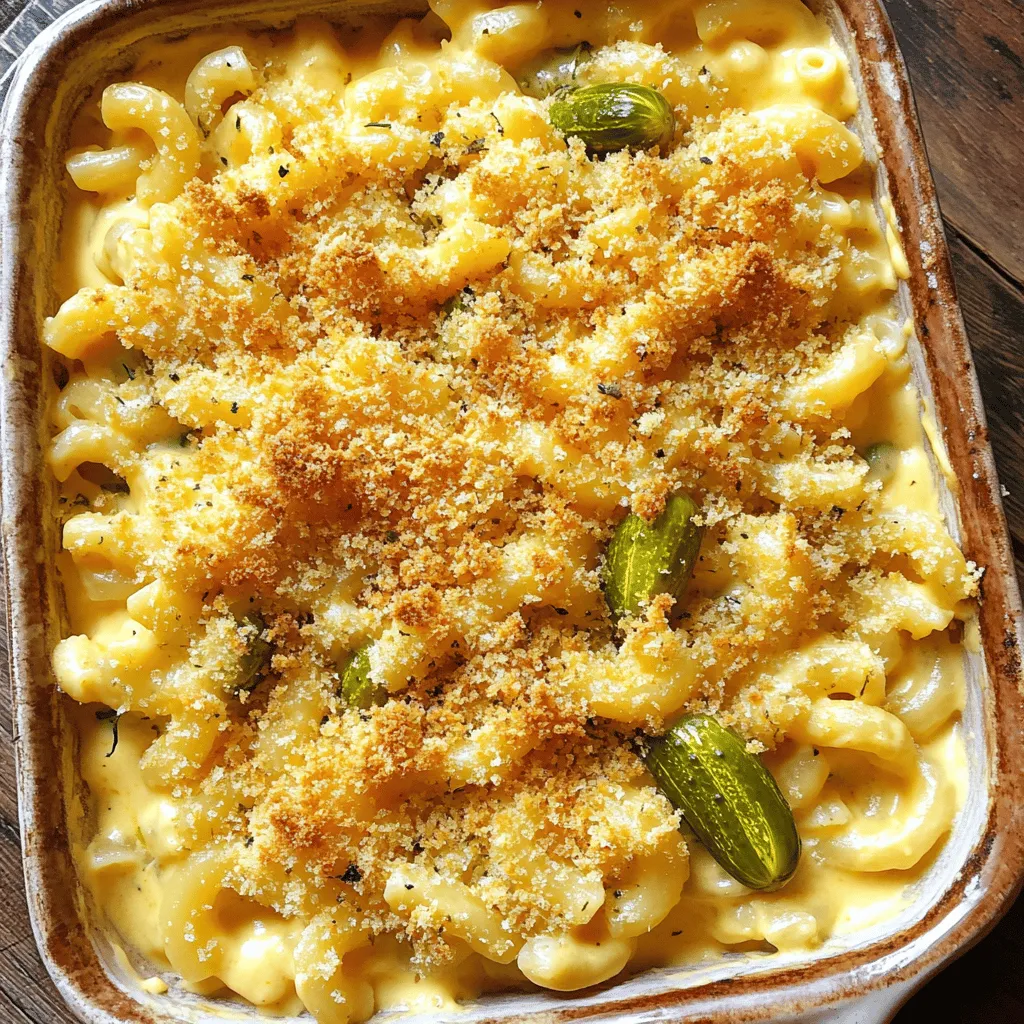
Are you ready to take your mac and cheese to a whole new level? Imagine creamy, cheesy goodness with a zesty twist of pickles. My Pickle Mac and Cheese recipe combines classic comfort with a tangy surprise that will excite your taste buds. Perfect for a cozy night in or a fun dinner party, this dish stands out and delights everyone. Let’s explore how to make this savory delight that’s easy and oh-so-satisfying!
Ingredients
List of Essential Ingredients
– 8 oz elbow macaroni
– 2 cups sharp cheddar cheese, shredded
– 1 cup dill pickles, finely diced
– 1/2 cup pickle juice
Additional Ingredients for Flavor
– 2 tablespoons unsalted butter
– 2 tablespoons all-purpose flour
– 2 cups whole milk
– 1 teaspoon garlic powder
– 1 teaspoon onion powder
– Salt and freshly ground pepper, to taste
– 1/2 cup breadcrumbs (optional, for added crunch)
When making pickle mac and cheese, start with the right ingredients. The main star here is the elbow macaroni. This pasta shape holds the creamy cheese sauce well. Next, use sharp cheddar cheese for a bold flavor. The diced dill pickles add a tangy crunch. Don’t forget the pickle juice, which gives extra zest.
For a smooth cheese sauce, melt unsalted butter and mix in flour to create a roux. Then, slowly add whole milk to thicken it. The garlic and onion powder enhance the taste. Season with salt and pepper to balance the flavors.
If you want a crunchy topping, breadcrumbs are an excellent choice. They add texture and contrast to the soft mac and cheese. This combination of ingredients makes a savory dish that surprises and delights.Enjoy your cooking!
Step-by-Step Instructions
Cooking the Pasta
– Bring a large pot of salted water to a rolling boil.
– Cook elbow macaroni until al dente, then drain.
Cooking the pasta is where it all starts. Make sure your water is really boiling before adding the elbow macaroni. This helps the pasta cook evenly. Stir it a bit while it cooks. You want it to be firm but not hard. Al dente means it should still have a little bite. Once done, drain it well and set it aside.
Preparing the Cheese Sauce
– Melt butter and create a roux with flour.
– Incorporate whole milk and thicken the mixture.
– Gradually add shredded cheddar cheese until melted.
Now, onto the cheese sauce! In the same pot, melt the butter over medium heat. Once melted, add the flour. Stir and cook for about a minute to make a roux. This thickens your sauce. Then, slowly pour in the whole milk. Whisk it well to avoid lumps. Cook until it thickens, stirring often. After that, reduce the heat and add the shredded cheddar cheese. Stir until it melts and becomes smooth.
Combining Ingredients
– Mix in pickle juice and diced dill pickles.
– Season with garlic powder, onion powder, salt, and pepper.
– Fold in the cooked macaroni.
This is where the magic happens! Pour the pickle juice into your cheese sauce. Add the diced dill pickles, too. They add a zesty kick! Season with garlic powder, onion powder, salt, and pepper. Mix it all well. Now, gently fold in the cooked macaroni. You want every piece to be coated in that tangy cheese sauce.
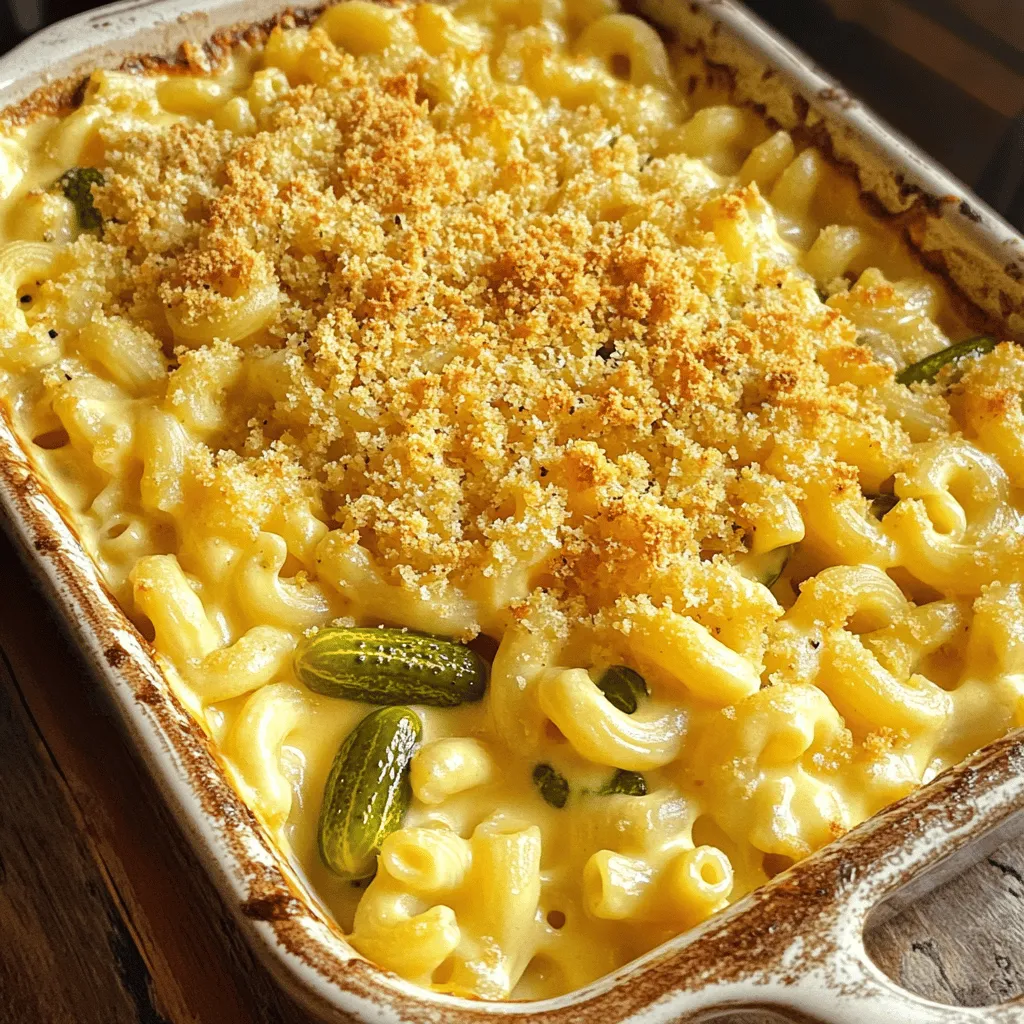
Baking for a Crunchy Topping (Optional)
– Transfer to a greased baking dish.
– Sprinkle breadcrumbs and bake until golden brown.
If you want a crunchy topping, this step is for you! Transfer your mac and cheese to a greased baking dish. Sprinkle breadcrumbs over the top evenly. Then, pop it into a preheated oven at 350°F (175°C). Bake it for 15-20 minutes until the top is golden and bubbly. This gives you that perfect crunch!
Tips & Tricks
Best Practices for Perfect Mac and Cheese
– Ensure pasta is cooked al dente for the best texture.
– Use freshly shredded cheese for optimal melting.
Cooking pasta just right is key. If it’s too soft, your dish will turn mushy. Al dente pasta holds its shape and gives the dish a nice bite. For cheese, pre-shredded options often have additives that can impact melting. Freshly shredded cheese melts smoothly, giving you that creamy texture you want.
Incorporating Pickles
– Quick tips on balancing flavors with pickles.
– Alternatives for using sweet or bread-and-butter pickles.
Pickles add a tang that livens up your mac and cheese! If your pickles are too tart, balance them with a bit of sugar or honey. You can also use sweet or bread-and-butter pickles if you prefer a milder taste. Their sweetness can create a fun contrast with the cheese.
Enhancing Texture and Flavor
– Suggestions for adding spices or herbs.
– How to customize creaminess to your preference.
Add spices like smoked paprika or black pepper for extra depth. Fresh herbs like parsley or dill can brighten the dish. If you want it creamier, adjust the milk or cheese ratio. For a thicker sauce, use less milk; for a lighter sauce, add more. Experiment to find your favorite combo!
Variations
Different Cheese Combinations
You can switch up the cheese in your pickle mac and cheese. Try using mozzarella for a creamy texture. Gouda adds a nice, smoky flavor. If you like heat, pepper jack will spice things up. Each cheese brings its own twist to the dish. Mixing cheeses can create a more complex flavor that surprises your taste buds.
Various Mix-Ins
Add fun mix-ins to make your dish stand out. Crumbled bacon brings a salty crunch that pairs well with pickles. Diced chicken adds protein and makes the meal heartier. For some greens, toss in spinach or bell peppers. These veggies not only boost nutrition but also add color to your dish.
Alternative Cooking Methods
You can cook your mac and cheese in different ways. Stovetop is quick and easy. Just stir your pasta with the cheese sauce until it’s creamy. If you want a baked version, place it in the oven for a crunchy top. You can also use an Instant Pot to speed things up. Just follow the same steps, but in a fraction of the time. Each method gives you a unique taste and texture.
Storage Info
How to Store Leftovers
After enjoying your pickle mac and cheese, you can store any leftovers. First, let it cool down. Then, place it in an airtight container. This keeps it fresh and tasty. Store it in the fridge for up to three days. For longer storage, you can freeze it.
When freezing, use a freezer-safe container. Make sure to leave some space at the top. The mac and cheese will expand as it freezes. It can last for up to three months in the freezer.
Reheating Guidelines
To reheat your pickle mac and cheese, avoid the microwave if you can. The microwave may dry it out. Instead, use the oven for best results. Preheat your oven to 350°F (175°C). Place the mac and cheese in a baking dish. Add a splash of milk to keep it creamy. Cover it with foil to trap moisture. Heat for about 20 minutes or until warm.
If you must use a microwave, do it in short bursts. Heat for 30 seconds, then stir. This helps keep the flavor and texture just right.
FAQs
Can I use gluten-free pasta for this recipe?
Yes, you can use gluten-free pasta. Many brands offer great options. Just choose one that cooks well and has a similar shape to elbow macaroni. Cook it according to the package instructions. It still tastes amazing with the cheese and pickles. If you are gluten-sensitive, check the labels carefully to avoid cross-contamination.
What can I substitute if I don’t have pickles?
If you don’t have pickles, try using pickled jalapeños for some heat. You can also use capers for a briny flavor. Another option is to add a splash of vinegar to your cheese sauce. This will give it a nice tang. Experiment with what you have at home to find your favorite flavor twist.
How to serve pickle mac and cheese at a party?
To serve pickle mac and cheese at a party, use a large dish. You can sprinkle fresh herbs on top for a pop of color. Pair it with crunchy veggies like carrots and cucumber sticks. It also goes well with a light salad. For drinks, serve lemonade or iced tea to balance the richness. Guests will love this fun twist on a classic dish!
You’ve learned how to make a tasty pickle mac and cheese from scratch. We covered the key ingredients, cooking instructions, and fun variations. Remember, using quality cheese and cooking pasta just right makes a big difference. Feel free to mix in proteins or veggies for added flavor. Store leftovers properly, and you’ll enjoy this dish multiple times. Experiment and find your favorite twist on this classic. Your kitchen can be a place of tasty creations!


