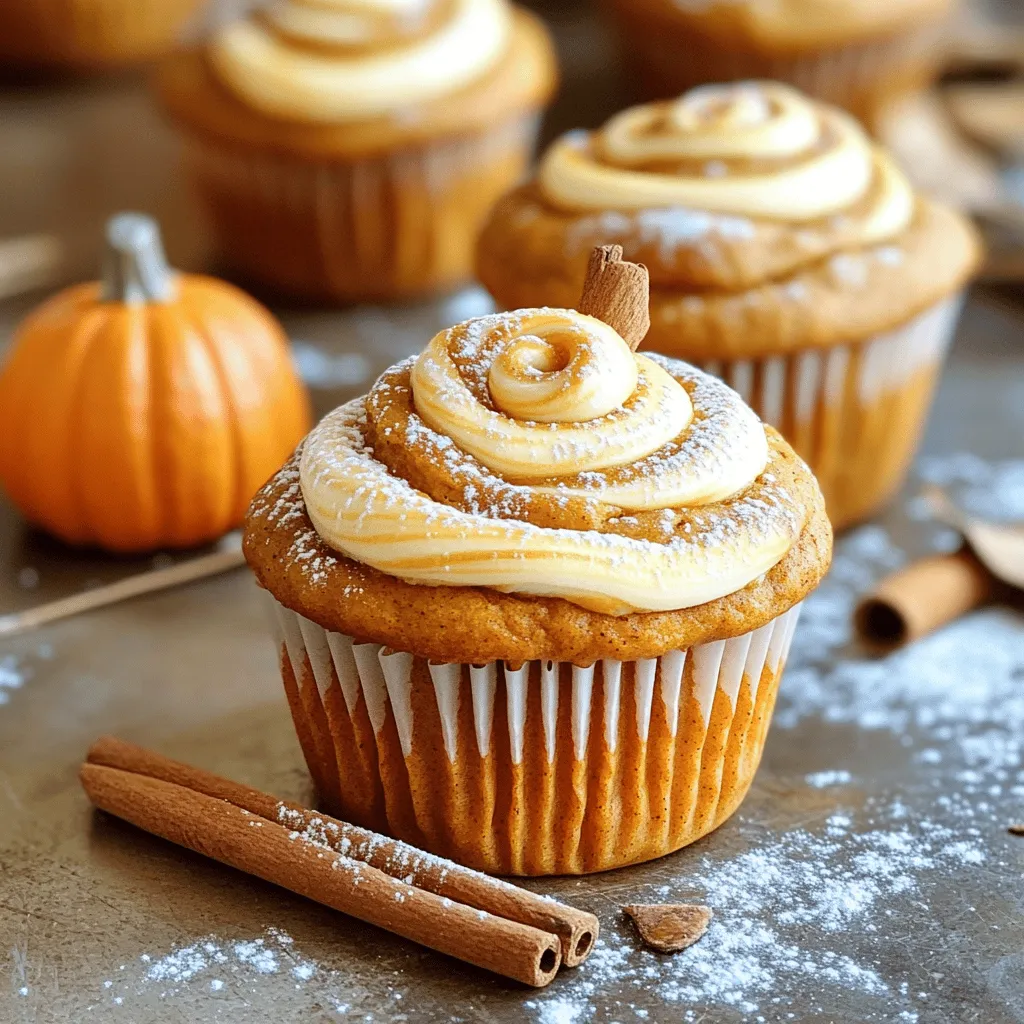
If you love fall flavors, these Pumpkin Cream Cheese Swirl Muffins are a must-try! This easy recipe features a soft, spiced muffin base with a creamy cheese swirl, making each bite a delight. In this blog post, I’ll guide you through simple steps, provide tips for the perfect bake, and share fun variations to suit your taste. Get ready to fill your kitchen with the warm aroma of pumpkin spice!
Ingredients
Dry Ingredients
– 1 cup all-purpose flour
– 1 cup whole wheat flour
– 1 tablespoon baking powder
– 1 teaspoon baking soda
– 1 teaspoon ground cinnamon
– 1/2 teaspoon ground nutmeg
– 1/2 teaspoon salt
Wet Ingredients
– 1 cup pumpkin puree (can be canned or homemade)
– 1/2 cup granulated sugar
– 1/2 cup packed brown sugar
– 1/2 cup vegetable oil
– 3 large eggs, at room temperature
– 1 teaspoon vanilla extract
Cream Cheese Mixture
– 4 ounces cream cheese, softened to room temperature
– 1/4 cup powdered sugar
– 1/2 teaspoon vanilla extract (for cream cheese mixture)
These ingredients create a tasty base for your muffins. The mix of flours gives them a good texture. The spices add warmth and flavor. Pumpkin adds moisture and a lovely color. The cream cheese mixture brings a rich swirl. I love the way these flavors come together!
Step-by-Step Instructions
Preheat and Prepare
Start this tasty journey by preheating your oven to 350°F (175°C). While it warms up, grab a muffin tin. Line it with paper liners or use cooking spray to lightly grease each cup. This step ensures your muffins come out easily.
Mix Dry Ingredients
In a medium-sized mixing bowl, add the dry ingredients. Combine 1 cup of all-purpose flour, 1 cup of whole wheat flour, 1 tablespoon of baking powder, 1 teaspoon of baking soda, 1 teaspoon of ground cinnamon, 1/2 teaspoon of ground nutmeg, and 1/2 teaspoon of salt. Whisk them together until well mixed. Set this aside for later.
Combine Wet Ingredients
In a large mixing bowl, mix 1 cup of pumpkin puree, 1/2 cup of granulated sugar, and 1/2 cup of brown sugar. Add in 1/2 cup of vegetable oil, 3 large eggs (at room temperature), and 1 teaspoon of vanilla extract. Stir this mixture until it turns creamy and smooth.
Fold Dry Ingredients
Now, gently fold the dry mixture into the wet ingredients. Do this slowly to keep the muffins soft. Mix just until combined. It’s okay if there are a few lumps; overmixing can make the muffins tough.
Prepare Cream Cheese Mixture
In a small bowl, beat 4 ounces of softened cream cheese with 1/4 cup of powdered sugar. Add another 1/2 teaspoon of vanilla extract to this mix. Use an electric mixer or whisk until it is smooth and free of lumps.
Assemble Muffins
Fill each muffin cup about halfway with the pumpkin batter. Spoon a generous amount of the cream cheese mixture on top. Then, take a toothpick or skewer and swirl the cream cheese into the pumpkin batter. This creates a lovely marble effect. Fill the cups until they are about 3/4 full, swirling the cream cheese mixture again if you have more.
Tips & Tricks
Achieving the Perfect Swirl
To get a nice swirl, start by adding the cream cheese mixture on top of the pumpkin batter. Use a toothpick or skewer to gently twist it. Don’t overdo it, or you’ll lose the beautiful design. A light touch creates a lovely marbled look.
Ensuring Moist Muffins
Overmixing is the enemy of moist muffins. Mix just enough to combine the wet and dry ingredients. It’s okay to leave small lumps in the batter. This method keeps your muffins soft and fluffy, so resist the urge to keep stirring.
Baking Time & Temperature
Baking these muffins at 350°F (175°C) is key. Start checking them around 18 minutes. Use a toothpick to test; it should come out clean or with a few moist crumbs. If it’s too wet, give them a couple more minutes. This ensures a perfectly baked muffin every time.
Variations
Flavor Additions
You can enhance the flavor of your Pumpkin Cream Cheese Swirl Muffins in fun ways. Try adding:
– Chopped nuts: Walnuts or pecans add crunch.
– Chocolate chips: Dark or white chocolate can bring sweetness.
– Dried fruit: Raisins or cranberries offer a fruity twist.
– Other spices: Consider ginger, allspice, or cloves for warmth.
These additions will make each muffin unique and delicious.
Healthier Alternatives
If you want to make a healthier version of these muffins, consider these swaps:
– Use applesauce instead of some oil for moisture and less fat.
– Replace granulated sugar with honey or maple syrup for a natural sweetener.
– Substitute whole wheat flour for oat flour for a gluten-free option.
– Try Greek yogurt instead of cream cheese for a tangy flavor.
These changes can help you enjoy muffins without the guilt.
Dietary Modifications
To make these muffins suitable for various diets, you can try these options:
– For gluten-free muffins, use a gluten-free flour blend instead of all-purpose flour.
– To make them dairy-free, swap cream cheese with a non-dairy cream cheese or silken tofu.
– Use plant-based eggs for a vegan version. Flaxseed or chia seeds work well as egg substitutes.
These modifications allow everyone to enjoy these tasty treats.
Storage Info
Short-Term Storage
To keep your Pumpkin Cream Cheese Swirl Muffins fresh, store them in an airtight container. This helps keep them moist. Place a piece of wax paper between layers to avoid sticking. They can last up to three days at room temperature. If you want them to last longer, consider the fridge. In the fridge, they stay fresh for about a week.
Long-Term Storage
For longer storage, freezing muffins is a great option. Wrap each muffin tightly in plastic wrap. Then, place them in a freezer-safe bag or container. This helps protect them from freezer burn. They can last up to three months in the freezer. When you want to enjoy one, just take it out and let it thaw at room temperature.
Reheating Tips
To reheat your muffins, use the microwave or the oven. If using the microwave, warm them for about 15-20 seconds. Keep an eye on them, so they don’t get too hot. For the oven, preheat it to 350°F (175°C) and heat for about 10 minutes. This method helps them taste fresh-baked again. Enjoy them warm for the best flavor!
FAQs
Can I use fresh pumpkin instead of canned?
Yes, you can use fresh pumpkin. Just roast and puree it. This gives a brighter flavor. Make sure the fresh pumpkin has a smooth texture, like canned.
How do I know when the muffins are done baking?
You can check with a toothpick. Insert it into the center of a muffin. If it comes out clean or with a few moist crumbs, they are ready. They should also look slightly golden on top.
What can I substitute for cream cheese?
If you need a substitute, use Greek yogurt or silken tofu. Both add creaminess and keep the muffins moist. You can also try mascarpone for a richer taste.
How long will the muffins last at room temperature?
These muffins can last about two days at room temperature. Store them in an airtight container to keep them fresh. If you want to keep them longer, refrigerate for up to a week.
What other mix-ins work well in these muffins?
You can add chocolate chips or nuts for extra flavor. Dried cranberries or raisins also make a tasty addition. Feel free to get creative with your favorite mix-ins!The blend of pumpkin and cream cheese creates a delightful taste. Let’s dive into the details of this recipe so you can make them at home.
Ingredients
– 1 cup all-purpose flour
– 1 cup whole wheat flour
– 1 tablespoon baking powder
– 1 teaspoon baking soda
– 1 teaspoon ground cinnamon
– 1/2 teaspoon ground nutmeg
– 1/2 teaspoon salt
– 1 cup pumpkin puree (can be canned or homemade)
– 1/2 cup granulated sugar
– 1/2 cup packed brown sugar
– 1/2 cup vegetable oil
– 3 large eggs, at room temperature
– 1 teaspoon vanilla extract
– 4 ounces cream cheese, softened to room temperature
– 1/4 cup powdered sugar
– 1/2 teaspoon vanilla extract (for cream cheese mixture)
To make these muffins, start by gathering all your ingredients. It is key to have everything ready. This will make your cooking smooth and easy.
Mix the dry ingredients first. In a bowl, whisk together the flours, baking powder, baking soda, cinnamon, nutmeg, and salt. This step helps ensure even mixing.
Next, combine the wet ingredients. In a large bowl, mix pumpkin puree, both sugars, vegetable oil, eggs, and vanilla. Stir until it’s creamy.
Now, fold the dry mix into the wet mix. Do this gently. Overmixing can make the muffins tough. It’s okay if a few lumps remain.
For the cream cheese swirl, beat the softened cream cheese with powdered sugar and a touch of vanilla. Make it smooth and lump-free.
Fill each muffin cup halfway with pumpkin batter. Add a spoonful of the cream cheese mix on top. Use a toothpick to swirl them together. This creates a lovely marbled look.
Now, fill the cups until they are three-quarters full. Repeat the swirling if you have extra cream cheese mix.
Bake in a preheated oven at 350°F (175°C) for 18 to 22 minutes. Check if they are done by inserting a toothpick. It should come out clean, with a few moist crumbs.
Let the muffins cool in the pan for five minutes. Then, move them to a wire rack. This helps them cool evenly.
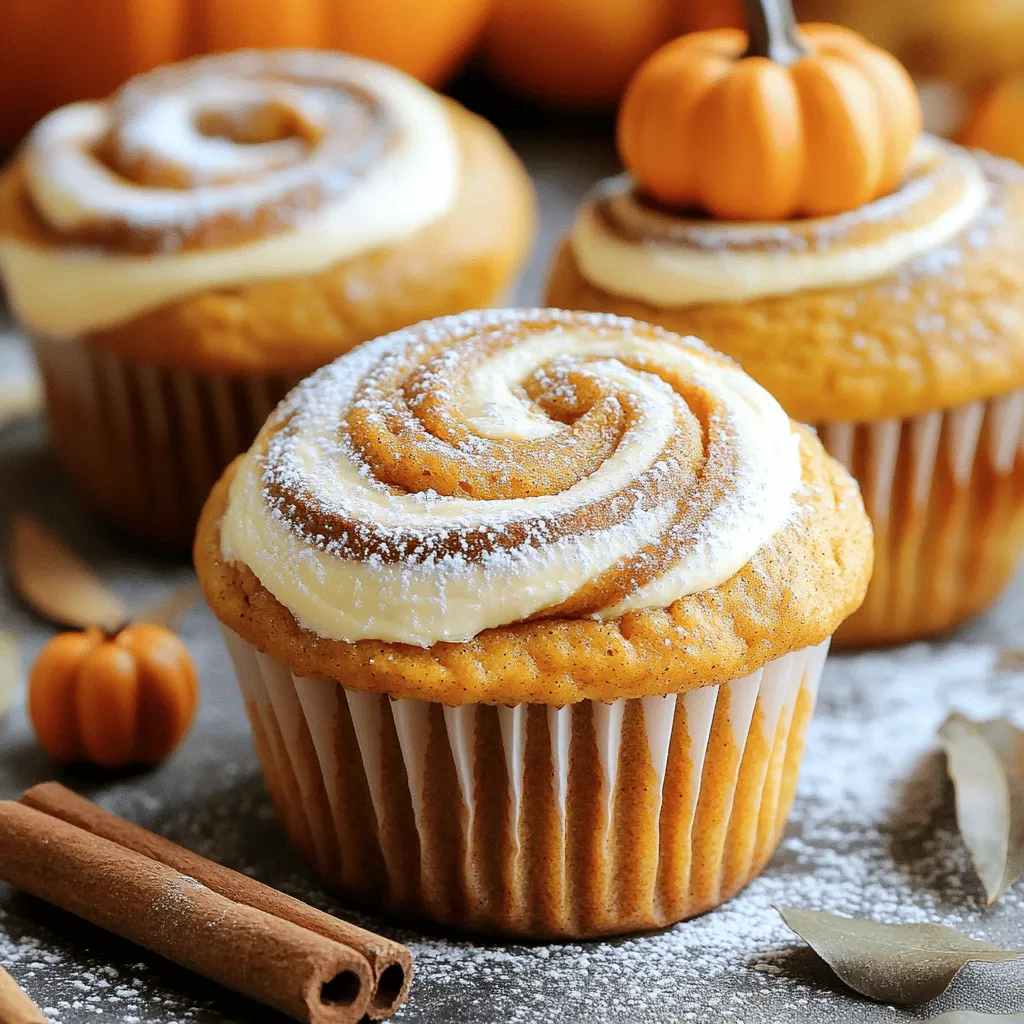
For a special touch, sprinkle powdered sugar on top. They look great and taste even better. Enjoy these muffins with friends or family.
We covered a lot about making Pumpkin Cream Cheese Swirl Muffins. You learned the key ingredients, both dry and wet, plus the cream cheese mix. I shared step-by-step instructions to create these yummy treats. With tips for the perfect swirl and moisture, you have all the tools needed. Don’t forget the variations and storage tips to keep your muffins fresh. Enjoy making these muffins and share them with others for a delightful treat!


