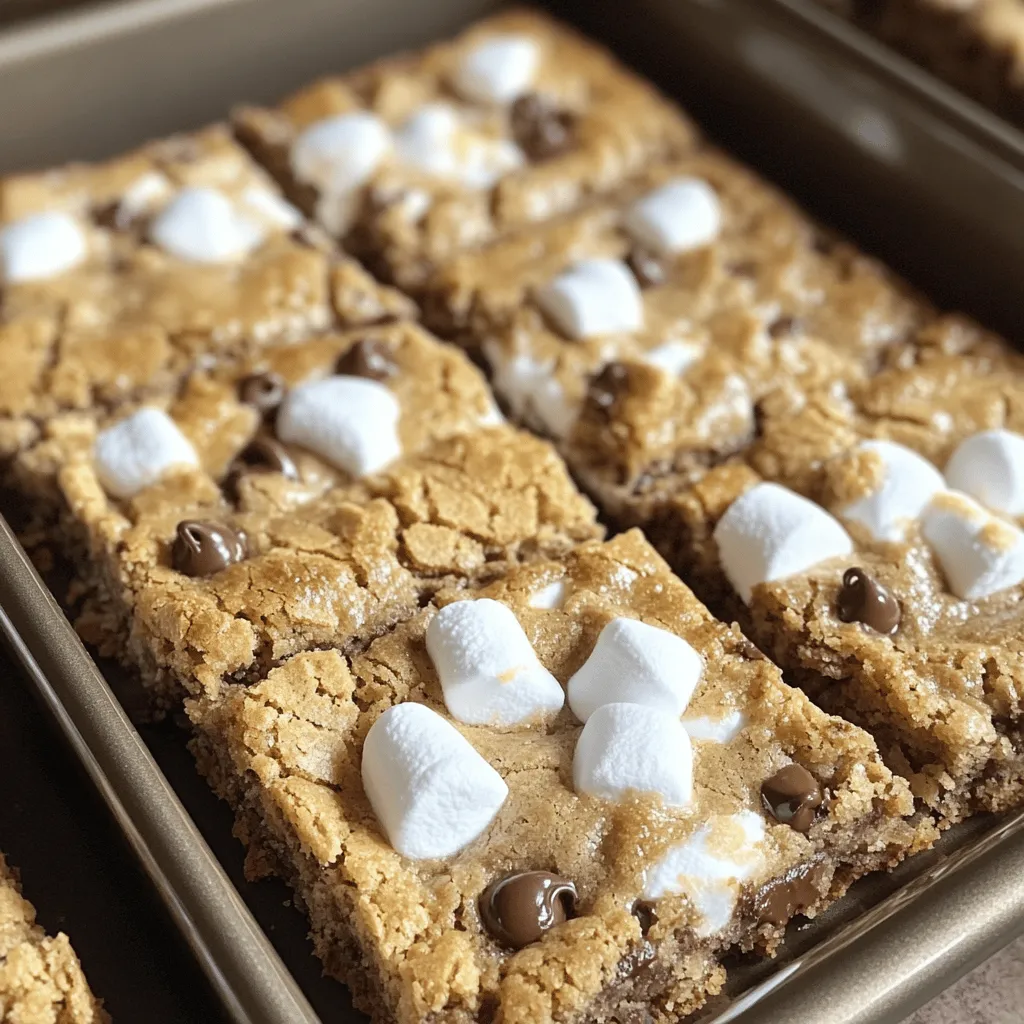
If you love the classic campfire treat, you’re in for a sweet surprise! These S’mores Cookie Bars are irresistible, combining chewy cookie goodness with gooey marshmallows and rich chocolate chips. Imagine indulging in a dessert that captures all the flavors of a traditional s’mores, but in a simple, bar form. Join me as we dive into the ingredients, steps, and tips to create this delightful treat that will leave you wanting more!
Ingredients
List of Ingredients
– 1 cup unsalted butter, softened to room temperature
– 1 cup packed brown sugar
– 1/2 cup granulated sugar
– 2 large eggs, at room temperature
– 2 teaspoons pure vanilla extract
– 2 1/4 cups all-purpose flour
– 1 teaspoon baking soda
– 1/2 teaspoon salt
– 1 cup finely crushed graham cracker crumbs
– 1 cup semi-sweet chocolate chips
– 1 cup mini marshmallows
– Extra chocolate chips and graham cracker pieces for topping
Gathering the right ingredients sets the stage for your S’mores Cookie Bars. Start with softened butter for a rich, creamy base. You need both brown and granulated sugar for the perfect sweetness. Eggs add moisture and help bind the dough.
Vanilla extract gives a lovely flavor. All-purpose flour is essential for structure, while baking soda gives your bars a soft rise. Don’t skip the salt; it enhances the sweet flavors.
Graham cracker crumbs bring that classic s’mores taste, while semi-sweet chocolate chips and mini marshmallows create the gooey goodness we love. Finish with extra chocolate and graham pieces for that beautiful topping.Your kitchen will smell amazing!
Step-by-Step Instructions
Preparation Steps
1. Preheat your oven to 350°F (175°C). Line a 9×13 inch baking pan with parchment paper. Leave some paper hanging over the edges. This helps lift the bars out later.
2. In a large bowl, mix wet ingredients. Beat 1 cup of softened butter with 1 cup of brown sugar and 1/2 cup of granulated sugar. Use an electric mixer for about 2-3 minutes. The mix should become light and fluffy.
3. Add in the eggs and vanilla. Mix in 2 large eggs one at a time. After each egg, ensure it’s well blended. Finally, add 2 teaspoons of pure vanilla extract and mix until combined.
4. Combine the dry ingredients. In another bowl, sift together 2 1/4 cups of flour, 1 teaspoon of baking soda, 1/2 teaspoon of salt, and 1 cup of finely crushed graham cracker crumbs. Gradually add this mix to the wet ingredients. Stir gently until no flour streaks remain.
Assembly Steps
1. Layer the cookie dough. Take half of the dough and press it evenly into the bottom of your lined pan. This will be your base.
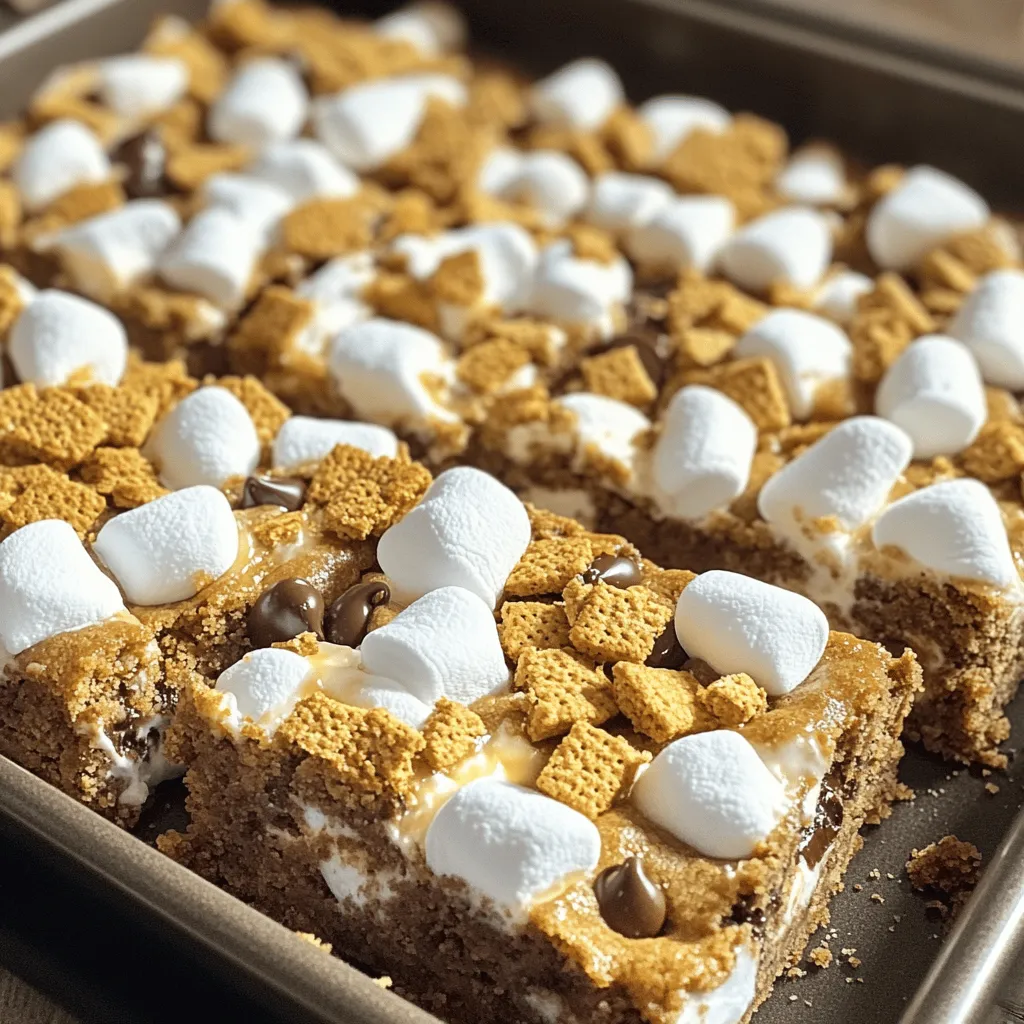
2. Add the chocolate and marshmallow filling. Sprinkle a layer of 1 cup of semi-sweet chocolate chips and 1 cup of mini marshmallows over the base. This middle layer adds that gooey s’mores magic!
3. Top with remaining dough. Scoop small spoonfuls of the remaining dough and flatten them. Place these over the filling. It’s okay if some of the filling shows through. It makes the bars look rustic and fun!
4. Add finishing touches. Scatter some extra graham cracker pieces and chocolate chips on top for a beautiful finish.
Cooling and Serving Steps
1. Cool the bars in the pan. Once baked for 25-30 minutes, take them out of the oven. Let them cool in the pan for about 10-15 minutes.
2. Cut the bars into servings. Use the parchment overhang to lift the bars out onto a cutting board. Cut them into your desired size.
3. Suggestions for enjoying. For the best experience, serve these bars warm or at room temperature. Enjoy with a glass of cold milk for a perfect treat!
Tips & Tricks
Achieving the Perfect Texture
Softened butter is key for great cookie bars. It helps the dough mix evenly and creates a nice, chewy texture. If you forget to soften it, you can microwave it for just a few seconds.
Avoiding overmixing the dough is also important. Mix just until everything comes together. Overmixing can make the bars tough and dry.
Flavor Enhancements
Using different types of chocolate can elevate your bars. Try dark chocolate or milk chocolate for a change. You can even mix in white chocolate for a fun twist.
Adding nuts can give your bars extra crunch. Pecans or walnuts pair well with the soft marshmallows. Just chop them up and fold them into the dough.
Baking Techniques
Check for doneness after about 25 minutes. The edges should look golden brown, while the center stays soft. A toothpick test is great, but a few gooey marshmallows on it are okay!
To keep a gooey center, underbake just a little. The bars will continue to cook as they cool. They should be warm and soft when you cut into them.
Variations
Gluten-Free Options
You can make s’mores cookie bars gluten-free. Start by substituting gluten-free flour for all-purpose flour. Look for a good blend that has a similar texture. You may need to adjust the liquid a little. Sometimes, gluten-free flour absorbs more liquid.
Flavor Variations
Want a twist? Try using peanut butter chocolate chips instead of regular ones. This adds a rich, nutty flavor. You can also add flavored marshmallows. Think about caramel or strawberry. These options give your bars a unique taste and fun color.
Serving Suggestions
Pair your s’mores cookie bars with ice cream. A scoop of vanilla or chocolate is perfect. You can also serve them with sauces or toppings. Try hot fudge or caramel drizzle. These extras elevate the dessert to a whole new level.
Storage Info
How to Store S’mores Cookie Bars
To keep your s’mores cookie bars fresh, store them in an airtight container. This helps lock in moisture and keeps them chewy. You can stack the bars with parchment paper between layers to prevent sticking.
For the best results, place them in a cool, dry area. Avoid places with heat or sunlight, as these can dry out the bars. If you have leftovers, you can also store them in the fridge for extra freshness.
Freezing Instructions
If you want to save some bars for later, freezing is a great option. First, let the bars cool completely. Then, wrap them tightly in plastic wrap or foil. Place the wrapped bars in a freezer-safe bag or container.
When you’re ready to enjoy them, thaw the bars in the fridge overnight. For quick reheating, pop them in the microwave for about 15-20 seconds. This warms them up without drying them out.
Shelf Life
At room temperature, s’mores cookie bars stay fresh for about 3 to 5 days. If you keep them in the fridge, they can last up to a week. In the freezer, they can stay good for up to 3 months. Just remember to check for any signs of freezer burn before eating.
With these storage tips, you can enjoy your s’mores cookie bars at their best!
FAQs
How long do S’mores Cookie Bars last?
S’mores cookie bars can last up to five days at room temperature. Keep them in an airtight container to lock in freshness. If you store them in the fridge, they can last up to a week. The cold might change the texture a bit, but they still taste great!
Can these bars be made ahead of time?
Yes, you can make these bars a day or two before your event. Just bake them and let them cool completely. Then, wrap them tightly in plastic wrap or store them in a container. This makes them easy to grab when you are ready to serve.
What can I substitute for marshmallows?
If you don’t have marshmallows, you can use marshmallow fluff. It gives a similar taste and texture. You could also try using caramel bits or chocolate-covered marshmallows for a fun twist. Just remember, these will change the flavor a bit.
Can I use a different kind of cookie base?
Absolutely! You can switch to a peanut butter cookie base for a nutty flavor. A chocolate cookie base also works well. Just keep the same amount of flour to keep the bars chewy and delicious.
What is the best way to reheat S’mores Cookie Bars?
To reheat your cookie bars, set the oven to 350°F (175°C). Place the bars on a baking sheet and warm them for about five minutes. This keeps them soft and gooey. You can also microwave them for 10-15 seconds, but be careful not to overdo it!
In this post, we explored how to make delicious s’mores cookie bars. We covered ingredients, step-by-step instructions, and tips for the best texture. Variations and storage info help you adapt and enjoy these treats.
These cookie bars make for a fun dessert at any gathering. With a few simple tweaks, you can create your own twist. Enjoy baking and sharing this sweet experience!


