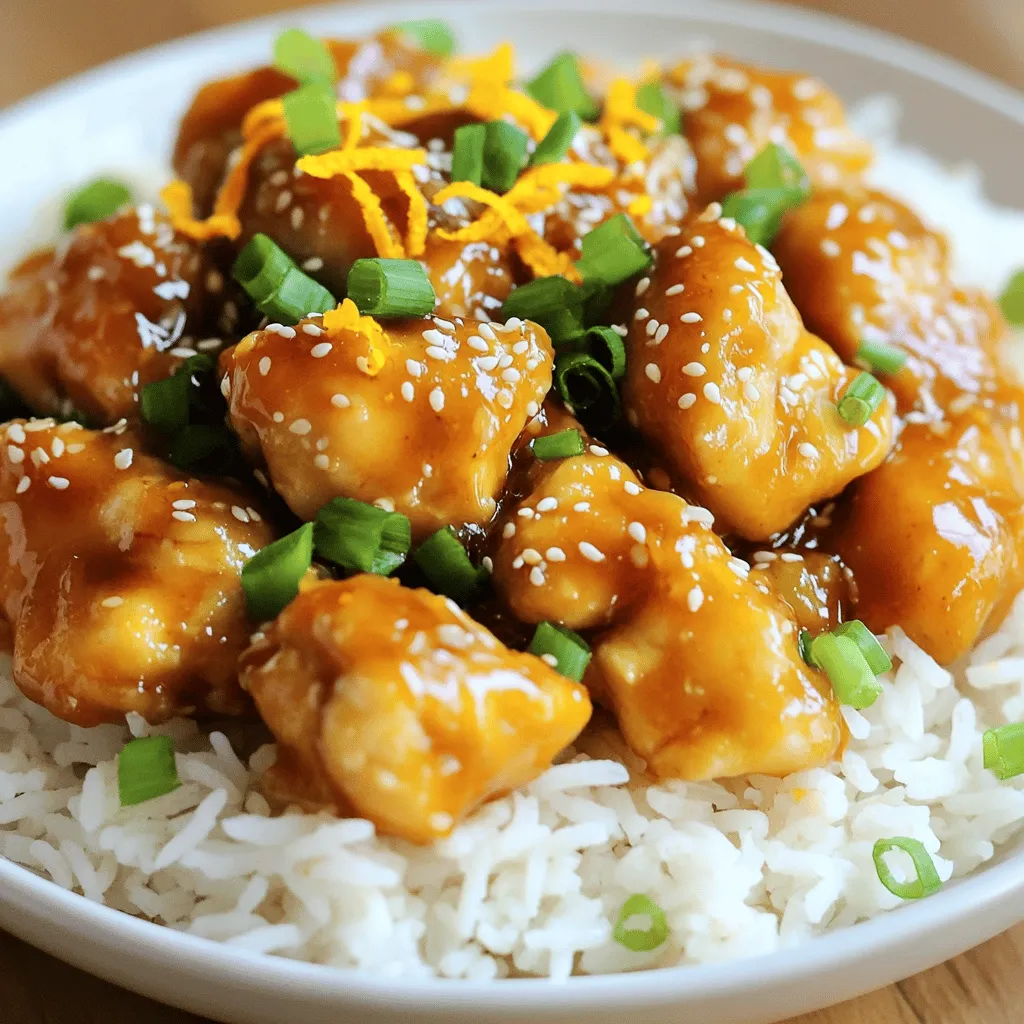
Get ready to tantalize your taste buds! This Sticky Orange Chicken recipe is packed with flavor and super easy to make. With just a few simple ingredients, you can serve up a dish that feels fancy but is perfect for any night of the week. I’ll guide you through each step, ensuring your chicken is juicy, sticky, and bursting with citrus goodness. Let’s dive into this mouthwatering recipe!
Ingredients
To make sticky orange chicken, you’ll need a few simple yet flavorful items. Here is a complete list of ingredients you’ll need for this recipe:
– 1.5 lbs boneless, skinless chicken thighs
– 1/2 cup cornstarch
– 2 tablespoons vegetable oil
– 3 cloves garlic, finely minced
– 1-inch piece of fresh ginger, grated
– 1/4 cup low sodium soy sauce
– 1/2 cup freshly squeezed orange juice
– Zest of 1 medium orange
– 1/4 cup honey
– 2 tablespoons rice vinegar
– 1/2 teaspoon red pepper flakes (optional)
– 2 green onions, finely chopped, for garnish
– Sesame seeds, for garnish
Using high-quality chicken is key for this dish. Chicken thighs stay juicy and tender. Cornstarch is essential for a crispy texture. Vegetable oil helps with frying and flavor. Fresh garlic and ginger bring bold taste to the sauce.
Orange juice and zest create a bright, zesty flavor. Honey adds sweetness that balances the dish. Rice vinegar gives a touch of tang. If you like spice, add red pepper flakes for heat.
Don’t forget the green onions and sesame seeds for garnish. They add color and crunch. This recipe is simple yet packed with flavor.
Step-by-Step Instructions
Preparation of Chicken
Coating with Cornstarch
Start by placing the chicken pieces in a big bowl. Pour in the cornstarch. Mix it well with your hands or a spoon. Make sure all chicken pieces are covered. This step is key for a crispy finish.
Sautéing the Chicken Pieces
Next, heat the vegetable oil in a large skillet or wok on medium-high heat. Once hot, add the chicken in batches. Avoid crowding the pan. Cook for about 5-7 minutes. Stir it often until the chicken turns golden brown. Check that each piece reaches 165°F inside. Remove the chicken and place it on a plate with paper towels to soak up extra oil.
Creating the Sauce
Sautéing Garlic and Ginger
Lower the heat to medium. In the same skillet, add the minced garlic and grated ginger. Sauté for about 30 seconds. You want to smell the rich aroma of garlic and ginger. This signals it’s time to mix the sauce.
Mixing the Sauce Ingredients
Pour in the soy sauce, orange juice, orange zest, honey, and rice vinegar. If you like some heat, add the red pepper flakes. Stir it all together. Increase the heat slightly and let it bubble. Allow the sauce to simmer for 3-5 minutes. You want it to thicken and develop a rich flavor.
Final Steps
Glazing the Chicken
Now, return the cooked chicken to the skillet. Use a spatula to toss the chicken in the sauce. Ensure every piece gets coated. Let it cook for another 2-3 minutes. This will heat the chicken through and make it sticky and flavorful.
Garnishing for Serving
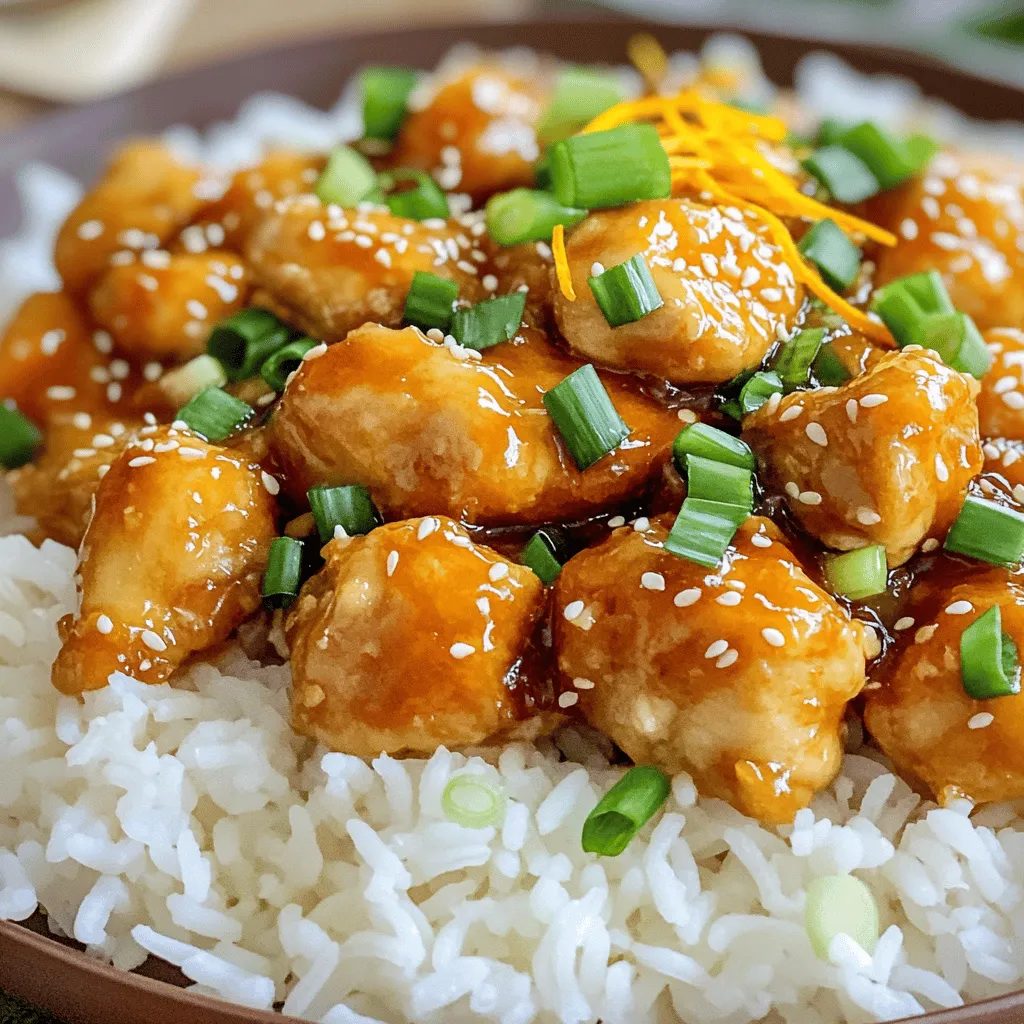
Take the skillet off the heat. Sprinkle the chopped green onions and sesame seeds over the chicken. These add color and crunch. Serve this dish hot and enjoy the zesty flavors of your sticky orange chicken.
Tips & Tricks
Achieving the Perfect Texture
Importance of Cornstarch Coating
Coating the chicken in cornstarch is key for a crispy bite. It helps create a crunchy layer when you fry it. The cornstarch seals in moisture, keeping the chicken juicy. You want to ensure every piece is coated well. This simple step makes a big difference in texture and taste.
Avoiding Overcrowding the Pan
Do not overcrowd the pan when cooking the chicken. If you add too much at once, the chicken will steam instead of fry. This means less crispiness. Cook in batches and give each piece space. This way, you get that golden-brown color you want.
Enhancing the Flavor
Using Fresh Ingredients
Using fresh ingredients makes your dish taste better. Fresh garlic and ginger give a bright flavor. Squeeze your own orange juice for the best taste. Fresh zest adds a lovely aroma. These small details make your sticky orange chicken shine.
Adjusting Spice Levels
If you like heat, add red pepper flakes. Start with a small amount and taste as you go. You can always add more if you want a kick. If you prefer a milder dish, skip the spice. Tailor the recipe to your taste buds.
Serving Suggestions
Pairing with Sides
This sticky orange chicken goes well with many sides. Serve it over fluffy jasmine rice for a complete meal. Steamed broccoli or green beans also work nicely. These sides balance the sweetness of the chicken.
Presentation Ideas
Make your dish look as good as it tastes. Use a white plate to make the orange color pop. Drizzle some extra sauce on top. Sprinkle sesame seeds and green onions for a final touch. A pretty plate makes every meal special.
Variations
Alternative Protein Options
You can easily switch up the protein in this dish.
– Using Chicken Breasts: You can replace chicken thighs with chicken breasts. They are leaner and will still taste great. Just be sure to cook them until they are juicy.
– Substituting with Tofu or Tempeh: For a plant-based option, try tofu or tempeh. Cut them into bite-sized pieces and follow the same steps as the chicken. They soak up the sauce well and give a nice texture.
Flavor Variations
Feel free to play with flavors to make this dish your own.
– Adding More Citrus: Want more zing? Add lime or lemon juice. A splash at the end brightens the dish and gives it a fresh twist.
– Experimenting with Herbs and Spices: You can also try adding fresh herbs like cilantro or basil. A sprinkle of these can add depth and freshness.
Dietary Adjustments
This recipe can fit many dietary needs.
– Gluten-Free Modifications: If you’re gluten-free, use tamari instead of soy sauce. This keeps the flavor while making it safe for your diet.
– Low-Sugar Alternatives: For a low-sugar version, substitute honey with a sugar-free sweetener. This still gives sweetness without the extra calories.
These variations help you enjoy Sticky Orange Chicken in your own way.
Storage Info
Short-Term Storage
After you enjoy your sticky orange chicken, you may have some leftovers. To keep them fresh, store the chicken in an airtight container. Place it in the fridge. It will last for about 3 to 4 days. When reheating, use the microwave or a skillet. Heat it gently to avoid drying it out. A splash of water can help keep it moist.
Long-Term Storage
If you want to keep your sticky orange chicken longer, consider freezing it. Allow the chicken to cool completely before freezing. Place it in a freezer-safe bag or container. Remove as much air as possible to prevent freezer burn. It can stay in the freezer for up to 3 months.
When you’re ready to use it, thaw the chicken overnight in the fridge. For a quicker method, you can use the defrost setting on your microwave. Just be careful not to start cooking it.
Serving Freshness
To maintain the best flavor, always serve your sticky orange chicken fresh. If you prepare it ahead of time, store the sauce separately. This will help keep the chicken crispy. When you are ready to serve, reheat both the chicken and sauce. Toss them together just before serving for that sticky goodness.
FAQs
What can I serve with Sticky Orange Chicken?
You can enjoy Sticky Orange Chicken with a few tasty sides. Here are some great options:
– Fluffy jasmine rice
– Steamed broccoli
– Fried rice
– Sautéed snap peas
– Crisp green salad
For drinks, pair it with:
– Iced tea
– Sparkling water with lemon
– A light white wine
These sides and drinks will balance the sweet and sticky flavors of the chicken.
How do I make Sticky Orange Chicken spicier?
To kick up the heat in your Sticky Orange Chicken, try these tips:
– Adding Heat with Pepper Flakes: Sprinkle red pepper flakes into the sauce. Start with a little and add more if needed. This gives a nice kick without overpowering the dish.
– Experimenting with Hot Sauces: Mix in your favorite hot sauce. A few drops can add flavor and heat. Choose a sauce that complements the orange taste.
You can adjust the heat to match your taste!
Can I make this recipe ahead of time?
Yes, you can prep Sticky Orange Chicken in advance. Here’s how:
– Prep Tips for Making in Advance: Marinate the chicken in the sauce for a few hours or overnight. This adds great flavor. You can also chop the garlic and ginger ahead of time.
– Adjusting Cooking Times: When cooking, make sure the chicken is heated through. If you make it ahead, just warm it on low heat in the skillet. This keeps it from drying out.
These tips help you enjoy a delicious meal even on busy days.
This blog post guided you through making Sticky Orange Chicken, from ingredients to storage tips. Remember to coat the chicken in cornstarch for that perfect crunch. Use fresh ingredients to enhance flavor and feel free to experiment with proteins and spices. With these straightforward steps and variations, you can enjoy a tasty meal that suits your needs. Keep these tips in mind for a delicious outcome every time. Now, it’s time to bring this vibrant dish to your table!


