Savory Parmesan Polenta Fries Crispy and Flavorful Snack
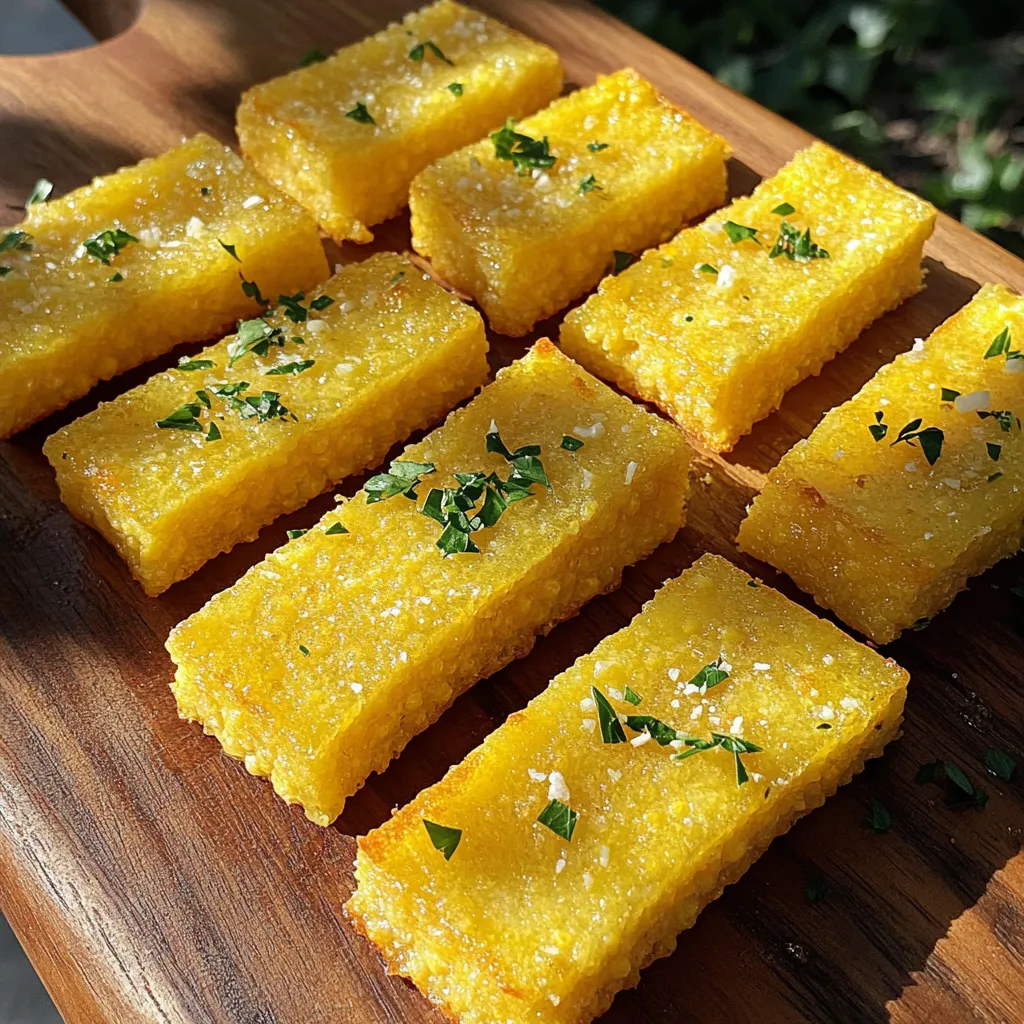
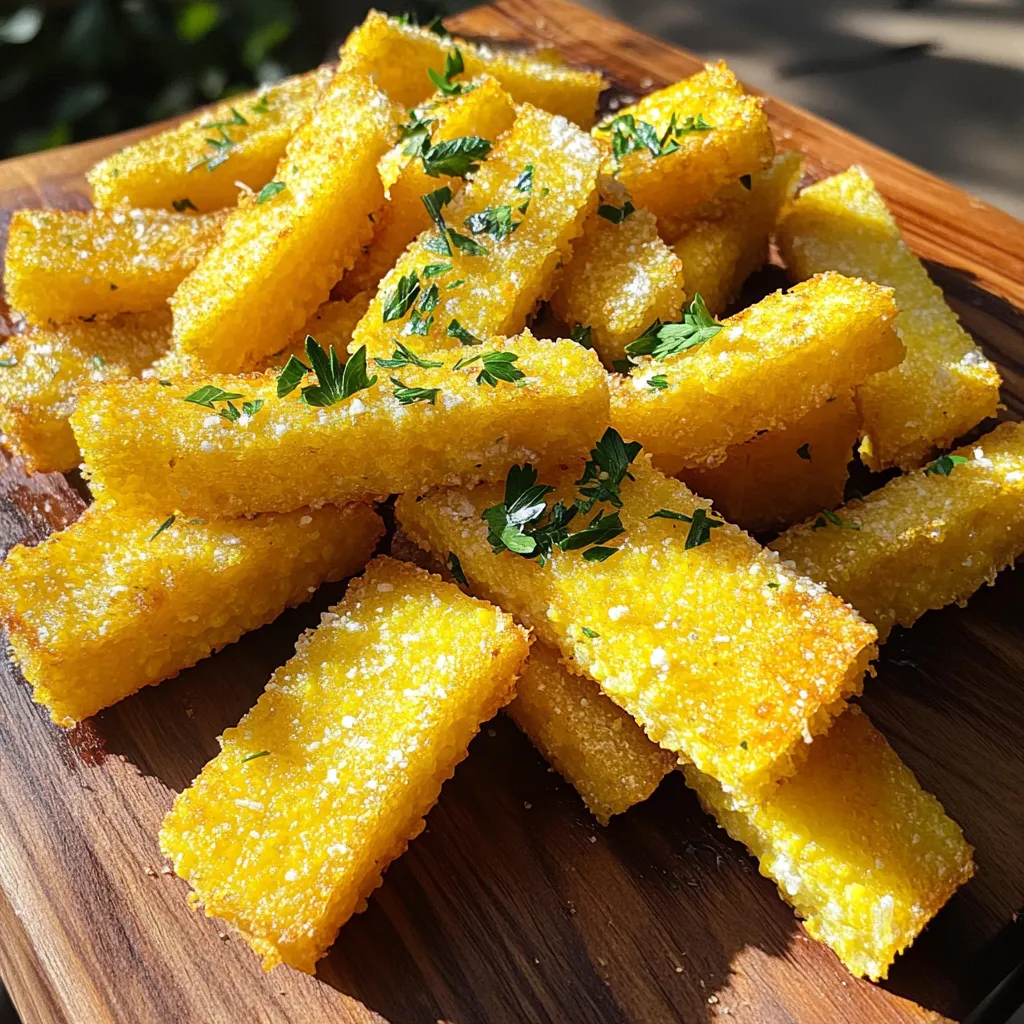
If you crave a snack that’s both crispy and packed with flavor, Parmesan polenta fries are your answer! These golden bites are simple to make and bursting with savory goodness. In this post, I’ll walk you through the ingredients, steps, and tips to ensure each fry turns out perfectly. Get ready to impress your taste buds and enjoy a delicious, guilt-free treat that everyone will love!
Ingredients
Main Ingredients for Parmesan Polenta Fries
– 1 cup polenta (fine cornmeal)
– 4 cups vegetable broth
– 1 cup freshly grated Parmesan cheese
– 2 tablespoons extra virgin olive oil
To make these fries, start with polenta. Polenta is made from ground corn. It gives the fries a nice base. You will also need vegetable broth. This adds flavor to the polenta. Freshly grated Parmesan cheese is key for taste and texture. Use extra virgin olive oil for a crispy finish.
Essential Seasonings
– 1 teaspoon garlic powder
– 1 teaspoon dried oregano
– Salt and freshly ground black pepper to taste
Seasonings are important for flavor. Garlic powder adds a savory taste. Dried oregano brings an earthy note. Salt and pepper enhance all the flavors in the dish. Adjust these to your liking for the best results.
Optional Garnishes
– Fresh parsley, finely chopped
For a pop of color, use fresh parsley. It adds a bright touch to the fries. You can sprinkle it on top just before serving. This makes the dish more appealing and tasty.
Step-by-Step Instructions
Preparing the Polenta
To start, take a medium saucepan. Pour in four cups of vegetable broth. Heat it on medium until it boils. This step is key for the polenta’s texture. Gradually whisk in one cup of polenta. Keep stirring to prevent lumps. Once mixed, lower the heat. Let it simmer for about 30 minutes. Stir often as it thickens. You want it to pull away from the pan’s sides. This means it’s ready for the next step.
Setting the Polenta
After cooking, remove the pan from heat. Stir in one cup of grated Parmesan cheese. Add one teaspoon of garlic powder and one teaspoon of dried oregano. Sprinkle in salt and black pepper to your taste. Mix well until everything blends. Now, grab a parchment-lined baking dish, about 9×9 inches. Spread the polenta mixture evenly in the dish. Let it cool at room temperature for an hour. For a firmer texture, place it in the fridge for 2 to 3 hours.
Baking the Fries
Preheat your oven to 425°F (220°C). Once the polenta is set, cut it into fries or wedges. The thickness is up to you. In a large mixing bowl, toss the fries with two tablespoons of olive oil. Make sure every piece gets coated. Now, arrange the fries in a single layer on a baking sheet. Bake for about 25 to 30 minutes. Flip them halfway through for even crispiness. When they turn golden brown, they are done. After baking, let them cool for a few minutes. Serve hot, garnished with chopped parsley for a fresh touch.
Tips & Tricks
Achieving the Perfect Texture
For the best texture, use fine polenta. It cooks up creamy and smooth. When you whisk it into boiling broth, stir constantly. This keeps lumps from forming. Simmer it gently for about 30 minutes. The polenta should pull away from the sides of the pot. Let it cool completely before cutting. This step is key for firm fries.
Flavor Enhancements
To boost flavor, add fresh herbs. Basil or thyme works well. You can also sprinkle in more garlic powder. For extra zing, try a dash of red pepper flakes. Pair these fries with a tasty dipping sauce. A garlic aioli or spicy ketchup will add depth to every bite.
Common Mistakes to Avoid
Avoid rushing the cooling time. Cutting the polenta too soon leads to mushy fries. Do not skip the olive oil toss before baking. This helps the fries crisp up perfectly. Lastly, don’t overcrowd the baking sheet. Space the fries out for even cooking. Following these tips will ensure your Parmesan polenta fries are a hit!
Variations
Alternative Cheeses to Use
If you want to switch up the cheese, try using other options. Cheddar adds a sharp taste. You can also use Gruyère for a nutty flavor. Feta cheese works great too, giving a tangy touch. Each cheese will change the taste, making it fun to experiment. Mix and match to find your favorite!
Different Seasoning Ideas
Seasoning can make a big difference. Aside from garlic powder and oregano, try smoked paprika for a smoky twist. You can also use Italian seasoning for a herby flavor. If you like heat, add some cayenne pepper. Don’t forget to adjust salt and pepper to your taste. Be bold and try new combinations!
Fun Dipping Sauce Pairings
Dipping sauces can make your fries even better. Try marinara sauce for a classic dip. A garlic aioli adds a creamy touch. You might enjoy a spicy sriracha mayo for some heat. If you love fresh flavors, a lemon herb yogurt dip is refreshing. Pairing your fries with different sauces makes for a fun snack!
Storage Info
How to Store Leftovers
To store your leftover Parmesan polenta fries, let them cool completely first. Place them in an airtight container. You can keep them in the fridge for up to three days. This way, they stay fresh and tasty for your next snack. If you want to keep them longer, consider freezing them.
Reheating Tips
When you’re ready to enjoy your leftover fries, preheat your oven to 400°F (200°C). Spread the fries on a baking sheet. Heat them for about 10 to 15 minutes. This method will help restore their crispiness. You can also reheat them in an air fryer for just a few minutes. This keeps them nice and crunchy.
Freezing Parmesan Polenta Fries
To freeze your fries, make sure they are completely cooled. Cut them into your desired shape before freezing. Lay them in a single layer on a baking sheet. Freeze for about an hour until solid, then transfer them to a freezer bag. They can stay frozen for up to three months. When you’re ready to eat, bake them straight from the freezer, adding a few extra minutes to the cooking time. Enjoy your crispy snack anytime!
FAQs
Can I use instant polenta for this recipe?
Yes, you can use instant polenta. Instant polenta cooks faster and may have a smoother texture. Just follow the package instructions for water and cooking time. Keep in mind, the flavor may be less rich than traditional polenta. I recommend using the same seasonings and cheese to boost taste.
How can I make these fries gluten-free?
To make these fries gluten-free, ensure your vegetable broth is gluten-free. Most vegetable broths are safe, but always check the label. The polenta itself is naturally gluten-free, so you’re already on the right track. This way, everyone can enjoy these tasty fries!
What should I serve with Parmesan Polenta Fries?
Parmesan Polenta Fries pair well with many dishes. Here are some ideas:
– Marinara sauce for dipping
– Garlic aioli for a creamy twist
– A fresh salad for a light side
– Grilled meats or vegetables for a hearty meal
These options will make your snack even more delightful!
In this post, we explored making Parmesan polenta fries step by step. We discussed main ingredients, essential seasonings, and optional garnishes to enhance flavor. I shared tips for the perfect texture and ways to avoid common mistakes. You learned about fun variations and how to store leftovers. Remember, the right cheese and sauces can make a big difference. Enjoy your cooking and feel free to experiment! You’ll create delicious fries that everyone will love.

. When making chutney, you may face some common issues. One frequent mistake is using unripe peaches. Unripe peaches lack flavor and sweetness. Always pick ripe, fragrant peaches for the best taste. Another error is not allowing the mixture to rest. Resting lets the peaches release juices, creating a rich base. If you skip this step, your chutney may end up dry. Sometimes, people add too much salt. Remember, you can always add more later. Start with a small pinch and taste before adding more. Also, avoid boiling the chutney on high heat. This can burn the sugar and ruin the flavor. Always cook on medium heat for better results. To make your chutney even more delicious, consider adding spices. A pinch of cardamom or nutmeg can boost flavor. Cinnamon and cloves are great, but try mixing in some allspice for a warm twist. If you want to adjust sweetness, add more brown sugar or honey. For a tangy kick, add extra apple cider vinegar. If you like heat, increase the red pepper flakes. Start with a little and taste as you go. You control the flavor! {{image_4}} You can switch out peaches for other fruits. Apples, mangoes, or plums work great. Each fruit brings its own taste and texture. Use ripe, juicy fruits for the best flavor. Fresh seasonal fruit always wins. For example, use apples in the fall and mangoes in summer. This keeps your chutney fresh and exciting. You can change the heat and sweetness easily. For more spice, add extra red pepper flakes. If you like it sweet, add more brown sugar or honey. Try adding spices like cumin or coriander for a unique twist. You can also mix in herbs like cilantro for freshness. These small changes can craft a new flavor profile. For more ideas, check the Full Recipe for suggestions on different flavor combinations. To keep your Quick Peach Chutney fresh, follow these steps: - Use a clean glass jar with a tight lid. - Make sure the chutney cools to room temperature before sealing. - Store it in the fridge. This helps lock in the flavors. Glass jars are great because they do not absorb odors. You can also use airtight plastic containers if you prefer. Just make sure they are food-safe. Quick Peach Chutney lasts about one week in the fridge. After that, the flavors may fade. Always check for any signs of spoilage, like off smells or mold. You can freeze the chutney if you want to keep it longer. Pour it into freezer-safe containers, leaving some space for expansion. It can last up to three months in the freezer. When you want to use it, simply thaw it in the fridge overnight. This way, you can enjoy your chutney whenever you like! Yes, you can make this chutney ahead of time. In fact, it tastes better after sitting for a day or two. The flavors mix and deepen, making the chutney even more delicious. You can store it in the fridge for up to two weeks. Just keep it in an airtight container to prevent it from drying out. Peach chutney is safe for canning if you follow proper methods. You should use a water bath canner for safe preservation. Always make sure to process jars for at least 10 minutes to ensure safety. Check seals before storing them in a cool, dark place. This way, you can enjoy your chutney long after peach season has ended. Peach chutney pairs well with many dishes. You can serve it with grilled chicken or pork for a burst of flavor. It also complements cheese boards, especially with creamy cheeses. Try it on sandwiches or burgers for a sweet and tangy kick. For a simple snack, enjoy it with crackers. The options are endless! Quick Peach Chutney is simple and fun to make. We explored the main ingredients, focusing on ripe peaches and how their quality matters. I shared tips on preparation, cooking steps, and even storage options to keep your chutney fresh. We talked about common mistakes and how to adjust flavors. You can use other fruits or tweak spice levels for personal taste. Remember, chutney makes a great addition to meals and snacks. Enjoy making this easy recipe, and feel free to share your creations!](https://joymealplan.com/wp-content/uploads/2025/07/68e09f5d-054f-4bea-af91-fb6a51bc34a0-768x768.webp)