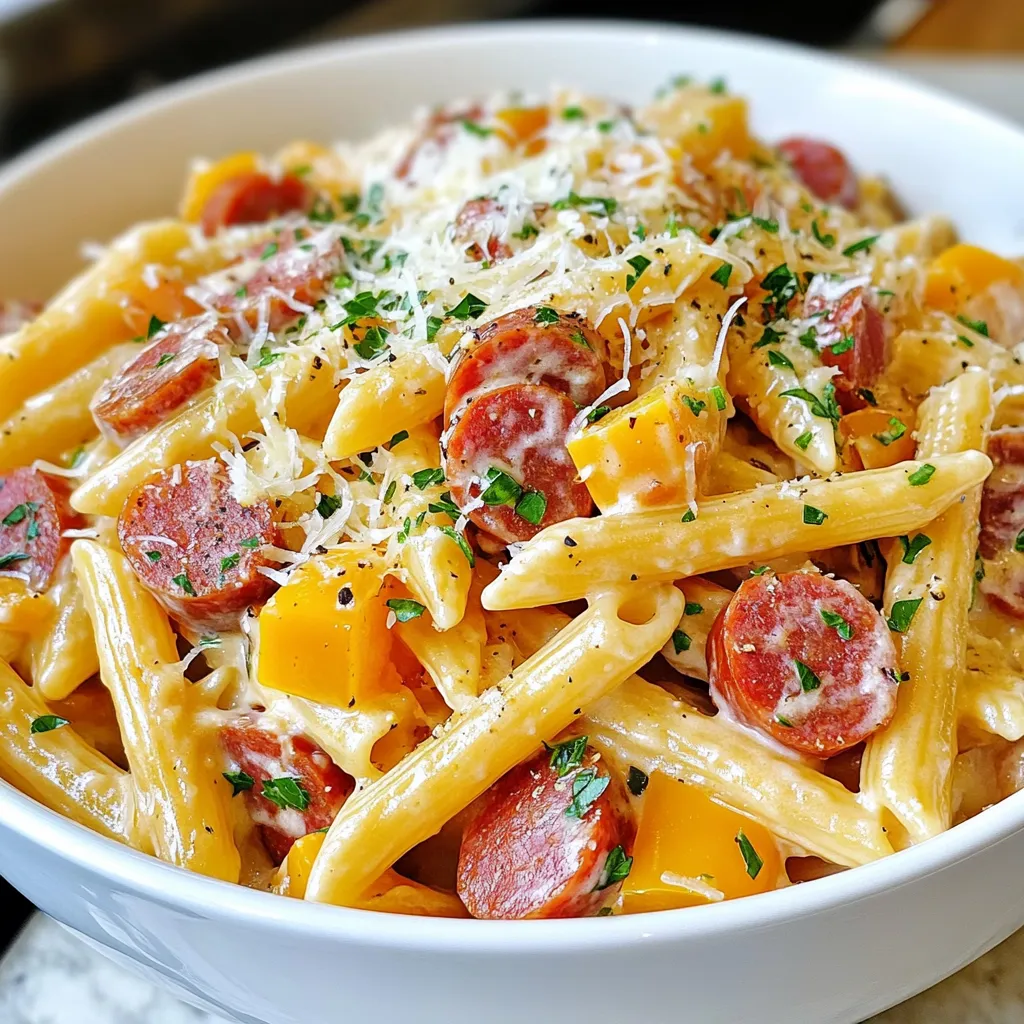
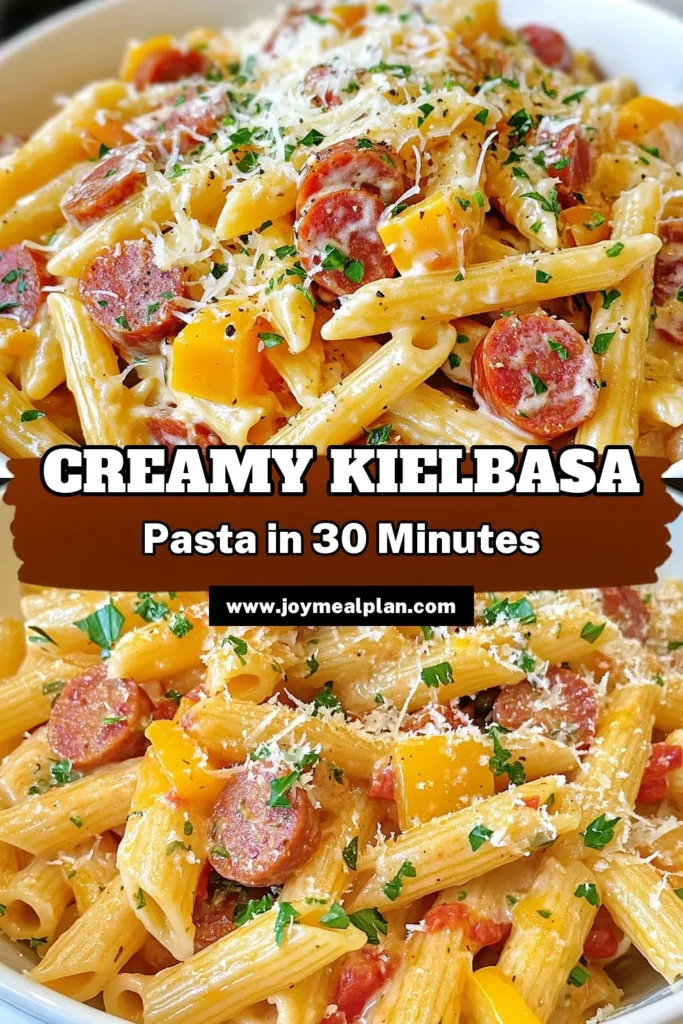
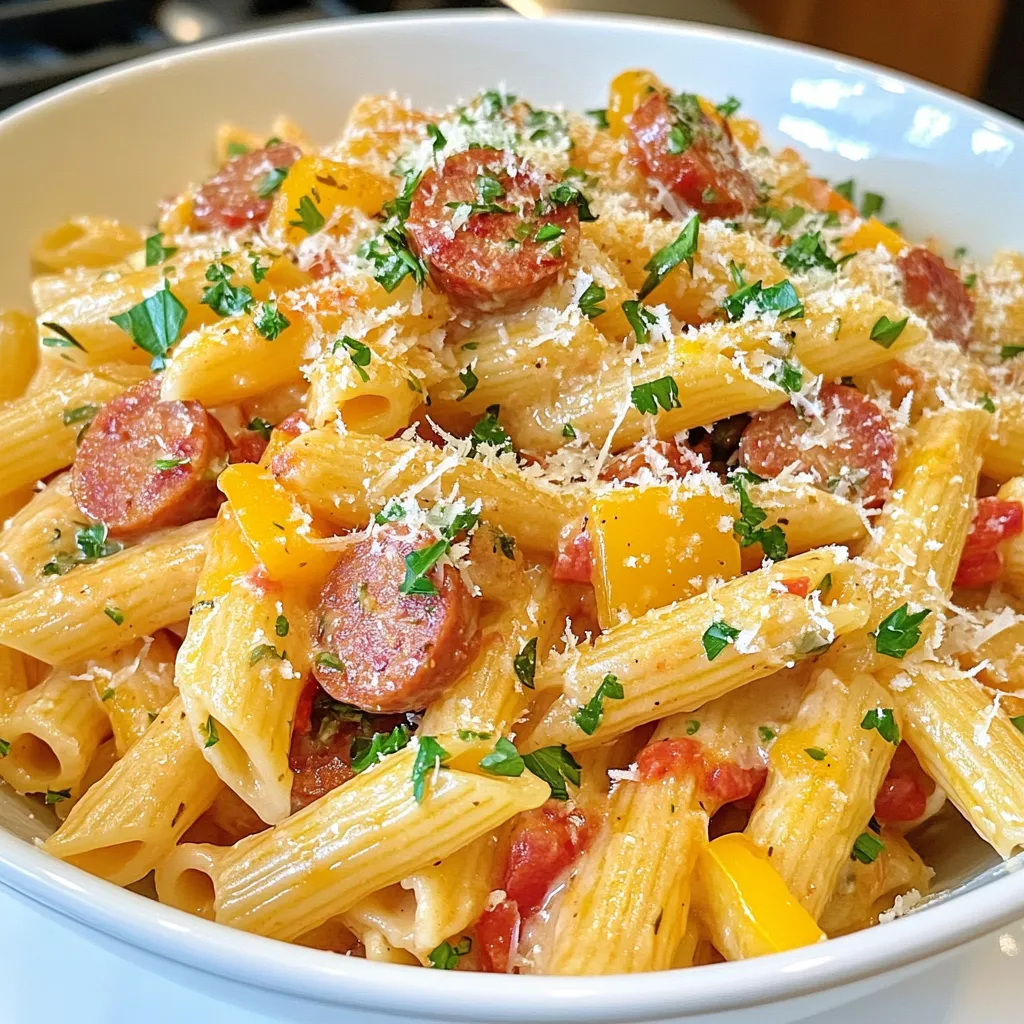
Creamy Kielbasa Pasta Flavorful and Easy Dish
Have you been craving a warm, comforting dish that’s quick and easy? Look no further! Creamy Kielbasa Pasta is a delightful meal bursting with flavor. In this article, I’ll guide you through simple steps, key ingredients, and helpful tips to make a dish that pleases everyone. Whether you’re a busy parent, a student, or just love good food, this recipe is perfect for you. Let’s dive in!
Why I Love This Recipe
- Quick and Easy: This recipe comes together in just 30 minutes, making it perfect for busy weeknights.
- Flavor Packed: The combination of kielbasa, creamy sauce, and colorful bell peppers creates a delightful explosion of flavors.
- Customizable: You can easily swap out vegetables or pasta types to suit your preferences or what you have on hand.
- Comfort Food: This dish is a true comfort food that warms the heart and satisfies the soul.
Ingredients
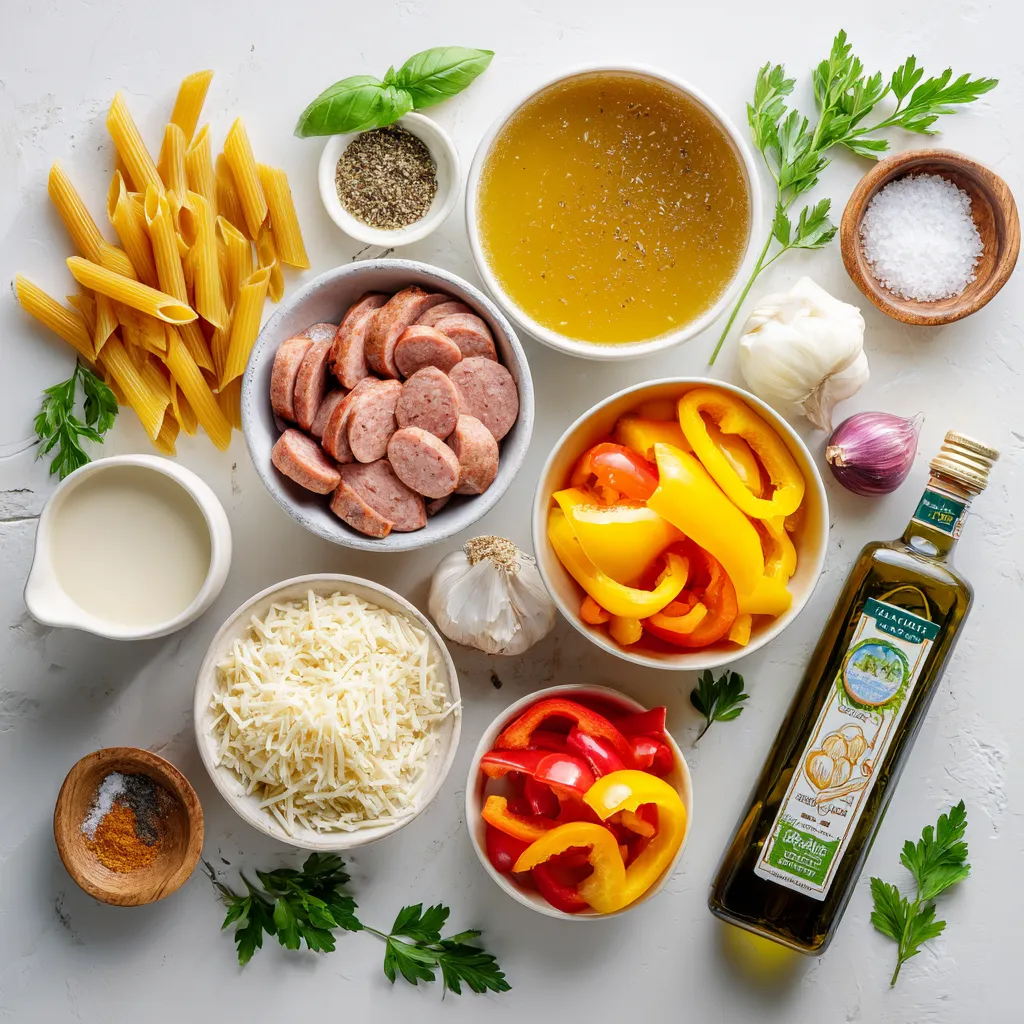
Complete List of Ingredients
– 8 ounces pasta (penne or your choice)
– 1 tablespoon olive oil
– 1 medium onion, diced
– 2 cloves garlic, minced
– 12 ounces kielbasa, sliced into half-moons
– 1 cup bell peppers, diced (preferably a mix of red, yellow, and green for color)
– 1 cup heavy cream
– 1 cup chicken broth (low-sodium recommended)
– 1 teaspoon Italian seasoning (dried or fresh)
– Salt and black pepper to taste
– ½ cup freshly grated Parmesan cheese
– Fresh parsley, chopped (for garnish)
Explanation of Key Ingredients
The main star is the kielbasa. This sausage gives a smoky flavor to the dish. I love using a mix of bell peppers. They add color and sweetness. Heavy cream makes the sauce rich and smooth. It blends well with chicken broth for a balanced taste. Onion and garlic bring out the savory notes. Italian seasoning ties it all together with aromatic herbs. Parmesan cheese adds a salty kick and creaminess to the sauce.
Recommended Ingredient Substitutions
If you can’t find kielbasa, try using smoked sausage or chorizo. For a lighter dish, swap heavy cream with half-and-half or Greek yogurt. You can use vegetable broth instead of chicken broth for a vegetarian option. If you want a healthier pasta, whole wheat or gluten-free pasta works too. Don’t have bell peppers? Use zucchini or spinach for a fresh twist.
Step-by-Step Instructions
Detailed Cooking Process
1. Cook the Pasta: Start by boiling a large pot of salted water. Add 8 ounces of pasta and cook it until al dente. After cooking, drain the pasta and set it aside. Remember to keep ½ cup of the pasta water.
2. Sauté the Aromatics: In a large skillet, heat 1 tablespoon of olive oil over medium heat. Add 1 diced onion and sauté for about 3-4 minutes until it’s soft and translucent.
3. Add Garlic: Next, add 2 minced garlic cloves to the skillet. Stir for about a minute to let the garlic release its aroma. Be careful not to burn it.
4. Brown the Kielbasa: Add 12 ounces of sliced kielbasa to the skillet. Cook for 5-6 minutes until the kielbasa is brown and its flavors are released.
5. Incorporate Bell Peppers: Stir in 1 cup of diced bell peppers. Cook for another 3-4 minutes to let them soften and blend with the other ingredients.
6. Create the Creamy Sauce: Pour in 1 cup of heavy cream and 1 cup of low-sodium chicken broth. Add 1 teaspoon of Italian seasoning and mix well. Let it simmer for about 5 minutes to thicken.
7. Combine Pasta and Sauce: Season the sauce with salt and black pepper to taste. Gradually add the cooked pasta and the reserved pasta water, stirring until everything is coated with the sauce.
8. Add Cheese: Sprinkle ½ cup of grated Parmesan cheese over the pasta. Stir gently until the cheese melts and combines with the sauce.
9. Serve with Flair: Plate the pasta and garnish with fresh parsley. Serve it in a large bowl or on individual plates.
Important Cooking Techniques
– Sautéing: This step helps release flavors from the onion and garlic. Use medium heat to avoid burning.
– Simmering: Letting the sauce simmer allows it to thicken and flavors to mix. Keep an eye on it to prevent boiling.
– Coating: When combining the pasta and sauce, stir gently to ensure even coverage.
Common Mistakes to Avoid
– Overcooking the Pasta: Make sure to follow package instructions. Overcooked pasta becomes mushy.
– Burning Garlic: Garlic cooks quickly. Stir it in for a minute and remove it from heat before it turns dark.
– Not Reserving Pasta Water: This starchy water helps the sauce stick to the pasta better. Always save some!
Tips & Tricks
Best Practices for Perfecting Creamy Sauce
To make the best creamy sauce, start with the right heat. Use medium heat to avoid burning garlic. This keeps the flavors bright. Always add the cream slowly. This helps it mix well with the broth. Stir often to keep the sauce smooth. If the sauce seems thick, add a bit of the reserved pasta water. This will help reach your desired consistency.
Flavor Enhancements and Seasoning Advice
Want to boost the flavor? Add fresh herbs like basil or thyme. These herbs add a lovely touch. You can also add a pinch of red pepper flakes for some heat. If you enjoy a bit of tang, squeeze fresh lemon juice over the dish before serving. This brightens up the flavors.
Serving Suggestions and Pairing Ideas
Serve your creamy kielbasa pasta in a shallow bowl. This makes it look great and easy to eat. Top each serving with extra Parmesan and parsley. For a complete meal, pair it with crusty garlic bread. A fresh side salad also works well. Enjoy your meal with a light white wine, like Pinot Grigio, for a perfect match!
Pro Tips
- Use Starchy Pasta Water: Reserve some pasta cooking water to adjust the sauce’s consistency. This starchy water helps the sauce cling better to the pasta.
- Customize Your Veggies: Feel free to add other vegetables like spinach, mushrooms, or zucchini for extra flavor and nutrition. Just sauté them alongside the bell peppers.
- Choose Quality Kielbasa: Opt for high-quality kielbasa for the best flavor. Smoked varieties add a wonderful depth to the dish.
- Garnish Generously: Don’t skip the parsley! It adds a beautiful pop of color and freshness that enhances the overall presentation and flavor.
Variations
Different Types of Pasta to Use
You can switch up the pasta for this dish. While penne works great, you can try other shapes. Fusilli, rotini, or even bowtie pasta can add fun twists. Each type holds the creamy sauce well. Just choose what you like best. Cooking times may vary, so check the package for details.
Protein Alternatives
If you want a different protein, chicken or shrimp are tasty options. For chicken, use diced breast or thighs. Cook it until golden before adding the garlic. For shrimp, toss them in after the garlic. They need just a few minutes to cook. Both choices will keep the dish flavorful and filling.
Vegetarian Versions of Kielbasa Pasta
To make a vegetarian version, skip the kielbasa. Instead, add hearty veggies like mushrooms or zucchini. These will soak up the sauce and add texture. You can also use plant-based sausage for a similar taste. This way, everyone can enjoy a creamy pasta dish!
Storage Info
Proper Storage Techniques
To keep leftover creamy kielbasa pasta fresh, store it in an airtight container. Make sure the pasta cools down first. This will help prevent moisture buildup. Place the container in the fridge. The pasta will last for about 3 to 4 days. Label the container with the date to track freshness.
Reheating Instructions
When you’re ready to enjoy your leftovers, reheat the pasta on the stove. Add a splash of chicken broth or cream to keep it creamy. Heat over medium-low heat, stirring often. You can also use the microwave. Place the pasta in a microwave-safe bowl, cover it, and heat in intervals of 1 minute. Stir in between to ensure even heating.
Freezing Creamy Kielbasa Pasta
You can freeze creamy kielbasa pasta for later. Use a freezer-safe container and portion it out for convenience. Be sure to leave some space at the top, as the pasta may expand. It can last for up to 2 months in the freezer. To reheat, thaw overnight in the fridge, then follow the reheating instructions.
FAQs
What can I use instead of kielbasa?
You can use other types of sausage like smoked sausage or andouille sausage. Chicken or turkey sausage works well, too. For a vegetarian option, try plant-based sausages. They give a similar flavor and texture.
Can I make this dish gluten-free?
Yes, you can! Simply swap regular pasta for gluten-free pasta. There are many good options, like rice or chickpea pasta. Just make sure to check the package for cooking times, as they can vary.
How do I thicken the sauce if it’s too thin?
If your sauce is too thin, you can add more cheese. A bit of grated Parmesan helps. You can also mix a tablespoon of cornstarch with water and stir it in. Let it cook for a few minutes to thicken.
How long does creamy kielbasa pasta last in the fridge?
Creamy kielbasa pasta lasts about 3 to 4 days in the fridge. Store it in an airtight container. Make sure it cools down before sealing to keep it fresh.
This blog post gave you all the tools to make creamy kielbasa pasta. We covered ingredients, cooking methods, and helpful tips. With the right ingredients and techniques, you can create a delicious dish every time. Remember, don’t skip the recommendations and storage tips to keep your meals fresh. Try different pasta types and protein options for variety. Enjoy sharing this dish with friends and family. Embrace the process and enjoy your cooking adventure

Creamy Kielbasa Pasta Delight
Ingredients
- 8 ounces pasta (penne or your choice)
- 1 tablespoon olive oil
- 1 medium onion, diced
- 2 cloves garlic, minced
- 12 ounces kielbasa, sliced into half-moons
- 1 cup bell peppers, diced
- 1 cup heavy cream
- 1 cup chicken broth
- 1 teaspoon Italian seasoning
- to taste salt and black pepper
- 0.5 cup freshly grated Parmesan cheese
- to taste fresh parsley, chopped
Instructions
- Begin by bringing a large pot of salted water to a boil. Add the pasta of your choice and cook according to the package instructions until al dente. Once cooked, drain the pasta and set aside, reserving ½ cup of the starchy pasta cooking water for later use.
- In a large skillet, heat the olive oil over medium heat. Add the diced onion and sauté for approximately 3-4 minutes, or until it becomes translucent and softens.
- Introduce the minced garlic to the skillet and continue to cook for an additional minute, stirring frequently to release its fragrant aroma without burning.
- Add the sliced kielbasa to the skillet. Cook for about 5-6 minutes or until the kielbasa is nicely browned and has released its flavorful oils.
- Stir in the diced bell peppers and cook for another 3-4 minutes, allowing them to soften and integrate with the other ingredients.
- Pour in the heavy cream and chicken broth, then sprinkle in the Italian seasoning. Stir the mixture well and let it come to a gentle simmer for about 5 minutes.
- Season the sauce with salt and black pepper to taste. Gradually add the cooked pasta and reserved pasta water, stirring until everything is evenly coated in the creamy sauce.
- Sprinkle the grated Parmesan cheese over the pasta. Stir gently until the cheese melts and combines with the sauce, creating a luscious and creamy consistency. Remove the skillet from heat.
- Plate the pasta onto serving dishes, garnishing generously with freshly chopped parsley for a touch of color and freshness.
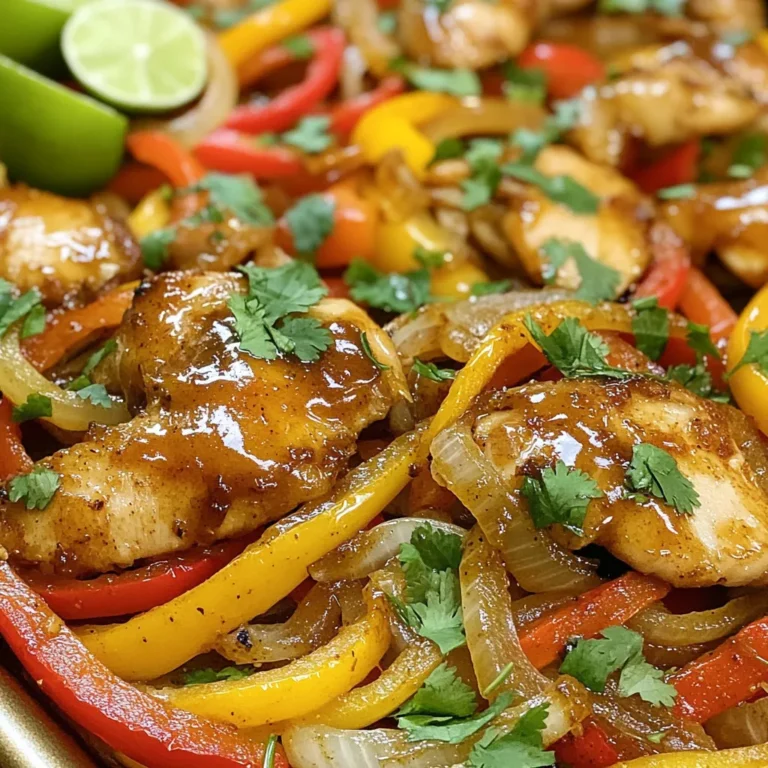
![- 1 lb boneless, skinless chicken breasts - 2 bell peppers (red and green) - 1 medium yellow onion - Olive oil and spices The main ingredients are simple yet flavorful. I use boneless, skinless chicken breasts because they cook evenly. Bell peppers add color and sweetness, while the onion provides a tasty base. Olive oil helps the spices stick and adds richness. - Chili powder - Ground cumin - Garlic powder - Smoked paprika - Onion powder The seasoning blend makes this dish special. Chili powder gives a nice kick. Ground cumin adds warmth, while garlic and onion powders boost the flavor. Smoked paprika brings depth with its smoky taste. - Flour tortillas - Fresh cilantro - Lime wedges for serving To enjoy the fajitas, I use small flour tortillas that hold the filling well. Fresh cilantro adds a bright touch, and lime wedges bring a zesty finish. These extras make the meal even better. For the full recipe, check out the [Full Recipe]. - Set the oven to 425°F (220°C). - Line a sheet pan with parchment paper. - In a bowl, whisk together olive oil and spices. - Coat the chicken with the marinade well. - Add the sliced bell peppers and onion to the chicken. - Spread the mixture evenly across the sheet pan. - Bake for 20-25 minutes, stirring halfway through. This recipe makes it easy to prepare a tasty meal. You can enjoy it with warm tortillas. For the full recipe, check out the details provided earlier. To make the best sheet pan chicken fajitas, marinate the chicken longer if you can. Letting it soak in flavors for more time makes a big difference. A meat thermometer is also very handy. It helps you check if your chicken is fully cooked. Aim for 165°F (74°C) for safety. A fajita bar is a fun way to serve these. Lay out all the toppings for everyone to enjoy. Think about adding sour cream, salsa, or guacamole. To warm the tortillas, heat them in a dry skillet for about 30 seconds on each side. You can also wrap them in foil and place them in the oven for the last five minutes of cooking. Make your presentation pop with colorful toppings. Fresh avocado, diced tomatoes, and shredded cheese can make your dish look great. Don't forget to garnish with lime wedges and cilantro. These small touches bring out the flavors and make the dish more inviting. Enjoy the full recipe for more details on how to create this tasty meal! {{image_4}} You can switch the chicken for shrimp or tofu. Shrimp cooks fast and adds a nice flavor. Tofu is great for a plant-based option. If you want to use chicken, try different cuts like thighs. Thighs are juicy and full of flavor. If you want a meatless meal, replace chicken with mixed vegetables. Bell peppers, zucchini, and corn work well. Add beans for protein. Black beans or pinto beans add creaminess and taste. This keeps your meal hearty and filling. Want to spice things up? Add jalapeños for heat. They bring a nice kick that many love. You can also mix in different herbs and spices. Try oregano, cilantro, or smoked paprika for variety. Each adds unique flavors to your dish. Explore these options to find your favorite twist on this recipe! For the full recipe, check the link. After you enjoy your sheet pan chicken fajitas, store any leftovers in an airtight container. This keeps the flavors fresh. You can refrigerate them for up to 3 days. Make sure to let them cool before sealing to avoid steam buildup. To freeze the fajita mix, place it in a freezer-safe bag or container. Remove as much air as possible to prevent freezer burn. You can keep it frozen for up to 3 months. For thawing, move it to the fridge overnight. If you're in a hurry, use the microwave's defrost setting. To reheat without drying out your fajitas, use the oven. Preheat it to 350°F (175°C) and warm the fajitas in a covered dish for about 10-15 minutes. You can also use a skillet over low heat, adding a splash of water to create steam. This keeps everything juicy. Get creative with leftovers! Use them in tacos, wraps, or salads for a quick meal. You can even mix them into scrambled eggs for a tasty breakfast. For the full recipe, check it out above. Yes, you can use frozen chicken for this recipe. Just follow these guidelines: - Thawing: Always thaw the chicken before marinating. You can do this overnight in the fridge or use the microwave's defrost setting. - Cooking Time: If you skip thawing and bake from frozen, increase the cooking time by 5-10 minutes. - Check Doneness: Use a meat thermometer to ensure the chicken reaches 165°F (74°C). There are many tasty sides to pair with your fajitas. Here are some great options: - Rice: Cilantro lime rice adds a fresh touch. - Beans: Black beans or refried beans are both hearty and flavorful. - Salad: A simple green salad with lime vinaigrette complements the fajitas well. - Chips and Salsa: Serve with tortilla chips and your favorite salsa for a crunchy side. Want extra heat? Here are some tips to spice up your fajitas: - Add Jalapeños: Sliced fresh jalapeños can give a nice kick. - Use Hot Sauce: Drizzle your favorite hot sauce over the fajitas before serving. - Increase Spice Mix: Add more chili powder or a pinch of cayenne pepper to the marinade for more heat. For the complete recipe, check the Full Recipe section. In this blog post, we covered a tasty sheet pan chicken fajitas recipe. You learned about the key ingredients and how to prepare them. I shared tips to make your fajitas perfect, including variations for different diets. Storing leftovers and reheating them properly helps reduce waste. Remember, these fajitas are easy to customize and fun to serve. Enjoy making them with family or friends, and let your creativity shine. Your next meal can be delicious and simple!](https://joymealplan.com/wp-content/uploads/2025/06/bce38261-6b1a-4600-b2d8-c9c563997242-768x768.webp)