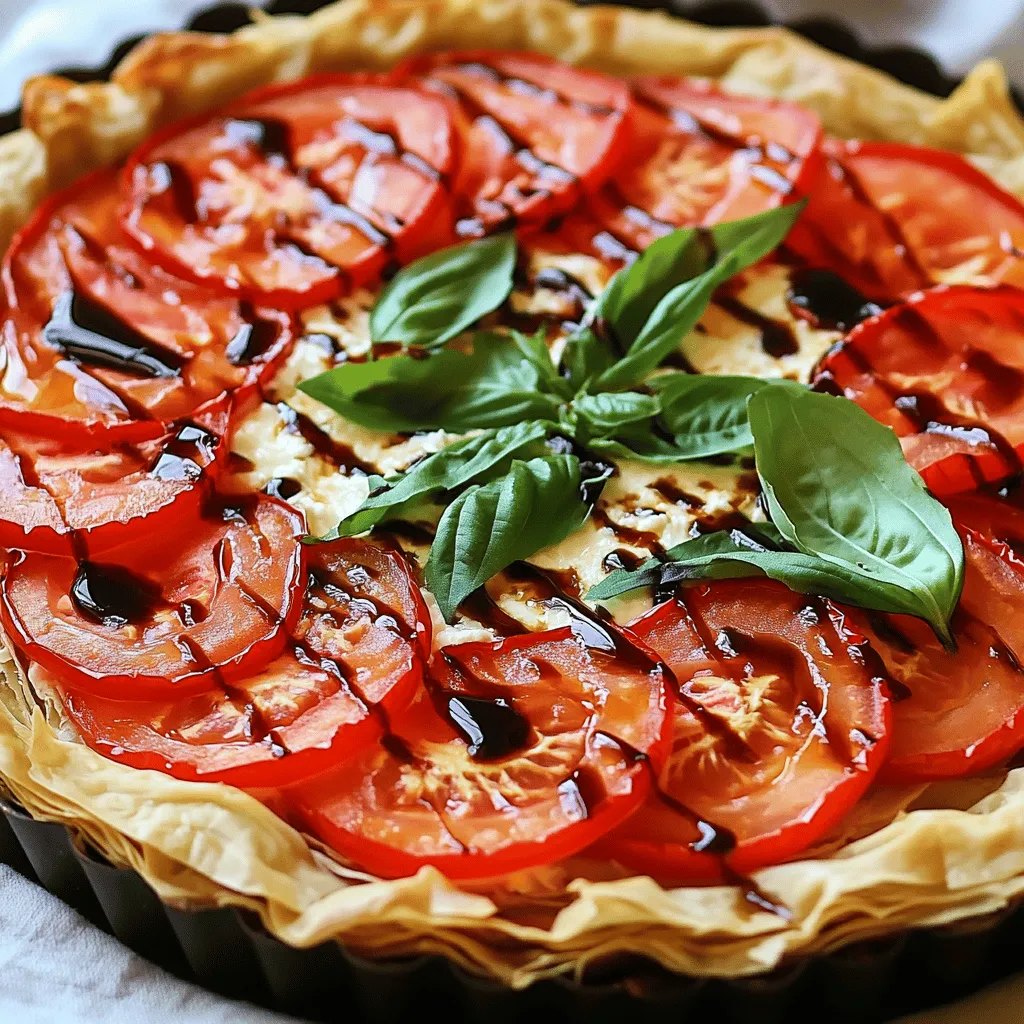
If you love fresh flavors, this Fresh Tomato Basil Tart is a must-try! With its easy steps and simple ingredients, you’ll impress anyone at your table. Imagine biting into crispy pastry topped with juicy tomatoes and aromatic basil. This recipe is perfect for lunch, dinner, or a special gathering. Let me share how to make this tasty dish that brightens any meal. Dive in, and let’s get cooking!
Ingredients
List of Ingredients
– 1 pre-made phyllo pastry sheet (about 8-10 sheets) or one ready-made pie crust
– 4 medium ripe tomatoes, thinly sliced
– 1 cup fresh basil leaves, roughly chopped
– 1 cup ricotta cheese
– 1 cup shredded mozzarella cheese
– 2 tablespoons extra virgin olive oil, plus additional for brushing
– 1 teaspoon garlic powder
– Salt and freshly cracked black pepper to taste
– Optional: Balsamic glaze for drizzling
When I create this fresh tomato basil tart, I love to use simple, fresh ingredients. The star is the ripe tomatoes. They bring bright flavor and juicy texture. I choose tomatoes that are firm but not hard. Their color should be vibrant.
Basil is another key player. Fresh basil adds a sweet and peppery taste. I prefer to roughly chop it to release its oils. This way, every slice of the tart bursts with flavor.
For creaminess, I use ricotta cheese. It adds a rich and smooth layer. I mix it with garlic powder, salt, and pepper. This mix gives a nice seasoning base.
Next, mozzarella cheese adds a lovely stretch. It melts beautifully and gives that gooey texture we crave. Together, they make the tart creamy and savory.
I also use extra virgin olive oil. It not only adds flavor but helps the crust brown nicely. A drizzle before baking makes a big difference.
Lastly, I sometimes add balsamic glaze. It gives a sweet and tangy touch. It’s optional, but I find it elevates the dish.
Each ingredient plays a role in making this tart special. When you gather these items, you set the stage for a delightful meal.
Step-by-Step Instructions
Preparation Steps
1. Preheating the oven
Start by preheating your oven to 375°F (190°C). This step is key to getting a nice, crispy crust.
2. Preparing the pastry
If using phyllo pastry, layer 4-5 sheets in a tart pan. Brush a thin layer of olive oil between each sheet. This adds flavor and helps create a crunchy texture. If you opt for a pie crust, just place it in the tart pan and crimp the edges for a nice look.
3. Making the ricotta mixture
In a mixing bowl, combine ricotta cheese, garlic powder, salt, and pepper. Use a spatula to mix until smooth. This mixture adds creaminess to the tart.
Assembling the Tart
1. Layering tomatoes and cheese
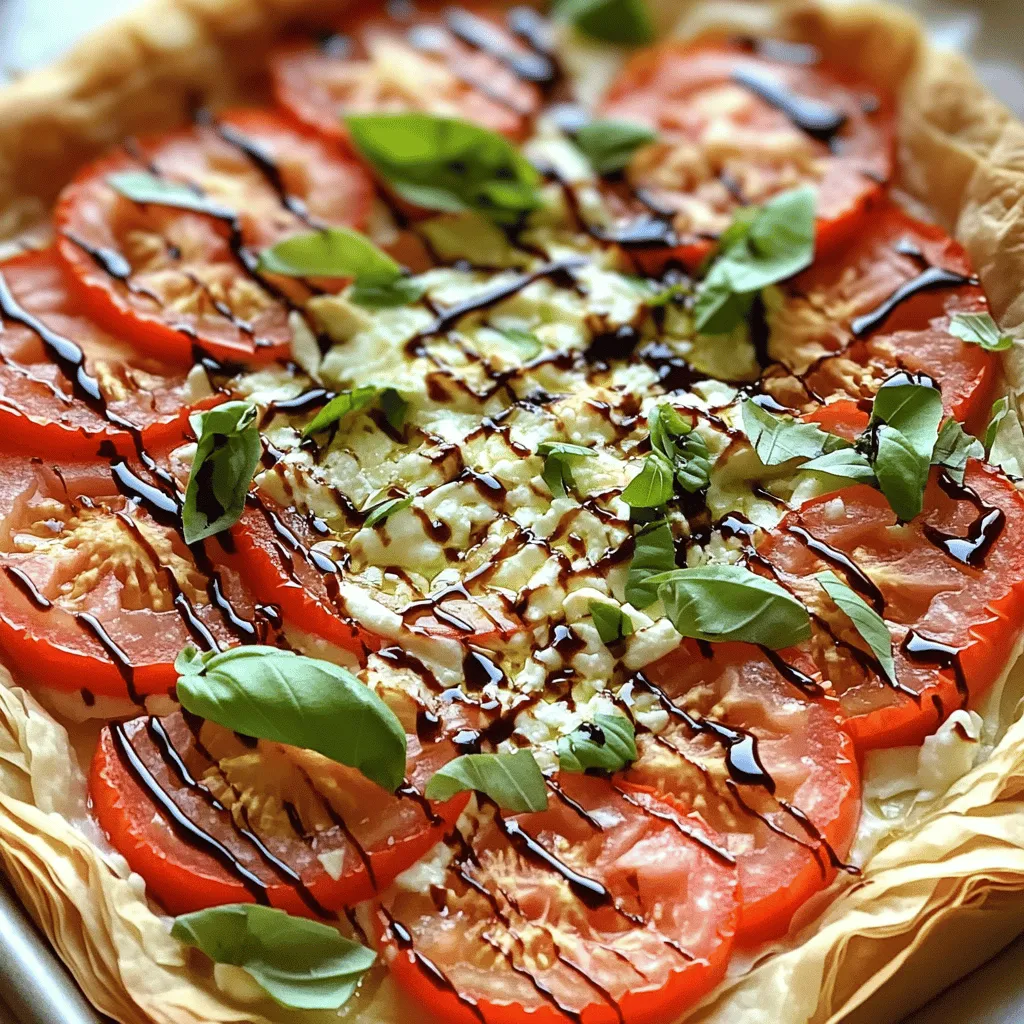
Spread the ricotta mixture evenly over the crust. Then, layer the sliced tomatoes on top. Overlap the slices slightly for a pretty design. After the tomatoes, sprinkle shredded mozzarella cheese over them. Finally, add the chopped basil for a fresh taste.
2. Drizzling olive oil
Drizzle the remaining olive oil over the top of the tart. This helps the tart brown nicely and boosts flavor.
Baking and Cooling
1. Baking duration and tips
Place the tart in your preheated oven. Bake for 25-30 minutes. Look for a golden brown crust and bubbly cheese. This means it’s nearly ready!
2. Cooling period before slicing
Once baked, remove the tart from the oven. Let it cool on a wire rack for a few minutes. This cooling time helps set the filling, making slicing easier.
Tips & Tricks
Ideal Cooking Times
For the best results, set your oven to 375°F (190°C). This temperature helps the tart cook evenly and creates a nice, crisp crust.
To check for doneness, look for a golden-brown crust and bubbly cheese. The cheese should be slightly browned, adding flavor and texture. If you see these signs, your tart is ready!
Presentation Tips
Garnishing makes your dish pop. Slice the tart into wedges and serve on a rustic wooden board. Add fresh basil leaves on top for a vibrant touch.
You can also drizzle balsamic glaze over the tart right before serving. It adds a sweet and tangy flavor that enhances the dish.
Common Mistakes to Avoid
One mistake is ending up with a soggy crust. To prevent this, always brush the pastry with olive oil or egg wash before adding toppings.
Another common issue is uneven cheese melting. Spread the cheese evenly and avoid overloading one side. This ensures every bite is cheesy and delicious.
Variations
Ingredient Swaps
To make your Fresh Tomato Basil Tart even more exciting, try using different cheeses. Instead of ricotta, you can use goat cheese or feta. Both add a unique tang. For mozzarella, consider using provolone or a sharp cheddar. These swaps change the taste while keeping it delicious.
You can also play with herbs and spices. Instead of basil, use fresh oregano or thyme for a new flavor. A pinch of red pepper flakes can add a little heat. Just remember, keep the balance so it doesn’t overpower the fresh tomatoes.
Seasonal Adaptations
Seasonal vegetables can enhance your tart. In summer, add zucchini or bell peppers for a colorful twist. In fall, roasted butternut squash works well. These veggies bring new flavors and textures to your dish.
Don’t shy away from incorporating different flavors. For instance, a sprinkle of smoked paprika gives a lovely depth. You could even add sun-dried tomatoes for a rich, sweet touch. These tweaks keep the tart fresh and exciting all year round.
Dietary Variants
If you need vegan or gluten-free options, it’s easy to adapt. For a vegan tart, swap the cheeses for cashew cream or tofu. These provide creaminess without dairy. Use gluten-free pie crust or phyllo pastry for a gluten-free option.
These variations allow everyone to enjoy this dish. You can create a tart that fits any diet without losing flavor.
Storage Info
Storing Leftovers
To keep your fresh tomato basil tart tasty, store leftovers properly. First, let the tart cool completely. Wrap it in plastic wrap or place it in an airtight container. This helps keep flavors and moisture in. If you prefer, you can also use aluminum foil for wrapping. Store it in the fridge for up to three days for the best taste.
Reheating Instructions
When ready to enjoy your leftover tart, preheat your oven to 350°F (175°C). Place the sliced tart on a baking sheet for even heating. Bake for about 10-15 minutes until it’s warm. This method keeps the crust crisp and the cheese melty. To avoid sogginess, don’t microwave it. Microwaving can make the crust soft and chewy, which isn’t ideal. Enjoy your delicious tart again!
FAQs
How to make a tomato basil tart from scratch?
To make a tomato basil tart from scratch, you can choose between two crust options.
– Homemade crust:
1. Combine flour, butter, and salt in a bowl.
2. Mix until crumbly.
3. Add cold water, one tablespoon at a time, until the dough forms.
4. Roll out the dough and fit it into your tart pan.
5. Chill the crust for about 30 minutes before filling.
– Store-bought crust:
Use a pre-made phyllo pastry or ready-made pie crust. This saves time and effort. Simply place it in your tart pan and crimp the edges.
I often use phyllo for a crisp texture, but a pie crust works great too. Each option gives a unique taste.
Can I prepare the tart in advance?
Yes, you can prepare the tart in advance. Here are some tips:
– Make the crust: You can bake the crust a day ahead. Cool it and store it in the fridge.
– Prep the filling: You can mix the ricotta with seasonings a day before. Keep it in the fridge until you’re ready to assemble.
– Assemble and bake: Assemble the tart a few hours before serving. Bake it fresh to enjoy the best flavors.
Store leftovers in an airtight container in the fridge. They stay good for 2-3 days.
What to serve with fresh tomato basil tart?
This tart pairs well with various side dishes and drinks.
– Complementary side dishes:
– A simple green salad with vinaigrette.
– Roasted vegetables for added flavor.
– Garlic bread for a comforting touch.
– Drinks:
– A chilled white wine, like Sauvignon Blanc.
– Fresh lemonade for a refreshing option.
These options enhance your meal and make it even more enjoyable.
You can make a tasty tomato basil tart with simple steps. We covered key ingredients, like fresh tomatoes and phyllo pastry. The baking process helps bring out rich flavors, while our tips keep your crust crispy. I shared several ways to adapt the tart for diets and seasons. Lastly, proper storage keeps leftovers fresh, making them easy to enjoy later. Dive in, try this recipe, and create your own delicious variations. Enjoy the process—it’s all about making a meal you love!


