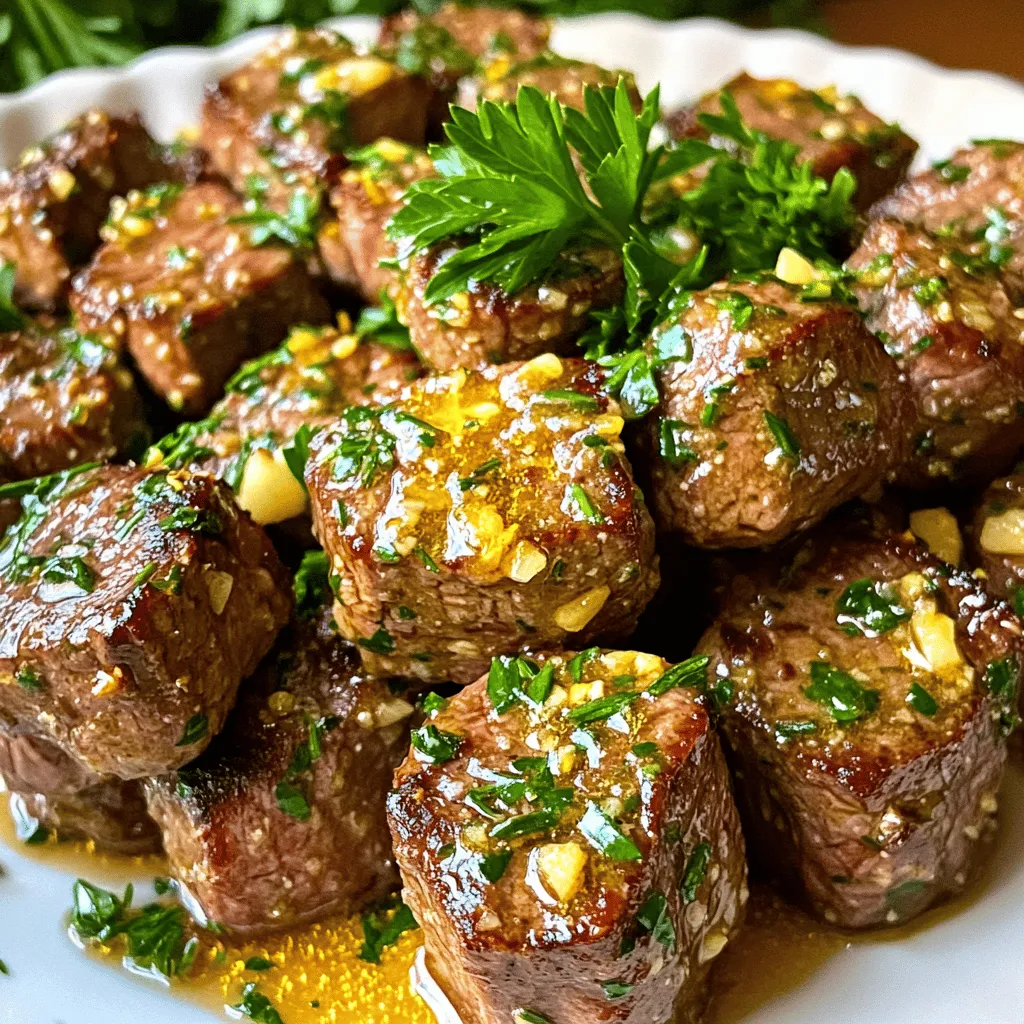
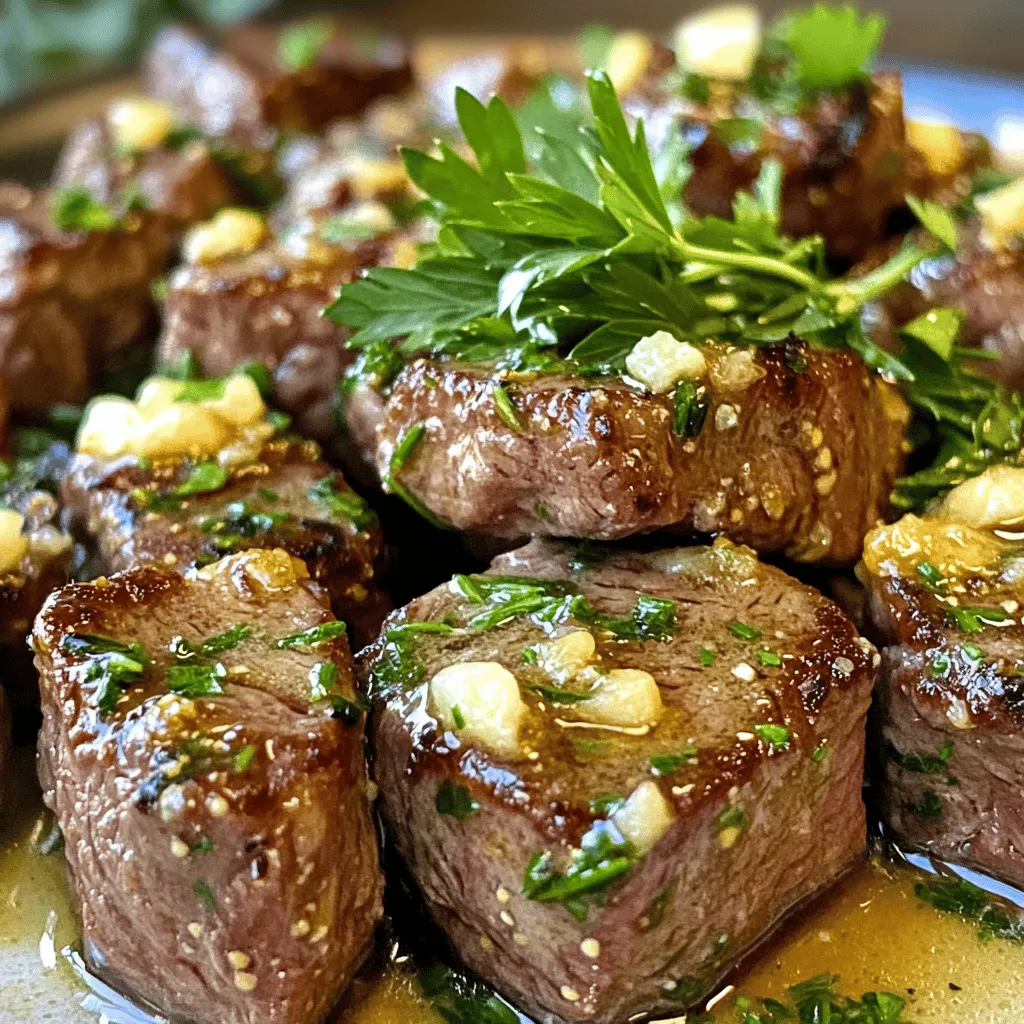
Are you ready for a dish that bursts with flavor in every bite? My Garlic Butter Steak Bites recipe is your new go-to for a quick and easy meal. Perfectly seared steak is combined with a rich garlic butter sauce, making for a satisfying dish that impresses. Follow my simple steps, and you’ll have a tasty meal that friends and family will love. Let’s dive into the details!
Ingredients
Essential Ingredients for Garlic Butter Steak Bites
To make Garlic Butter Steak Bites, you need some key items. Here’s what you will need:
– 1 lb (450g) steak (such as sirloin or ribeye), cut into 1-inch cubes
– 4 tablespoons unsalted butter
– 4 cloves garlic, minced
– 1 tablespoon fresh rosemary, finely chopped (or 1 teaspoon dried rosemary)
– 1 tablespoon fresh thyme leaves (or 1 teaspoon dried thyme)
– Salt and pepper, to taste
– 1 tablespoon olive oil
– Fresh parsley, chopped, for garnishing
These ingredients create a rich, buttery flavor that makes each bite so tasty.
Optional Ingredients for Extra Flavors
While the main ingredients are fantastic, you can add a few extra items for even more taste. Consider these options:
– 1 tablespoon of Worcestershire sauce for depth
– A splash of balsamic vinegar for a hint of sweetness
– Red pepper flakes for some heat
These optional items can really enhance the flavor of your steak bites. Feel free to mix and match based on what you like!
Recommended Cuts of Steak
Choosing the right steak is crucial for great results. Here are some recommended cuts:
– Sirloin: This cut is lean and has nice flavor.
– Ribeye: Ribeye is juicy and very tender. It has great marbling.
– Filet Mignon: This cut is super tender and perfect for a fancy dinner.
Using these cuts will help you achieve the best taste and texture in your Garlic Butter Steak Bites.
Step-by-Step Instructions
Preparation and Seasoning Instructions
To start, you need to prepare your steak bites. Cut 1 pound of steak into 1-inch cubes. I like using sirloin or ribeye for their great taste. Season the cubes generously with salt and pepper. Make sure each piece is coated well to enhance the flavor. This step is crucial for tasty steak bites.
Cooking Instructions for Perfectly Searing Steak Bites
Next, heat a large skillet over medium-high heat. Add 1 tablespoon of olive oil and wait until it’s hot and shimmering. Once ready, add the seasoned steak bites in a single layer. Avoid overcrowding the pan; this helps to get a nice sear. Cook the bites for about 2-3 minutes on each side. You want them to be golden-brown and cooked to your liking. I recommend medium rare for the best taste and tenderness.
When done, remove the steak bites from the skillet and place them on a plate. Cover them loosely with aluminum foil to keep them warm. This will help them stay juicy while you make the garlic butter sauce.
Making the Garlic Butter Sauce
In the same skillet, lower the heat to medium and add 4 tablespoons of unsalted butter. Let it melt completely. Once melted, add 4 cloves of minced garlic, 1 tablespoon of chopped rosemary, and 1 tablespoon of fresh thyme. Stir the mix for 1-2 minutes until you can smell the great aroma. Be careful not to burn the garlic; it should be lightly golden.
Now, return the steak bites to the skillet. Toss them gently in the garlic butter sauce. Ensure each piece gets well-coated. This adds tons of flavor and makes the steak bites even better. Finally, transfer everything to a serving platter. Drizzle any extra garlic butter over the top for an amazing finish. Garnish with chopped parsley for a fresh look.Enjoy your delicious garlic butter steak bites!
Tips & Tricks
How to Achieve the Perfect Steak Doneness
To get the perfect steak doneness, you need to know your cuts. For steak bites, I suggest medium rare. This gives you a tender and juicy bite. Use a meat thermometer to check. Aim for 130°F (54°C) for medium rare. Remember, the steak will cook a bit more after you take it off the heat.
To help gauge doneness without a thermometer, use the touch test. Press the center of the steak. If it feels soft, it’s rare. If it feels firm, it’s well done. Find the sweet spot between those two.
Best Practices for Flavor Infusion
For great flavor, season your steak well. Use salt and pepper before cooking. This helps bring out the meat’s natural taste. You can also marinate the steak for more flavor. A simple mix of olive oil, garlic, and herbs works wonders.
When cooking, add the garlic and herbs to the butter. This will release their flavors into the sauce. Toss the cooked steak bites in this garlic butter right after cooking. It coats them in rich flavor.
Equipment Recommendations for Cooking
A large skillet is your best friend for this recipe. Non-stick or cast iron works well. Make sure it’s hot before adding the steak. This helps achieve a nice sear.
A good pair of tongs is also important. They help you flip the steak bites without losing juices. Finally, a sharp knife is key for slicing your steak into even cubes. This ensures even cooking and a great look on the plate.Enjoy making these garlic butter steak bites!
Variations
Different Seasoning Options for Garlic Butter
You can change the flavor of garlic butter steak bites with different seasonings. Try adding a pinch of smoked paprika for a slight kick. If you love heat, sprinkle in some cayenne pepper. You may also use fresh herbs like basil or oregano. Each of these options will add a unique twist to your dish. Feel free to mix and match to find your favorite blend.
Alternative Cooking Methods (Grilling, Air Frying)
Besides pan-searing, you can cook these steak bites on a grill or in an air fryer. Grilling adds a nice smoky flavor. Heat your grill to medium-high, then cook the bites for about 2-3 minutes per side. For air frying, preheat your air fryer to 400°F (200°C). Cook them for around 8-10 minutes, shaking the basket halfway through for even cooking. Both methods offer a tasty alternative to the stovetop.
Suggestions for Different Cuts of Meat
While sirloin and ribeye work well, you can use other cuts too. Flank steak gives a great flavor when cooked right. Tenderloin is another option, offering a buttery texture. For a leaner choice, consider using top round. Each cut has its own taste and texture, so don’t hesitate to experiment and find what you love best.
Storage Info
How to Store Leftover Garlic Butter Steak Bites
To store leftover garlic butter steak bites, let them cool first. Place the steak bites in an airtight container. You can keep them in the fridge for up to three days. Make sure to cover them to keep moisture in. This helps keep the flavors fresh.
Reheating Tips for Optimal Flavor and Texture
When you’re ready to enjoy them again, reheating is key. Use a skillet over low heat. This warms them gently, keeping the steak juicy. Add a little butter or olive oil to enhance the flavor. Stir often to heat evenly. You can also microwave them, but be careful not to overcook. Heat in short bursts, checking often for doneness.
Freezing Instructions and Thawing Recommendations
If you want to store them longer, freezing is a great option. Place the cooled steak bites in a freezer-safe bag or container. Remove as much air as possible to avoid freezer burn. They can last up to three months in the freezer.
When you’re ready to eat, thaw them in the fridge overnight. For a quick option, use the microwave on the defrost setting. Once thawed, reheat them as mentioned above. This keeps them tasty and tender. Enjoy your delicious garlic butter steak bites anytime!
FAQs
How long do garlic butter steak bites last in the fridge?
Garlic butter steak bites last about 3 to 4 days in the fridge. Store them in an airtight container. It’s best to keep them separate from any sides. This way, they stay fresh longer. When you are ready to eat them, just reheat them gently on the stove or in the microwave.
Can I use a different kind of meat for this recipe?
Yes, you can use different meats. Chicken, pork, or even shrimp work well. Just adjust the cooking time. Chicken should be cooked until it reaches 165°F (75°C). Pork should be cooked until it reaches 145°F (63°C). Shrimp only needs a few minutes until they turn pink and opaque.
What sides pair best with Garlic Butter Steak Bites?
Garlic butter steak bites pair well with many sides. Here are some great options:
– Creamy mashed potatoes
– Crispy roasted vegetables
– Fresh garden salad
– Garlic bread
– Rice pilaf
These sides balance the rich flavors of the steak bites and make your meal complete.
In this article, we explored the ingredients and steps for making garlic butter steak bites. We discussed essential and optional ingredients, cooking methods, and tips for perfect doneness. Remember, good seasoning and the right cut of steak make a big difference.
Try different variations and methods to find what you love best. Store leftovers properly and enjoy them later. With these tips, you can make tasty meals that impress your family and friends! Happy cooking!


