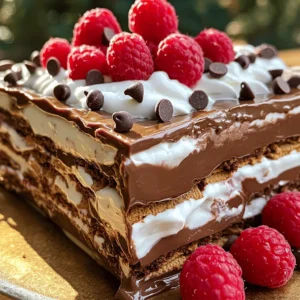
No Bake Chocolate Lasagna
Indulge in the ultimate dessert experience with this No Bake Chocolate Lasagna recipe! Layers of creamy goodness, chocolate graham crackers, and rich chocolate pudding create a show-stopping treat that’s easy to prepare. Perfect for any occasion, this delightful dessert will satisfy your sweet cravings. Ready to impress your friends and family?