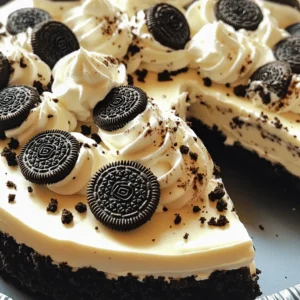
No-Bake Oreo Cheesecake
Indulge in the creamy delight of this Decadent No-Bake Oreo Cheesecake that's sure to impress your guests! It's simple to make with just a handful of ingredients, including Oreos, cream cheese, and whipped cream. Perfect for any occasion, this cheesecake requires no baking and sets effortlessly in the fridge. Click through to discover the easy step-by-step recipe and elevate your dessert game today!