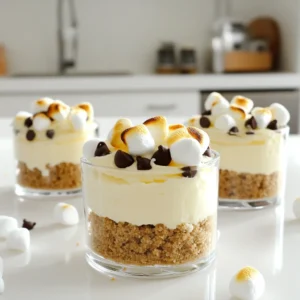
No-Bake S’mores Cheesecake Cups
Indulge in the deliciousness of No-Bake S’mores Cheesecake Cups with this easy recipe! Perfect for summer gatherings or cozy nights in, these creamy treats combine layers of graham cracker crust, smooth cheesecake, and gooey marshmallows. Learn how to create these delightful cups in just a few simple steps. Don’t wait—click through for the full recipe and bring the campfire vibes to your kitchen! #NoBakeDessert #CheesecakeLovers #S'mores #DessertRecipes