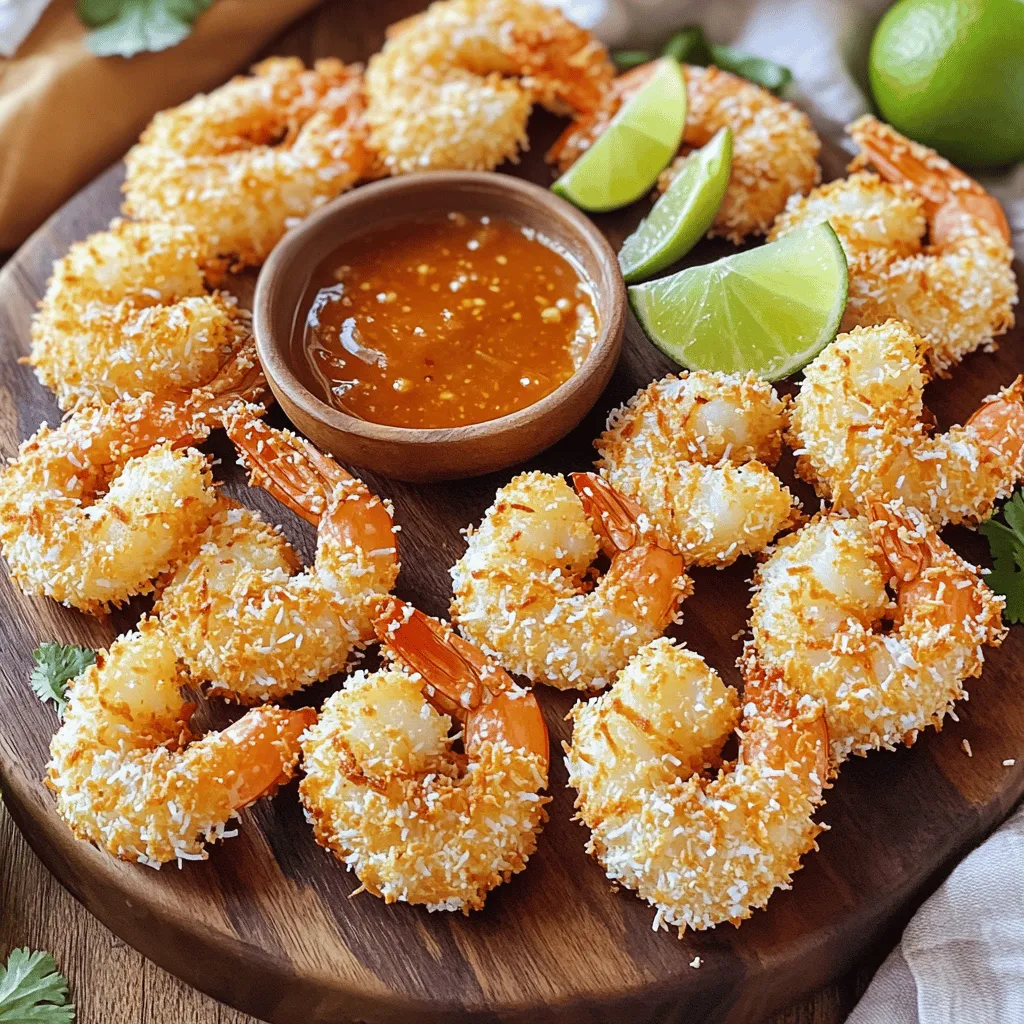
Craving a crunchy, tasty snack? You’re in the right place! My Air Fryer Coconut Shrimp recipe is your answer. With juicy shrimp coated in crispy coconut and panko, you’ll get all the flavor without the guilt. This dish is quick, easy, and perfect for any meal or party. Let’s dive in and make this delightful treat together! Get ready to impress your family or guests with your cooking skills!
Ingredients
List of Ingredients
– 1 pound large shrimp, peeled and deveined
– 1 cup shredded coconut
– 1/2 cup panko breadcrumbs
– 1/2 cup all-purpose flour
– 2 large eggs
– 1 teaspoon garlic powder
– 1 teaspoon paprika
– Salt and freshly ground pepper
– 1 tablespoon fresh lime juice
– Cooking spray
Gathering the right ingredients is key to making tasty air fryer coconut shrimp. Start with fresh, large shrimp. I prefer using peeled and deveined shrimp for ease. You can choose either sweetened or unsweetened shredded coconut based on your taste.
Next, panko breadcrumbs give the shrimp a crunchy texture. All-purpose flour helps the coating stick. You will need two large eggs for binding. Garlic powder and paprika add great flavor. Don’t forget salt and pepper for seasoning. Finally, fresh lime juice brightens the dish, and cooking spray helps achieve that perfect crispiness.
Preparing these ingredients makes it easier to follow the steps ahead. Make sure everything is ready before you start cooking. Having everything on hand makes the process quick and fun!
Step-by-Step Instructions
Preparing the Coatings
First, you want to mix the crispy coating. In a shallow dish, combine 1/2 cup of panko breadcrumbs and 1 cup of shredded coconut. Add 1 teaspoon of garlic powder, 1 teaspoon of paprika, and a pinch of salt and pepper. Stir it well and set it aside.
Now, we need to prepare the flour and egg mixtures. Take another shallow dish and pour in 1/2 cup of all-purpose flour. In a third dish, crack 2 large eggs and whisk them until smooth. Stir in 1 tablespoon of fresh lime juice for a nice tang.
Preparing the Shrimp
Next, let’s get the shrimp ready. Use paper towels to dry 1 pound of large, peeled, and deveined shrimp. This step is very important. Dry shrimp help the coating stick better.
Now comes the dredging process. Take each shrimp and dip it in the flour first. Shake off any extra flour. Then, dip the floured shrimp into the egg mixture. Make sure each piece is fully coated. Finally, roll the shrimp in the coconut and panko mixture. Press gently to help the coating stick.
Air Frying the Shrimp
Before we cook, preheat your air fryer. Set it to 400°F (200°C) for about 5 minutes. While it heats, lightly spray the air fryer basket with cooking spray to stop sticking.
Place the shrimp in a single layer in the basket. Make sure they have space between them. You might need to work in batches. Give the tops of the shrimp a light mist of cooking spray for extra crispiness.
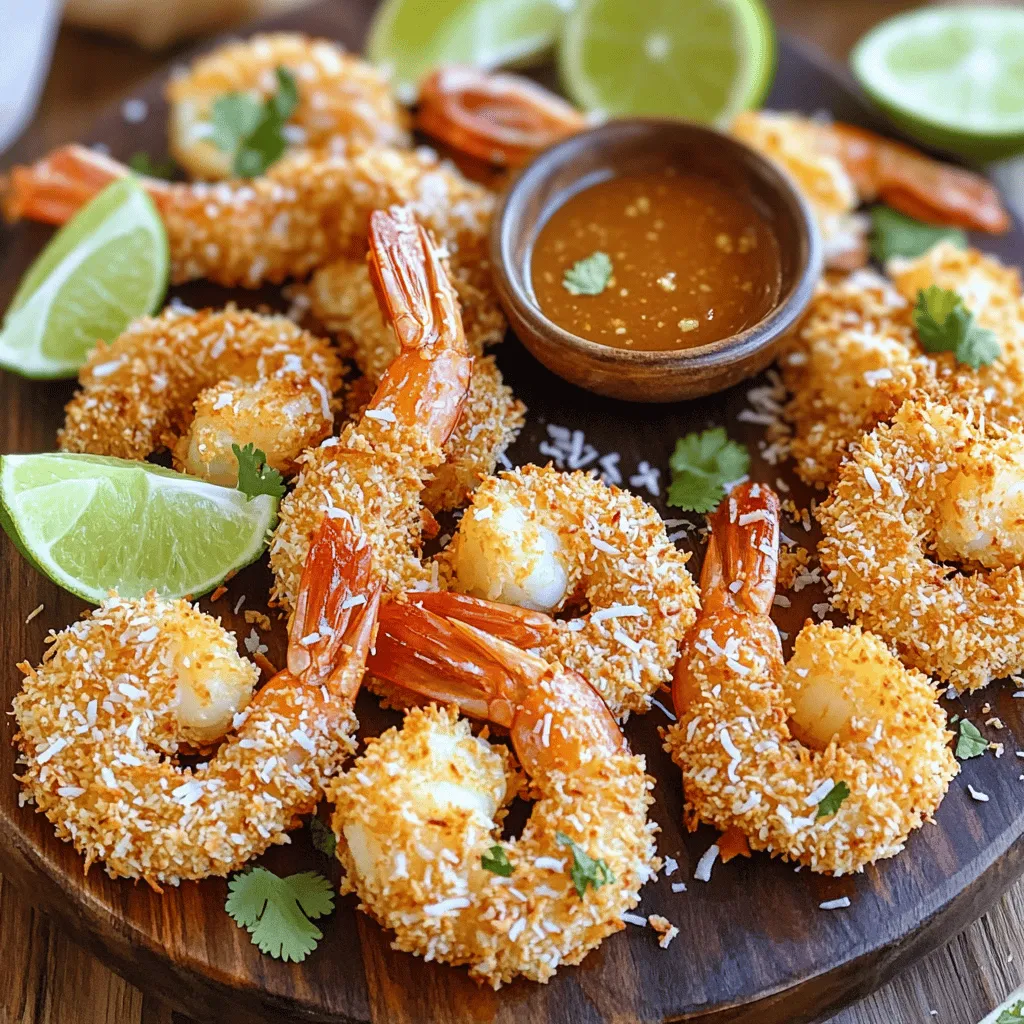
Now, air fry the shrimp for 6-8 minutes. Flip them halfway through cooking. Look for a beautiful golden brown color and a crispy texture. Once they are done, carefully remove the shrimp from the air fryer. Serve them right away with your favorite dipping sauce. Enjoy your tasty coconut shrimp!
Tips & Tricks
Achieving Crispy Results
To make your coconut shrimp crispy, start by drying the shrimp well. Use paper towels to pat them dry. This step helps the coating stick and keeps the shrimp from getting soggy.
Next, misting is key. After placing the shrimp in the air fryer, give them a light spray of cooking oil. This extra mist helps them crisp up nicely. Make sure not to overdo it; just a light coat will do the trick.
Serving Suggestions
Dipping sauces can elevate your coconut shrimp. Sweet chili sauce is a favorite for its balance of sweet and spicy. Zesty lime aioli is another great choice. It adds a creamy contrast that pairs well with the crispy shrimp.
For food pairings, consider serving these shrimp with a fresh green salad. A tangy slaw also works well. You could even enjoy them with rice or quinoa for a complete meal.
Variations
Sweetened vs. Unsweetened Coconut
Sweetened coconut adds a hint of sugar. It gives a sweeter taste. Use it when you want a dessert-like twist. Unsweetened coconut has a more natural coconut flavor. It pairs well with savory spices. Both types work in this recipe. Choose based on your taste and what you have on hand.
Other Flavor Additions
You can make your coconut shrimp unique. Try adding cayenne for heat. A pinch adds a spicy kick. Lime zest gives a fresh, zesty taste. Mix these flavors into the breadcrumb mixture. Just a little can change the whole dish. Don’t be afraid to get creative.
Alternative Proteins
Want a different protein? Try using chicken or vegetables. Chicken gives a hearty option. It works well with the same breading. For a lighter choice, use veggies like zucchini or bell peppers. Slice them thin, coat, and air fry. These alternatives keep the fun, yet offer new tastes.
Storage Info
Storing Leftover Coconut Shrimp
To keep your leftover coconut shrimp fresh, start by placing them in an airtight container. Make sure they cool down first. Refrigerate the shrimp for up to three days. If you want to store them longer, freezing is a great option.
For freezing, lay the shrimp in a single layer on a baking sheet. Freeze them for about an hour until firm. Then, transfer the shrimp to a freezer-safe bag. They can last up to three months in the freezer. Just remember to label the bag with the date!
Reheating Instructions
When you are ready to enjoy your shrimp again, reheating properly is key. To keep them crispy, avoid the microwave. Instead, preheat your air fryer to 350°F (175°C). Place the shrimp in the basket in a single layer. Heat them for about 5 minutes, flipping halfway through.
If you don’t have an air fryer, you can also use an oven. Set the oven to 375°F (190°C) and bake for about 10 minutes. This way, your coconut shrimp stays crispy and delicious!
FAQs
How long do I air fry coconut shrimp?
You should air fry coconut shrimp for about 6-8 minutes at 400°F (200°C). The size of the shrimp matters. For large shrimp, this time is perfect. If you use smaller shrimp, check them around 5-6 minutes. Flip them halfway through. This way, both sides get crispy and golden.
Can I make coconut shrimp ahead of time?
Yes, you can make coconut shrimp ahead of time. Prepare the shrimp and coat them with the breading. Place them in a single layer on a baking sheet. Cover with plastic wrap and store in the fridge. They can stay fresh for up to 24 hours. When you’re ready, just air fry them straight from the fridge. This makes meal prep easy!
Is air frying healthier than traditional frying?
Yes, air frying is often healthier than traditional frying. It uses less oil, which cuts down on fat and calories. Plus, air fryers let the fat drip away from the food. This means you enjoy crispy coconut shrimp with fewer calories. You still get that golden crunch without the guilt!
We explored how to make crispy coconut shrimp using simple ingredients and easy steps. First, we mixed the coatings and prepared the shrimp. Then, we air-fried them for a golden crisp. I shared tips for perfect results and ideas for serving. Remember, you can also play with flavors and store leftovers well. With these methods, you’ll enjoy tasty coconut shrimp at home, ready to impress any crowd. Grab your ingredients and get cooking! You won’t be disappointed.


