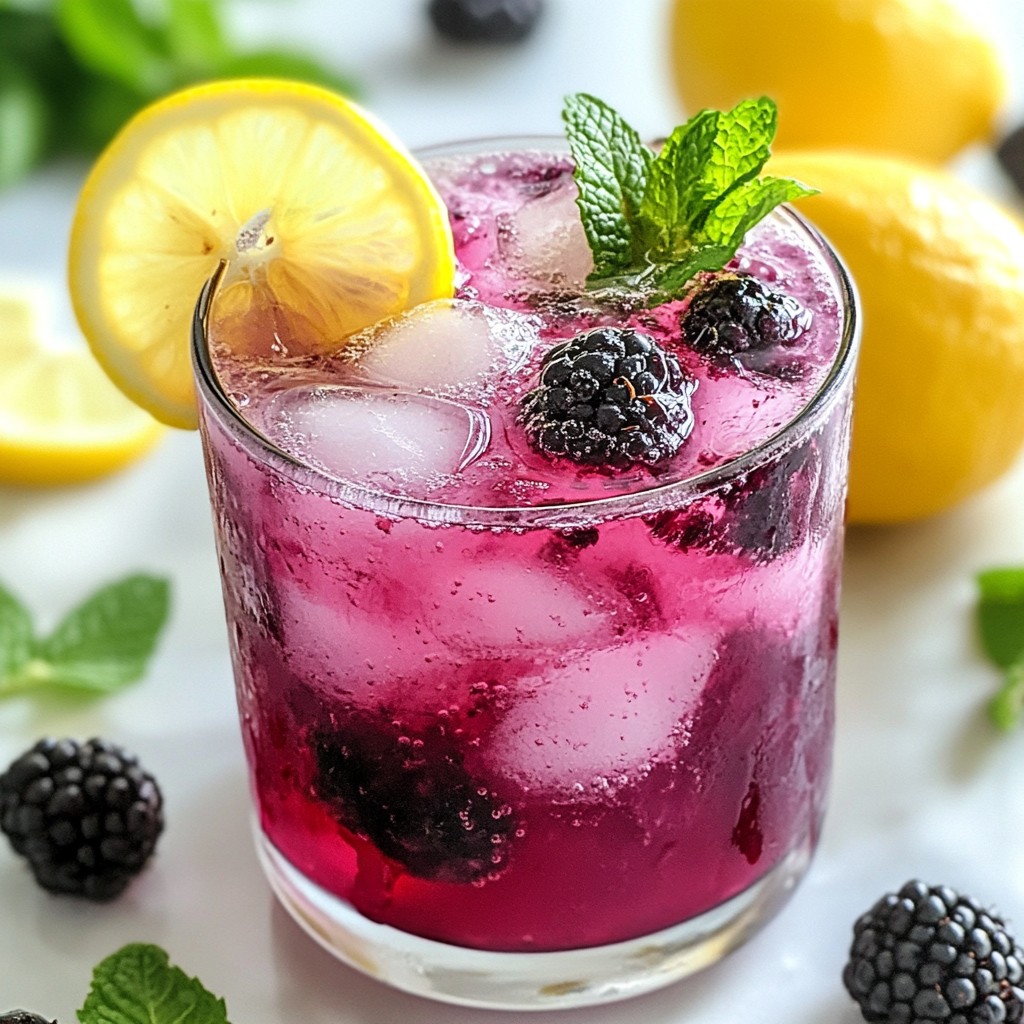
Refreshing Blackberry Mint Lemonade for Hot Days
A refreshing and fruity lemonade infused with blackberries and mint.
Beverages and drink recipes
A refreshing and fruity lemonade infused with blackberries and mint.

A festive and cozy hot chocolate infused with gingerbread flavors, perfect for the holiday season.
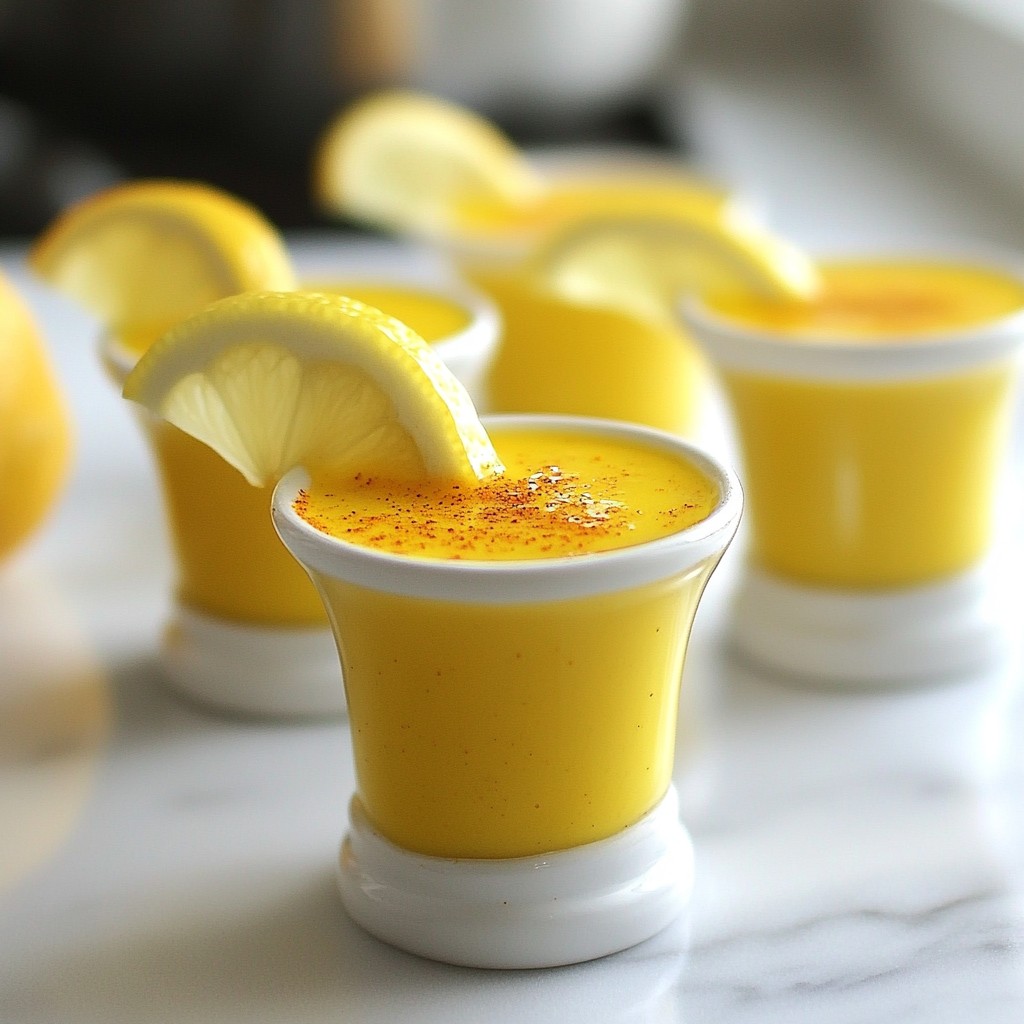
A refreshing and health-boosting shot made with turmeric, ginger, and lemon.
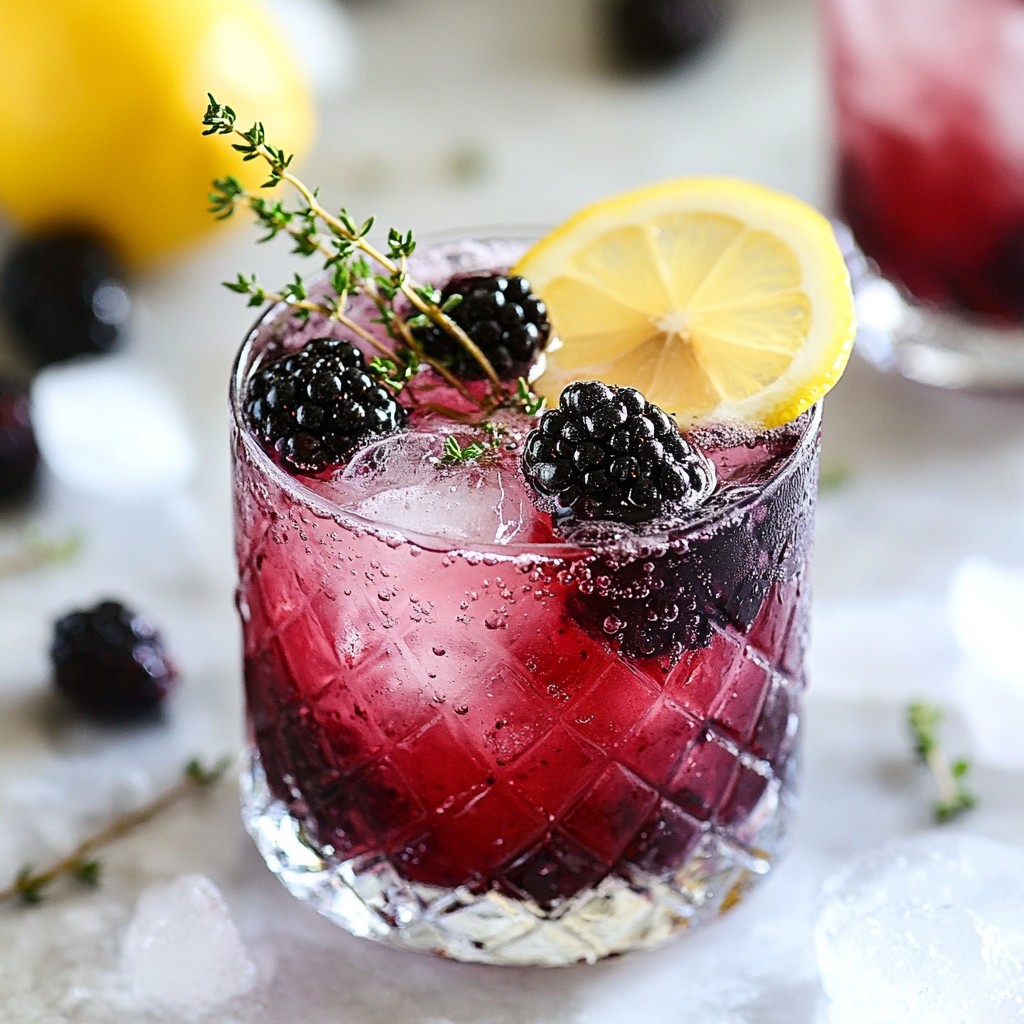
A refreshing sparkling drink made with blackberries, thyme, and lemon.
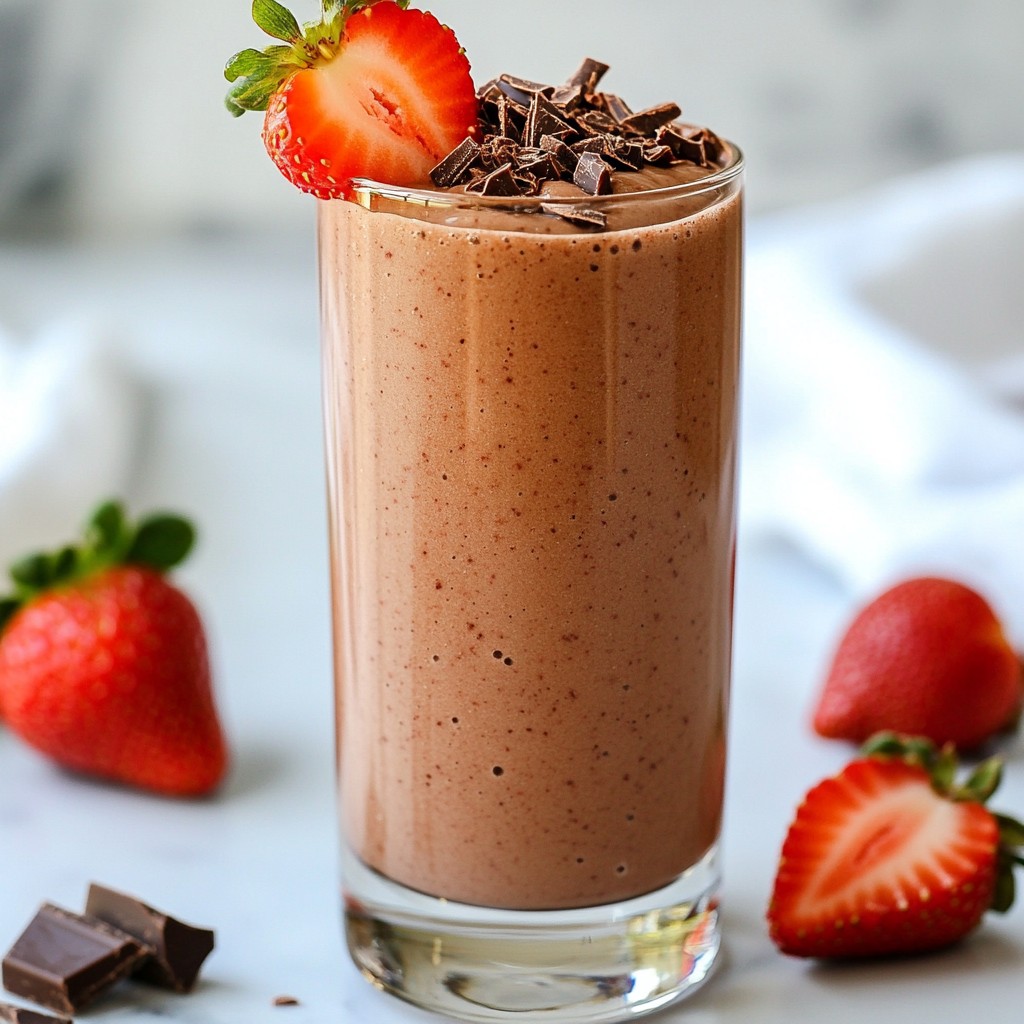
A delicious and creamy smoothie that combines the flavors of chocolate and strawberries.
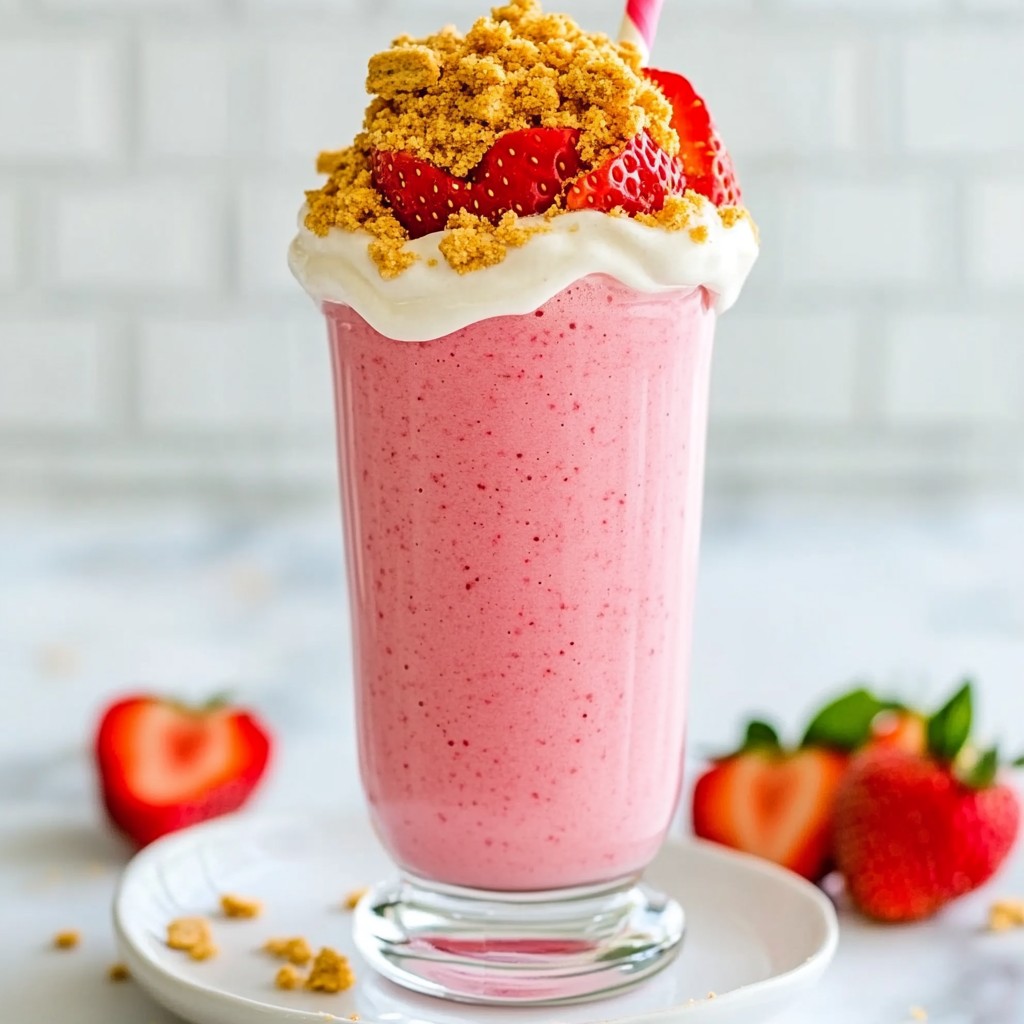
A refreshing and creamy smoothie that combines the flavors of strawberries and cheesecake for a delightful treat.

A soothing and aromatic drink made with turmeric, ginger, and almond milk.
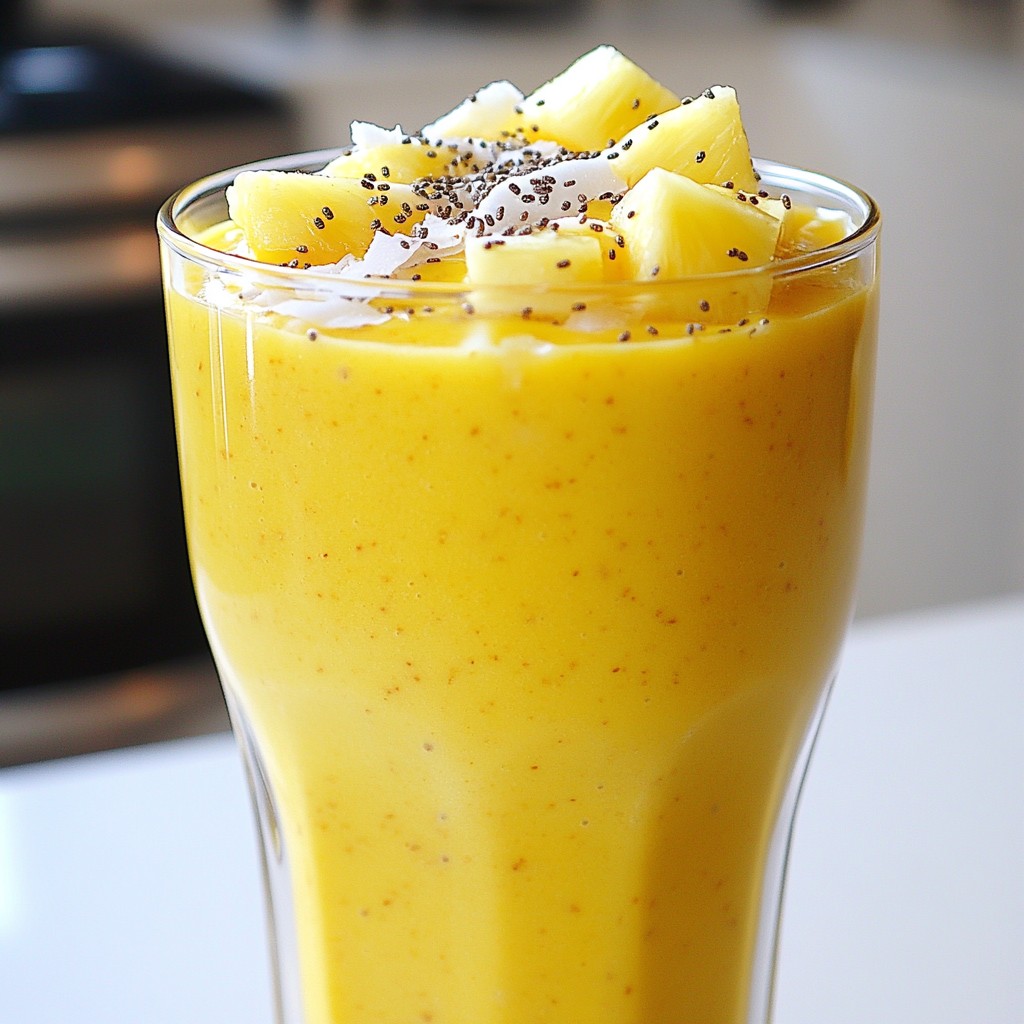
A refreshing and creamy smoothie combining pineapple, coconut, and banana for a tropical delight.
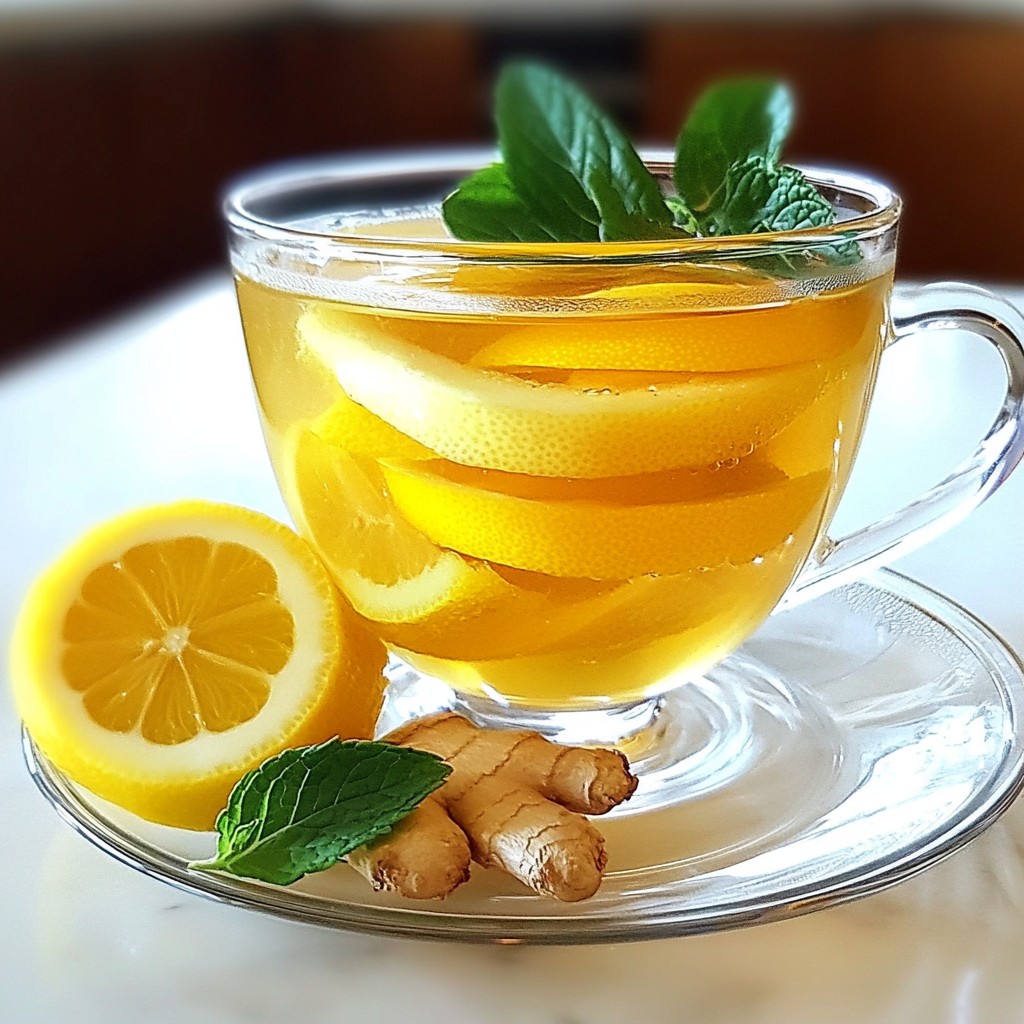
A soothing and flavorful tea made with fresh ginger, honey, and lemon.

A delightful cold brew coffee topped with a creamy pumpkin mixture, perfect for autumn.
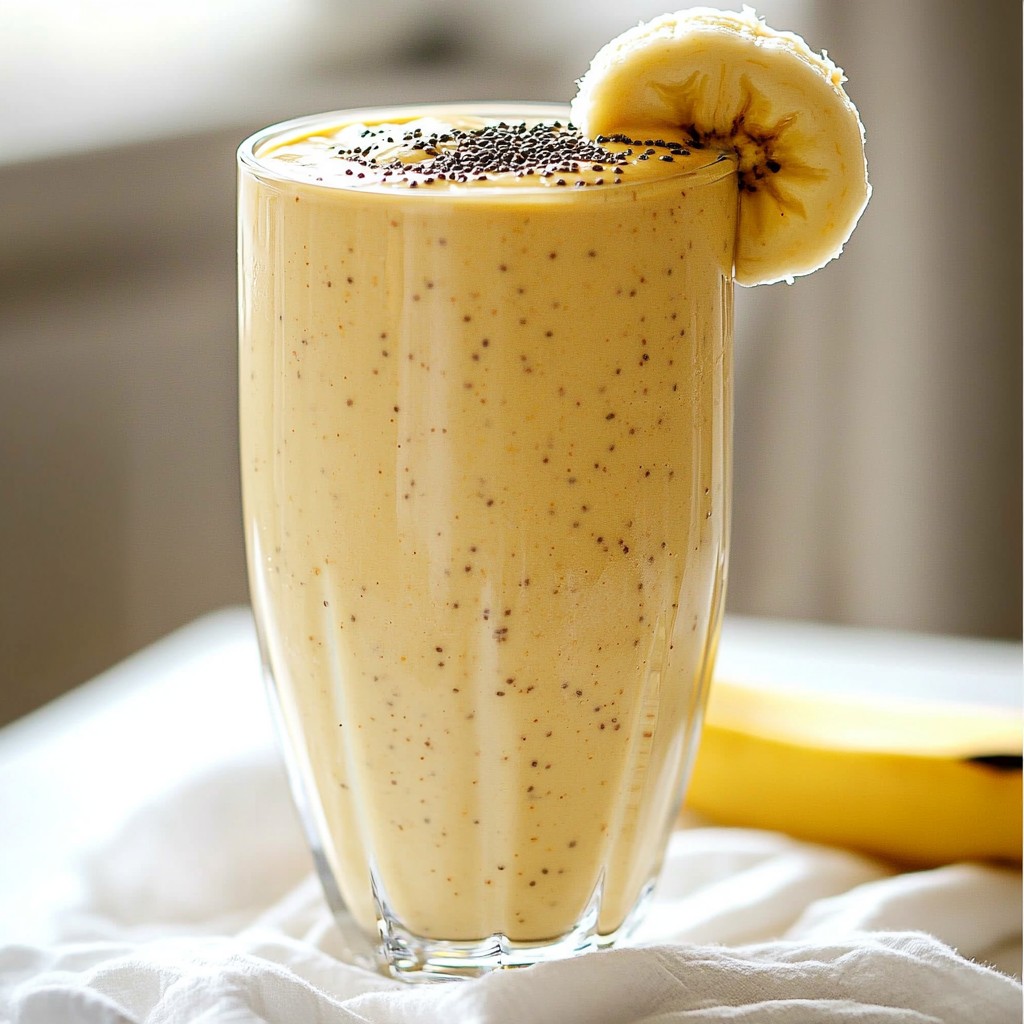
A delicious and nutritious smoothie made with frozen bananas, peanut butter, and almond milk.

A delicious and nutritious smoothie packed with protein and the flavors of pumpkin.