
Looking for a light and fresh meal that’s packed with flavor? Try my Avocado Egg Salad Lettuce Wraps! This simple dish combines creamy avocados and protein-rich eggs, all wrapped in crisp lettuce. Whether you need a quick lunch or a healthy snack, this recipe hits the spot. Join me as I guide you through each step for a delicious, guilt-free meal you’ll love. Let’s get started!
Why I Love This Recipe
- Healthy and Nutritious: This avocado egg salad is packed with protein from the eggs and healthy fats from the avocado, making it a perfect nutritious option for any meal.
- Quick and Easy: With just a 15-minute prep time, you can whip up this delicious dish in no time, making it ideal for busy days or last-minute gatherings.
- Versatile and Customizable: You can easily modify the ingredients to suit your taste, adding other veggies or herbs to make it your own.
- Perfect for Meal Prep: This salad keeps well in the refrigerator, making it a great option for meal prep for the week ahead.
Ingredients
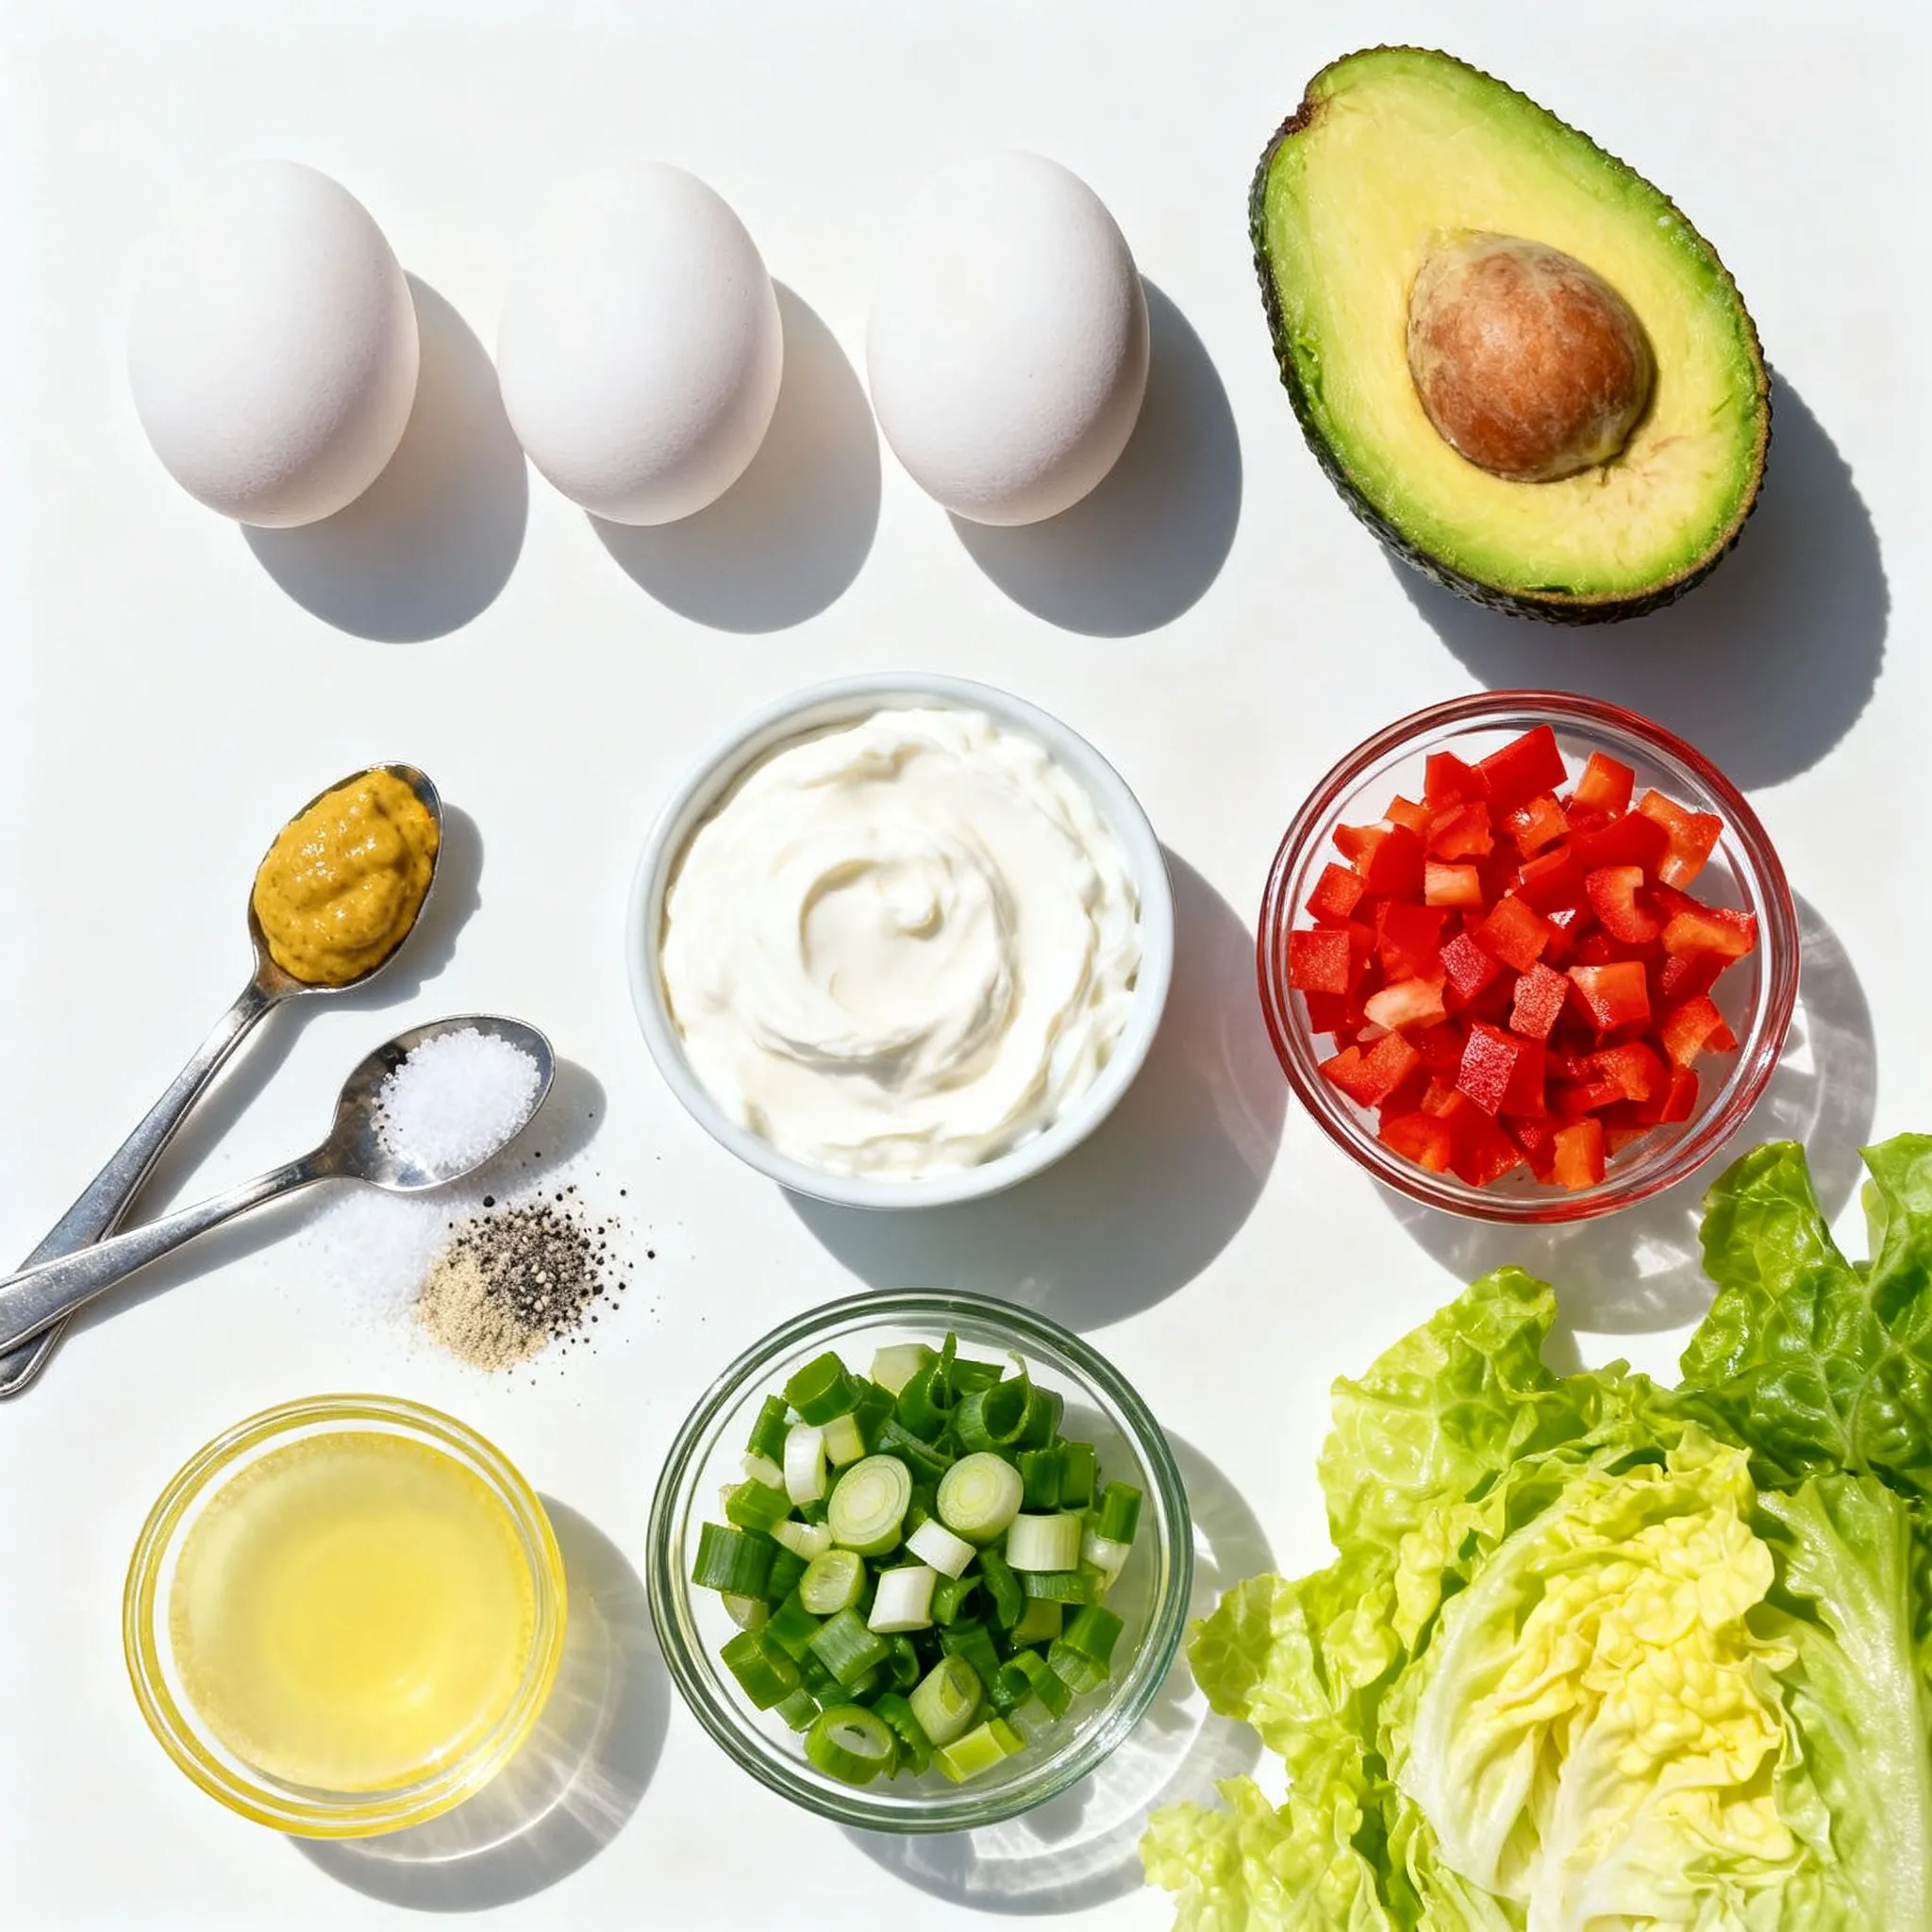
To make Avocado Egg Salad Lettuce Wraps, you will need the following ingredients:
– 4 large eggs
– 1 ripe avocado, peeled and pitted
– 2 tablespoons plain Greek yogurt
– 1 teaspoon Dijon mustard
– 1 tablespoon fresh lemon juice
– 1/4 teaspoon garlic powder
– Salt and freshly ground pepper, to taste
– 1/4 cup red bell pepper, finely chopped
– 1/4 cup green onions, sliced
– 1 cup crisp lettuce leaves (such as romaine or butter lettuce)
These simple ingredients make a fresh and tasty dish. The creamy avocado pairs well with the eggs. Using Greek yogurt gives it a nice tang, while the Dijon mustard adds a slight kick. Don’t forget the fresh lemon juice; it brightens everything up.
You can choose any kind of crisp lettuce for the wraps. Romaine or butter lettuce works best. They hold the filling well and add a nice crunch. The red bell pepper and green onions add color and flavor.
Gather all these ingredients before you start cooking, so you can enjoy the process.
Step-by-Step Instructions
Boiling the Eggs
Start with a medium pot. Place the four eggs in the pot. Cover the eggs with water, about an inch above them. Heat the pot on medium-high until the water boils. Once boiling, lower the heat to simmer. Cook the eggs for 9 to 12 minutes, depending on how firm you want the yolks. When done, move the eggs to a bowl of ice water. Let them cool completely. This helps stop the cooking and makes peeling easier.
Preparing the Avocado Mixture
While the eggs cool, take your ripe avocado. Cut it in half, remove the pit, and scoop the flesh into a mixing bowl. Use a fork to mash the avocado. Aim for a creamy texture with no big lumps. This will make your salad smooth and tasty.
Combining Ingredients
Now, it’s time to bring it all together. Peel the cooled eggs and chop them into small pieces. Add the chopped eggs to the mashed avocado. Next, include two tablespoons of Greek yogurt, one teaspoon of Dijon mustard, one tablespoon of lemon juice, and a quarter teaspoon of garlic powder. Mix everything until it is creamy and well combined. Season it with salt and freshly ground pepper to taste.
Adding Vegetables
To add a fresh crunch, fold in a quarter cup of finely chopped red bell pepper and a quarter cup of sliced green onions. Stir gently to keep the pieces intact. Taste again and adjust the seasoning if needed. The veggies add color and flavor to your salad.
Assembling the Wraps
Finally, it’s time to wrap everything up. Take a crisp lettuce leaf, like romaine or butter lettuce. Place a scoop of the avocado egg salad in the center of the leaf. Fold the leaf around the filling like a taco. Enjoy your fresh and light meal right away!
Tips & Tricks
Perfecting the Egg Salad Texture
To get a creamy avocado egg salad, start with a ripe avocado. A ripe avocado should yield slightly when you press it. Mash it well with a fork in a bowl, removing any lumps. This helps blend it smoothly with the eggs. After boiling and cooling the eggs, chop them into small pieces. This way, they mix well with the avocado. The goal is a smooth, creamy texture that holds together.
Flavor Enhancements
Adding spices and herbs lifts the flavor. I like to use a pinch of smoked paprika for a touch of warmth. You can also try fresh dill or cilantro for a fresh twist. A squeeze of lime juice can brighten up the dish too. Just remember, taste as you go to find the balance you enjoy.
Serving Ideas
Presentation matters with this dish. I suggest serving the lettuce wraps on a bright platter. This makes the colors pop. You can add slices of red bell pepper next to the wraps for a fun touch. Serve with a side of fresh fruit or crunchy veggies. This adds a nice contrast and makes your meal feel complete.
Pro Tips
- Perfectly Boiled Eggs: To achieve the ideal hard-boiled eggs, consider using an instant pot or steaming method for consistent results; this can also make peeling easier.
- Avocado Freshness: To keep your avocado salad from browning, add a little extra lemon juice or cover it tightly with plastic wrap, pressing it directly against the surface of the salad.
- Customize Your Fillings: Feel free to experiment with additional ingredients like diced cucumbers, pickles, or even a sprinkle of feta cheese for added flavor and texture.
- Best Lettuce Choices: Choose sturdy lettuce like romaine or butter lettuce for your wraps, as they provide the best support for the filling and prevent tearing.
Variations
Different Protein Options
You can switch eggs for other proteins. Chickpeas work great. They add a nice texture and flavor. Tofu is another option. It brings a creamy feel and is plant-based. You could also try shredded chicken. It adds a hearty bite. Each protein gives a unique twist to your salad.
Using Different Vegetables
Mixing in other veggies can change the taste. Try diced cucumbers for crunch. They add freshness. You can also use diced celery for a nice crunch. Spinach or kale can add a healthy green touch. For a bit of heat, add jalapeños. The more veggies, the merrier your salad.
Alternative Wraps
Lettuce is not the only option. Cabbage leaves are sturdy and fun to use. They hold the filling well. Tortillas can be a great choice too. They are soft and easy to roll. You can even use whole grain or gluten-free tortillas. Each wrap style offers a new way to enjoy this dish.
Storage Info
Short-term Storage
To keep leftovers fresh, store your avocado egg salad in an airtight container. Place it in the fridge right after making it. This helps keep the flavors bright and the texture just right. It will stay good for about three days. If you notice browning, a splash of lemon juice can help keep it green.
Freezing Guidelines
I do not recommend freezing this dish. The avocado will change texture and become mushy when thawed. The egg salad can lose its creaminess and taste. Instead, enjoy it fresh and make just what you need.
Best Practices for Reheating
This dish is best served cold or at room temperature. If you must reheat, do so gently. Place it in a pan over low heat for a few minutes. Stir often to heat evenly. Avoid the microwave, as it can make the salad watery and change the flavor.
FAQs
Can I make Avocado Egg Salad ahead of time?
Yes, you can make this salad ahead of time. Prepare it in the morning and store it in the fridge. I recommend eating it within one day for the best flavor and texture. The avocado can brown, so keep it covered well.
What are the best types of lettuce for wraps?
For wraps, I like using romaine or butter lettuce. They offer a nice crunch and hold the filling well. Other good options are green leaf or iceberg lettuce. Each type adds a unique texture to your wrap.
How many calories are in Avocado Egg Salad Lettuce Wraps?
Each serving has about 200 calories. This number can vary based on how much filling you add. It’s a light meal that gives you good protein and healthy fats.
Can I substitute Greek yogurt in this recipe?
Yes, you can substitute Greek yogurt with a few options. Sour cream or plain yogurt works well. If you need a dairy-free option, try using mashed tofu or avocado. Each will change the taste a bit but will keep it creamy.
In this blog post, we explored a tasty and healthy Avocado Egg Salad recipe. We covered all the key ingredients, from eggs to fresh veggies. I shared step-by-step instructions and tips for making the perfect wrap. You can switch up the protein, add different veggies, or choose other wraps. Plus, we discussed storage methods and answered common questions. This dish is easy to make and great for meal prep. Enjoy it as a snack or a quick lunch. You’ll love how simple and delicious it i


