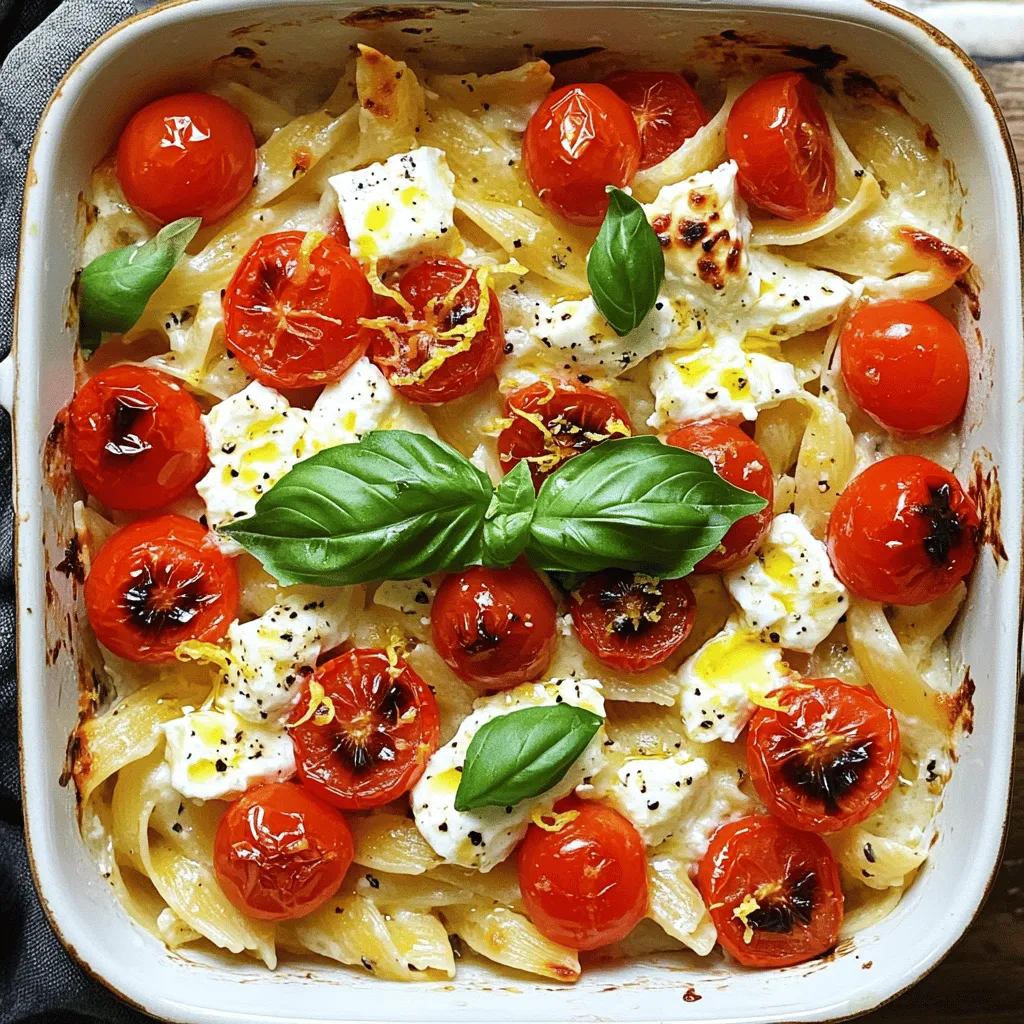
Looking for a quick and tasty meal? This Baked Feta Tomato Pasta is the answer! With just a few fresh ingredients, you can whip up a dish that bursts with flavor. Imagine creamy feta, juicy tomatoes, and aromatic garlic all combined with pasta. It’s easy to make and perfect for any night. Let’s dive into this simple recipe that will impress your family and friends!
Ingredients
To make Baked Feta Tomato Pasta, gather these key ingredients:
– 200g pasta (fusilli or penne recommended)
– 250g block of feta cheese
– 400g cherry tomatoes, halved
– 4 cloves garlic, minced
– 4 tablespoons extra virgin olive oil
– 1 teaspoon dried oregano
– 1/2 teaspoon red pepper flakes (optional for heat)
– Salt and freshly ground black pepper to taste
– Fresh basil leaves for garnish
– Zest and juice of 1 lemon
Each ingredient plays a vital role in making this dish tasty. The pasta gives it body, while the feta cheese adds creaminess. Cherry tomatoes bring sweetness when roasted, and garlic adds depth. Extra virgin olive oil enhances all these flavors, making them pop. Dried oregano offers a touch of herbaceousness, and red pepper flakes can give a nice kick if you like heat. Fresh basil and lemon zest brighten the dish, making it fresh and lively.
Using high-quality ingredients helps create a rich and satisfying meal. Feel free to adjust the flavors to your liking. For instance, you can skip the red pepper flakes if you prefer a milder taste. Enjoy the cooking process!
Step-by-Step Instructions
Preheat and Prepare
– Preheat your oven to 200°C (400°F).
– Combine cherry tomatoes and garlic in a baking dish.
Start by getting your oven nice and hot. This helps the tomatoes cook well and the feta to melt perfectly. In a deep baking dish, mix the halved cherry tomatoes with minced garlic. This mix will create a wonderful base for your pasta.
Baking the Feta and Tomatoes
– Drizzle with olive oil, add seasonings, and bake.
– Ensure feta is centered in the dish.
Next, drizzle the mixture with olive oil. Sprinkle on dried oregano, salt, black pepper, and red pepper flakes, if you want a bit of heat. Toss it all to coat the tomatoes well. Now, make a little space in the center and place the block of feta there. This helps the feta get all melty and creamy while baking.
Cooking the Pasta
– Boil salted water and cook pasta to al dente.
– Drain and reserve while baking finishes.
While your feta and tomatoes bake, bring a large pot of salted water to a boil. Add your pasta and cook according to the package instructions. Aim for al dente, which means it should still have a bit of bite to it. Once it’s done, drain the pasta and set it aside for later.
Mixing the Ingredients
– Mash baked feta and tomatoes together.
– Combine with drained pasta and add lemon juice.
After about 30 minutes, pull the dish from the oven. The tomatoes should be blistered and juicy, and the feta should be soft. Grab a fork and mash them together to create a creamy sauce. Add the drained pasta to this mixture and toss well. Finally, squeeze in some lemon juice and stir everything to brighten the flavors. Enjoy!
Tips & Tricks
Perfecting the Dish
– Use high-quality feta cheese for best flavor. The creaminess of the cheese makes every bite rich and tasty.
– Adjust seasoning to your taste preference. If you love spice, add more red pepper flakes.
Serving Suggestions
– Serve hot with basil garnish and olive oil drizzle. This adds freshness and a lovely touch.
– Add grated Parmesan cheese for extra richness. It melts beautifully and enhances the dish’s creaminess.

Variations
Ingredient Swaps
You can make this dish even more fun with easy swaps. If you want a deeper flavor, try using sun-dried tomatoes instead of cherry tomatoes. They add a rich taste that pairs well with feta. You can also switch up your pasta shape. Fusilli or penne are great choices, but you can experiment with farfalle or spaghetti. Each shape brings a new twist to the meal!
Flavor Enhancements
Want to boost the nutrition? Add some fresh spinach or kale while mixing in the pasta. They add color and a healthy crunch. If you like briny flavors, toss in some olives or capers. They give a nice pop that contrasts well with the creamy feta and sweet tomatoes. Don’t be afraid to play around and find your favorite combo!
Storage Info
Storing Leftovers
To keep your baked feta tomato pasta fresh, let it cool first. Transfer it to an airtight container. You can store it in the fridge for up to 3 days. This method keeps the flavors intact and safe to eat later.
Reheating Tips
When you are ready to enjoy the leftovers, reheat them gently. Use the stovetop and add a splash of water or olive oil. This helps to keep the pasta creamy. Avoid the microwave, as it can ruin the texture of the dish. Keeping it soft and delicious is key!
FAQs
How long does it take to make Baked Feta Tomato Pasta?
Total time is approximately 40 minutes, including prep and cooking. You spend about 10 minutes getting everything ready. Then, bake for 30 minutes. This dish is quick and easy, perfect for busy nights.
Can I use different types of cheese?
Yes, alternatives like goat cheese or ricotta can be used. Each cheese brings a unique flavor. Goat cheese adds a tangy taste, while ricotta gives a creamy texture. Feel free to experiment based on what you like.
Is this dish suitable for meal prep?
Yes, it stores well and can be made in advance. Just cool the pasta before putting it in a container. You can keep it in the fridge for up to three days. Reheat gently when you’re ready to enjoy it again.
Can I add protein to this dish?
Absolutely! Chicken, shrimp, or chickpeas can be great additions. Cook protein separately or add it to the pasta before baking. This makes the meal more filling and adds extra flavor.
This blog post covers a simple and tasty Baked Feta Tomato Pasta. We explored the key ingredients, with feta and tomatoes at the center. The step-by-step instructions make cooking easy, and tips enhance flavor and presentation. You can also mix in your favorite ingredients for variety. Remember to store leftovers properly for later enjoyment. This dish is quick, flavorful, and perfect for any meal, and it’s great for meal prep. With these tips, you can create a delicious pasta experience every time. Enjoy your cooking!


