Biscoff Cookie Butter Truffles Decadent Dessert Treat

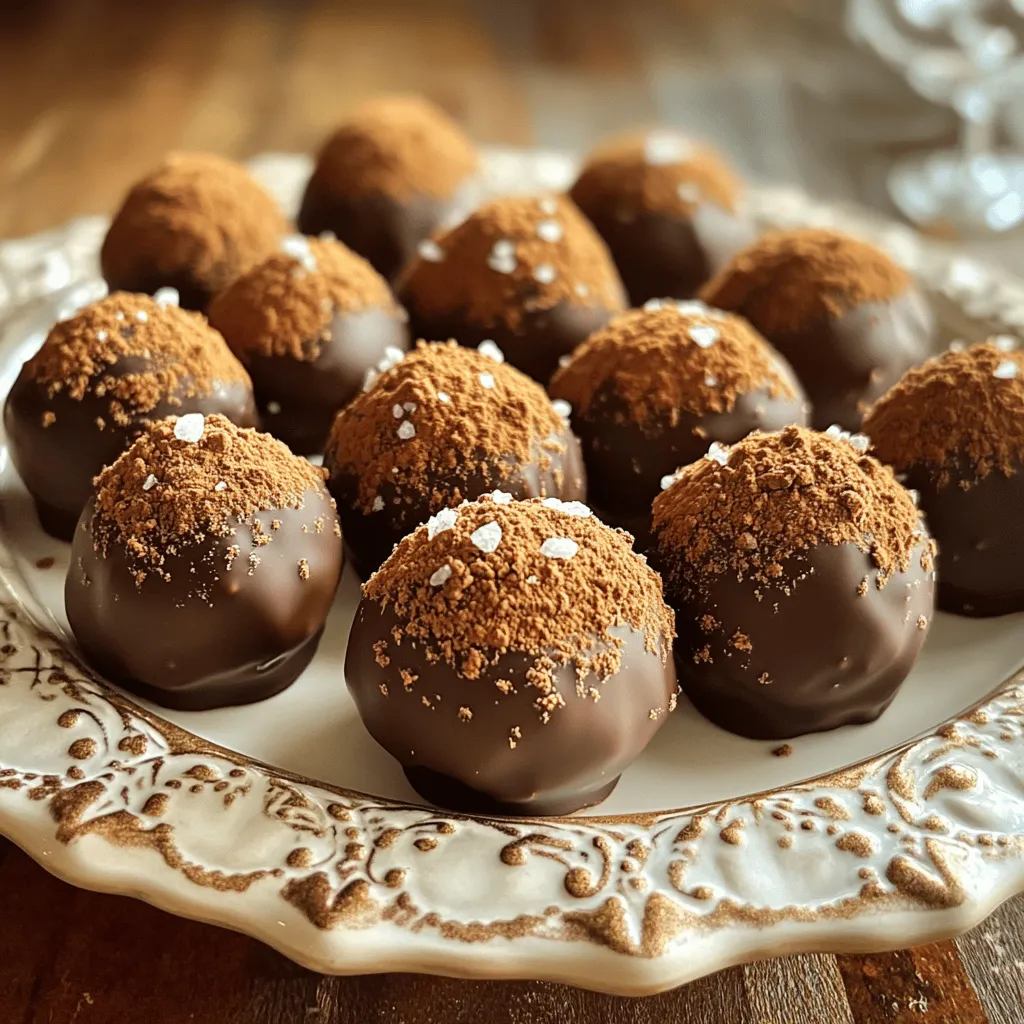
Craving something sweet that hits all the right notes? Biscoff Cookie Butter Truffles are your answer. These decadent dessert treats combine the rich flavor of Biscoff cookie butter with creamy chocolate. They’re easy to make and perfect for sharing—or keeping all to yourself! In this post, I’ll guide you through the simple steps to create these indulgent bites. Get ready to impress your taste buds!
Ingredients
To make Biscoff cookie butter truffles, you need a few simple ingredients. Each one plays a key role in creating that rich, sweet flavor. Here’s what you’ll need:
– 1 cup Biscoff cookie crumbs
– 1/2 cup Biscoff cookie butter
– 1 cup semi-sweet chocolate chips
– 1 tablespoon coconut oil
– 1/2 cup crushed Biscoff cookies (for coating)
– 1/4 teaspoon sea salt
– Optional: a pinch of cinnamon
These ingredients are easy to find. The Biscoff cookie crumbs and cookie butter give the truffles their unique taste. The chocolate coating adds a rich layer that pairs well with the sweet filling. The sea salt balances the sweetness, and the cinnamon can add a warm spice if you choose to include it. I love using these ingredients because they create a delightful treat that everyone enjoys.
Step-by-Step Instructions
Preparing the Mixture
First, take a medium bowl. Blend 1 cup of Biscoff cookie crumbs with 1/2 cup of Biscoff cookie butter. Mix until it feels smooth and doughy. This step is key. It helps the flavors blend well. Once mixed, cover the bowl with plastic wrap. Chill the mixture in the fridge for about 30 minutes. This helps it become firm enough to handle.
Forming the Truffles
After chilling, grab a tablespoon. Scoop out portions of the mixture. Roll each scoop into a ball, about 1 inch wide. Place these little balls on a parchment-lined baking sheet. Freeze them for 15 minutes. This makes them easier to coat in chocolate.
Chocolate Coating
While the truffles chill, prepare your chocolate. In a microwave-safe bowl, combine 1 cup of semi-sweet chocolate chips with 1 tablespoon of coconut oil. Heat this mix in 30-second bursts. Stir after each round until it’s smooth and melted.
Final Touches
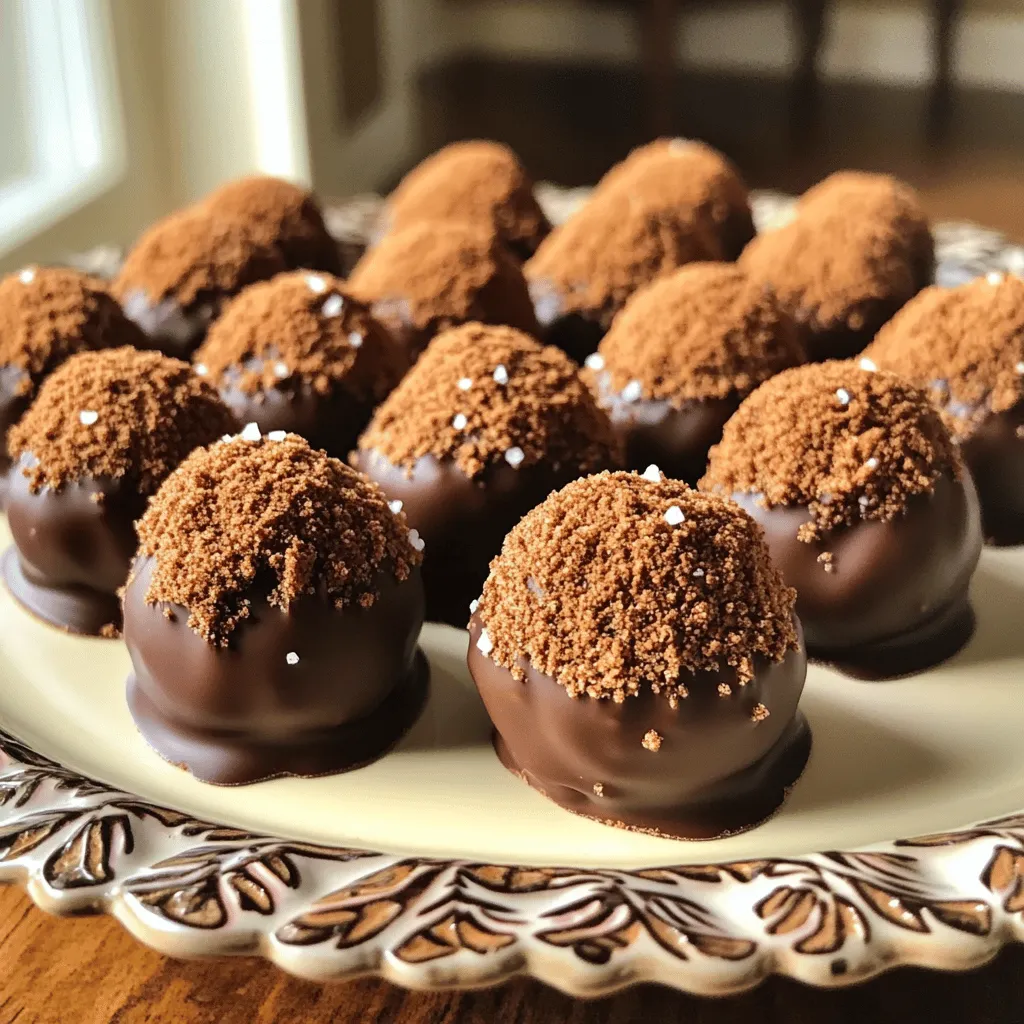
Once your truffles are firm, take them out of the freezer. Use a fork to dip each one into the melted chocolate. Make sure they are fully coated. Tap the fork to let any extra chocolate drip off. Then, roll the chocolate-covered truffles in 1/2 cup of crushed Biscoff cookies. This adds a tasty crunch. For a finishing touch, sprinkle a bit of sea salt and a pinch of cinnamon on each truffle. Do this while the chocolate is still wet.
Chilling and Setting
Now, move the truffles back to the baking sheet. Place them in the fridge again. Let them chill for at least 30 minutes. This will harden the chocolate, giving you a perfect bite.
Tips & Tricks
Achieving the Perfect Texture
To get the right texture for Biscoff truffles, chilling is key. After mixing the cookie crumbs and cookie butter, cover the bowl and chill it for 30 minutes. This makes the mixture firm enough to handle. When rolling the truffles, use a tablespoon to scoop out the mixture. This helps keep all the truffles the same size. Roll them gently into balls about 1 inch wide. Uniform truffles look great and taste even better!
Melting Chocolate Successfully
For melting chocolate, you can use a microwave or a double boiler. If you choose the microwave, heat the chocolate chips and coconut oil in short bursts of 30 seconds. Stir after each burst until smooth. A double boiler gives you more control over the heat. Just keep the water simmering. Both methods work well, but avoid clumping by stirring often.
Serving Suggestions
Presentation can make your truffles shine! Place them in a decorative box lined with parchment paper for gifts. You can also serve them on a beautiful platter. Add whole Biscoff cookies around the truffles for a fun touch. A light dusting of cocoa powder on the plate adds a nice look too. Pair them with coffee or tea for a delightful treat.

Variations
Flavor Customizations
Want to change things up? You can add nuts or spices to your truffles. Chopped pecans or walnuts give a nice crunch. A pinch of cinnamon adds warmth and depth. You can also swap the Biscoff cookie butter for almond or peanut butter. Each option brings its own unique taste.
Different Coatings
Looking for a fun twist? Instead of crushed Biscoff cookies, try using sprinkles or cocoa powder. Sprinkles add color and fun, especially for kids. Cocoa powder gives a rich, chocolatey finish. You can even mix crushed nuts into the coating for added texture.
Dietary Adjustments
Need gluten-free options? Use gluten-free cookie crumbs instead of Biscoff. For a vegan twist, choose dairy-free chocolate chips and coconut oil. You can enjoy these treats while keeping your diet in check. These adjustments make the truffles fun for everyone!
Storage Info
Best Practices for Storing Truffles
To keep your Biscoff cookie butter truffles fresh, store them in the fridge. This will help maintain their shape and flavor. If you leave them out at room temperature, they can get too soft. The truffles will last for about one week in the fridge. Make sure to keep them in an airtight container to prevent them from drying out or absorbing other fridge smells.
Freezing Tips
You can freeze these truffles for longer storage. To freeze them properly, place the truffles on a baking sheet in a single layer. Then, freeze them for about 1 hour. Once they are firm, transfer the truffles to a freezer-safe bag or container. They can stay good for up to three months. When you’re ready to enjoy them, take out the number of truffles you want. Let them thaw in the fridge for a few hours or at room temperature for about 30 minutes. This way, you’ll have a tasty treat ready whenever you want!
FAQs
How long can I store Biscoff truffles?
You can keep Biscoff truffles in the fridge for up to two weeks. If you freeze them, they last for about three months. Just make sure to store them in an airtight container to keep them fresh.
Can I use white chocolate instead?
Yes, you can use white chocolate instead of semi-sweet chocolate. It will give a sweeter flavor. Just melt it the same way as the dark chocolate.
What’s the difference between Biscoff cookie crumbs and crush?
Biscoff cookie crumbs are finer and blend well into batters. Crushed Biscoff cookies are chunkier and add texture. Use crumbs for mixing and crushed cookies for coating.
Are there any nut-free variations available?
Yes, you can make nut-free truffles easily. Just ensure your Biscoff cookie butter is nut-free. Use sunflower seed butter or pumpkin seed butter as a great alternative.
You now know how to make delicious Biscoff truffles. We explored the ingredients, step-by-step instructions, and tips for perfect texture. Variations can enhance your flavors, and you learned about storage best practices. Enjoy these truffles at any gathering or as gifts. Remember, the joy of making them is just as sweet as tasting them. Happy cooking!


![To make these tasty chocolate chip banana bread muffins, gather these simple ingredients: - 3 ripe bananas, thoroughly mashed - 1/2 cup granulated sugar - 1/4 cup brown sugar, firmly packed - 1/3 cup unsalted butter, melted and slightly cooled - 1 large egg, at room temperature - 1 teaspoon vanilla extract - 1 teaspoon baking soda - 1/4 teaspoon salt - 1 teaspoon ground cinnamon - 1 1/2 cups all-purpose flour - 1 cup semi-sweet chocolate chips - 1/2 cup chopped walnuts (optional, for added crunch) Using the right amounts matters! Here’s a quick guide for measuring: - Bananas: Use ripe ones for natural sweetness. - Sugars: Granulated sugar is your base, while brown sugar adds moisture. - Butter: Melt it but let it cool a bit so it won’t cook the egg. - Flour: Spoon it into your cup and level it off for accuracy. You can swap some ingredients for different flavors or dietary needs: - Butter: Use coconut oil for a dairy-free option. - Sugar: Try honey or maple syrup for a natural sweetener. - Flour: Use whole wheat flour for more fiber. - Nuts: Feel free to skip walnuts or use pecans instead. For the full recipe, check the [Full Recipe]. First, gather your ingredients. You will need: - 3 ripe bananas, thoroughly mashed - 1/2 cup granulated sugar - 1/4 cup brown sugar, firmly packed - 1/3 cup unsalted butter, melted and slightly cooled - 1 large egg, at room temperature - 1 teaspoon vanilla extract - 1 teaspoon baking soda - 1/4 teaspoon salt - 1 teaspoon ground cinnamon - 1 1/2 cups all-purpose flour - 1 cup semi-sweet chocolate chips - 1/2 cup chopped walnuts (optional, for added crunch) Next, preheat your oven to 350°F (175°C). Prepare a muffin tin by lining it with paper liners or greasing it with cooking spray. This keeps the muffins from sticking. In a large bowl, mash the bananas well. Then, add the granulated sugar, brown sugar, and melted butter. Mix until smooth and creamy. Now, crack the egg into the bowl. Add the vanilla extract, and whisk until everything is mixed well. Sprinkle the baking soda, salt, and ground cinnamon over the banana mix. Stir gently to combine. Gradually sift in the all-purpose flour. Mix lightly with a spatula until just combined. Be careful not to over-mix, or your muffins may turn out dense. Finally, fold in the chocolate chips and walnuts, if using. This adds great texture and flavor to the muffins. Now, divide your batter evenly among the muffin tin cups. Fill each cup about two-thirds full. This allows the muffins to rise nicely. Place the muffin tin in the oven. Bake for 18-20 minutes. You will know they are done when a toothpick inserted into the center comes out clean or with a few moist crumbs. Once baked, take the muffins out of the oven. Let them cool in the tin for about 5 minutes. After that, carefully transfer them to a wire rack to cool completely. For an extra touch, serve the muffins warm. Lightly dust them with powdered sugar. You can also add a few extra chocolate chips on top. Pair them with coffee or tea for a delightful treat. For the full recipe, check out the Choco-Banana Bliss Muffins! To get soft and fluffy muffins, follow a few key steps. Use ripe bananas; they add natural sweetness and moisture. Mash them well, leaving no lumps. This helps blend the flavors. Don't over-mix the batter. Stir just until the flour disappears. Over-mixing can lead to tough muffins. When adding chocolate chips, fold them in gently. This keeps them evenly spread without breaking apart. A few common mistakes can ruin your muffins. First, check your oven temperature. An oven that is too hot can burn the muffins. Use an oven thermometer if needed. Avoid using cold ingredients. Always let your egg and butter come to room temperature. This helps your muffins rise better. Also, remember to fill your muffin cups only 2/3 full. This allows room for rising. These muffins are great on their own. For a special touch, serve them warm. Dust them with powdered sugar, and add extra chocolate chips on top. Pair them with coffee or tea for a cozy treat. You can also enjoy them with a dollop of yogurt or a scoop of ice cream. These options add a fun twist to your muffin experience. For the full recipe, check out the [Full Recipe]. {{image_4}} You can make these muffins gluten-free. Use a gluten-free flour blend instead of all-purpose flour. Many blends work well, like almond or coconut flour. Always check the package to ensure it is gluten-free. This option keeps the muffins soft and tasty while being safe for those with gluten issues. For a vegan version, swap the egg with a flax egg. To make a flax egg, mix 1 tablespoon of ground flaxseed with 2.5 tablespoons of water. Let it sit for 5 minutes until it thickens. Use coconut oil or vegan butter in place of regular butter. Also, choose dairy-free chocolate chips to keep it all plant-based. Want to boost nutrition? Add nuts like walnuts or pecans for crunch and healthy fats. You can also mix in ground flaxseed for extra fiber. This addition makes the muffins heartier and adds a nutty flavor. Just fold these ingredients into the batter before baking. For the full recipe, check out the Choco-Banana Bliss Muffins section above. You can store your chocolate chip banana bread muffins at room temperature. Place them in an airtight container. They stay fresh for about 2 to 3 days. If your kitchen is warm, refrigerate them to keep them from spoiling. Just remember, the fridge may dry them out a bit. To keep muffins longer, freeze them. First, let them cool completely. Wrap each muffin in plastic wrap. Then, place them in a freezer bag. Label the bag with the date. These muffins can last up to 3 months in the freezer. When ready to eat, just thaw them at room temperature or microwave for a quick treat. Reheat muffins for the best taste. You can use a microwave for about 15-20 seconds. This warms them up and melts the chocolate chips. If you want a crispy top, use an oven. Preheat to 350°F (175°C) and bake for about 5-10 minutes. Enjoy them warm for a delightful treat! For the full recipe, check out the Choco-Banana Bliss Muffins. You can check if your muffins are done by using a toothpick. Insert it into the center of one muffin. If it comes out clean or with a few moist crumbs, they are ready. The muffins should also look golden brown on top. If they are still wet, bake them for a few more minutes. Always keep an eye on them as oven times can vary. Yes, you can use frozen bananas! Just make sure to thaw them first. Once thawed, mash them well. Frozen bananas can actually make your muffins even sweeter. They also add moisture, making your muffins soft and delicious. They’re a great way to avoid waste if you have ripe bananas at home. You can add a few things to boost the flavor. Here are some options: - Nuts: Add chopped walnuts or pecans for a nice crunch. - Spices: Try adding nutmeg or extra cinnamon for warmth. - Extracts: A splash of almond extract can add a nice twist. - Fruits: Diced apples or berries can enhance the taste. - Zest: A bit of lemon or orange zest can brighten the flavors. Explore your own ideas, too! Cooking is all about creativity. Check the Full Recipe for more details on how to make these muffins. You learned about making delicious muffins from start to finish. We covered ingredients, measurements, and tasty alternatives. The step-by-step guide helps you bake easily. Tips and tricks will help you dodge common mistakes and perfect muffin texture. You also discovered fun variations, like gluten-free options and healthy extras. Lastly, we discussed storage tips to keep muffins fresh. I hope you feel ready to bake and enjoy these muffins with creative twists.](https://joymealplan.com/wp-content/uploads/2025/07/4f3c9815-0868-484a-ae71-7a97e3378a4a-768x768.webp)


