Blueberry Buttermilk Pancake Casserole Delight

Are you ready to elevate your breakfast game? With my Blueberry Buttermilk Pancake Casserole Delight, you’ll delight your taste buds and impress your family. This easy recipe combines fluffy pancakes with juicy blueberries for a perfect sweet start to your day. Whether you’re hosting brunch or enjoying a cozy morning, this dish is sure to please. Let’s dive into the ingredients and make mornings magical!
Why I Love This Recipe
- Easy to Prepare: This pancake casserole comes together quickly, making it perfect for busy mornings or brunch gatherings.
- Deliciously Fluffy: The combination of buttermilk and a careful mixing technique results in irresistibly fluffy pancakes.
- Berry Goodness: Fresh blueberries add a burst of flavor and nutrition, making each slice both tasty and healthy.
- Perfect for Sharing: This casserole feeds a crowd, making it an ideal dish for family breakfasts or friendly get-togethers.
Ingredients
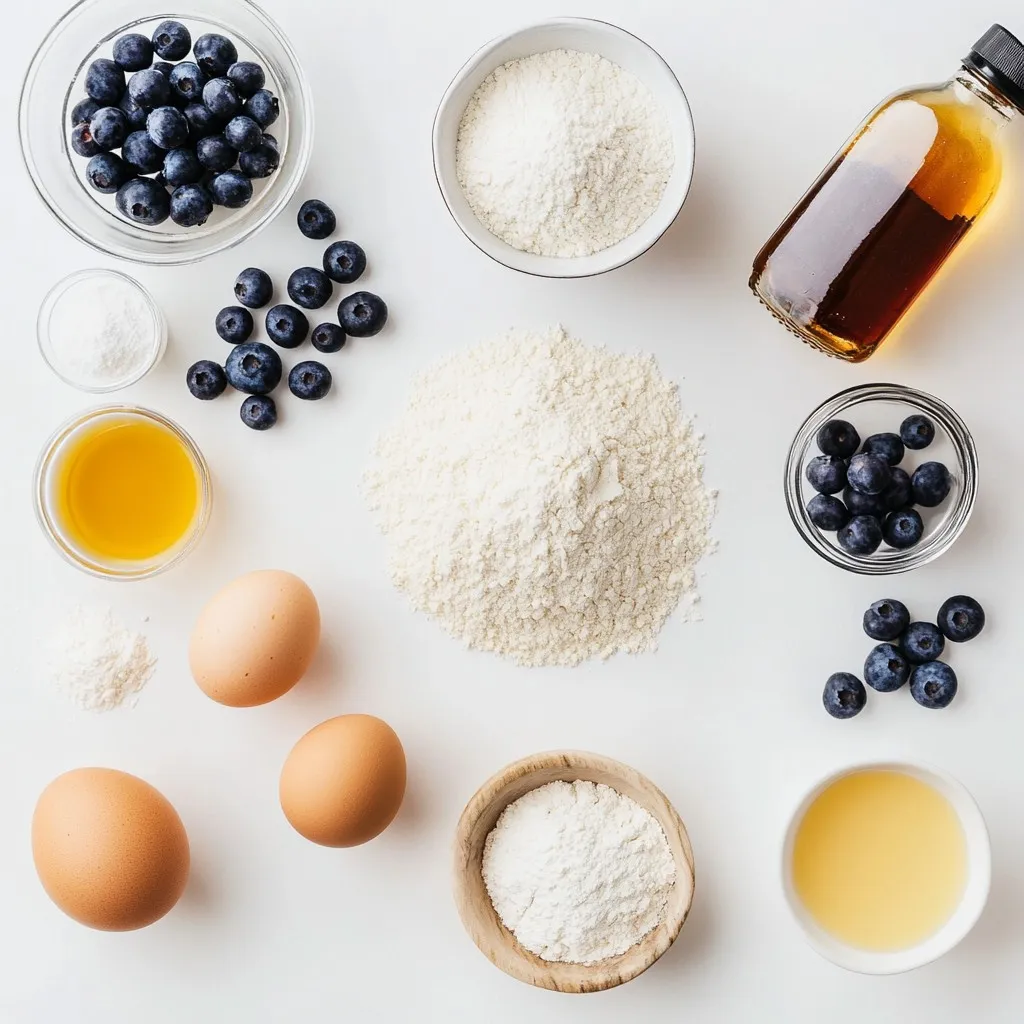
To make a delicious Blueberry Buttermilk Pancake Casserole, gather the following ingredients:
– 2 cups all-purpose flour
– 1 tablespoon baking powder
– 1 teaspoon baking soda
– ½ teaspoon salt
– 2 tablespoons granulated sugar
– 2 large eggs, at room temperature
– 2 cups buttermilk, at room temperature
– ¼ cup unsalted butter, melted (plus more for greasing the baking dish)
– 1 teaspoon pure vanilla extract
– 2 cups fresh blueberries (or use frozen if fresh are unavailable)
– Maple syrup, for serving
Each ingredient plays a key role in creating a tasty pancake casserole. The all-purpose flour provides structure, while baking powder and baking soda give it a nice lift. Eggs and buttermilk work together to create a fluffy texture.
Using unsalted butter adds richness to the flavor. Vanilla extract gives your dish a delightful aroma. Blueberries bring sweetness and a pop of color. Don’t forget the maple syrup; it adds the perfect finishing touch!

Step-by-Step Instructions
Preheating and Preparing the Baking Dish
– Preheat the oven to 350°F (175°C).
– Grease a 9×13 inch baking dish with melted butter. This helps prevent sticking.
Mixing Dry Ingredients
– In a large bowl, sift together 2 cups of all-purpose flour, 1 tablespoon of baking powder, 1 teaspoon of baking soda, ½ teaspoon of salt, and 2 tablespoons of granulated sugar.
– Whisk these dry ingredients until they mix evenly.
Combining Wet Ingredients
– In another bowl, crack 2 large eggs and beat them well.
– Add 2 cups of buttermilk, ¼ cup of melted unsalted butter, and 1 teaspoon of pure vanilla extract.
– Mix this until smooth and fully combined.
Merging Wet and Dry Mixtures
– Gradually pour the wet mixture into the bowl of dry ingredients.
– Stir gently until just combined. A few lumps are okay; avoid overmixing.
Adding Blueberries
– Gently fold in 2 cups of fresh blueberries. This adds flavor and texture to the batter.
Baking the Casserole
– Carefully pour the batter into the greased baking dish.
– Bake for 30-35 minutes. Check for doneness by inserting a toothpick in the center. It should come out clean.
Tips & Tricks
Ensuring Fluffiness
To make your pancake casserole fluffy, use room-temperature eggs and buttermilk. Cold ingredients can make the batter dense. Mix dry and wet ingredients gently. Overmixing can lead to tough pancakes, so stir just until combined. Letting the batter rest for a few minutes can help too. This short wait allows the flour to absorb moisture fully.
Customizing Your Casserole
You can easily change the flavor of your casserole. Try adding lemon zest for a fresh twist. A sprinkle of cinnamon or nutmeg can add warmth. You might also consider other fruits like strawberries or peaches. If you want a nutty crunch, toss in some chopped walnuts or pecans. Get creative with flavors that you love!
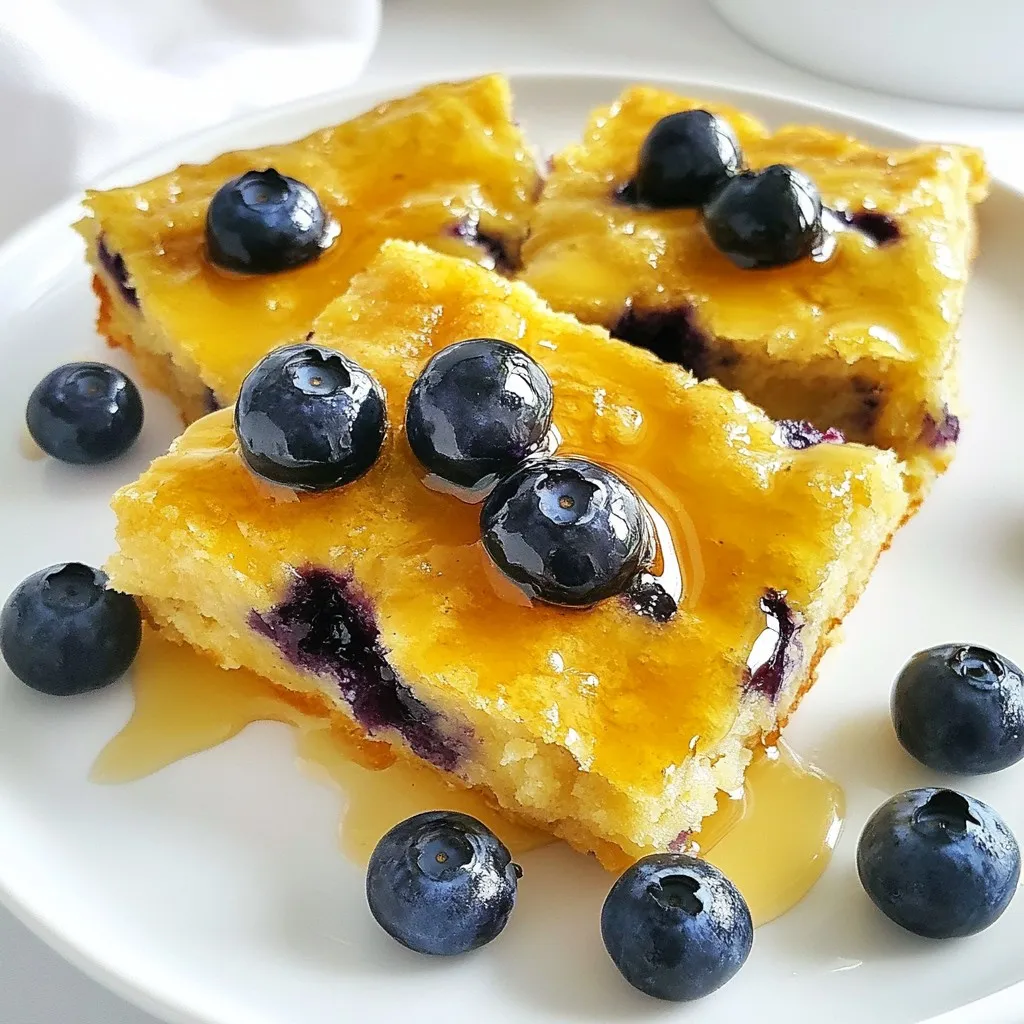
Presentation Suggestions
For a stunning breakfast, cut the casserole into squares and serve them warm. Place each square on a colorful plate. Top with fresh blueberries for a pop of color. A small pitcher of warm maple syrup on the side makes serving easy. You can also add a dusting of powdered sugar for extra flair. These small touches make your dish look as good as it tastes!
Pro Tips
- Use Room Temperature Ingredients: Allow your eggs and buttermilk to come to room temperature before mixing. This helps create a smoother batter and results in fluffier pancakes.
- Don’t Overmix: When combining the wet and dry ingredients, mix gently until just combined. Overmixing can lead to dense pancakes, so a few lumps are perfectly fine.
- Fresh or Frozen Blueberries: If using frozen blueberries, do not thaw them before adding to the batter. This prevents the batter from turning purple and keeps the berries intact during baking.
- Customize Your Toppings: Feel free to add nuts, chocolate chips, or a sprinkle of cinnamon to the batter for extra flavor. Top with whipped cream or yogurt for a delicious twist!

Variations
Making It Gluten-Free
To make this pancake casserole gluten-free, use gluten-free flour blends. Options like almond flour or coconut flour work well. Each type may need different adjustments. For example, add a bit more liquid if using almond flour. This helps keep the batter moist and fluffy. Also, watch the baking time. Gluten-free batters can bake faster, so check for doneness early.
Vegan Adaptations
If you want a vegan version, replace the eggs with flax eggs. Mix one tablespoon of ground flaxseed with three tablespoons of water for each egg. For buttermilk, use plant-based milk mixed with a bit of vinegar or lemon juice. For butter, try coconut oil or vegan butter. These swaps keep the flavor rich and delicious without using animal products.
Flavor Infusions
You can change the flavors by adding different fruits. Try strawberries, raspberries, or even bananas for a twist. You might also drizzle flavored syrups, like blueberry or maple, for extra sweetness. For a fun touch, add a sprinkle of cinnamon or nutmeg to the batter. These little changes make each bite a new experience!
Storage Info
Storing Leftovers
To store leftovers, let the casserole cool down first. Cut it into squares. Place the pieces in an airtight container. This keeps the pancakes fresh. You can store them in the fridge for up to three days.
Reheating Instructions
For reheating, I suggest using the oven. Preheat it to 350°F (175°C). Place the squares on a baking sheet. Cover them with foil to keep moisture in. Heat for about 10-15 minutes. This method keeps the texture soft and fluffy. You can also use a microwave. But keep in mind, it might dry out the pancakes a bit.
Freezing Guidelines
To freeze the casserole, let it cool completely. Cut it into squares and wrap each piece in plastic wrap. Then, place them in a freezer-safe bag. This way, they stay fresh for up to two months. When you are ready to eat, thaw the squares in the fridge overnight. Reheat them in the oven or microwave as mentioned before.
FAQs
Can I use frozen blueberries?
Yes, you can use frozen blueberries. They work well in this recipe. Frozen berries might make the batter a bit wetter. This can change the texture slightly, but the taste remains great. If you use frozen berries, do not thaw them first. Just fold them into the batter straight from the freezer.
How do I know when the casserole is done baking?
You can tell the casserole is done when the top is golden brown. Insert a toothpick into the center. If it comes out clean, the casserole is ready. It should feel firm, not jiggly. Let it cool for a few minutes before slicing.
Can I prep this dish in advance?
Yes, prep is easy! You can mix the dry ingredients the night before. Store them in a bowl or bag. You can also prepare the wet mix ahead. Just keep it in the fridge. When you are ready, combine them and bake.
What can I serve with Blueberry Buttermilk Pancake Casserole?
There are many great options! Serve with warm maple syrup for sweetness. Fresh whipped cream is also a fun choice. You can add yogurt for creaminess. Fresh fruits like bananas or strawberries will brighten the plate.
This blog post covers how to make a delicious Blueberry Buttermilk Pancake Casserole. We discussed the ingredients you’ll need, the step-by-step process, tips for customization, storage options, and answered common questions about the recipe.
By following these simple steps, you can create a tasty breakfast that everyone will love. Remember, you can adapt this recipe to suit your tastes. Enjoy making this dish and share it with family and friend

Blueberry Buttermilk Pancake Casserole
Ingredients
- 2 cups all-purpose flour
- 1 tablespoon baking powder
- 1 teaspoon baking soda
- 0.5 teaspoon salt
- 2 tablespoons granulated sugar
- 2 large eggs, at room temperature
- 2 cups buttermilk, at room temperature
- 0.25 cup unsalted butter, melted (plus more for greasing the baking dish)
- 1 teaspoon pure vanilla extract
- 2 cups fresh blueberries (or use frozen if fresh are unavailable)
- none Maple syrup, for serving
Instructions
- Preheat your oven to 350°F (175°C). Generously grease a 9x13 inch baking dish with melted butter to prevent sticking.
- In a large mixing bowl, sift together the all-purpose flour, baking powder, baking soda, salt, and granulated sugar. Whisk until all dry ingredients are evenly mixed.
- In a separate bowl, crack the eggs and beat them well. Add the buttermilk, melted butter, and vanilla extract. Whisk together until the mixture is smooth and fully combined.
- Gradually pour the wet ingredients into the bowl of dry ingredients, stirring gently until just combined. Be cautious not to overmix; a few lumps are perfectly fine.
- Gently fold the fresh blueberries into the batter, ensuring an even distribution without crushing them.
- Carefully pour the prepared pancake batter into the greased baking dish, using a spatula to spread it into an even layer.
- Place the dish in the preheated oven and bake for 30-35 minutes, or until the top is lightly golden and a toothpick inserted into the center comes out clean.
- Once baked, remove the casserole from the oven and allow it to cool for about 5-10 minutes. Then, slice it into squares for serving.
- Serve warm, drizzling each slice generously with maple syrup for added sweetness.


. Enjoy mixing these ingredients for an easy and delicious treat! Start by placing the softened cream cheese and cookie butter into a mixing bowl. Use an electric mixer to beat them together on medium speed. You want the mixture to be smooth and creamy. This base creates a rich and tasty dip. Next, add the pumpkin puree to the bowl. Blend everything together on low speed. This helps to combine the flavors well. You should see a uniform texture. Gradually sift in the powdered sugar. Add it in small amounts to avoid lumps. Mix after each addition until fully incorporated. This step ensures your dip is just sweet enough without being overpowering. Now, stir in the vanilla extract, ground cinnamon, nutmeg, ginger powder, and a pinch of salt. Mixing these ingredients together makes the dip fragrant and flavorful. Keep blending until everything is well combined. Taste your dip. If you want it sweeter or spicier, adjust it to your liking. You can add a bit more powdered sugar or spices. Blend again until mixed well. Finally, scoop the dip into a serving bowl. Cover it with plastic wrap. Place it in the fridge for at least 30 minutes. Chilling enhances the flavors and makes it even better. For the full recipe, check out the details provided earlier. Softened cream cheese is key. It makes mixing easy and helps avoid lumps. If your cream cheese is cold, it won’t blend well. Leave it out for about 30 minutes before you start. When you mix, use an electric mixer on medium speed. This helps create a smooth and creamy dip. To prevent lumps, combine the cream cheese and cookie butter first. Mix until the texture is silky. Then, add the pumpkin puree slowly. Mixing on low speed at this stage helps keep the dip smooth. You might want to tweak the sweetness. If you like it sweeter, add more powdered sugar. Remember to mix well each time you add sugar. Taste as you go! Spices can also be adjusted. If you love cinnamon, add a bit more. For a spicy kick, try adding more ginger. Personalizing the flavors makes the dip your own. Serving bowl choice matters. Use a fall-themed bowl to match the season. It makes your dip look festive. For a fun twist, try a bowl with patterns or colors that pop. When arranging dippers, think about color and texture. Place ginger snaps on one side and apple slices on the other. This contrast creates a beautiful display. For a touch of elegance, use the back of a spoon to swirl the dip. This simple detail makes the dip look gourmet. For the complete recipe, check out the Full Recipe. {{image_4}} You can make Cookie Butter Pumpkin Dip even more exciting with different flavors. Adding extra spices can really enhance the taste. Try a dash of allspice or cloves for a warm kick. If you want a sweeter note, a bit of brown sugar will do the trick. You can also add a splash of maple syrup for a rich flavor. Seasonal flavors can change the game too. Consider mixing in some finely chopped cranberries or pecans for texture. These add a nice crunch and a burst of flavor. You can also fold in some caramel sauce for a sweet twist. Each of these suggestions creates a unique dip that is fun to explore. When it comes to dipping, the options are endless! For a healthy twist, try fresh vegetable sticks like carrots or celery. These add a nice crunch and balance the sweet dip. You can also use rice cakes for a low-calorie choice. For sweet pairings, think about using pretzels or graham crackers. Their saltiness pairs well with the dip’s sweetness. You might even enjoy chocolate-covered strawberries for a fun treat. Mixing sweet and savory dippers creates a fun tasting experience. If you have dietary needs, there are great options! For gluten-free dippers, use apple slices or gluten-free cookies. These are tasty and safe for everyone. You can also swap in gluten-free graham crackers for a sweet treat. For a vegan version, use dairy-free cream cheese. Many brands offer great options that taste just as good. You can also use coconut whipped cream instead of regular cream cheese. These swaps keep the dip creamy and delicious, while fitting various diets. For the full recipe, check out the Cookie Butter Pumpkin Dip recipe to create your own delightful version! To store your leftover Cookie Butter Pumpkin Dip, place it in an airtight container. This keeps it fresh and prevents it from absorbing other fridge smells. Use a glass or plastic container with a tight lid for the best results. Make sure to let the dip cool to room temperature before sealing it. This helps avoid condensation inside the container. If you want to save some dip for later, freezing works well. First, scoop the dip into a freezer-safe container. Leave some space at the top, as the dip may expand when frozen. Seal it tightly and label it with the date. To thaw, move it to the fridge for several hours or overnight before you serve it again. Stir well after thawing to restore the smooth texture. In the fridge, your dip can last about four to five days. Look for any changes in color or smell as signs of spoilage. If it has a watery layer on top or smells off, it's best to toss it. Enjoy this dip while it’s fresh for the best taste! Yes, you can make this dip ahead of time. Just prepare the dip and place it in a bowl. Cover it tightly with plastic wrap or a lid. Store it in the fridge for up to two days. This allows the flavors to blend well. It also makes your party prep easier. Just remember to give it a good stir before serving. If you need a substitute for cookie butter, try sunflower seed butter or almond butter. They add a nutty flavor. For a sweet touch, mix in some brown sugar or maple syrup. These options are great for those with nut allergies. Each choice will give the dip a unique twist! You can serve the dip warm if you prefer. To heat it, place the dip in a microwave-safe bowl. Heat it in short bursts, stirring in between. This helps keep the texture smooth. Warm dip pairs well with dippers like pretzels or warm bread. The best dippers include: - Ginger snaps - Apple slices - Graham crackers - Soft pretzels - Carrot sticks These options bring a nice mix of flavors and textures. You can even try cookies or biscotti for a fun twist! This dip is perfect for parties! It serves about 6 to 8 people. You can easily double the recipe for larger gatherings. Guests love the creamy texture and sweet flavor. Arrange the dip with a variety of dippers for a colorful spread. This will please any crowd! For the full recipe, check out the earlier sections. This dip brings great flavors and fun for everyone. By mixing pumpkin, cookie butter, and spices, you create a delicious treat. Remember to chill for the best taste. Get creative with dippers and toppings to impress your guests. Explore variations and alternatives based on your needs. With easy storage tips, you can enjoy this dip later. Now, you're ready to delight friends and family at any gathering!](https://joymealplan.com/wp-content/uploads/2025/07/ca44b838-8d60-4193-b164-21c1eb441ebf-768x768.webp)


