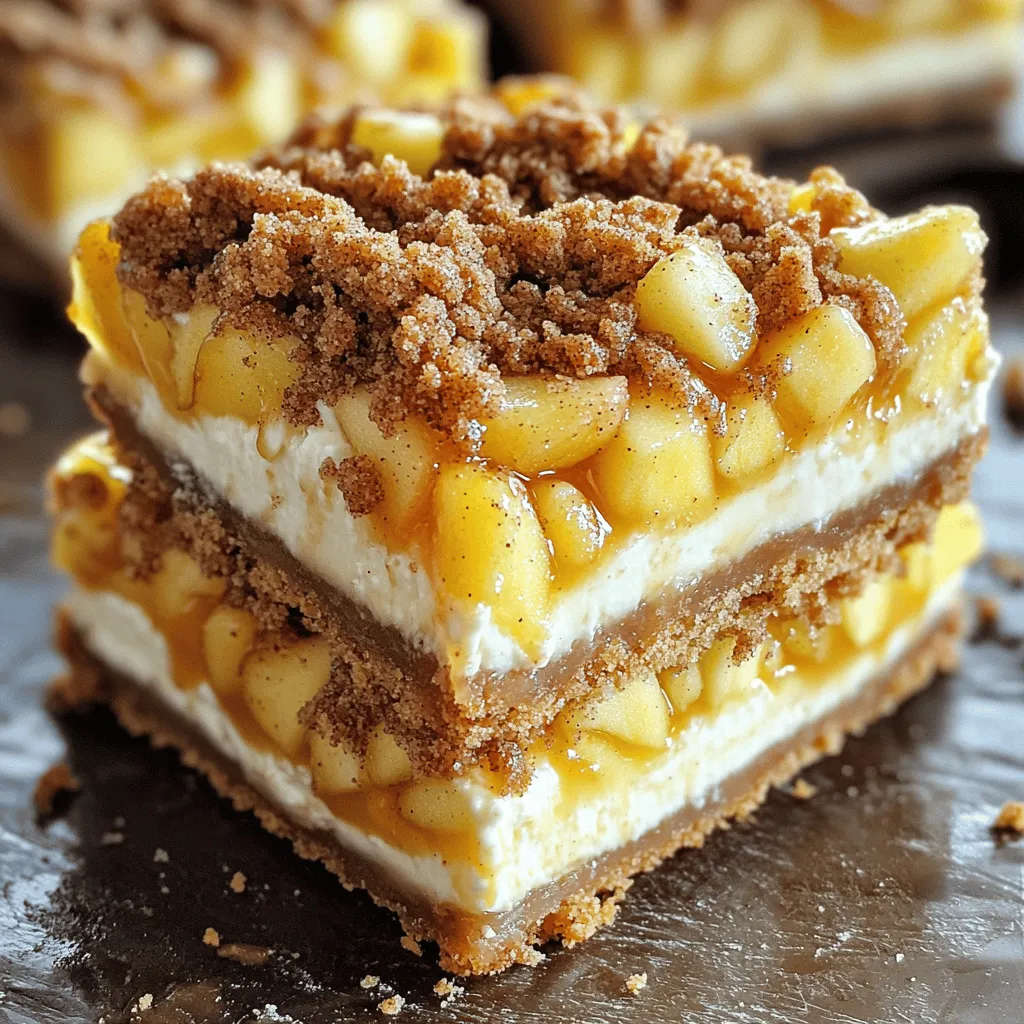
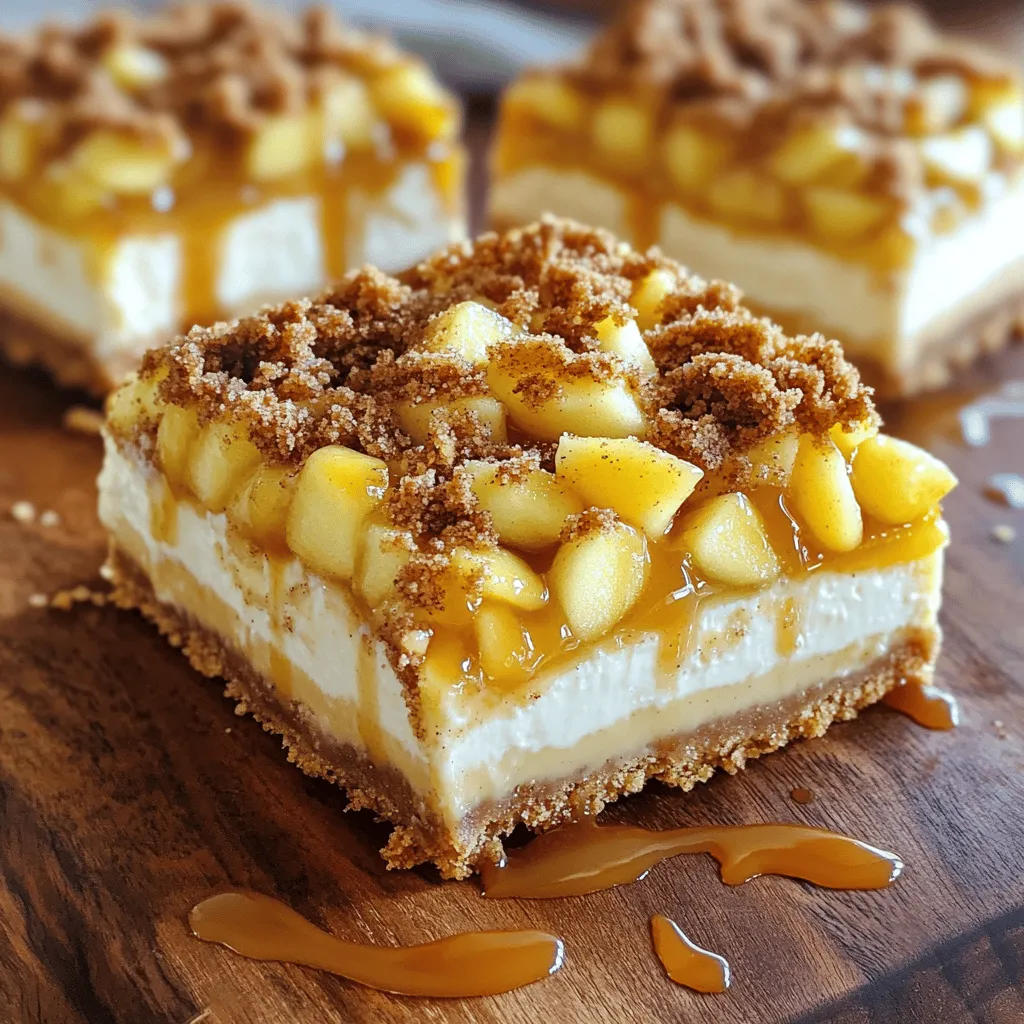
If you’re craving a dessert that combines creamy, sweet, and crunchy, look no further. My Caramel Apple Streusel Cheesecake Bars are a delightful treat that brings together rich cheesecake, tart apples, and a buttery crumb topping. With simple ingredients and easy steps, you can create a dessert that impresses every time. Get ready to indulge in this perfect fall-inspired dessert that your family and friends will love!
Ingredients
Crust Ingredients
– 1 ½ cups graham cracker crumbs
– ½ cup unsalted butter, melted
– ¼ cup granulated sugar
For the crust, you need graham cracker crumbs, melted unsalted butter, and granulated sugar. Mix these three ingredients together. The mix should feel like wet sand. Press it into the bottom of your baking pan.
Cheesecake Filling Ingredients
– 16 oz cream cheese, softened
– ½ cup granulated sugar
– 2 large eggs
– 1 teaspoon vanilla extract
– 1 ½ cups apples, peeled and diced
– 1 teaspoon ground cinnamon
The filling starts with softened cream cheese and granulated sugar. Beat these until smooth. Add eggs one at a time, mixing well. Then, mix in vanilla. Next, fold in apples and ground cinnamon. This mixture gives the filling a sweet apple taste.
Streusel Topping Ingredients
– ½ cup all-purpose flour
– ½ cup rolled oats
– ¼ cup brown sugar, packed
– ¼ cup unsalted butter, melted
– 1 teaspoon ground cinnamon
For the streusel, combine all-purpose flour, rolled oats, brown sugar, melted butter, and ground cinnamon. This mix adds a crunchy topping that contrasts nicely with the creamy filling.
Caramel Drizzle
– ½ cup caramel sauce
Finally, use store-bought or homemade caramel sauce for the drizzle. This adds a sweet finish to your cheesecake bars. Drizzle it on top just before serving.
Step-by-Step Instructions
Preheat the Oven
First, set your oven to 325°F (160°C). This is the perfect temperature to bake your bars. Next, line an 8×8-inch baking pan with parchment paper. Make sure some paper hangs over the edges. This helps you lift the bars out later.
Prepare the Crust
In a medium bowl, mix 1 ½ cups of graham cracker crumbs, ½ cup of melted unsalted butter, and ¼ cup of granulated sugar. Stir until it looks like wet sand. Press this mixture firmly into the bottom of your prepared pan. Bake for 10 minutes. Let it cool slightly after you remove it from the oven.
Make the Cheesecake Filling
Grab a large bowl and beat 16 oz of softened cream cheese with ½ cup of granulated sugar. Use an electric mixer until it’s smooth. Add 2 large eggs one at a time. Mix well after each egg. Finally, add 1 teaspoon of vanilla extract and blend until mixed.
Add Apples to Filling
In a small bowl, combine 1 ½ cups of peeled and diced apples with 1 teaspoon of ground cinnamon. Toss gently to coat the apples. Now, fold the apple mixture into the cheesecake filling. Be careful not to overmix; you want to keep the chunks of apple.
Assemble and Bake
Pour the cheesecake filling over your cooled crust. Use a spatula to spread it evenly. Next, prepare the streusel topping. In a separate bowl, mix ½ cup of all-purpose flour, ½ cup of rolled oats, ¼ cup of packed brown sugar, ¼ cup of melted unsalted butter, and 1 teaspoon of ground cinnamon. Stir until it looks crumbly. Sprinkle the streusel over the cheesecake layer.
Cooling and Drizzling Caramel
Now, place the pan in the oven. Bake for 35-40 minutes. The cheesecake should be set in the center and lightly golden on the edges. Once baked, cool the bars at room temperature for about 30 minutes. Refrigerate for at least 2 hours. Just before you serve, drizzle ½ cup of caramel sauce over the top. Enjoy!
Tips & Tricks
Perfecting the Texture
To get the best texture in your caramel apple streusel cheesecake bars, avoid overmixing the filling. When you mix the cream cheese and sugar, stop as soon as it’s smooth. Overmixing can make the cheesecake dense.
Cooling time is also key. After baking, let the bars cool for about 30 minutes at room temperature. Then, chill them in the fridge for at least 2 hours. This helps the bars set up nicely and enhances the flavor.
Serving Suggestions
Presentation matters. Serve these bars on a pretty platter. Add a few apple slices and a sprinkle of cinnamon for a pop of color. This makes the dessert look more tempting.
Pair your bars with a warm drink. A cup of spiced cider or a light tea works great. The flavors blend well and make for a cozy treat.
Making It Healthier
You can swap out some ingredients to make your cheesecake bars healthier. Use whole wheat flour instead of all-purpose flour in the streusel. This adds fiber and nutrients.
To reduce sugar, try using a sugar substitute in the cheesecake filling. Just remember that some substitutes may change the flavor slightly. Always taste as you go to find the right balance.
Variations
Flavor Variations
You can change the flavor of your cheesecake bars in fun ways. Adding nuts makes a great crunch. I love using walnuts or pecans in the streusel. If you love chocolate, try adding chocolate chips to the filling. They pair well with apples.
You can also switch up the apples you use. Some apples are sweet, while others are tart. For a sweet taste, use Fuji or Honeycrisp apples. If you want tartness, Granny Smith apples are great. Mixing different apples can add depth to your bars.
Alternative Toppings
Want to switch things up? Instead of caramel, drizzle melted chocolate on top. It adds a rich, sweet twist. You can also add whipped cream for a light touch. Ice cream on the side makes a great dessert too.
Another fun option is to sprinkle some nuts on top before serving. They add flavor and a nice crunch.
Baking Method Alternatives
If you want a faster option, try a no-bake version. Just make the filling and pour it over the crust. Chill it in the fridge until set.
For those avoiding gluten, you can use almond flour or gluten-free graham cracker crumbs for the crust. This keeps the bars tasty while meeting dietary needs.
Storage Info
Short-term Storage
For short-term storage, keep your caramel apple streusel cheesecake bars in the fridge. Place the bars in an airtight container. This helps keep them fresh. If you don’t have a container, cover the bars tightly with plastic wrap. They will stay good for about five days.
Freezing Cheesecake Bars
If you want to save some for later, you can freeze them. First, let the bars cool completely. Then, cut them into squares. Wrap each square in plastic wrap. Next, place the wrapped bars in a freezer-safe bag or container. This way, they will keep their taste and texture. They can last for up to two months in the freezer.
Reheating Guidelines
When ready to enjoy your frozen cheesecake bars, remove them from the freezer. Let them thaw in the fridge overnight. For reheating, use the microwave. Heat each square for about 15-20 seconds on low power. This warms them gently without cooking them further. Enjoy the bars at room temperature or slightly warmed for the best taste.
FAQs
Can I use low-fat cream cheese?
You can use low-fat cream cheese. However, it may change the flavor and texture. Low-fat cream cheese can make the bars less creamy. The taste might not be as rich. For the best results, I suggest sticking to full-fat options.
How long do these cheesecake bars last?
These cheesecake bars last about five days in the fridge. Store them in an airtight container. Be sure to keep them cool to maintain the best flavor and texture.
Can I prepare this ahead of time?
Yes, you can prepare these bars ahead of time. Make them a day or two in advance. Just remember to chill them well before serving. This helps the flavors blend nicely.
What can I substitute for graham cracker crumbs?
You can use crushed cookies or oats instead of graham cracker crumbs. Try vanilla wafers for a sweet touch. If you need a gluten-free option, use gluten-free cookies or almond flour.
How do I know when the cheesecake is done baking?
The cheesecake is done when it is set in the center. Look for light golden edges as a sign. A slight jiggle in the middle is okay. It will firm up as it cools.
You learned how to make delicious apple cheesecake bars step by step. We covered crust, filling, and toppings. You can customize them with flavors or healthier ingredients. Don’t forget to store them properly for the best taste. Enjoy your baking journey and share these treats with friends! Remember, the joy of cooking is in the process. Happy baking!


