
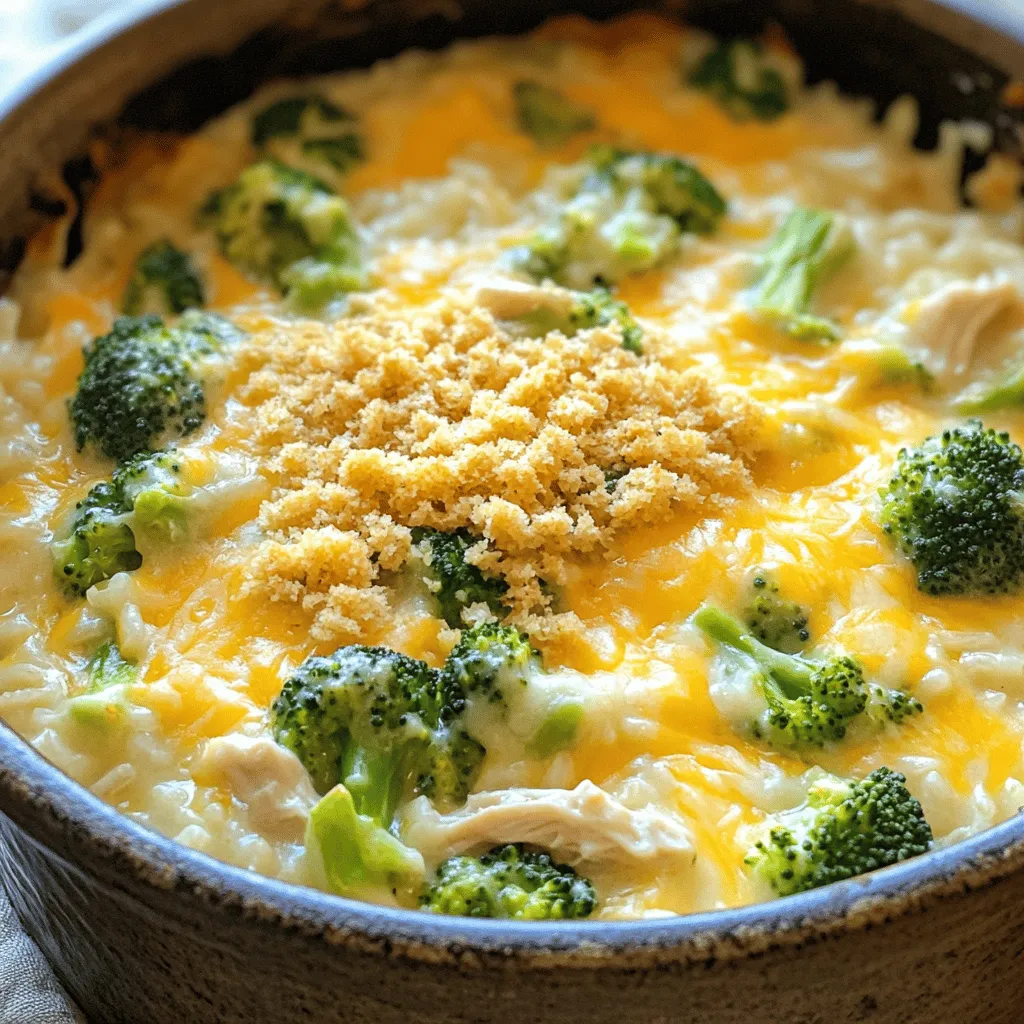
Welcome to my kitchen! Today, we’re diving into a deliciously creamy meal: Cheesy Broccoli Chicken Rice Casserole. This one-pot delight combines tender chicken, fresh broccoli, and fluffy rice, all wrapped in gooey cheese. It’s easy to prepare, perfect for busy nights, and a hit for all ages. Ready for a comforting dish that’s sure to please? Let’s get started on this tasty adventure!
Ingredients
Main Ingredients
– 2 cups cooked chicken, shredded
– 1 cup long-grain rice, uncooked
– 2 cups broccoli florets (fresh or frozen)
Miscellaneous Ingredients
– 1 can (10.5 oz) cream of chicken soup
– 1 cup chicken broth
– 1 cup sharp cheddar cheese, shredded
– 1 cup milk
Seasoning and Oil
– 1 teaspoon garlic powder
– 1 teaspoon onion powder
– 1 tablespoon olive oil
– Salt and pepper to taste
Gathering the right ingredients makes your cheesy broccoli chicken rice casserole a success. Start with shredded chicken. Use leftover roast chicken or rotisserie chicken for ease. Then, grab long-grain rice. This type cooks evenly and gives a great texture. Next, pick up fresh or frozen broccoli florets. They add color and nutrients to your dish.
For the creamy base, you’ll need a can of cream of chicken soup and chicken broth. These create a rich flavor that blends well with the chicken and veggies. Don’t forget the milk. It adds creaminess to the casserole.
Now, let’s talk cheese. Sharp cheddar cheese is your best friend here. It melts beautifully and gives a tangy taste. Lastly, gather your seasonings: garlic powder, onion powder, salt, and pepper. Olive oil helps toast the rice and adds a nice flavor.
With these ingredients, you’re on your way to a delightful dish. Each element plays its part, creating a casserole that’s warm, cheesy, and satisfying.
Step-by-Step Instructions
Preparation Steps
1. Preheat the oven
Set your oven to 350°F (175°C). This step warms up your kitchen and gets the oven ready.
2. Toast the rice
In a large, oven-safe pot, heat 1 tablespoon of olive oil over medium heat. Add 1 cup of uncooked long-grain rice. Toast the rice for about 2 minutes. Stir it often until it turns slightly golden and gives off a nice smell.
Cooking Process
3. Combine liquids and seasoning
Pour in 1 can of cream of chicken soup, 1 cup of chicken broth, and 1 cup of milk. Stir well until everything is mixed and smooth. This mix gives your casserole its creamy base.
4. Incorporate chicken and broccoli
Add 2 cups of shredded chicken and 2 cups of broccoli florets to the pot. Season with 1 teaspoon of garlic powder, 1 teaspoon of onion powder, salt, and pepper to taste. Mix everything until well combined.
Final Steps
5. Simmer and add cheese
Let the mixture come to a gentle simmer. Then, cover the pot and reduce the heat to low. Cook for about 15 minutes, or until the rice soaks up most of the liquid. After that, remove the lid and stir in half of the 1 cup of shredded sharp cheddar cheese until it melts.
6. Bake to perfection
If you like a crunchy top, sprinkle 0.5 cup of breadcrumbs on the casserole. Add the remaining cheddar cheese on top. Transfer the pot to your preheated oven. Bake uncovered for 15-20 minutes. Look for bubbling cheese and a golden brown topping.
Enjoy a warm, cheesy dish that everyone will love!
Tips & Tricks
Cooking Tips
– Best practices for cooking rice: Start by toasting the uncooked rice in olive oil. This gives the rice a nice flavor and keeps it from becoming mushy. Stir often while toasting for about two minutes until slightly golden. This step helps the rice stay separate when cooked.
– Ensuring the casserole is creamy: To keep the casserole creamy, mix the cream of chicken soup, chicken broth, and milk well. Make sure there are no lumps. Adding half of the cheese at the end also adds richness and creaminess.
Serving Suggestions
– Ideal accompaniments: This casserole goes well with a green salad or garlic bread. Both add freshness and flavor to your meal. You can also serve it with a side of steamed veggies for extra nutrition.
– Presentation tips: Serve the casserole in the pot for a cozy feel. For a more elegant touch, scoop servings onto plates. Garnish with fresh parsley or a drizzle of cheese sauce for color and appeal.
Ingredient Substitutions
– Alternatives for chicken: If you want a change, try using cooked turkey or rotisserie chicken. For a vegetarian option, you can use chickpeas or tofu. Both options add protein and flavor.
– Dairy-free options: To make this casserole dairy-free, use a dairy-free cream soup and plant-based milk. Nutritional yeast can replace cheese for a cheesy flavor without dairy.
Variations
Ingredient Variations
You can change up the veggies in this casserole. Try adding:
– Carrots: Shredded or diced for sweetness.
– Peas: Add a pop of color and flavor.
– Bell peppers: Brighten the dish with crunch.
For cheese, consider these options:
– Mozzarella: A milder, stretchy cheese.
– Pepper jack: A little spice for a kick.
– Cream cheese: For a rich and creamy texture.
Dietary Variations
To make this dish gluten-free, use:
– Gluten-free rice: It works just like regular rice.
– Gluten-free cream soup: Check the labels for safe options.
For a low-carb version, swap rice for:
– Cauliflower rice: It’s low in carbs and easy to prepare.
– Zucchini noodles: A fun twist for a veggie boost.
Preparation Variations
You can cook this casserole differently. Try the stovetop method:
1. Cook the rice in a pot with broth.
2. Stir in chicken, broccoli, and soup.
3. Simmer until warm and creamy.
For a slow cooker adaptation:
1. Combine all ingredients in the slow cooker.
2. Cook on low for 4-6 hours.
3. Stir in cheese before serving for a melted finish.
Storage Info
Refrigeration Guidelines
To store leftovers, let the casserole cool first. Once it cools, place it in a storage container. I recommend using an airtight container to keep it fresh. This helps lock in the flavors and moisture. You can store the leftovers in the fridge for up to three days.
Freezing Instructions
To freeze your casserole, make sure it cools completely. Then, cut it into portions for easy serving. Wrap each portion tightly in plastic wrap. You can also use a freezer-safe container or a resealable bag. This will help prevent freezer burn. When you want to eat it, thaw it in the fridge overnight. Reheat it in the oven at 350°F until hot.
Shelf Life
In the refrigerator, your casserole lasts about three days. If you freeze it, it can last up to three months. Just make sure you follow the freezing instructions for the best taste and texture.
FAQs
Common Questions
Can I use uncooked chicken?
Yes, you can use uncooked chicken. Just make sure to cook it fully during the casserole process. This helps keep it safe to eat. Add the raw chicken when you mix in the rice and liquids. It will cook through as the casserole bakes.
How do I make it spicier?
To add spice, you can include red pepper flakes or hot sauce. Mix these in with the chicken and broccoli for an extra kick. You can also use pepper jack cheese instead of cheddar for more heat.
Cooking and Serving
How do I know when it’s done?
Check if the cheese is bubbly and golden. The rice should be tender and the chicken fully cooked. You can also use a meat thermometer to check the chicken’s internal temperature. It should reach 165°F (74°C) for safety.
Can I prepare it ahead of time?
Yes, you can prepare it ahead. Just assemble the casserole and cover it. Store it in the fridge for up to 24 hours. When ready to bake, add extra time in the oven since it will be cold.
Variants for Picky Eaters
How to hide vegetables?
To hide vegetables, you can chop them very small. You can also blend broccoli with the liquids before mixing them in. This way, they blend into the dish and kids won’t notice them.
Kid-friendly adjustments
For kids, try using less garlic and onion powder. You can also add a fun topping like crushed chips. They add a great crunch and make the dish more appealing.
This article covered a simple chicken casserole recipe with key ingredients, easy steps, and helpful tips. You learned about main ingredients like chicken, rice, and broccoli, plus seasoning tips to boost flavor. We explored variations for diets and cooking methods, ensuring you can adapt the dish. Finally, I shared storage tips for leftovers. Cooking doesn’t have to be hard. With this recipe, you can impress everyone at your table! Enjoy creating your delicious casserole.


