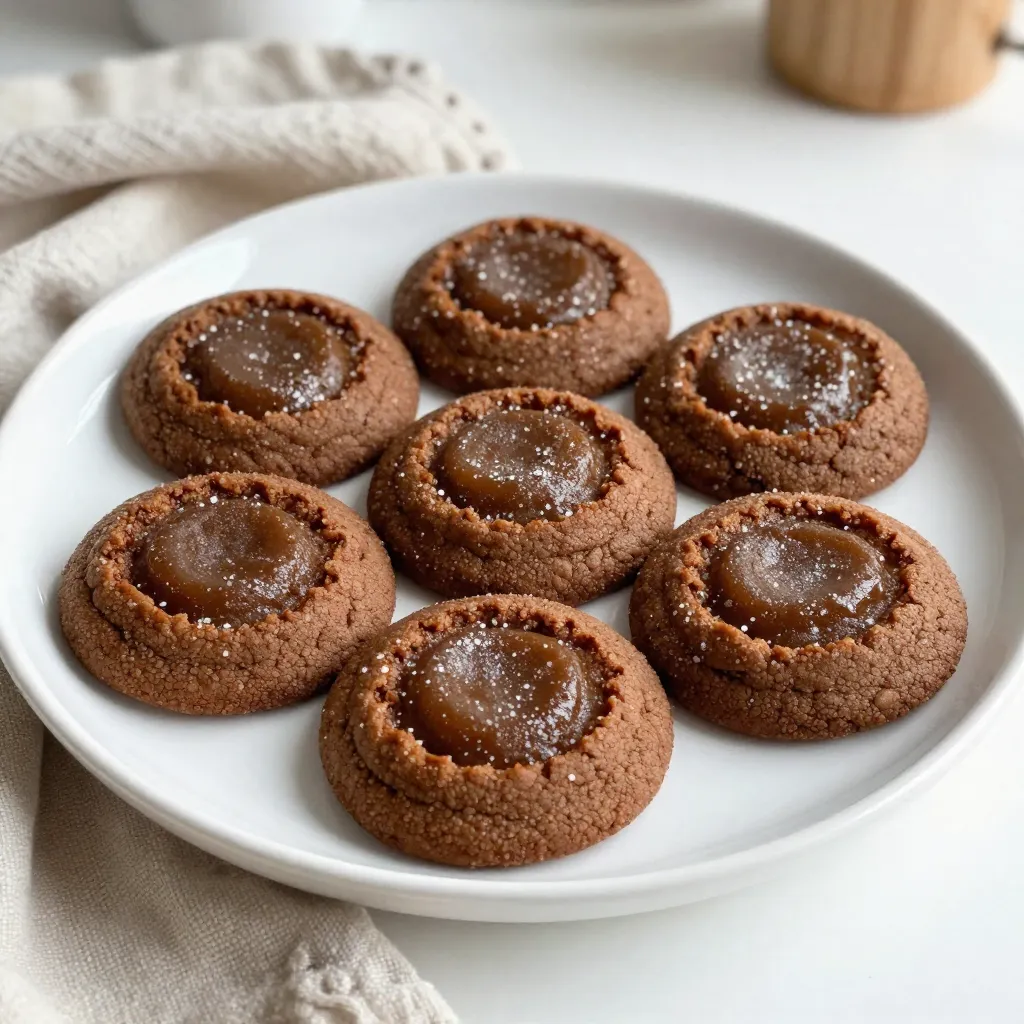
Get ready to enjoy the best cookies ever! Chewy ginger molasses cookies are a cozy classic that delight your senses with their warm spices and chewy texture. Whether you’re an expert baker or a kitchen novice, this guide will show you how to whip up a batch that’s irresistibly delicious. Let’s dive into the ingredients, tips, and tricks to make your baking adventure a sweet success!
Why I Love This Recipe
- Irresistible Flavor: The combination of ginger, molasses, and warm spices creates a rich and comforting flavor that is perfect for any occasion.
- Chewy Texture: These cookies boast a delightful chewy texture that keeps you coming back for more with every bite.
- Easy to Make: With simple ingredients and straightforward steps, anyone can whip up a batch of these delicious cookies in no time.
- Perfect for Sharing: Whether it’s a holiday gathering or a cozy get-together, these cookies are sure to impress and bring smiles to everyone.
Ingredients
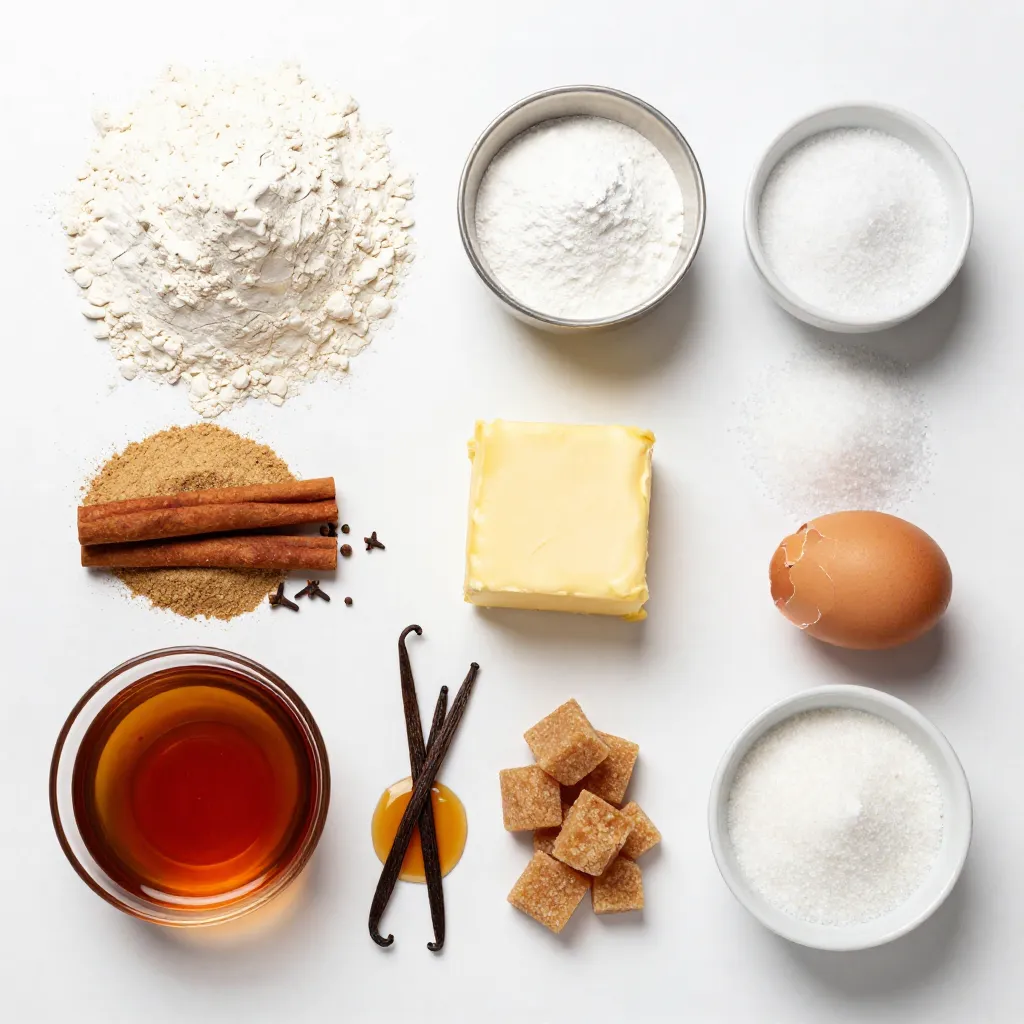
List of Ingredients
– 2 1/4 cups all-purpose flour
– 2 teaspoons ground ginger
– 1 teaspoon ground cinnamon
– 1/2 teaspoon ground cloves
– 1 teaspoon baking soda
– 1/4 teaspoon salt
– 3/4 cup unsalted butter, softened
– 1/2 cup granulated sugar
– 1/2 cup brown sugar
– 1 large egg
– 1/4 cup unsulfured molasses
– 1 teaspoon pure vanilla extract
– Extra granulated sugar for rolling
Ingredient Substitutions
You can switch butter for coconut oil or margarine. This keeps the cookies moist. For vegan cookies, use a flax egg instead of a regular egg. Just mix one tablespoon of flaxseed meal with three tablespoons of water. Let it sit until it thickens. For gluten-free options, use a gluten-free flour blend. This will change the texture but still taste good. Always check the package for best results.
Step-by-Step Instructions
Preparing the Dough
Whisk the dry ingredients first. In a bowl, mix 2 1/4 cups of flour, 2 teaspoons of ground ginger, 1 teaspoon of ground cinnamon, 1/2 teaspoon of ground cloves, 1 teaspoon of baking soda, and 1/4 teaspoon of salt. Make sure there are no lumps.
Next, cream the butter and sugars. In a large bowl, beat 3/4 cup of softened butter with 1/2 cup of granulated sugar and 1/2 cup of packed brown sugar. Mix until light and fluffy. This will take about 2-3 minutes.
Now, add the wet ingredients. Incorporate 1 large egg, 1/4 cup of unsulfured molasses, and 1 teaspoon of pure vanilla extract into the butter mixture. Mix until smooth and well combined.
Chilling and Shaping the Cookies
Chilling the dough is very important. This step helps the cookies keep their shape while baking. Cover the dough with plastic wrap and chill it in the fridge for about 30 minutes.
After chilling, it’s time to shape the cookies. Use a tablespoon to scoop out portions of dough. Roll each portion into a ball with your hands. Then, roll each dough ball in extra granulated sugar until fully coated.
Baking Tips
Set your oven to 350°F (175°C) and line a baking sheet with parchment paper. This prevents sticking. Bake the cookies for 8-10 minutes. Look for the edges to be set and the centers to be slightly underbaked. They’ll firm up as they cool.
After baking, let the cookies sit on the baking sheet for about 5 minutes. Then, transfer them to a wire rack to cool completely. This helps them stay chewy and delicious.
Tips & Tricks
Achieving Chewy Texture
To get that perfect chewy texture, avoid overmixing the dough. When you mix too much, the cookies may turn out tough. Mix just until all ingredients blend together. This simple step is key for chewy cookies.
Chilling the dough also plays a big role. After you mix it, wrap the dough and chill for about 30 minutes. This helps the cookies keep their shape as they bake. Chilled dough also enhances the flavors.
Enhancing Flavor
You can add extra spices for more depth. Consider using nutmeg or allspice for a unique twist. A pinch of black pepper can also add a nice kick. These spices add warmth and richness.
Using high-quality molasses is a game changer. Look for unsulfured molasses for the best flavor. The richer the molasses, the more flavor your cookies will have. This makes your cookies not just good, but truly special.
Presentation Suggestions
For a fun presentation, arrange your cookies in a nice jar. You can also place them on a decorative platter. A light dusting of sugar gives them a lovely sparkle.
Pair these cookies with a warm beverage. A cup of tea or hot cocoa complements them perfectly. The warmth of the drink enhances the spices in the cookies. It makes for a cozy treat any time of year.
Pro Tips
- Chill the Dough: Chilling the cookie dough for at least 30 minutes helps the cookies maintain their shape and enhances the flavors.
- Use Fresh Spices: Ensure your ground spices are fresh for the most vibrant flavor. Older spices can lose potency over time.
- Don’t Overbake: To achieve chewy cookies, take them out of the oven when the edges are set but the centers are still soft. They will continue to firm up as they cool.
- Experiment with Mix-ins: Consider adding chocolate chips, nuts, or candied ginger for an extra twist on the classic flavor.
Variations
Add-ins and Mix-ins
You can make your chewy ginger molasses cookies even better with add-ins. Here are two great options:
– Chocolate chips: They add a wonderful richness. The dark chocolate pairs nicely with the spices.
– Nuts or dried fruits: Walnuts or pecans give a crunchy texture. Dried cranberries or raisins add a sweet, chewy bite.
Feel free to experiment with these mix-ins. Just keep the total amount around one cup. This way, your cookies stay soft and chewy.
Flavor Variations
Want to change up the taste? Try these flavor variations:
– Citrus zest: Add zest from oranges or lemons. It brightens the flavor and adds freshness.
– Other spice combinations: You can mix in nutmeg or allspice for a new twist. These spices create a warm, cozy taste.
These options let you customize your cookies to match your mood or the season.
Different Cookie Sizes
You can adjust the size of your cookies for different occasions:
– Adjusting bake time: For larger cookies, increase the bake time by a few minutes. For smaller cookies, reduce it slightly. The edges should be set, and the centers should look soft.
– Making mini cookies: Use a teaspoon to scoop smaller portions. These bite-sized treats are perfect for sharing at parties or for kids.
No matter the size, these cookies will remain chewy and delicious!
Storage Info
How to Store Cookies
To keep your chewy ginger molasses cookies fresh, use an airtight container. A glass jar with a tight lid works well. You can also use a plastic container with a good seal.
Store the cookies at room temperature for up to one week. They stay soft and tasty this way. If you live in a humid area, refrigerate them for longer freshness. Just remember to let them come back to room temperature before enjoying.
Freezing Instructions
If you want to save some cookies for later, freezing is a great option. First, let the cookies cool completely. Then, place them in a single layer on a baking sheet. Freeze them for about one hour. This will help them keep their shape.
Once they are firm, transfer the cookies to a freezer bag. Remove as much air as you can before sealing. They can last for up to three months in the freezer.
When you are ready to enjoy, take out a cookie or two. Let them thaw at room temperature for about 15 minutes. You can warm them up in the microwave for a few seconds if you like them warm. This brings back their chewy goodness.
FAQs
Common Questions about Chewy Ginger Molasses Cookies
How do I make my cookies softer?
To make your cookies softer, try these steps:
– Use more brown sugar. It holds moisture well.
– Do not overbake them; take them out when the edges are set.
– Let the dough chill before baking. This helps keep them chewy.
Can I substitute brown sugar with white sugar?
You can substitute brown sugar with white sugar, but the cookies will be less chewy. Brown sugar adds moisture and a rich flavor. If you must use white sugar, consider adding a bit of molasses for extra flavor.
Why are my cookies spreading too much?
If your cookies spread, check these factors:
– Make sure your butter is softened but not melted.
– Chilling the dough helps keep cookies from spreading.
– Ensure you measure your flour correctly. Too little flour can cause spreading.
Baking and Ingredient Questions
What type of molasses is best for this recipe?
Unsulfured molasses is best for this recipe. It has a smooth taste and is less bitter. It adds a deep flavor to the cookies. Avoid using sulfured molasses, as it can alter the taste.
How can I tell if my baking soda is still active?
To check if your baking soda is still active, do this simple test:
– Mix a teaspoon of baking soda with a bit of vinegar.
– If it bubbles up, it is still good to use. If not, replace it. Fresh baking soda is key for great cookies!
You now have all the tools to bake chewy ginger molasses cookies. We covered ingredients, substitutes, and step-by-step instructions. Remember to chill your dough for the best texture and flavor. Feel free to add nuts or chocolate chips for a twist. Proper storage keeps your cookies fresh for longer. Enjoy sharing your delicious treats! Happy bakin


