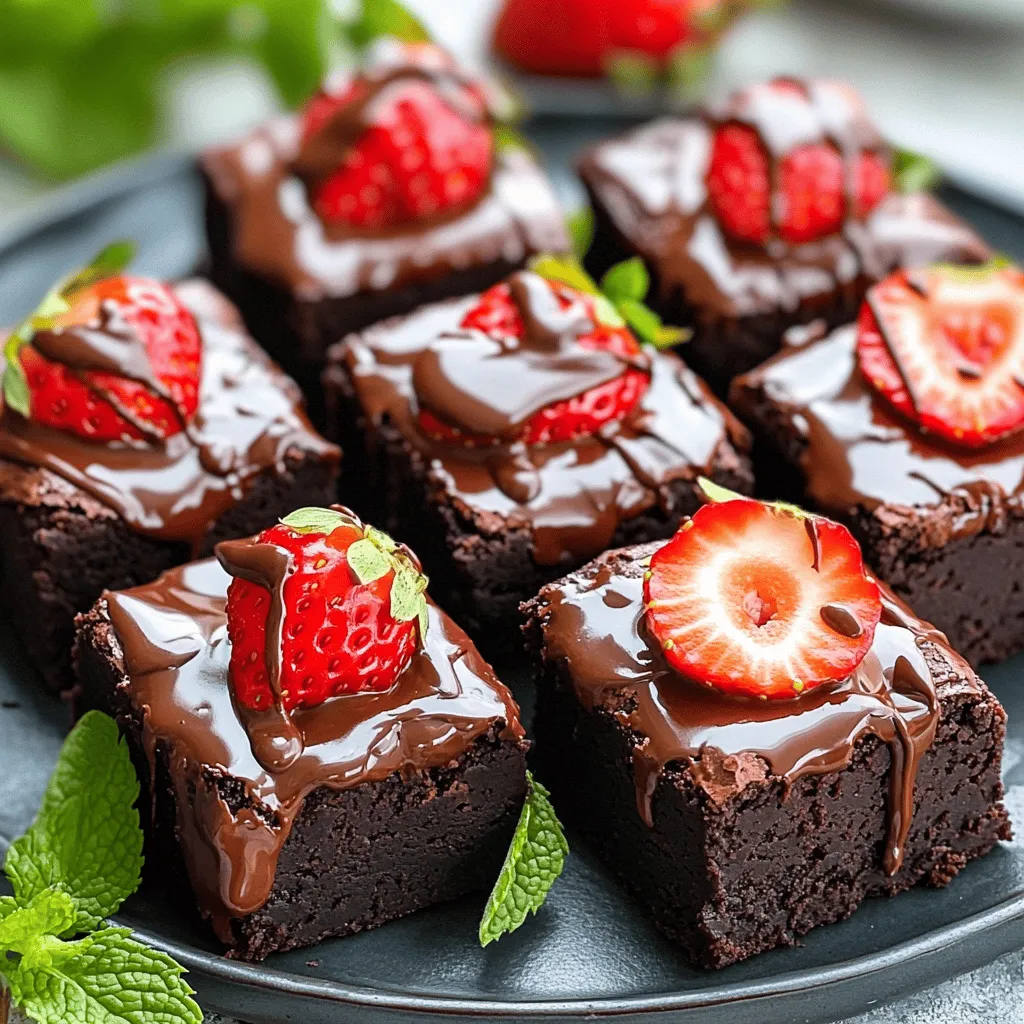
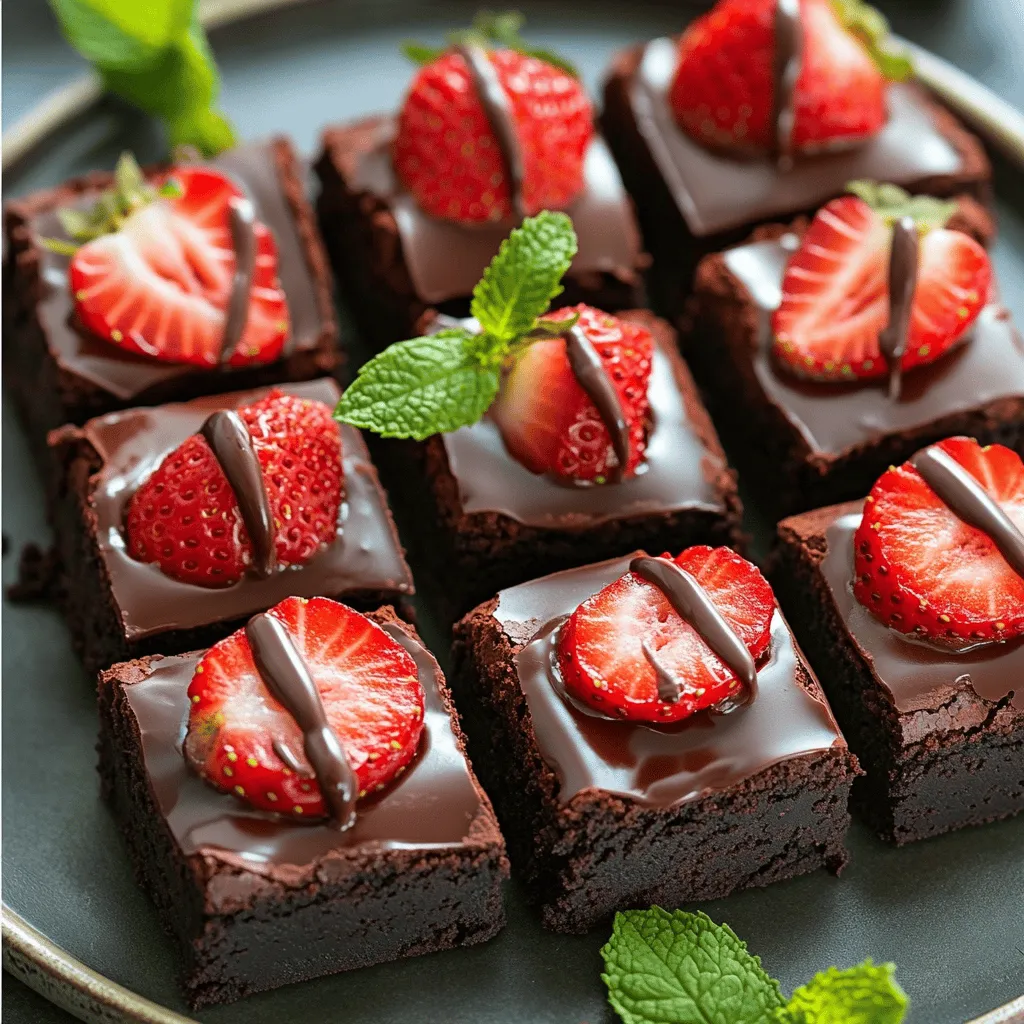
Get ready to indulge in a sweet treat that combines the best of both worlds: rich, fudgy brownies topped with luscious chocolate-dipped strawberries! In this post, I’ll guide you through the delightful process of making Chocolate Dipped Strawberry Brownies. Whether you’re a baking pro or a kitchen newbie, you’ll find tips, tricks, and variations to make this dessert shine. Let’s satisfy your sweet tooth with this amazing sundae-inspired delight!
Ingredients
Main ingredients for chocolate dipped strawberry brownies
To make chocolate dipped strawberry brownies, you need these key ingredients:
– 1 cup unsweetened cocoa powder
– 1 cup granulated sugar
– 1/2 cup brown sugar, packed
– 1/2 cup unsalted butter, melted
– 1/4 cup vegetable oil
– 4 large eggs
– 1 teaspoon vanilla extract
– 1 cup all-purpose flour
– 1/2 teaspoon baking powder
– 1/4 teaspoon salt
– 1 cup fresh strawberries, hulled and halved
– 1 cup semi-sweet chocolate chips
– 1 tablespoon coconut oil (for melting chocolate)
These ingredients create a rich, chocolaty base for the brownies. The strawberries add a fruity touch.
Recommended quality and freshness of strawberries
Using fresh strawberries is key. Look for bright red berries with a shiny skin. They should feel firm, not mushy. The flavor will be sweet and juicy. If possible, buy organic strawberries. They often taste better and are better for the planet.
Substitutes for ingredients
If you need substitutes, here are some options:
– Butter alternatives: You can use coconut oil or applesauce in place of butter.
– Flour: If you want a gluten-free option, try almond flour or oat flour.
– Sugar: You can use coconut sugar or maple syrup to replace granulated sugar.
These swaps can still give you tasty brownies.
Step-by-Step Instructions
Preparing the baking pan and oven
First, preheat your oven to 350°F (175°C). Use a 9×13-inch baking pan. Grease the pan with cooking spray or line it with parchment paper. This makes it easy to take out the brownies later.
Mixing the wet ingredients
In a large mixing bowl, sift together the unsweetened cocoa powder, granulated sugar, and brown sugar. Pour in the melted butter and vegetable oil. Mix until smooth. Crack in the eggs one by one. Stir well after each egg. Finally, add the vanilla extract and mix until combined.
Combining dry ingredients and creating the batter
In another bowl, whisk together the all-purpose flour, baking powder, and salt. Add this dry mix to your wet mix gradually. Stir gently until just combined. Overmixing can make the brownies tough. Fold in half of the halved strawberries for added flavor.
Baking and checking for doneness
Pour the brownie batter into your prepared pan. Spread it evenly. Bake for 25-30 minutes. Check for doneness by inserting a toothpick into the center. If it comes out with a few moist crumbs, your brownies are ready.
Melting chocolate for dipping strawberries
While the brownies cool, melt the chocolate chips with coconut oil. Use a microwave-safe bowl. Heat in 30-second bursts, stirring in between. Keep going until smooth.
Assembling and serving the brownies
Dip the remaining halved strawberries into the melted chocolate. Make sure to coat them evenly. Let any extra chocolate drip off. Place the dipped strawberries on a parchment-lined tray to cool. Once the brownies are fully cool, slice them into squares. Top each brownie with a chocolate-dipped strawberry. Enjoy your delicious creation!
Tips & Tricks
Achieving the perfect brownie texture
To get that perfect brownie texture, focus on mixing. Do not overmix your batter. When adding the dry ingredients, stir gently until just combined. This keeps your brownies soft and chewy. You want a rich, fudgy texture, which is achieved with a higher cocoa powder ratio. Keep in mind that every oven is different. So, check for doneness early to avoid drying them out.
How to ensure even baking
For even baking, always preheat your oven to 350°F (175°C). Use a 9×13-inch baking pan and grease it well or line it with parchment paper. This helps the brownies bake evenly and makes for easy removal. Place the pan in the center of the oven. This ensures hot air circulates around your brownies. Rotate the pan halfway through baking for better results.
Preventing chocolate from seizing when melting
When melting chocolate, use a microwave-safe bowl. Add semi-sweet chocolate chips and a tablespoon of coconut oil. Heat in 30-second bursts, stirring in between. This method helps prevent seizing. If the chocolate gets too hot, it can clump. If that happens, try adding a small amount of vegetable oil to smooth it out. Always let melted chocolate cool slightly before dipping strawberries to ensure a nice coat.
Variations
Adding nuts or other fruits to the batter
You can boost flavor by adding nuts or other fruits. Chopped walnuts or pecans add crunch. You can also use raspberries, blueberries, or bananas. Just remember to fold them in gently. This keeps the brownies soft and rich.
Using different types of chocolate (dark, white)
Switching chocolate types can change the taste. Dark chocolate gives a deeper flavor. White chocolate adds creaminess and sweetness. You can mix different chocolates too. This will create a unique taste that everyone will love.
Vegan or gluten-free adaptations
You can make these brownies vegan or gluten-free. For vegan, replace eggs with flax eggs or applesauce. Use coconut oil instead of butter. For gluten-free, swap all-purpose flour for almond or oat flour. These changes keep the brownies tasty and accessible for all.
Storage Info
Best practices for storing brownies
To keep your chocolate dipped strawberry brownies fresh, store them properly. Place the brownies in an airtight container. This helps keep them moist and prevents them from drying out. If you have extra strawberries, store them separately in the fridge. They can stay fresh for about two days. Avoid stacking brownies on top of each other. This way, they won’t stick and lose their shape.
Freezing chocolate dipped strawberry brownies
Freezing brownies is a great way to save leftovers. To freeze, first, let the brownies cool completely. Then, wrap each brownie tightly in plastic wrap. Place the wrapped brownies in a freezer-safe bag or container. You can freeze them for up to three months. When you’re ready to enjoy them, let them thaw in the fridge overnight. This keeps them nice and soft.
How long brownies stay fresh
When stored correctly, brownies can last for about a week at room temperature. If you keep them in the fridge, they may last a bit longer, up to ten days. Remember, the fresher the brownies, the better they taste! Enjoy your treat while it’s still soft and delicious.
FAQs
Can I use frozen strawberries?
Yes, you can use frozen strawberries. However, fresh strawberries taste better. If using frozen, thaw them first. Pat them dry to remove excess moisture. This helps keep the brownies from getting soggy.
How to make brownies more fudgy or cakey?
To make brownies fudgier, add an extra egg or reduce flour slightly. Use more butter for richer taste. For cakey brownies, add more flour and bake a bit longer. You can also mix less to keep air in the batter.
Can I substitute the cocoa powder?
You can use Dutch-processed cocoa for a smoother taste. Unsweetened chocolate is another option. Melt it and replace it in equal parts. Adjust sugar levels if using sweetened chocolate.
What is the best way to reheat brownies?
To reheat brownies, use the microwave for quick warming. Heat for 10-15 seconds at a time. Check to avoid drying them out. For a crispier edge, warm them in the oven at 350°F for about 5-10 minutes.
You’ve learned how to make chocolate dipped strawberry brownies step-by-step. We covered key ingredients, like fresh strawberries and butter substitutes. I shared tips to get that perfect brownie texture and avoid common mistakes. We explored fun variations, like adding nuts or trying different chocolates. Lastly, I provided storage solutions for keeping your brownies fresh.
Baking these brownies is simple and fun. Enjoy making them for yourself or to share with friends. Happy baking!


