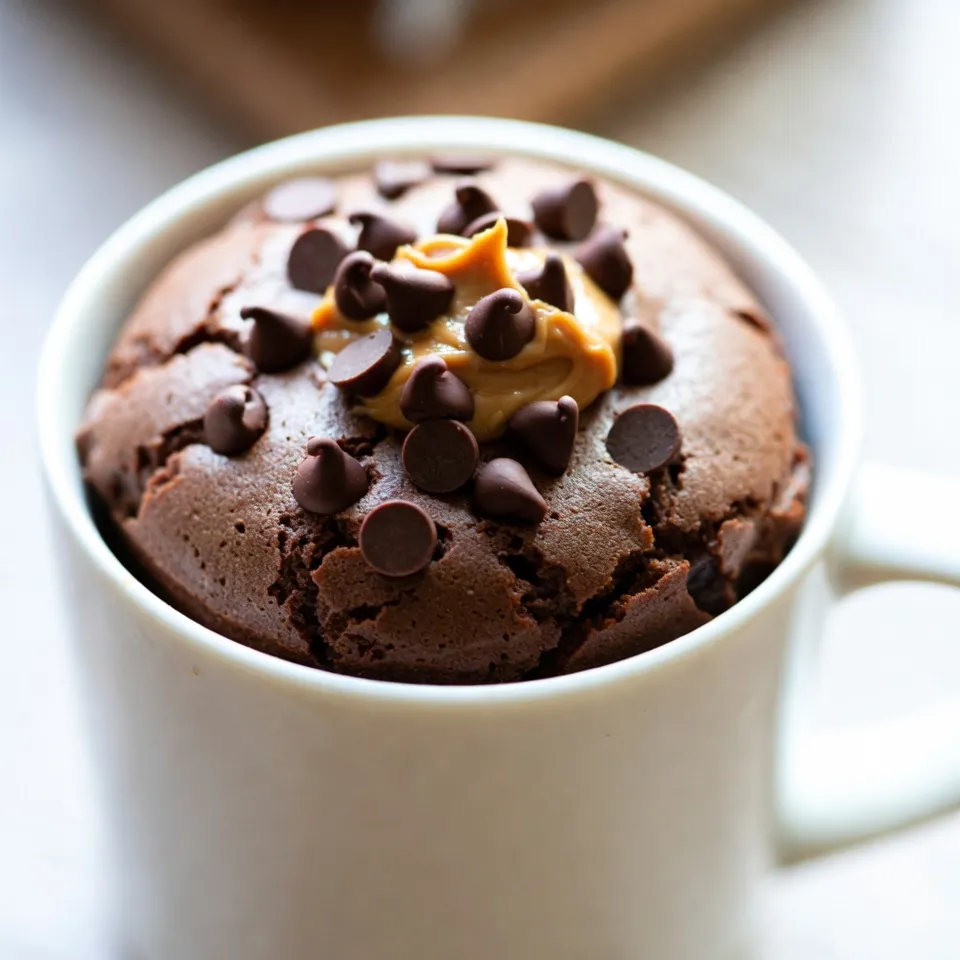
If you crave something sweet but need it fast, this Chocolate Peanut Butter Mug Cake is your answer! In just a few minutes, you can enjoy a warm, gooey treat that’s both simple and delicious. Whether you’re a busy student or a tired parent, this recipe fits easily into your day. Let’s dive into the easy steps and tips to make this delightful mug cake yours!
Why I Love This Recipe
- Quick and Easy: This mug cake comes together in just a few minutes, making it the perfect last-minute dessert or treat.
- Decadent Flavor: The combination of chocolate and peanut butter creates a rich and indulgent flavor that’s hard to resist.
- Single Serving: No need to bake a whole cake! This recipe is portion-controlled, ideal for satisfying a sweet craving without leftovers.
- Customizable: Easily adapt the recipe by adding nuts, fruits, or other toppings to make it your own.
Ingredients
Complete List of Ingredients
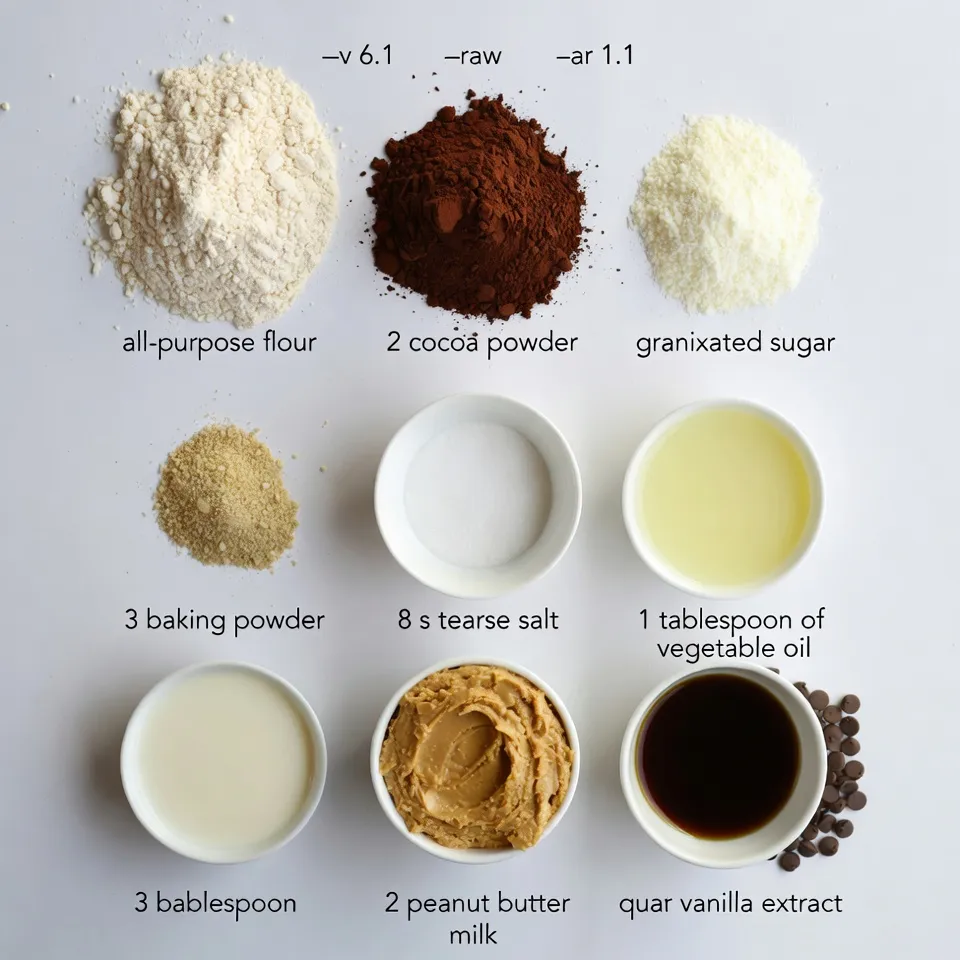
To make a delightful chocolate peanut butter mug cake, gather these simple items:
– 4 tablespoons all-purpose flour
– 2 tablespoons unsweetened cocoa powder
– 2 tablespoons granulated sugar
– 1/8 teaspoon baking powder
– 1/8 teaspoon fine sea salt
– 3 tablespoons milk (dairy or any non-dairy alternative)
– 2 tablespoons creamy or crunchy peanut butter
– 1 tablespoon vegetable oil (or melted coconut oil)
– 1/4 teaspoon pure vanilla extract
– Optional: A handful of chocolate chips for garnishing
Substitutions for Common Allergens
If you have allergies, you can easily swap some ingredients:
– For gluten-free, use a gluten-free flour blend.
– Replace dairy milk with almond, soy, or oat milk.
– Use sunflower seed butter instead of peanut butter for nut allergies.
– Choose coconut oil or a plant-based oil to avoid allergens.
Measuring Tips for Accuracy
Accurate measurements make a better cake. Here are my tips:
– Use dry measuring cups for flour and cocoa powder.
– Level off ingredients with a knife for precise amounts.
– For liquids, use a liquid measuring cup with clear markings.
– Spoon flour into the cup instead of scooping to avoid packing it down.
With these ingredients and tips, you’ll create a mug cake that is rich, fluffy, and bursting with flavor! Enjoy the process and the sweet reward.
Step-by-Step Instructions
Mixing the Dry Ingredients
Start by gathering your ingredients. You need a microwave-safe mug, about 8 ounces or bigger. In the mug, mix together:
– 4 tablespoons all-purpose flour
– 2 tablespoons unsweetened cocoa powder
– 2 tablespoons granulated sugar
– 1/8 teaspoon baking powder
– 1/8 teaspoon fine sea salt
Use a fork to blend them well. Make sure there are no lumps left. This helps the cake bake evenly.
Adding Wet Ingredients for a Smooth Batter
Next, it’s time to add the wet ingredients. Pour in:
– 3 tablespoons milk (dairy or any non-dairy alternative)
– 2 tablespoons creamy or crunchy peanut butter
– 1 tablespoon vegetable oil (or melted coconut oil)
– 1/4 teaspoon pure vanilla extract
Now, use the fork again. Stir until the batter is smooth and creamy. Scrape the sides and bottom to mix it all in. If you want, add a handful of chocolate chips for extra flavor.
Cooking in the Microwave: Tips to Avoid Overcooking
Place your mug in the microwave. Cook it on high for about 1 minute and 30 seconds. Microwaves vary, so start checking at 1 minute. If it looks like it’s rising too much, stop it. You don’t want it to overflow. If it looks too wet, cook for a few more seconds. When done, let it cool for 1 minute before eating. Enjoy your tasty treat!
Tips & Tricks
How to Achieve the Perfect Mug Cake Texture
To get the best texture in your mug cake, follow a few simple steps. First, mix your dry ingredients well. This helps avoid lumps. When you add wet ingredients, stir until the batter is smooth. A smooth batter gives a nice rise in the microwave. Don’t overmix, though. Just blend until you don’t see any dry spots. This keeps the cake light and fluffy.
Recommended Cooking Times by Microwave Wattage
Microwave wattage can change how your mug cake cooks. Here’s a quick guide:
– 700 watts: Cook for 1 minute and 30 seconds.
– 900 watts: Cook for 1 minute and 10 seconds.
– 1100 watts or more: Cook for 1 minute.
Always check your cake early. If it looks wet or gooey, give it more time in 10-second bursts. This keeps your cake from getting rubbery.
Enhancements for Flavor and Texture
Want to take your mug cake to the next level? Here are some tasty ideas:
– Add chocolate chips: Fold in chocolate chips for a rich flavor.
– Top with peanut butter: A scoop of peanut butter on top makes it creamy.
– Drizzle chocolate sauce: This adds sweetness and makes it look fancy.
– Sprinkle sea salt: A pinch of sea salt balances the sweetness perfectly.
These little changes can make your mug cake even more fun and delicious!
Pro Tips
- Use Room Temperature Ingredients: Starting with room temperature ingredients helps to create a smoother batter, resulting in a lighter and fluffier mug cake.
- Watch the Cooking Time: Every microwave is different. Start checking at 1 minute to prevent overcooking, which can lead to a rubbery texture.
- Experiment with Flavors: Feel free to add a pinch of cinnamon or a splash of coffee for an extra flavor dimension. You can also substitute the peanut butter with almond or cashew butter!
- Choose the Right Mug: Ensure you use a microwave-safe mug that is large enough to allow the cake to rise without overflowing.
Variations
Gluten-Free Chocolate Peanut Butter Mug Cake
You can make a gluten-free version of this cake easily. Just swap the all-purpose flour for almond flour or coconut flour. Both options work well. If you use coconut flour, cut the amount to about 2 tablespoons. Coconut flour absorbs more liquid. Add a touch more milk to keep the batter smooth. This way, you still enjoy that rich chocolate and peanut butter flavor without the gluten.
Vegan Alternatives for a Plant-Based Option
To make this cake vegan, replace the milk with a plant-based milk. Almond, soy, or oat milk are all great choices. Use a vegan butter or coconut oil instead of regular vegetable oil. For the egg, this recipe does not need it. The mixture is moist enough without it. You still get a fluffy and tasty mug cake that everyone can enjoy.
Seasonal Flavors: Adding Nutmeg or Cinnamon
Want to spice things up? Add a pinch of nutmeg or cinnamon to the dry mix. Nutmeg gives a warm, cozy flavor. Cinnamon adds a sweet and spicy kick. Both pair well with chocolate and peanut butter. You can even try adding a sprinkle of pumpkin spice in the fall. This small change can make your mug cake fit any season.
Storage Info
How to Store Leftover Mug Cake
To store leftover mug cake, let it cool completely first. Then, cover it with plastic wrap or place it in an airtight container. I recommend keeping it in the fridge. It can last for up to two days. If you want to save it longer, consider freezing it. Just make sure to wrap it tightly to prevent freezer burn.
Reheating Instructions for Best Results
When it’s time to enjoy your leftover cake, you can reheat it in the microwave. Start with 10 to 15 seconds on high. Check if it’s warm enough. If it needs more time, heat in short bursts. Avoid overheating, as this can dry it out. You can also add a splash of milk before reheating for extra moisture.
Tips for Making Ahead of Time
If you want to make the mug cake ahead of time, prepare the dry ingredients first. Store them in a jar or container. When you’re ready to bake, just add the wet ingredients. This saves time and makes it easy to whip up a tasty treat. You can also mix everything in a mug and cover it. Just store it in the fridge and cook when you’re ready.
FAQs
Can I double the recipe for a larger serving?
Yes, you can double the recipe. Use a larger mug for the batter. Mix all the ingredients as before, but be careful while cooking. You may need to increase the cooking time to around 2 minutes. Keep an eye on it to avoid overflow.
What if I don’t have cocoa powder?
If you don’t have cocoa powder, use carob powder instead. It has a similar taste but is sweeter. You can also skip it for a peanut butter mug cake. Your cake will taste more like peanut butter and less like chocolate, but it will still be yummy.
How can I make this mug cake healthier?
To make it healthier, reduce the sugar to one tablespoon. You can use a sugar substitute like stevia. Swap all-purpose flour for whole wheat flour or almond flour. You can also add mashed banana or applesauce for moisture and sweetness.
Is it safe to eat a microwaved mug cake daily?
Eating a mug cake daily is okay if you balance it with other foods. It’s a quick treat, but watch your portion sizes. For more variety, try different flavors or healthier ingredients. Enjoy it in moderation to keep your diet balanced.
You learned how to make a delicious mug cake. We covered all the key ingredients, including substitutes for allergens. I shared tips for mixing, cooking, and creating a great texture. You now have fun variations to try and storage tips for leftovers.
In closing, making a mug cake is easy and fun. Experiment with flavors and enjoy your treat


