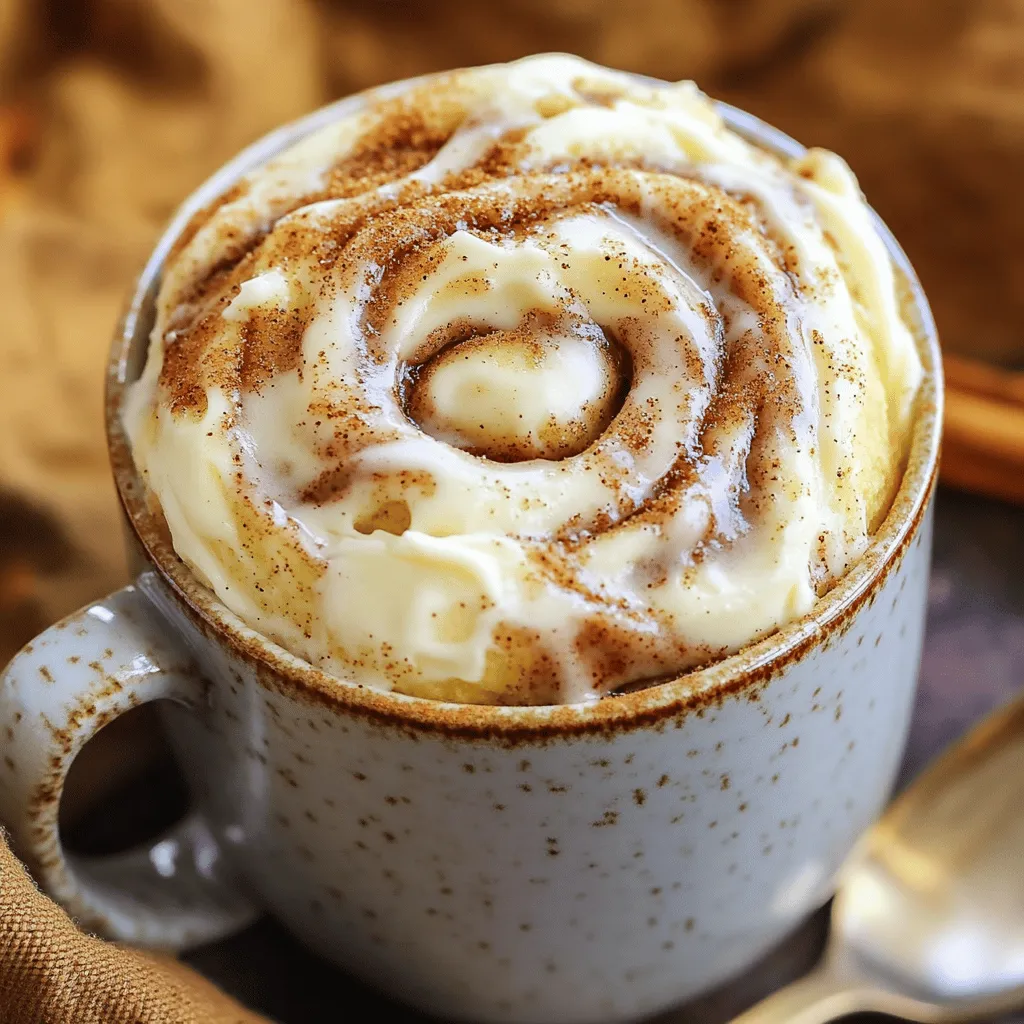
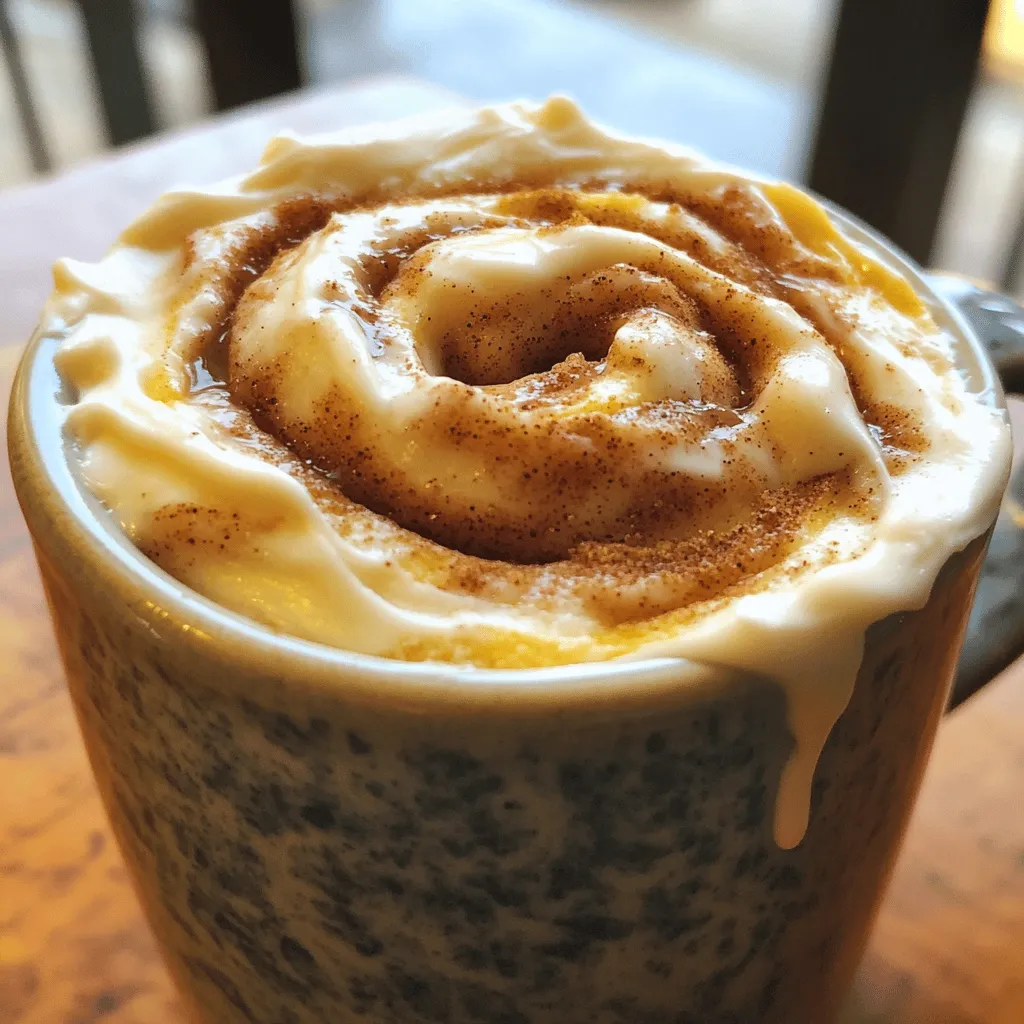
Craving a sweet treat but short on time? You’ll love my Cinnamon Roll Mug Cake! This quick and easy dessert is perfect for satisfying your sugar cravings in just minutes. With simple ingredients and fast steps, you can whip up a delicious cinnamon roll in your microwave. Let’s dive into this delightful recipe that brings joy to your taste buds without the hassle of baking. Ready to indulge? Let’s get started!
Ingredients
List of Ingredients
To make a delicious Cinnamon Roll Mug Cake, gather these items:
– 4 tablespoons all-purpose flour
– 2 tablespoons granulated sugar
– 1/8 teaspoon baking powder
– 1/8 teaspoon baking soda
– 1/4 teaspoon ground cinnamon
– 1/4 cup milk (or your favorite plant-based alternative)
– 1 tablespoon vegetable oil
– 1/2 teaspoon vanilla extract
– 2 teaspoons brown sugar (for the swirl)
– 1 teaspoon ground cinnamon (for the swirl)
– Cream cheese frosting (optional, for topping)
Ingredient Substitutions
If you don’t have some ingredients, don’t worry! Here are some swaps:
– Use whole wheat flour instead of all-purpose flour for added fiber.
– Swap granulated sugar with coconut sugar for a lower glycemic option.
– Almond milk or oat milk can replace regular milk for a dairy-free choice.
– Olive oil can be used in place of vegetable oil.
– For a nut-free version, skip the cream cheese frosting or use a nut-free option.
Measuring Tips
Accurate measurements are key for a successful mug cake. Here are some tips:
– Use a dry measuring cup for flour and sugar. Fill the cup and level off with a knife.
– For liquids, use a clear liquid measuring cup. Check the measurement at eye level.
– When measuring baking powder and baking soda, scoop and level off for precision.
– Use a kitchen scale for the most accuracy, especially if you bake often.
These simple tips ensure your Cinnamon Roll Mug Cake comes out perfect every time!
Step-by-Step Instructions
Preparing the Dry Mixture
Start by gathering your ingredients. In a microwave-safe mug, combine these dry items:
– 4 tablespoons all-purpose flour
– 2 tablespoons granulated sugar
– 1/8 teaspoon baking powder
– 1/8 teaspoon baking soda
– 1/4 teaspoon ground cinnamon
Use a fork or small whisk to mix them well. Break up any lumps to ensure a smooth blend. This first step is crucial for a lovely cake texture.
Combining Wet and Dry Ingredients
Now, let’s mix the wet ingredients. In a separate small bowl, whisk together:
– 1/4 cup milk (or your favorite plant-based alternative)
– 1 tablespoon vegetable oil
– 1/2 teaspoon vanilla extract
Whisk until the mixture is uniform and silky. Next, pour this wet mixture into your dry blend in the mug. Stir gently until just combined. Be careful not to over-mix! This keeps your mug cake soft and fluffy.
Layering the Batter
Prepare the cinnamon swirl by mixing these in another small bowl:
– 2 teaspoons brown sugar (for the swirl)
– 1 teaspoon ground cinnamon (for the swirl)
Add half of the cake batter to the mug, smoothing it out. Sprinkle half of your cinnamon swirl mix over this layer. Use a knife or toothpick to swirl the mixture into the batter. This creates a marbled look.
Pour the rest of the batter on top. Add the remaining cinnamon swirl mix and swirl again. Avoid over-mixing to keep those lovely layers. Now, your mug cake is ready for the microwave!
Tips & Tricks
Common Mistakes to Avoid
When making a cinnamon roll mug cake, there are a few common errors.
– Over-mixing: This can make your cake tough. Mix just until combined.
– Wrong mug size: Use a large mug. A small one can overflow while cooking.
– Not checking doneness: Every microwave is different. Check your cake a bit early to avoid overcooking.
Enhancing Flavor Profiles
To make your mug cake even better, try these tips:
– Spices: Add nutmeg or ginger for extra warmth.
– Extracts: Use almond extract instead of vanilla for a twist.
– Mix-ins: Toss in chopped nuts or chocolate chips for added texture.
Microwave Cooking Tips
Microwaving can be tricky. Here are some helpful tips:
– Use a low power setting: This helps the cake cook evenly.
– Watch closely: Keep an eye on your mug cake as it cooks.
– Cool before eating: Let it sit for a minute. This helps set the cake and makes it easier to eat.Enjoy your delicious cinnamon roll mug cake!
Variations
Chocolate Cinnamon Roll Mug Cake
You can add a twist to your cinnamon roll mug cake by making it chocolatey! Just mix in 2 tablespoons of cocoa powder with your dry ingredients. This will give your cake a rich chocolate flavor. You can also add chocolate chips for extra sweetness. The gooey chocolate in every bite makes this cake a real treat.
Nut-Free and Dairy-Free Options
If you need a nut-free or dairy-free option, you can easily swap out some ingredients. Use a plant-based milk like almond or oat milk to replace dairy milk. For the oil, you can use melted coconut oil or canola oil. This way, you can enjoy the cake without any worries.
Different Frosting Ideas
Frosting can take your mug cake to a new level. Cream cheese frosting is a classic choice, but you can try other flavors too. A simple glaze made from powdered sugar and almond milk works great. You could also mix cocoa powder into your frosting for a chocolate version. Top your cake with nuts, sprinkles, or even fresh fruit for added fun and texture.
These variations keep your cinnamon roll mug cake exciting and fun every time you make it!
Storage Info
Best Practices for Leftovers
To keep your cinnamon roll mug cake fresh, cover it with plastic wrap or a lid. This helps keep moisture in. You can also store it in an airtight container. If you have frosting, keep it in a separate container to avoid sogginess. Try to eat the leftovers within two days for the best taste.
Reheating Instructions
When you’re ready to enjoy your leftover mug cake, you can simply pop it back in the microwave. Heat it for about 10 to 15 seconds. Check it to make sure it’s warm all the way through. If you added cream cheese frosting, heat it separately to keep it creamy.
Longevity of Ingredients
Most ingredients in the cinnamon roll mug cake have a good shelf life. Flour and sugar can last for months if stored properly. Baking powder and baking soda usually stay fresh for six months to a year. Ground cinnamon can last for about a year when stored in a cool, dark place. Always check expiration dates to ensure freshness.
FAQs
How long does it take to cook a Cinnamon Roll Mug Cake?
It takes about 1 minute and 20 seconds to cook a Cinnamon Roll Mug Cake in the microwave. Cooking times can change based on your microwave’s power. Always check if it rises and is set in the middle. If it is not done yet, cook it for a few more seconds. This quick cooking time makes it a fun treat for any time of day.
Can I make this recipe without a microwave?
Yes, you can make this recipe without a microwave! You can bake it in a small oven-safe dish. Preheat your oven to 350°F (175°C). Pour the batter into the dish and bake for about 15-18 minutes. Check for doneness with a toothpick. If it comes out clean, your mug cake is ready!
What are some toppings I can add to my mug cake?
You can add many fun toppings to your mug cake! Here are some ideas:
– Cream cheese frosting
– Whipped cream
– Chopped nuts
– Fresh fruit
– A drizzle of caramel or chocolate sauce
Choose your favorite toppings to make your mug cake even better!
This blog post covered everything you need for a Cinnamon Roll Mug Cake. We discussed ingredient lists, substitutions, and how to measure correctly. You learned about preparing and combining ingredients with step-by-step instructions. I shared tips to avoid mistakes and enhance flavors. We explored variations like nut-free options and toppings. Lastly, I provided storage tips to keep your cake fresh. Enjoy making your delicious mug cake, and don’t be afraid to get creative!


