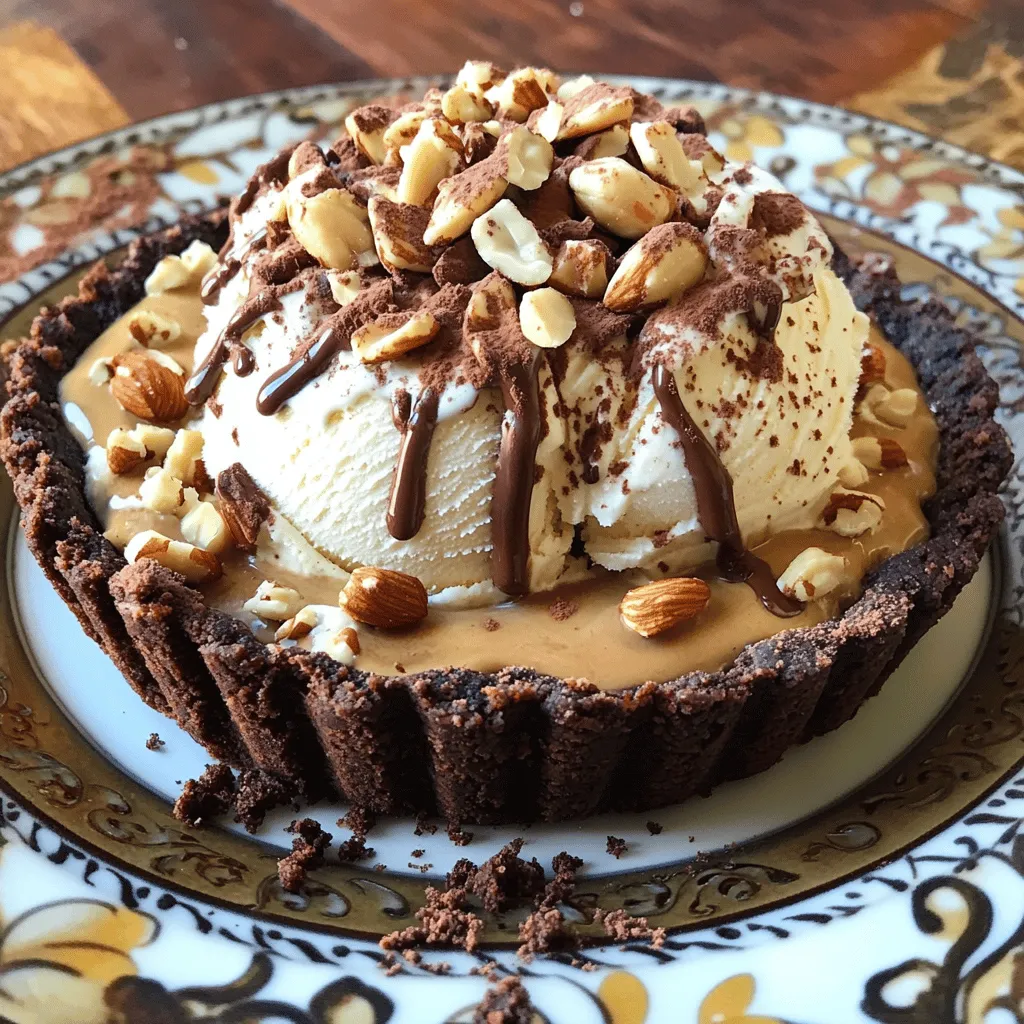
Looking for a dessert that combines your love for coffee and ice cream? Look no further! This Coffee Crumble Ice Cream Pie is not just a treat; it’s an experience. With layers of rich coffee flavor, a crunchy crumble crust, and tasty toppings, you’ll impress every guest. I’ll guide you through this simple process, sharing tips and tricks to create a dessert that’s sure to be a hit. Let’s dive in!
Ingredients
List of Ingredients
– 1 ½ cups coffee-flavored ice cream, softened
– 1 cup crushed chocolate wafer cookies
– ½ cup unsalted butter, melted
– ½ cup granulated sugar
– 1 cup mixed nuts, coarsely chopped
– ¼ cup brewed coffee
– 1 teaspoon pure vanilla extract
– Whipped cream for topping
– Cocoa powder for dusting
Essential Ingredient Tips
Choosing the right coffee flavor for ice cream
Use a rich coffee-flavored ice cream. This makes your pie taste bold. Some brands offer a sweetened version, while others are more bitter. Choose what you like best!
Types of cookies for the crumble crust
Chocolate wafer cookies work great for the crust. They add crunch and flavor. You could also try graham crackers for a different taste. Just crush them well!
Alternative toppings for texture
Mixed nuts add a nice crunch. You can use walnuts, almonds, or pecans. If you want something sweeter, try chocolate chips or toffee bits instead. They add fun flavors!
Step-by-Step Instructions
Crust Preparation
First, you need to make the crust. In a bowl, mix the crushed chocolate wafer cookies, melted butter, and granulated sugar. Stir until it looks like wet sand. This mixture should feel moist but not soupy.
Next, press the crust firmly into a 9-inch pie dish. Make sure it goes up the sides and has no gaps. Pressing it hard helps it hold together when you cut the pie. After pressing, put the crust in the freezer for about 15 minutes to set.
Filling the Pie
Now, it’s time for the filling! In a new bowl, stir the softened coffee-flavored ice cream with the brewed coffee and vanilla extract. Mix until smooth, but don’t overdo it. You want a creamy texture that stays fluffy.
Final Assembly
Take the crust from the freezer. Pour the ice cream mixture into the crust. Use a spatula to spread it evenly. Make sure it reaches the edges.
Now, sprinkle the chopped mixed nuts on top of the ice cream layer. Distributing them evenly gives a nice crunch in each bite. This adds texture and flavor to your pie.
Cover the pie with plastic wrap and put it back in the freezer for at least four hours. This helps the ice cream get firm. When ready to serve, use a warm knife to cut through the pie easily. Enjoy!
Tips & Tricks
Best Practices for Freezing
To keep your Coffee Crumble Ice Cream Pie smooth, avoid ice crystals. Here are some tips:
– Cover the pie tightly with plastic wrap. This helps block air.
– Store the pie at the back of the freezer. It stays colder there.
For the best freeze, set your freezer to the coldest setting. A temperature of 0°F (-18°C) works best.
Serving Suggestions
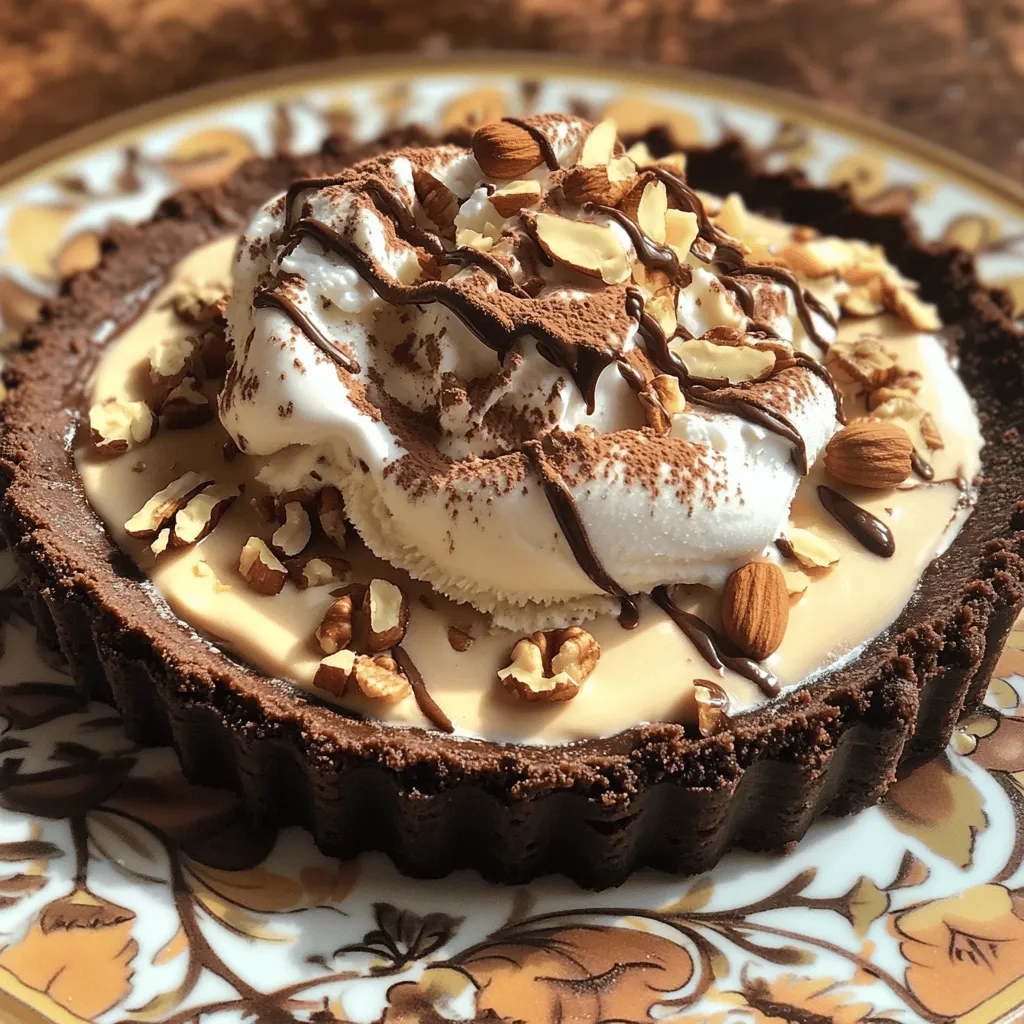
To make each slice shine, try these garnishes:
– Whipped cream adds a creamy touch.
– Chocolate shavings give a nice look and taste.
– Chopped nuts add crunch and flavor.
Pair your pie with beverages like:
– Freshly brewed coffee for a coffee lover’s dream.
– Milk to balance the sweetness.
Tools and Equipment
Here are some tools to help you:
– A 9-inch pie dish for perfect shape.
– A mixing bowl to combine the crust and filling.
– A spatula for smooth spreading of the ice cream.
When serving, use a warm knife. It cuts through frozen layers easily. Just dip it in hot water, wipe it, and slice.
Variations
Flavor Variations
You can easily change up this pie with different ice cream flavors. Try vanilla for a classic twist. Chocolate adds richness. You can even use mint chocolate for a fun flavor. If you want an extra kick, add a splash of liqueur, like coffee liqueur or hazelnut. A few drops of flavored extract can also work wonders. Almond or hazelnut extracts give a nice touch.
Dietary Adjustments
To make this pie gluten-free, swap the chocolate wafer cookies for gluten-free ones. Many brands offer great options. You can also make the crust with ground nuts or oats. For vegan options, choose dairy-free ice cream. Almond milk or coconut milk ice cream works well. Use vegan butter for the crust. This way, everyone can enjoy the pie.
Creative Toppings
Instead of mixed nuts, you can use other toppings. Try crushed cookies or granola for a fun crunch. Fresh fruits like berries add color and flavor. Drizzling chocolate or caramel sauce can make your pie shine. Each topping adds a unique taste, so feel free to mix and match. This pie is all about making it your own!
Storage Info
Short-Term Storage
To keep your pie fresh, store it in the freezer. Wrap it tightly in plastic wrap. This prevents ice crystals from forming. You can also use an airtight container for extra protection. Make sure the container is freezer-safe.
Long-Term Freezing Tips
You can store the pie for about two months in the freezer. After this time, it may lose its flavor and texture. Check for signs of freezer burn, like dry spots or ice crystals on the surface. If you see these, the pie is no longer good.
Reheating and Serving After Freezing
When ready to enjoy, take the pie out of the freezer. Let it sit at room temperature for about 10 to 15 minutes to soften slightly. Use a warm knife to slice through the pie easily. This helps to get clean slices without breaking apart the crust.
FAQs
Can I use regular ice cream instead of coffee-flavored?
Yes, you can use regular ice cream. However, it will change the flavor. For a rich taste, I recommend coffee or mocha flavors. You can also mix in coffee or espresso to mimic the coffee taste. This will keep the dessert bold and delightful.
How long does it take for the pie to set?
The pie needs at least four hours to set. This time allows the ice cream to freeze firmly. If you want it even firmer, you can leave it in the freezer overnight. Just make sure to cover it well to prevent ice crystals from forming.
What’s the best way to serve leftover pie?
To serve leftovers, keep the pie in the freezer. Use a warm knife to slice it. This makes cutting easier and cleaner. You can also add fresh whipped cream or cocoa powder on top for extra flair. Enjoy each slice chilled for the best taste.
Can I make this pie ahead of time?
Absolutely! This pie is perfect for making ahead. You can prepare it one to two days in advance. Just store it in the freezer until you’re ready to serve. This way, you save time and impress your guests with a delicious treat.
What can I use if I don’t have chocolate wafer cookies?
If you don’t have chocolate wafer cookies, try using graham crackers. They provide a sweet and crunchy base. You can also use Oreo cookies for a different flavor. Just crush them and mix with butter and sugar like the original recipe. This will keep your crust tasty and fun!
You learned how to make a delicious coffee ice cream pie with a crunchy crust. The right ingredients, like coffee ice cream and mixed nuts, create great flavor. I shared tips for perfecting the crust, filling, and freezing. Remember to use a warm knife for clean slices.
This pie is great at any gathering. Enjoy experimenting with flavors and toppings. With practice, you’ll impress everyone with your baking skills. The joy of sharing delicious treats is unmatched. Try this recipe, and happy baking!


