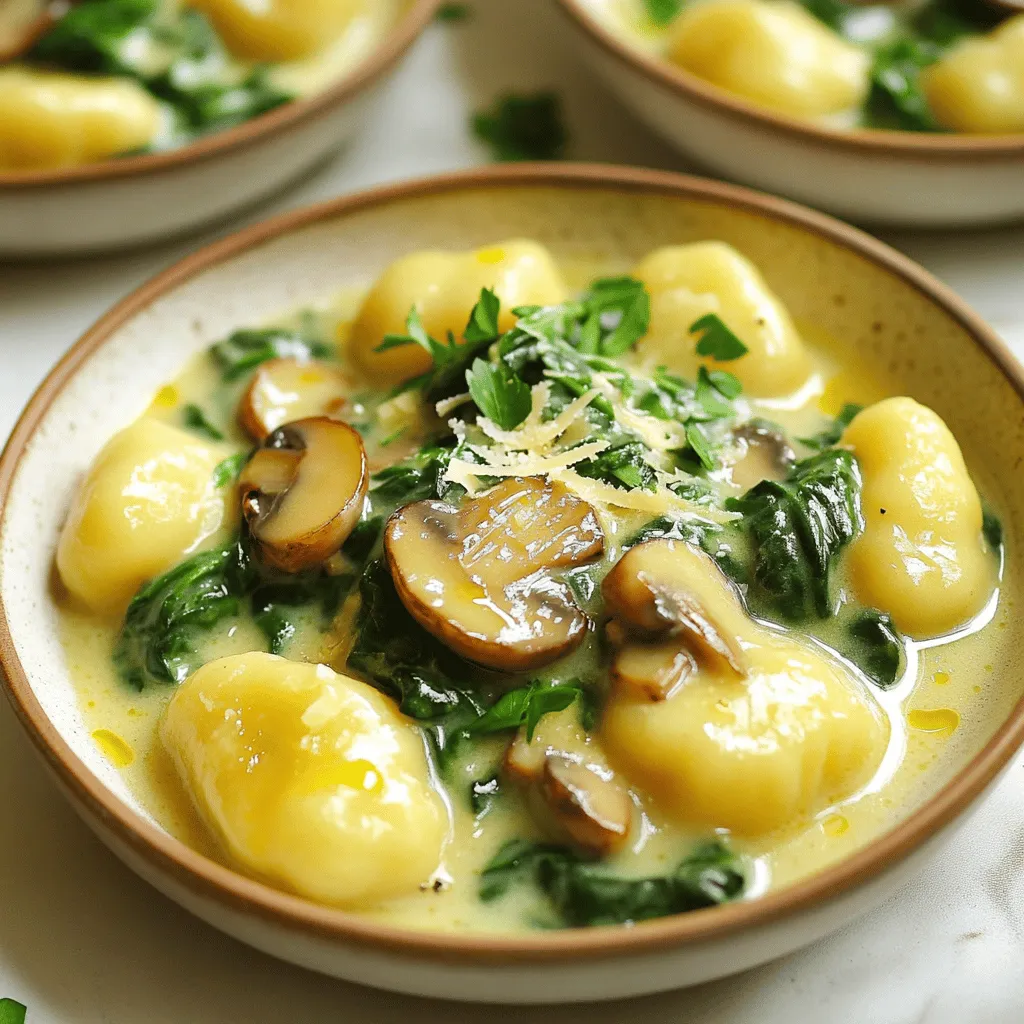
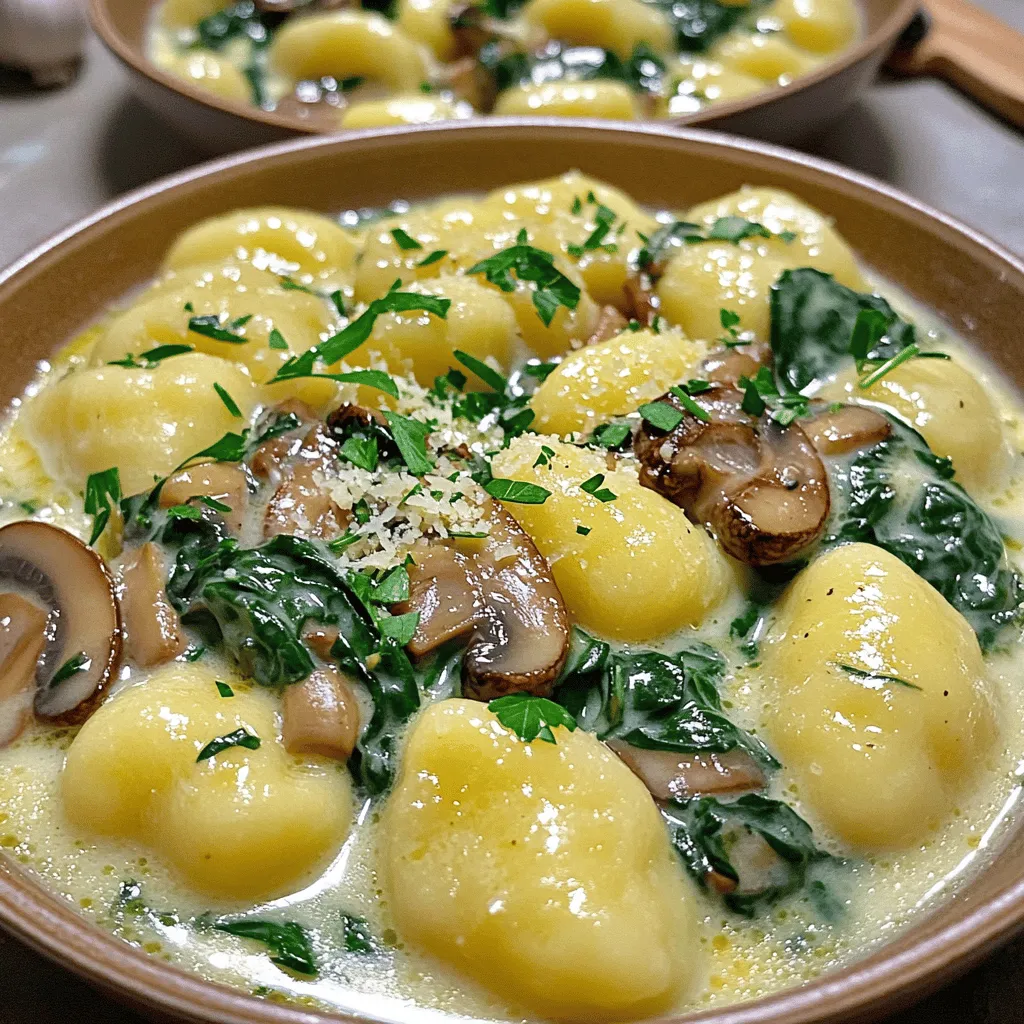
Looking for a delicious and easy dinner idea? Try my Creamy Spinach Mushroom Gnocchi! This dish combines smooth gnocchi with fresh spinach and rich mushrooms, creating a comforting meal in just 30 minutes. I’ll share all the ingredients, step-by-step instructions, and helpful tips to make your cooking stress-free. Whether you’re a busy parent or a beginner cook, this recipe will impress your family and friends. Let’s get cooking!
Ingredients
Complete List of Ingredients for Creamy Spinach Mushroom Gnocchi
– 1 pound potato gnocchi
– 2 tablespoons olive oil
– 1 medium onion, diced
– 3 cloves garlic, minced
– 8 ounces mushrooms, sliced (button or cremini)
– 4 cups fresh spinach, roughly chopped
– 1 cup heavy cream or coconut cream for a dairy-free option
– ½ cup grated Parmesan cheese (or nutritional yeast for a vegan alternative)
– Salt and pepper to taste
– Pinch of nutmeg (optional)
– Fresh parsley, chopped (for garnish)
Necessary Cooking Tools and Utensils
To make creamy spinach mushroom gnocchi, you need a few simple tools:
– A large pot for boiling water
– A colander for draining the gnocchi
– A large skillet for sautéing
– A wooden spoon or spatula for stirring
– A measuring cup for liquids
– A knife and cutting board for chopping
Guidelines for Selecting Fresh Produce
When you choose your ingredients, freshness matters. Here’s how to pick the best:
– Spinach: Look for bright green leaves. Avoid yellow or wilted ones.
– Mushrooms: Choose firm, dry mushrooms. They should not be slimy.
– Onion: Pick onions that are heavy for their size. They should have dry, papery skin.
– Garlic: Select firm cloves with no mold or soft spots.
Using fresh ingredients makes your dish taste better and more vibrant.
Step-by-Step Instructions
Cooking the Gnocchi Perfectly
To cook the gnocchi, start by boiling a large pot of salted water. This adds flavor to the gnocchi. Once the water bubbles, gently add 1 pound of potato gnocchi. Cook them according to the package instructions. They are ready when they float to the top, which takes about 2-3 minutes. Drain the gnocchi and set them aside. You want them soft but firm.
Sautéing the Vegetables to Perfection
Next, heat 2 tablespoons of olive oil in a large skillet over medium heat. Add 1 medium diced onion. Cook for about 3-4 minutes, until the onion is soft and clear. Then, stir in 3 minced garlic cloves and 8 ounces of sliced mushrooms. Cook for another 5-7 minutes until the mushrooms turn golden and soft.
Now, add 4 cups of roughly chopped spinach to the skillet. Stir and cook for about 2-3 minutes, until the spinach wilts. Season the veggies with salt, pepper, and a pinch of nutmeg if you like. This adds a nice depth of flavor.
Making the Creamy Sauce
Lower the heat to a simmer. Gradually pour in 1 cup of heavy cream or coconut cream for a dairy-free option. Stir while it heats to mix well. Let the sauce simmer for 3-4 minutes until it thickens slightly. This makes it rich and creamy.
Once thickened, add the cooked gnocchi back to the skillet. Toss gently to coat them in the creamy sauce. Stir in ½ cup of grated Parmesan cheese, or nutritional yeast for a vegan twist. Taste, and if you need to, adjust the salt and pepper. Cook for another 2 minutes to heat everything through.
Now your creamy spinach mushroom gnocchi is ready to serve hot!
Tips & Tricks
Common Mistakes to Avoid When Making Gnocchi
1. Overcooking the Gnocchi: Gnocchi cook quickly. They are done when they float. If you leave them too long, they can become mushy.
2. Using Too Much Flour: Adding too much flour can make gnocchi dense. Use just enough to form a soft dough.
3. Not Salting the Water: Always salt your boiling water. It enhances the flavor of the gnocchi while cooking.
4. Skipping the Sauce: Gnocchi alone can taste bland. Always pair them with a rich sauce to bring out their flavor.
How to Enhance the Flavor of Your Dish
– Use Fresh Ingredients: Fresh spinach and mushrooms add more taste than frozen. Fresh herbs also boost flavor.
– Add a Pinch of Nutmeg: This adds warmth and depth to the cream sauce. Just a small amount goes a long way.
– Finish with Parmesan: Grated Parmesan cheese adds a salty and nutty flavor. Mix it in just before serving.
– Drizzle with Olive Oil: A light drizzle of high-quality olive oil enhances the dish’s richness.
Best Practices for Cooking and Serving
– Sauté Vegetables Properly: Cook onions until soft. Brown mushrooms for best taste. They should be golden and tender.
– Serve Hot: Gnocchi taste best when hot. Serve them right after cooking for the best experience.
– Garnish Thoughtfully: Add fresh parsley for color and freshness. A sprinkle of extra cheese makes it look appealing.
– Use Shallow Bowls: Presenting in shallow bowls allows guests to enjoy the dish visually and makes it easy to eat.
Variations
Vegetarian and Vegan Modifications
You can easily make this dish vegetarian or vegan. To keep it vegetarian, use heavy cream and Parmesan cheese. For a vegan option, swap these for coconut cream and nutritional yeast. Both choices keep the dish creamy and delicious. You still get that rich flavor without any animal products.
Adding Proteins for Extra Heartiness
Want to boost the protein? Try adding grilled chicken or shrimp. Simply cook your choice of protein in the skillet before adding the vegetables. If you want a plant-based protein, use chickpeas or lentils. They blend well with the creamy sauce and add a nice texture.
Ingredient Substitutions for Dietary Needs
Some people have dietary restrictions. No problem! If you need gluten-free gnocchi, look for brands made from rice or corn flour. For a lower-carb option, try zucchini noodles. If you can’t have nuts, skip the nutritional yeast and use a vegan cheese. Always check labels to avoid allergens.
Storage Info
How to Properly Store Leftover Gnocchi
To keep your leftover gnocchi fresh, store it in a tight container. Use a glass or plastic container with a lid. Make sure the gnocchi cools down before sealing. This prevents steam from making it soggy. Store it in the fridge for up to three days. If you notice any signs of spoilage, toss it out.
Reheating Instructions for Optimal Taste
When you reheat your gnocchi, aim for the best taste. Use a skillet for the best results. Add a little olive oil or butter to the pan. Heat it over medium heat. Once hot, add the gnocchi. Stir gently to avoid sticking. Cook until warmed through, about 5-7 minutes. You can also reheat in the microwave. Use a microwave-safe dish and cover it. Heat in short bursts to avoid drying it out.
Freezing Tips for Meal Prep
If you want to freeze your gnocchi, follow these steps. First, let it cool completely. Spread the gnocchi on a baking sheet in a single layer. Freeze for about an hour until firm. Then, transfer the gnocchi to a freezer bag. Remove as much air as possible before sealing. It will last for up to three months. When ready to eat, cook it straight from the freezer. Just add a few extra minutes to the cooking time.
FAQs
How can I make creamy spinach mushroom gnocchi gluten-free?
To make this dish gluten-free, you can use gluten-free gnocchi. Many brands offer options made with rice or potato flour. Always check the label to ensure it is certified gluten-free. This swap works great, and you won’t lose any flavor.
What are the nutritional benefits of this dish?
Creamy spinach mushroom gnocchi is packed with nutrients. Spinach is high in vitamins A, C, and K. It also contains iron and fiber. Mushrooms add antioxidants and help boost your immune system. The heavy cream provides calcium, while the gnocchi offers carbohydrates for energy. Overall, this dish provides a good mix of nutrients for your meal.
Can I use frozen spinach for this recipe?
Yes, you can use frozen spinach. Just remember to thaw and drain it well before adding it to the dish. Frozen spinach is often picked at peak ripeness, so it can taste great. This option also makes it easy to enjoy this dish anytime.
We covered all the key points for making creamy spinach mushroom gnocchi. You learned about the right ingredients, important tools, and how to choose fresh veggies. I shared easy steps for cooking the gnocchi, sautéing vegetables, and making a tasty sauce. I also included tips to avoid common errors and ways to adjust the recipe. Finally, you now know how to store and reheat leftovers. With this knowledge, you can enjoy this dish anytime. Get cooking and savor each bite!


