
Craving a flavorful dinner that sings with taste? Let’s make Crispy Orange Chicken! This dish combines tender chicken thighs with a sweet, zesty orange sauce, perfect for any night. You’ll learn how to achieve that irresistible crispy coating, and I’ll share tips for the best flavors. So grab your apron and get ready to impress your family with this vibrant meal that dazzles the senses!
Ingredients
Main Ingredients
– 1 pound boneless chicken thighs, cut into bite-sized pieces
– 1 cup all-purpose flour
– 2 large eggs, beaten
– 1 cup panko breadcrumbs
Orange Sauce Ingredients
– 1 cup freshly squeezed orange juice
– Zest of 1 medium orange
– 1/4 cup honey
– 2 tablespoons soy sauce
Additional Cooking Essentials
– Salt and freshly ground pepper to taste
– Oil for frying
– 1 tablespoon cornstarch
I love using chicken thighs for this dish. They stay juicy and tender. The all-purpose flour creates a great base for the breading. Beating the eggs helps the breadcrumbs stick. Panko breadcrumbs give that extra crunch.
For the orange sauce, fresh juice is the best choice. It gives a bright flavor. The zest adds even more orange goodness. Honey brings a nice sweetness. Low-sodium soy sauce keeps the salt level balanced.
Don’t forget the salt and pepper! They enhance the chicken’s taste. Oil is key for frying; it makes everything crispy. Cornstarch helps thicken the sauce so it coats the chicken well.Enjoy making this dish!
Step-by-Step Instructions
Preparing the Chicken
First, season the chicken pieces with salt and pepper. This adds flavor and enhances the dish. Next, create a breading station. Set up three bowls: one with all-purpose flour, another with beaten eggs, and the last with panko breadcrumbs mixed with cornstarch. The cornstarch adds extra crispiness to the coating.
Breading the Chicken
Now it’s time for the fun part. Take a piece of chicken and dredge it in the flour. Make sure to shake off any extra flour. After that, dip it into the beaten eggs, ensuring it is fully coated. Then roll the chicken in the panko breadcrumbs. Press gently to help the crumbs stick. Place the breaded chicken on a wire rack to rest for at least ten minutes. This resting time is crucial. It helps the coating stay on during frying.
Making the Orange Sauce
In a medium saucepan, pour in the fresh orange juice. Then add the orange zest, honey, soy sauce, rice vinegar, minced ginger, and minced garlic. Stir everything together. Heat the pan over medium heat until it simmers. This allows the flavors to blend nicely.
To thicken the sauce, stir in the cornstarch mixed with cold water. Keep stirring for two to three minutes. You’ll notice the sauce thickens and gets shiny. Once it’s just right, remove the saucepan from heat. Set the orange sauce aside for later.
Tips & Tricks
Achieving the Perfect Crispy Texture
To get that perfect crispy texture, start by picking the right frying oil. Use oils with high smoke points like canola or peanut oil. These oils can handle high heat without burning.
Double frying is also key. After the first fry, let the chicken rest. Then, fry it again for a few minutes. This makes the chicken extra crunchy.
Enhancing Orange Flavor
When it comes to orange juice, always choose fresh over bottled. Fresh juice has a bright taste that really shines.
Adding orange zest gives your dish an extra zing. Zest is the outer peel of the orange. It holds a lot of flavor, so don’t skip it!
Serving Suggestions
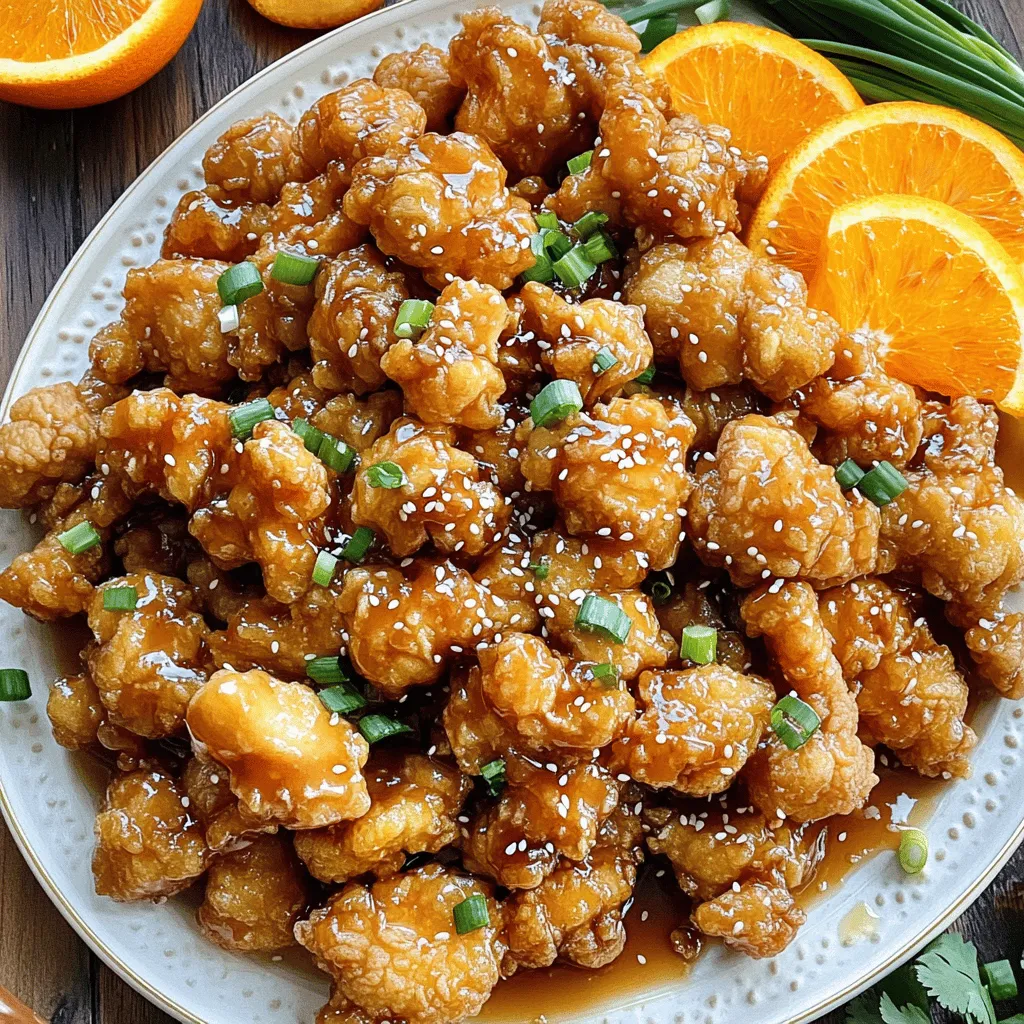
For garnishes, sesame seeds and chopped green onions are great choices. They add color and a nice crunch.
Pair your crispy orange chicken with steamed rice or stir-fried veggies. These sides balance the dish and make it even more satisfying.
Variations
Healthier Alternatives
You can bake the chicken instead of frying it. Baking reduces oil and calories. To bake, coat the chicken as usual, then place it on a lined baking sheet. Bake at 400°F for about 20-25 minutes. This method gives a crispy texture without frying.
Adjust the sauce for a low-sodium option. Use low-sodium soy sauce to cut the salt. This change keeps the flavor but makes it healthier.
Different Protein Options
You can use tofu or shrimp instead of chicken. For tofu, press it to remove moisture, then cut it into cubes. Coat and cook it the same way as chicken. Shrimp cooks quickly, so reduce the frying time to 2-3 minutes until they turn pink.
For vegetarians, replace chicken with veggies. Bell peppers, broccoli, or snap peas work well. Coat these in the same way and fry until crispy.
Spicy Orange Chicken
Want some heat? Add chili flakes or hot sauce to the orange sauce. Start with a teaspoon and adjust to your taste.
You can also use different peppers. Try jalapeños or serranos for a fresh kick. These peppers add flavor and heat to the dish.
Storage Info
Storing Leftovers
To keep your crispy orange chicken fresh, refrigerate it promptly. Place the chicken in an airtight container. This method helps prevent moisture loss and keeps the chicken tasty. Make sure to cool the chicken to room temperature before sealing. This step avoids condensation that can make the chicken soggy.
Reheating Tips
When it’s time to enjoy leftovers, you have two main options: oven or microwave. The oven is best for keeping the chicken crispy. Preheat it to 350°F (175°C). Spread the chicken on a baking sheet and heat for about 10-15 minutes. For a quicker method, use the microwave but be cautious. Heat in short bursts to prevent sogginess. If you choose this method, you can add a paper towel on top to absorb moisture.
Freezing Suggestions
Freezing is a great option for long-term storage. To freeze, first allow the chicken to cool completely. Then place it in a freezer-safe bag or container. Remove as much air as possible to avoid freezer burn. The chicken stays good for about 2-3 months. When you’re ready to eat it, thaw in the fridge overnight. Reheat as mentioned above for the best results.
FAQs
Can I use chicken breast instead of thighs?
Yes, you can use chicken breast. However, thighs have more fat. This fat gives extra flavor. Chicken thighs stay juicy, while breasts can dry out. If you use breasts, be careful not to overcook them. They cook faster than thighs.
How do I make the sauce thicker or thinner?
To thicken the sauce, add more cornstarch. Mix one tablespoon of cornstarch with two tablespoons of cold water. Stir this mixture into the sauce while it simmers. Cook for a few minutes until thick. For a thinner sauce, add more orange juice or water. Just remember to adjust the flavor as needed.
What can I substitute for honey?
You can use maple syrup or agave nectar instead of honey. Brown sugar is another option. If you want a sugar-free choice, try stevia or monk fruit sweetener. These alternatives change the taste slightly, but they work.
Is it possible to make Crispy Orange Chicken ahead of time?
Yes, you can make it ahead. Cook the chicken and sauce separately. Store them in the fridge in airtight containers. When you’re ready to eat, reheat the chicken in the oven. This keeps it crispy. Then, heat the sauce on the stove. Toss them together just before serving.
What is the origin of Crispy Orange Chicken?
Crispy Orange Chicken is a popular dish in Chinese-American cuisine. It combines sweet and savory flavors. The dish likely came from Hunan cuisine, which uses oranges in cooking. It gained fame in the U.S. in the 1980s. Many enjoy its crunchy texture and bright taste.
This blog post covered the key steps to making Crispy Orange Chicken. We discussed the main ingredients, such as chicken, flour, and a tasty orange sauce. I shared tips to achieve a crispy texture and offered serving ideas. You learned about healthier options and variations like spicy orange chicken. Proper storage and reheating tips were also included for your convenience.
In summary, this dish is fun to make and enjoy. Don’t hesitate to get creative with flavors and substitutions. Happy cooking!


