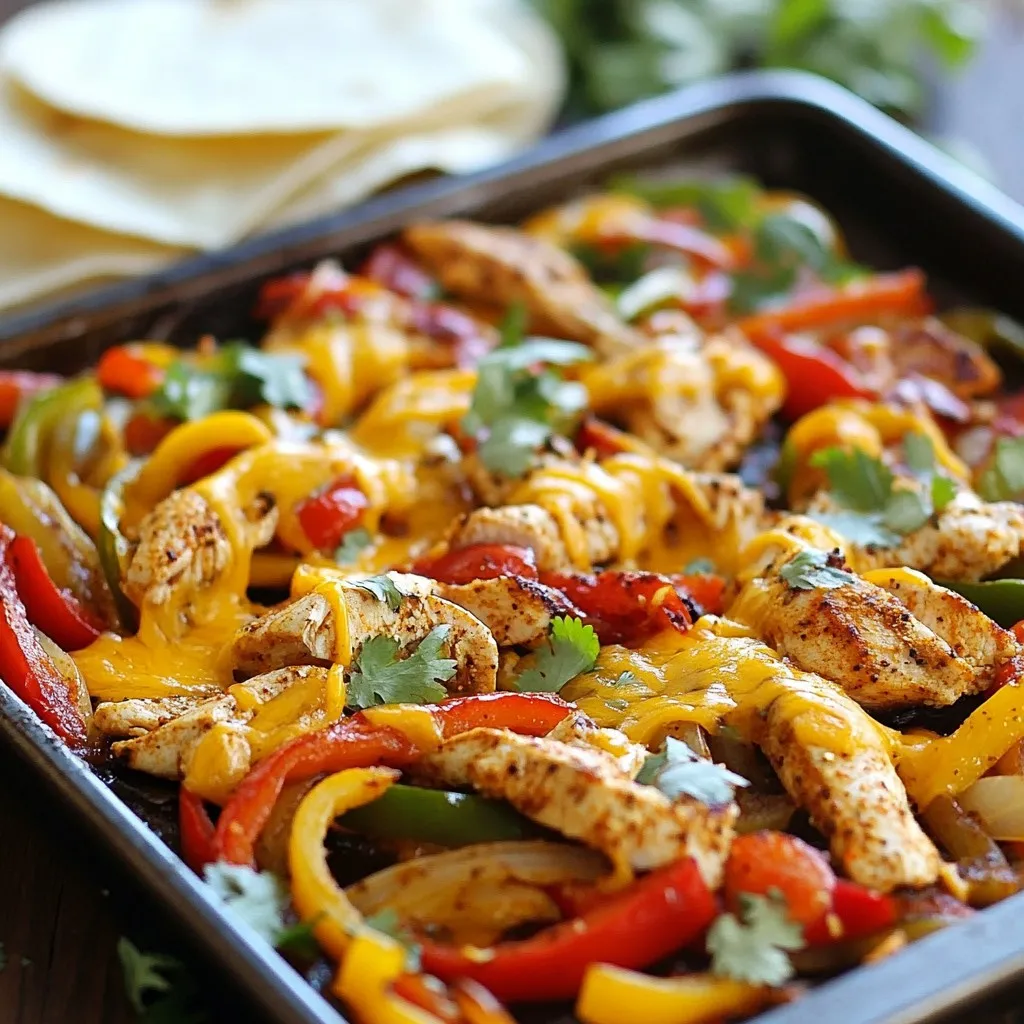
Are you ready for an easy and delicious dinner? My Easy Chicken Fajita Bake is just the answer! With juicy chicken, colorful bell peppers, and gooey cheese, this is a meal your whole family will love. Plus, it takes only a few simple steps to make. Let’s dive in and get cooking with my straightforward recipe that’s perfect for any night of the week!
Why I Love This Recipe
- Quick and Easy: This recipe takes just 45 minutes from start to finish, making it perfect for busy weeknights.
- Flavorful Ingredients: A mix of spices and fresh vegetables ensures every bite is packed with delicious flavor.
- Customizable: You can easily adjust the spice level and toppings to suit your family’s preferences, making it a versatile dish.
- Healthy Option: With lean chicken and plenty of veggies, this dish offers a nutritious meal that doesn’t compromise on taste.
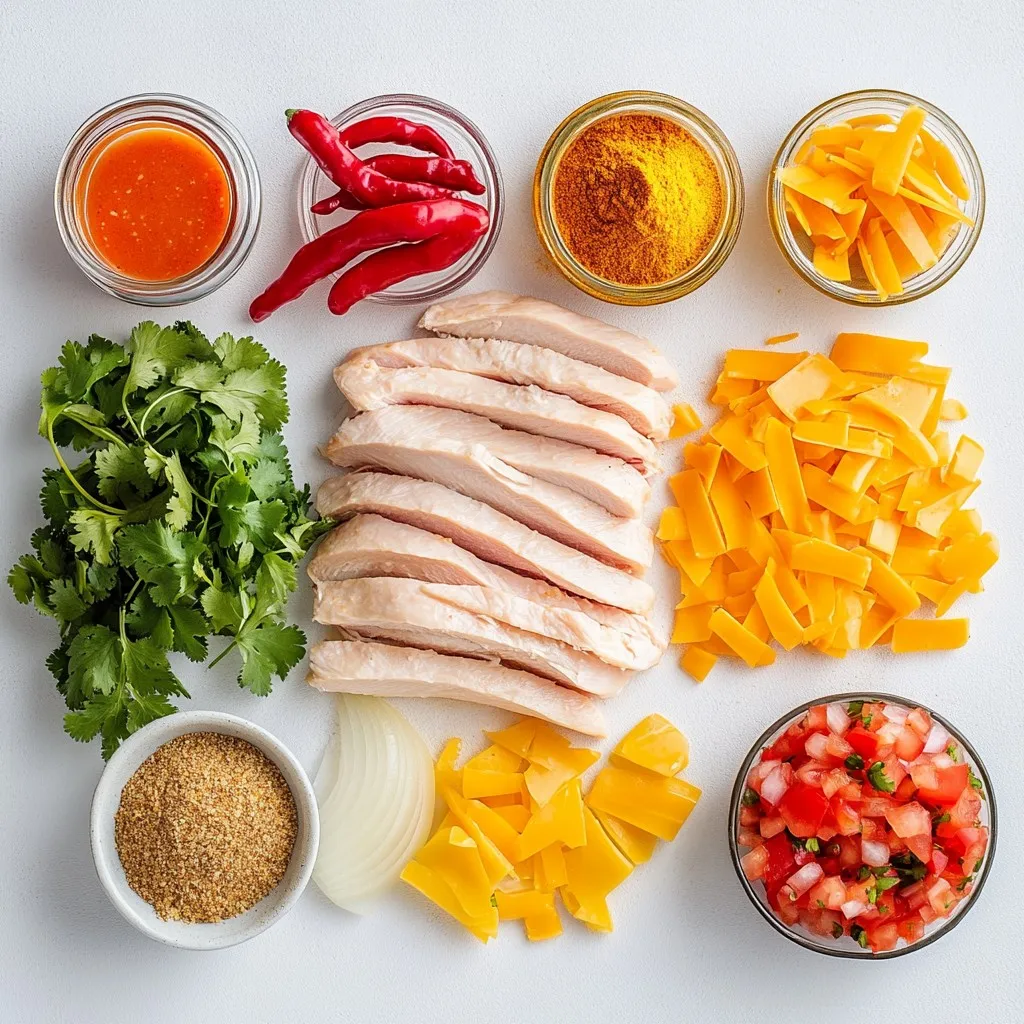
Ingredients
Main Ingredients
– 1 pound boneless, skinless chicken breasts, sliced into thin strips
– 1 bell pepper (choose from red, yellow, or green), sliced into thin strips
– 1 medium onion, sliced into rings
The chicken is your main protein. It gives the dish a hearty base. The bell pepper adds color and crunch, while the onion brings sweetness. Together, they create a tasty mix.
Seasoning and Cheese
– 2 tablespoons olive oil
– 1 tablespoon chili powder
– 1 teaspoon ground cumin
– 1 teaspoon garlic powder
– 1 teaspoon paprika
– 1/2 teaspoon salt
– 1/4 teaspoon freshly ground black pepper
– 1 cup shredded cheddar cheese
– 1 cup salsa (mild, medium, or hot, based on preference)
The olive oil helps the spices stick. Chili powder and cumin give warmth. Garlic powder and paprika add depth. The cheese brings creaminess, and salsa adds zest. This mix makes each bite burst with flavor.
Tortillas
– 8 medium flour tortillas
– Alternative tortilla options (corn tortillas, lettuce wraps)
Flour tortillas are soft and chewy. They hold the filling well. You can also use corn tortillas for a gluten-free option. For a lighter dish, lettuce wraps work great too.
Step-by-Step Instructions
Preparation Steps
1. First, preheat your oven to 400°F (200°C). This will help cook the chicken and veggies evenly.
2. Next, grab a large bowl. Add the sliced chicken, bell pepper, and onion. This mix gives your dish great flavor.
3. Drizzle the olive oil over the chicken and veggies. Then, sprinkle in chili powder, cumin, garlic powder, paprika, salt, and black pepper. Toss everything with your hands. This step ensures each piece is well-coated with spices.
Baking Process
1. Spread the seasoned chicken and vegetable mix evenly on a baking sheet. Using parchment paper helps with easy cleanup.
2. Place the baking sheet in your preheated oven. Bake for 20 minutes. Check that the chicken is cooked through. It should reach an internal temperature of 165°F.
3. Carefully take the baking sheet out of the oven. Pour salsa over the baked chicken and veggies. Make sure to cover everything with that zesty flavor.
4. Now, sprinkle shredded cheddar cheese over the top. This cheese melts beautifully and adds richness.
5. Return the baking sheet to the oven. Bake for an additional 5-7 minutes. Watch for the cheese to melt and bubble nicely.
Final Touches
1. While the fajita bake is finishing up, warm the flour tortillas. You can heat them in a pan or microwave for a few seconds until soft.
2. Once the fajita bake is out of the oven, let it cool for a couple of minutes. This helps prevent burns when serving.
Tips & Tricks
Cooking Tips
To ensure your chicken is fully cooked, check the internal temperature. It should reach 165°F. Use a meat thermometer for accuracy. This step keeps the chicken juicy and safe to eat.
For perfectly caramelized vegetables, cut them into even pieces. Thin strips work best. Spread them out on the baking sheet. Avoid overcrowding to allow steam to escape. This gives them a nice char and sweet flavor.
Serving Tips
For a fun presentation, serve the fajita bake right on the baking sheet. This invites everyone to dig in. Garnish with fresh cilantro or sliced jalapeños for a pop of color.
Encourage guests to customize their fajitas. Offer toppings like sour cream, guacamole, or diced tomatoes. These add great flavor and texture to each bite.
Time-Saving Tips
Prepare ingredients in advance to save time. Slice the chicken, bell pepper, and onion the night before. Store them in the fridge to make cooking easier.
Using kitchen gadgets can speed things up. A sharp knife helps with quick chopping. A meat thermometer ensures the chicken cooks correctly. These tools can make your cooking experience smoother and more efficient.
Pro Tips
- Use Fresh Ingredients: Opt for fresh bell peppers and onions to enhance the flavor and texture of your fajita bake. Fresh vegetables will add a crispness that frozen or canned alternatives cannot match.
- Customize Spice Levels: Adjust the amount of chili powder and salsa according to your taste preference. If you’re serving guests with varying spice tolerances, consider offering mild and hot salsa on the side.
- Experiment with Cheese: While cheddar cheese is a classic choice, feel free to mix in other cheeses like pepper jack or Monterey Jack for added flavor variations and creaminess.
- Serve with Toppings: Elevate your fajita bake by providing a variety of toppings such as diced avocados, sour cream, and fresh cilantro, allowing everyone to create their perfect fajita.
Variations
Ingredient Substitutions
You can easily change the protein in this dish. Try beef or tofu if you like. Chicken works great, but beef adds a rich taste. Tofu gives a nice texture and is perfect for vegetarians.
You can also swap out the veggies. If you love mushrooms, add them in. Zucchini or even corn can work well too. The goal is to use what you enjoy.
Flavor Enhancements
Want more heat? Add jalapeños or a dash of hot sauce. These simple tweaks can really kick up the flavor. Fresh herbs like cilantro or parsley can also brighten the dish. A squeeze of lime juice adds a zesty touch that brightens every bite.
Cooking Method Options
If you prefer a slower method, use a slow cooker. Just set it on low for 6-8 hours. It’s perfect for busy days.
You can also use an Instant Pot for a quick meal. Set it to cook for about 10 minutes. This way, you enjoy tender chicken in no time.
Storage Info
Storing Leftovers
To keep your Easy Chicken Fajita Bake fresh, store leftovers right away. Allow the dish to cool for about 30 minutes. Then, place it in an airtight container. This helps keep the flavors intact. Make sure to refrigerate it within two hours of cooking.
– Use glass or plastic containers.
– Avoid metal containers to prevent flavor changes.
– Label the container with the date for quick reference.
Reheating Guidelines
When it’s time to enjoy leftovers, reheating is key. I recommend using the oven for the best results. The oven helps keep the dish crispy. Preheat it to 350°F (175°C) and place the fajita bake in for about 15 minutes.
– If using a microwave, cover the dish with a damp paper towel.
– This helps keep the dish moist as it heats.
– Microwave on medium power for 2-3 minutes, checking often.
Freezing Information
Want to save some for later? Freezing is a great option. To freeze, let the fajita bake cool completely. Then, portion it into freezer-safe containers. Seal them tightly to prevent freezer burn.
– For best results, consume within three months.
– When you’re ready to eat, thaw it in the fridge overnight.
– Reheat it in the oven or microwave as mentioned above.
Following these steps will keep your Easy Chicken Fajita Bake delicious and ready for any meal!
FAQs
Common Questions About Easy Chicken Fajita Bake
How can I make it spicier?
To add spice, mix in diced jalapeños or use hot salsa. You can also sprinkle in some cayenne pepper or crushed red pepper flakes. Adjust the amount to suit your taste. This way, you can control the heat level.
Can I use corn tortillas instead of flour?
Yes, corn tortillas work great! They add a nice flavor and texture. Just warm them before serving to make them soft and easy to roll. Enjoy the crunchy bite they bring to your fajitas.
What side dishes pair well with chicken fajita bake?
For sides, try serving it with Mexican rice or refried beans. A fresh salad with lime dressing also adds a nice touch. You can even include some guacamole and chips for a complete meal. These sides complement the fajita bake well.
This blog post provided a complete guide to making an Easy Chicken Fajita Bake. We covered the main ingredients like chicken, peppers, and cheese. You learned how to prepare, bake, and serve this dish. I shared tips for cooking and serving, along with variations and storage advice. Try these steps for tasty results. With simple swaps and tips, you can make it fit your taste. Experiment and enjoy this fun meal with family or friends. Your effort will surely make mealtime specia


