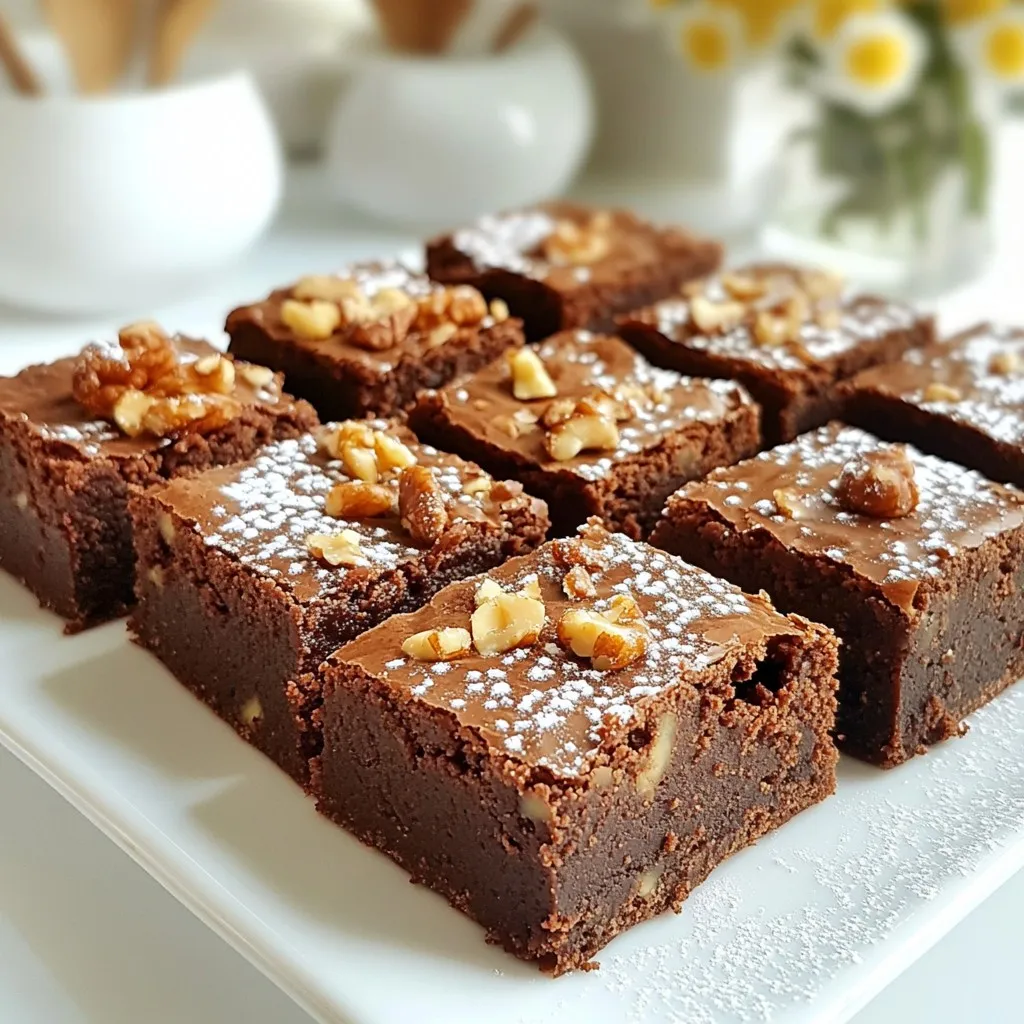
If you crave a dessert that’s both rich and indulgent, you’ve found it! Flourless fudge brownies deliver a decadent treat without the guilt of traditional flour-based recipes. With a simple list of ingredients and easy steps, you can whip up a dessert that impresses everyone. Join me to discover how to make these luscious brownies, packed with flavor and perfect for any occasion. Let’s get baking!
Why I Love This Recipe
- Rich Chocolate Flavor: These brownies are packed with a deep, fudgy chocolate taste that chocolate lovers will adore.
- Healthy Ingredients: Made with almond butter and maple syrup, these brownies are a guilt-free indulgence that satisfy your sweet tooth.
- Quick and Easy: With only 10 minutes of prep time, you can whip these up for a last-minute dessert or a cozy night in.
- Customizable: Add your favorite mix-ins like nuts or chocolate chips for a personal touch that elevates the flavor and texture.
Ingredients
Detailed Ingredient List
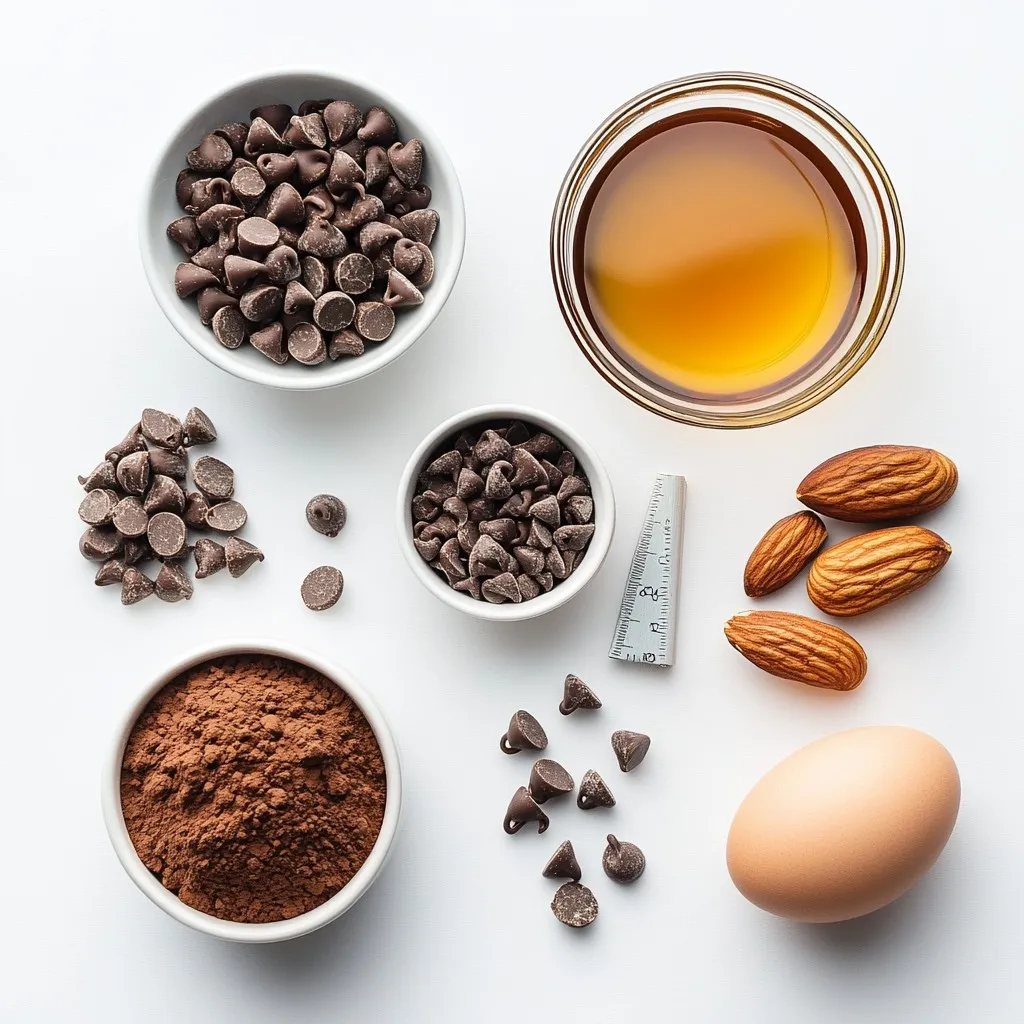
To make these flourless fudge brownies, gather the following ingredients:
– 1 cup almond butter (or your preferred nut butter)
– 1/2 cup unsweetened cocoa powder
– 1/2 cup pure maple syrup (or honey, if preferred)
– 2 large eggs
– 1 teaspoon pure vanilla extract
– 1/2 teaspoon baking soda
– 1/4 teaspoon fine sea salt
– 1/2 cup semi-sweet chocolate chips (optional)
– A handful of chopped nuts (such as walnuts or pecans, optional)
These ingredients work together to create rich and fudgy brownies. The almond butter provides moisture and a nutty flavor. Cocoa powder gives the brownies their deep chocolate taste. Maple syrup adds sweetness and keeps them soft.
Alternatives for Nut Butter
If you don’t have almond butter, feel free to swap it out. Here are some great alternatives:
– Peanut butter: This will give a classic taste.
– Cashew butter: This adds a mild and creamy flavor.
– Sunflower seed butter: This is nut-free and perfect for allergies.
Each option will change the flavor slightly, but all will work well in the recipe.
Optional Add-ins and Their Benefits
You can customize your brownies with fun add-ins. Here are a few ideas:
– Semi-sweet chocolate chips: These add more chocolate flavor.
– Chopped nuts: Walnuts or pecans give a nice crunch.
– Dried fruit: Add raisins or cherries for a sweet touch.
– Espresso powder: This enhances the chocolate flavor.
These add-ins not only boost flavor but also texture. Feel free to mix and match based on what you like!
Step-by-Step Instructions
Preheating the Oven and Preparing the Pan
Start by preheating your oven to 350°F (175°C). This step is key for even baking. While the oven warms up, grab an 8×8 inch baking pan. Line it with parchment paper. Leave some paper hanging over the sides. This makes it easy to lift out the brownies later.
Mixing the Batter
In a large bowl, mix the almond butter, cocoa powder, and maple syrup. Add two large eggs and the vanilla extract. Whisk these ingredients together until the mixture is smooth. Make sure there are no lumps. Next, add the baking soda and sea salt. Stir until everything is well combined. If you like, fold in the chocolate chips and nuts for added texture.
Baking and Cooling Process
Pour the thick brownie batter into your prepared pan. Use a spatula to spread it evenly. Place the pan in the oven and bake for 20-25 minutes. The brownies are ready when the edges pull away from the pan. A toothpick inserted in the center should come out mostly clean. After baking, take the pan out and let it cool on a wire rack. Once cool, use the parchment paper to lift the brownies out. Cut them into 16 squares for serving.
Tips & Tricks
Perfecting the Texture
To get the best texture in your brownies, start with smooth almond butter. If it’s too thick, your brownies may turn out dense. A creamy nut butter makes them rich and fudgy. Mix well to avoid lumps. You want a smooth batter before baking. Also, don’t overmix after adding the baking soda. This keeps the brownies from getting too airy.
Serving Suggestions
For a special touch, try serving your brownies warm. Add a scoop of vanilla ice cream on top. The hot brownies will melt the ice cream, creating a delicious dessert. You can also dust them with powdered sugar. This adds a nice look and a bit of sweetness. If you like nuts, sprinkle chopped walnuts or pecans on top before baking.
Common Mistakes to Avoid
One mistake is not cooling the brownies fully before cutting. They need time to set. Cutting them too soon can lead to a messy result. Another mistake is baking them too long. Keep an eye on the time and check with a toothpick. It should come out with a few crumbs but not wet batter. Finally, make sure to line your pan with parchment paper. This helps to lift the brownies out easily once they are cooled.
Pro Tips
- Use Room Temperature Ingredients: Allow your eggs and almond butter to come to room temperature before mixing. This helps create a smoother batter and ensures even baking.
- Don’t Overmix: Once you add the dry ingredients, mix just until everything is combined. Overmixing can lead to denser brownies.
- Check for Doneness: Since ovens vary, start checking your brownies at the 20-minute mark. They should be firm around the edges but slightly soft in the center.
- Store Properly: Keep any leftover brownies in an airtight container at room temperature for up to 3 days, or refrigerate for longer freshness.
Variations
Different Nut Butters to Use
You can switch up the nut butter in the recipe. Almond butter is a classic choice, but you can also try peanut butter or cashew butter. Each nut butter gives a unique flavor. If you want a nut-free option, sunflower seed butter works well too. This makes the brownies rich and tasty while still being flourless.
Flavor Twists
Want to add a twist? You can mix in espresso powder for a coffee kick. It enhances the chocolate flavor. Or, try spices like cinnamon or cayenne for warmth. A pinch of sea salt adds depth to the sweetness. These little tweaks can make each batch special and fun to try.
Vegan and Dairy-Free Adaptations
To make these brownies vegan, swap the eggs for flax eggs. Mix 1 tablespoon of flaxseed meal with 2.5 tablespoons of water. Let it sit until it gels. Use maple syrup as your sweetener to keep it dairy-free. You can also choose dairy-free chocolate chips to keep your brownies fully vegan. These changes make it easy for everyone to enjoy this rich treat.
Storage Info
How to Store Leftover Brownies
To keep your brownies fresh, store them in an airtight container. Layer parchment paper between the brownies to prevent sticking. They can last up to five days at room temperature. If you want to keep them longer, consider refrigeration.
Freezing Instructions
You can freeze these brownies for up to three months. First, cut them into squares. Wrap each square tightly in plastic wrap, then place them in a freezer bag. Make sure to squeeze out any air. Label the bag with the date. This way, you can enjoy them later without losing flavor.
Reheating Tips for Enjoyment Later
To enjoy your brownies again, thaw them in the fridge overnight. For a warm treat, you can reheat them in the microwave. Heat for about 10 to 15 seconds to keep them moist. Alternatively, place them in a preheated oven at 350°F (175°C) for 5-10 minutes. This will revive their fudgy texture, making them taste freshly baked.
FAQs
Are flourless brownies gluten-free?
Yes, flourless brownies are gluten-free. They use nut butter instead of flour. This makes them safe for people who cannot eat gluten. Almond butter, in particular, adds a rich flavor and creamy texture. Always check labels for gluten-free certification on your nut butter to be sure.
Can I substitute maple syrup with other sweeteners?
Yes, you can use other sweeteners. Honey is a great option for a similar taste. You could also try agave syrup or coconut sugar. If you want a low-calorie choice, use a sugar substitute like stevia. Just remember that the sweetness level may vary, so adjust to your taste.
How can I know when the brownies are done baking?
To check if your brownies are done, look at the edges. They should pull away from the pan slightly. Insert a toothpick into the center. If it comes out mostly clean, your brownies are ready. A few crumbs are okay, but you want to avoid wet batter in the middle.
We covered the key ingredients, step-by-step baking, and helpful tips to make your perfect brownies. You can explore nut butter alternatives and fun flavor twists. Remember to store leftovers properly and reheating them for later enjoyment is simple. With these insights, you can avoid common mistakes and enjoy delicious gluten-free treats. Try your own variations, and share your results. Happy bakin


