Want to impress your family and friends with the perfect breakfast treat? You’re in the right place! This simple, delicious recipe for fluffy homemade waffles will make your mornings brighter and tastier. With just a few quality ingredients and easy steps, you’ll create waffles that are light, airy, and oh-so-satisfying. Dive into this guide and unlock the secrets to waffle perfection today!
Why I Love This Recipe
- Fluffy Texture: These waffles are incredibly light and fluffy, making them a delightful breakfast treat that feels indulgent yet comforting.
- Quick and Easy: With a prep time of just 10 minutes, you can whip up a batch of delicious waffles in no time, perfect for busy mornings.
- Versatile Toppings: These waffles are a blank canvas for all your favorite toppings, from fresh fruits to decadent syrups, allowing you to customize each serving.
- Family Favorite: These homemade waffles are sure to impress everyone at the breakfast table, making them a beloved choice for family gatherings.
Ingredients
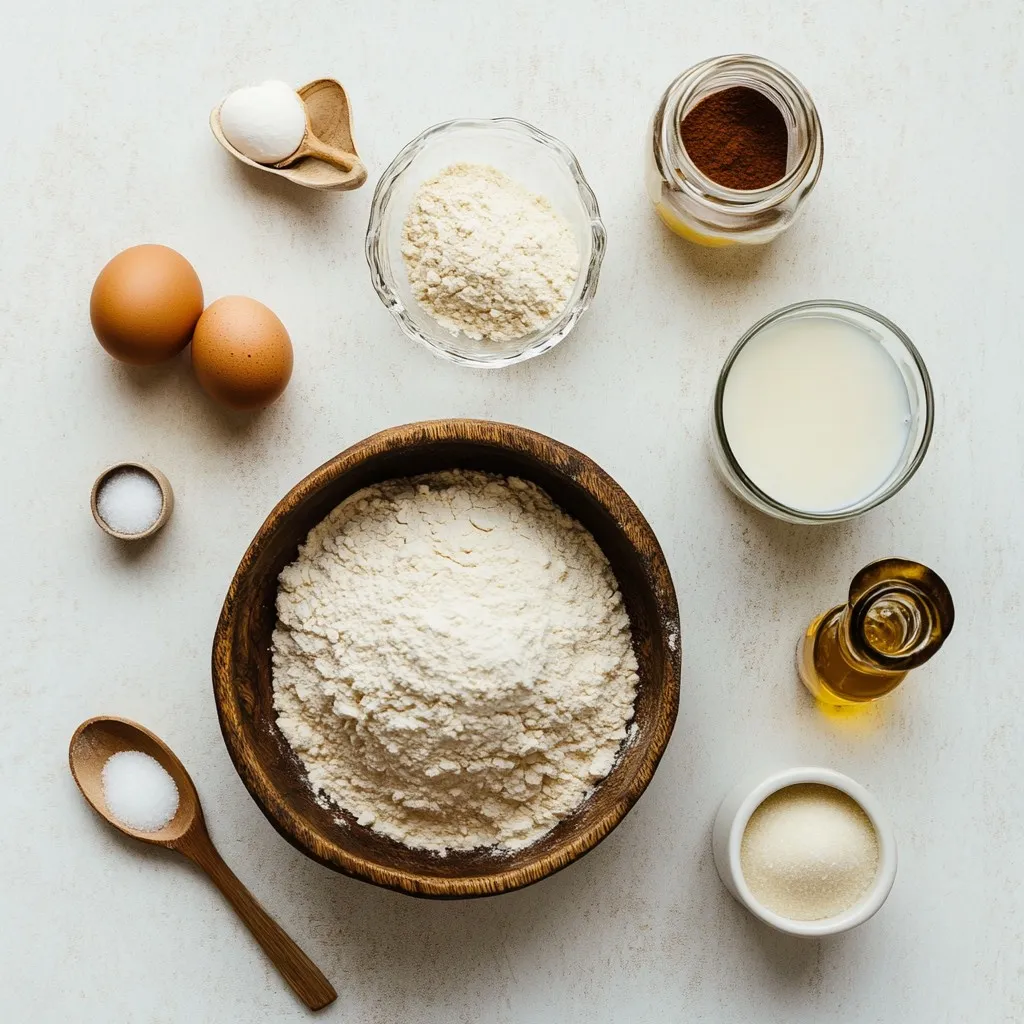
List of Ingredients
– 2 cups all-purpose flour
– 2 tablespoons granulated sugar
– 1 tablespoon baking powder
– 1/2 teaspoon fine salt
– 2 large eggs, at room temperature
– 1 3/4 cups milk, preferably whole or 2%
– 1/2 cup vegetable oil or melted unsalted butter
– 1 teaspoon pure vanilla extract
– Optional: 1/2 teaspoon ground cinnamon for added warmth
Optional Ingredients for Extra Flavor
You can add extra flavor to your waffles with some simple choices. Ground cinnamon adds warmth. You can also try chocolate chips or fresh blueberries. These ingredients make each bite more exciting. Feel free to get creative with your favorite flavors!
Tips for Selecting Quality Ingredients
Choosing the best ingredients matters for great waffles. Here are some tips:
– Flour: Use fresh all-purpose flour. Check the date on the bag.
– Sugar: Granulated sugar works best for sweetness. Avoid brown sugar for this recipe.
– Eggs: Room temperature eggs mix better and help create fluffiness.
– Milk: Whole milk gives a rich taste, but 2% will work too.
– Oil or Butter: Use good quality vegetable oil or fresh unsalted butter. This adds flavor.
– Vanilla: Always choose pure vanilla extract for the best taste.
When you select quality ingredients, you ensure your waffles taste amazing!
Step-by-Step Instructions
Preparation of Dry Ingredients
Start by gathering your dry ingredients. In a large bowl, mix 2 cups of all-purpose flour, 2 tablespoons of granulated sugar, 1 tablespoon of baking powder, and 1/2 teaspoon of fine salt. If you want a hint of warmth, add 1/2 teaspoon of ground cinnamon. Whisk these together well until there are no lumps. This step is key for fluffy waffles!
Mixing Wet Ingredients
In a separate medium bowl, crack 2 large eggs. Beat them lightly. Then add 1 3/4 cups of milk, 1/2 cup of vegetable oil (or melted unsalted butter), and 1 teaspoon of pure vanilla extract. Whisk the mixture until it is smooth and combined. This blend adds richness to your waffles.
Combining Dry and Wet Mixtures
Now it’s time to combine! Make a well in the center of your dry mix and pour in the wet ingredients. Using a spatula, gently fold them together. Be careful not to overmix. The batter should stay a bit lumpy. This helps keep your waffles airy and fluffy.
Cooking the Waffles
Preheat your waffle iron. Check the manual for the right settings. Lightly grease the iron with non-stick spray or oil. Once hot, pour about 1/2 to 3/4 cup of batter onto the center of the iron. Close the lid firmly and cook for about 4-5 minutes. Your waffles should turn golden brown and crisp.
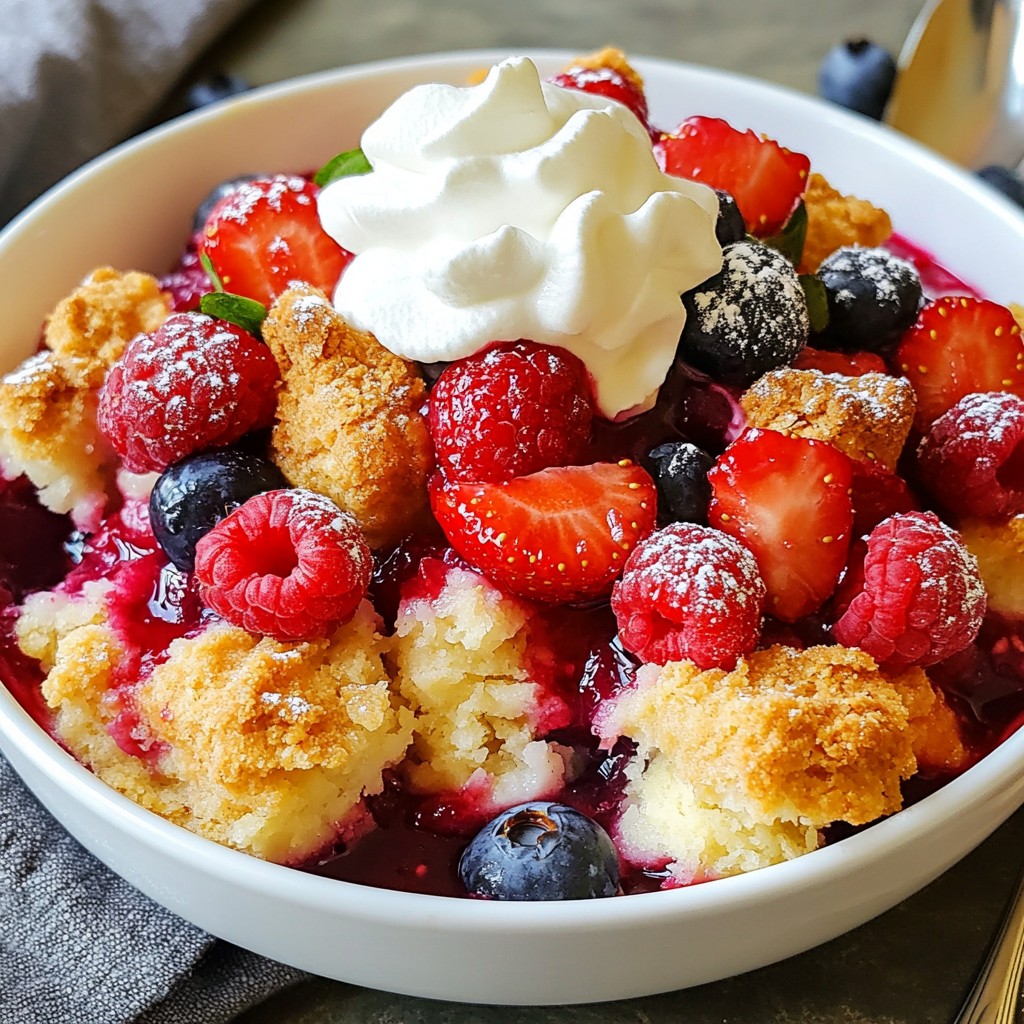
Serving Suggestions
Once cooked, lift the waffles carefully using a fork or tongs. Place them on a wire rack to keep them crisp. Serve warm with various toppings. Try fresh berries, rich maple syrup, or fluffy whipped cream. A light dusting of powdered sugar makes them look extra special! Stack them on a plate for a beautiful breakfast display.
Tips & Tricks
Achieving the Perfect Fluffy Texture
To get that light and airy bite, you must mix the batter just right. Start by whisking the dry ingredients well. This helps blend the flour, sugar, and baking powder. When you combine the wet and dry mixtures, fold gently. You want a few lumps in the batter. Overmixing makes your waffles tough, not fluffy.
Avoiding Common Mistakes
One common mistake is using cold eggs and milk. They should be at room temperature. This helps the batter blend better. Another error is pouring too much batter into the waffle iron. Stick to about 1/2 to 3/4 cup, depending on your iron. If you add too much, the batter will overflow and make a mess.
Best Practices for Cooking Waffles
Always preheat your waffle iron before cooking. This ensures even cooking and a nice, crispy outside. Lightly grease the iron with cooking spray or oil. This helps prevent sticking. Once the waffles are done, lift them out carefully using a fork or tongs. Place them on a wire rack to keep them crisp. Enjoy with your favorite toppings like berries or syrup!
Pro Tips
- Room Temperature Ingredients: Ensure your eggs and milk are at room temperature before mixing. This helps create a smoother batter and results in fluffier waffles.
- Don’t Overmix: When combining the wet and dry ingredients, fold them together gently until just combined. Overmixing can lead to tough waffles.
- Preheat the Waffle Iron: Make sure your waffle iron is fully preheated before adding the batter. This ensures even cooking and helps achieve that golden brown color.
- Keep Waffles Crisp: Place cooked waffles on a wire rack instead of a plate to prevent them from steaming and becoming soggy while you cook the remaining batter.
Variations
Flavor Variations (e.g., Chocolate Chip, Blueberry)
You can make these waffles even more fun! Try adding chocolate chips for a sweet twist. Just mix in about 1 cup of chips into the batter before cooking. If you like fruit, blueberries work great too. Use 1 cup of fresh or frozen blueberries. They add natural sweetness and a burst of flavor. You can also try nuts or spices like cinnamon for extra flavor.
Dietary Modifications (Gluten-Free, Dairy-Free)
If you need gluten-free waffles, swap all-purpose flour for a gluten-free blend. Look for one that works in baking. For a dairy-free option, use almond milk or oat milk instead of regular milk. You can also use coconut oil instead of butter. These changes keep your waffles tasty while meeting your needs.
Creative Serving Ideas
Serving your waffles can be just as fun as making them! Stack them high on a plate and top with fresh fruit. Add whipped cream or a drizzle of chocolate syrup for a treat. You can also serve them with yogurt for a healthier option. Try different toppings like peanut butter or honey. Each time can be a new experience!
Storage Info
How to Store Uncooked Batter
To store uncooked waffle batter, place it in a bowl with a lid. You can also use plastic wrap. Make sure the lid fits tightly to keep air out. It is best to use the batter within 24 hours. The longer it sits, the less fluffy your waffles may turn out. You can chill it in the fridge. Just remember to give it a good stir before using.
Storing Cooked Waffles
After cooking, let the waffles cool on a wire rack. This helps keep them crisp. Once cooled, stack them in an airtight container. You can keep them in the fridge for up to three days. For longer storage, freeze the waffles. Place parchment paper between them to prevent sticking. Seal them in a freezer bag. Cooked waffles can last up to three months in the freezer.
Reheating Tips
To reheat waffles, you can use a toaster or an oven. Using a toaster is quick and easy. Toast them until they are hot and crispy again. If using an oven, preheat it to 350°F (175°C). Place the waffles on a baking sheet for about 10 minutes. This method keeps them crispy. Avoid the microwave, as it can make them soggy. Enjoy your fluffy waffles again with your favorite toppings!
FAQs
What makes waffles fluffy?
Fluffy waffles come from the right mix of ingredients and technique. The baking powder gives the batter lift. Beating the eggs adds air, which helps too. Mixing the wet and dry ingredients gently keeps some lumps. These lumps trap air, creating that light, fluffy texture we love.
Can I use whole wheat flour instead of all-purpose flour?
Yes, you can use whole wheat flour. It will give the waffles a nutty flavor. However, the texture might be denser. To keep them fluffy, you might mix half whole wheat and half all-purpose flour. This way, you enjoy health benefits without losing fluffiness.
How do I prevent waffles from sticking to the iron?
To prevent sticking, always grease your waffle iron. Use non-stick spray or a thin coat of oil. Preheating the iron also helps. If it’s hot enough, the waffles will release easily. Make sure to follow the manufacturer’s instructions for best results.
Can I make the batter ahead of time?
You can prepare the batter ahead of time. Store it in the fridge for up to 24 hours. When ready, give it a quick stir before cooking. However, fresh batter gives the best texture. Allowing it to sit too long may reduce fluffiness.
What toppings work best with homemade waffles?
Many toppings can enhance your waffles. Fresh berries add a burst of flavor. Maple syrup is a classic choice. Whipped cream brings a light, sweet touch. You can also use chocolate chips or nuts for extra crunch. The possibilities are endless!
This blog explored how to make delicious waffles from scratch. We covered key ingredients, mixing techniques, and cooking tips to get the perfect fluff. You can also try fun flavor variations or dietary changes. Storing and reheating waffles is easy with the right methods.
Making waffles can be simple and fun. Armed with this knowledge, you can create tasty meals for everyone. Enjoy experimenting in your kitche