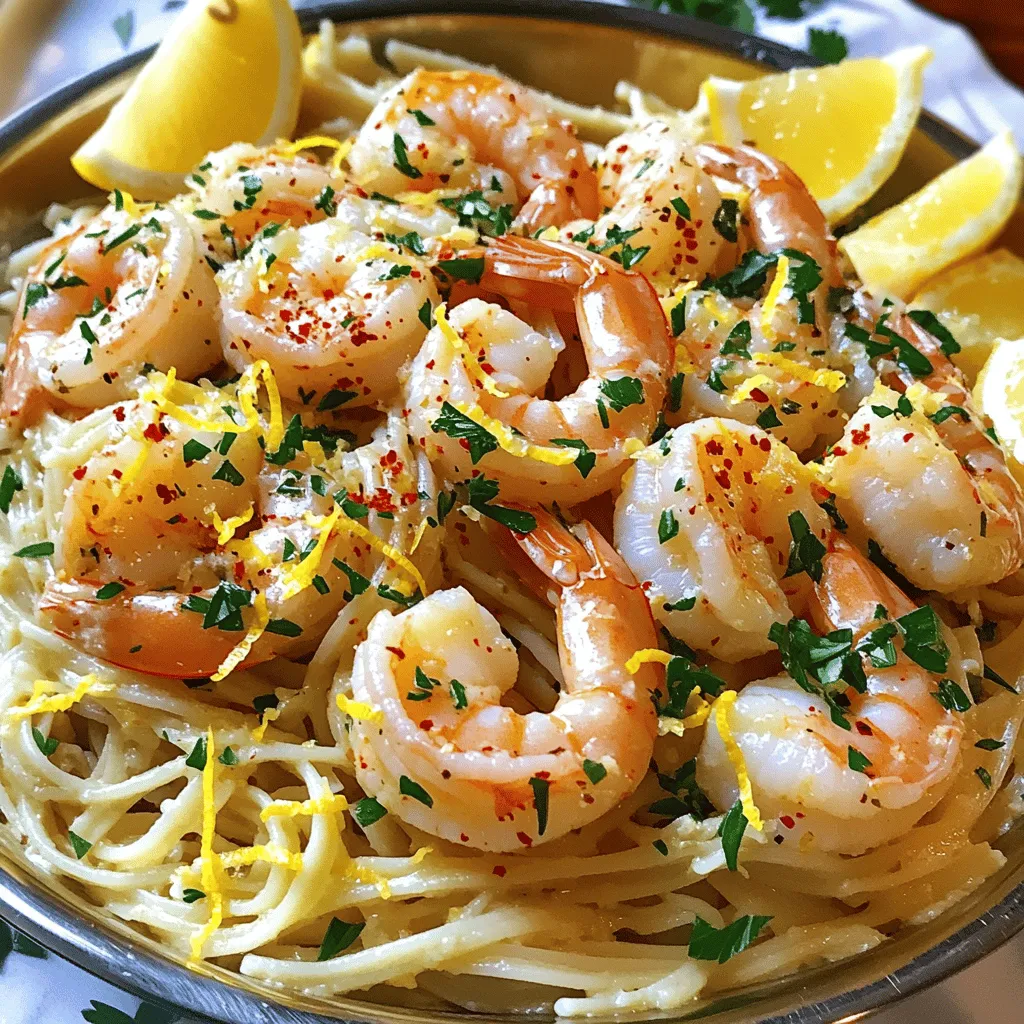
Are you ready to impress your family and friends with a dish that’s both tasty and simple? Garlic Butter Shrimp Scampi is the perfect blend of fresh shrimp, rich garlic butter, and zesty lemon. With just a few ingredients, you can create a meal that feels gourmet. Stick around as I guide you through easy steps, tips, and variations to make this delightful dish your new favorite!
Ingredients
Main Ingredients
– 1 pound large shrimp, peeled and deveined
– 4 tablespoons unsalted butter, divided
– 4 cloves garlic, minced
Optional Ingredients
– 1 teaspoon red pepper flakes
– Zest and juice of 1 lemon
– ½ cup chicken broth or seafood stock
Pasta Choices
– 8 ounces linguine or spaghetti
– Salt and freshly ground black pepper
– 2 tablespoons fresh parsley, finely chopped
– Lemon wedges, for serving
When I cook Garlic Butter Shrimp Scampi, I focus on fresh and quality ingredients. Start with large shrimp. They should be peeled and deveined for the best taste. I use unsalted butter, which lets me control the salt. Minced garlic is a must. It adds that rich flavor we all love.
Optional ingredients can change the dish. If you enjoy a kick, add red pepper flakes. They bring a nice heat. Fresh lemon zest and juice brighten the flavors beautifully. You can use chicken broth or seafood stock to add depth to the sauce.
Choosing the right pasta is key. I prefer linguine or spaghetti. They hold the sauce well. Don’t forget to season with salt and pepper. Fresh parsley adds color and freshness. Lastly, lemon wedges are perfect for serving. They give a zesty finish when squeezed over the dish.Enjoy cooking this simple delight!
Step-by-Step Instructions
Cooking the Pasta
1. Bring a large pot of salted water to a boil.
2. Cook the linguine according to the package instructions until al dente.
Sautéing Garlic
1. Melt 2 tablespoons of butter in a skillet over medium heat.
2. Add minced garlic and red pepper flakes. Cook until fragrant, about 1-2 minutes.
Cooking the Shrimp
1. Increase heat to medium-high.
2. Add shrimp in a single layer. Season with salt and black pepper. Cook until pink and opaque, about 2-3 minutes per side.
Making the Sauce
1. Pour in chicken broth and lemon juice. Scrape any browned bits from the pan.
2. Let it simmer to reduce slightly, around 2-3 minutes.
Combining Ingredients
1. Stir in the remaining 2 tablespoons of butter until melted.
2. Toss pasta with the sauce, then add shrimp back to the skillet. Garnish with lemon zest and parsley.
Serving Suggestions
1. Adjust seasoning with salt and pepper to taste.
2. Serve immediately with lemon wedges on the side for added flavor.
Tips & Tricks
Choosing the Best Shrimp
When picking shrimp, you have two main options: fresh or frozen. Fresh shrimp should smell like the sea, not fishy. Look for firm, translucent flesh. Frozen shrimp is often just as good. It’s frozen right after catching, keeping its flavor. If you choose frozen, thaw them slowly in the fridge overnight.
To peel shrimp, hold the body and twist off the shell. Pinch the tail to remove it easily. You should devein shrimp too. Use a knife to make a shallow cut along the back. Then, lift out the dark vein with your fingers. This makes your dish cleaner and more pleasant.
Perfecting Flavor Balance
Adjusting the red pepper flakes can make a big difference in your dish. If you like heat, add more flakes. If you prefer mild, use less. Start with a teaspoon, then taste and adjust. This helps you find the perfect spice level.
Fresh lemon juice is key for bright flavor. It wakes up the dish and balances the butter’s richness. Squeeze the juice right before adding it to keep it fresh. Zesting the lemon first adds a nice hint of citrus too.
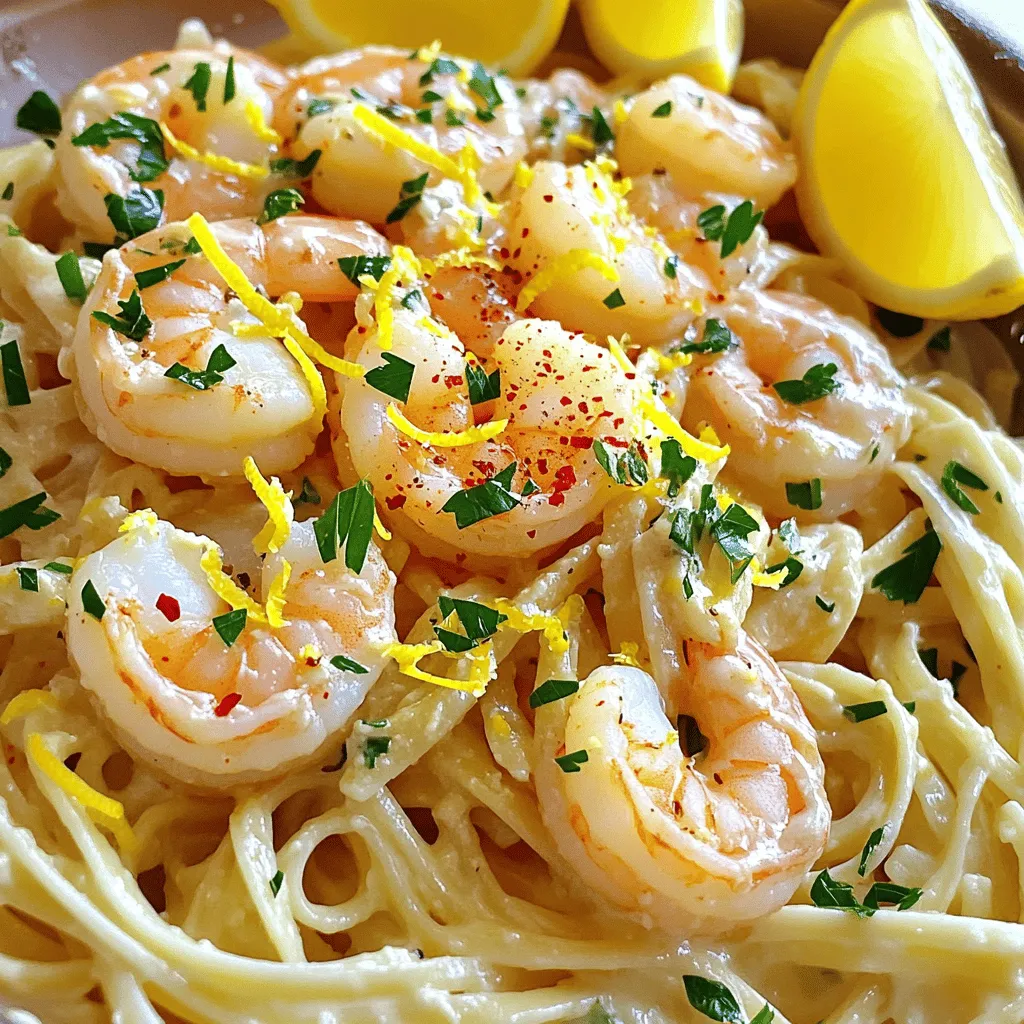
Creaminess Adjustment
To make the sauce creamy, use reserved pasta water. This starchy water helps bind the sauce to the pasta. Start by adding a few tablespoons. Stir and see if you want more. It’s easy to control the sauce’s thickness this way.
Timing is vital when adding ingredients. Cook the shrimp until they are just pink. Remove them before they overcook. Add them back at the end to keep them tender. This gives you perfect shrimp in your Garlic Butter Shrimp Scampi.
Variations
Adding Vegetables
You can easily make Garlic Butter Shrimp Scampi more colorful and nutritious by adding vegetables. Spinach, tomatoes, or bell peppers work well. These veggies add flavor and texture.
– Spinach wilts nicely in the sauce, adding a rich green color.
– Chopped tomatoes bring sweetness and freshness.
– Bell peppers add crunch and a pop of color.
You can also think about seasonal vegetables. For example, zucchini in summer or butternut squash in fall. This way, you can enjoy fresh flavors year-round.
Alternative Fats
If you want to switch things up, try using olive oil or ghee instead of butter.
– Olive oil gives a fruity flavor and is a heart-healthy option.
– Ghee has a nutty taste and is great for those with lactose issues.
Both options change the dish’s flavor while keeping it tasty. Plus, they might suit different diets better.
Different Pasta Options
The type of pasta you choose can change the dish. You can explore gluten-free options like rice or quinoa pasta. These options cater to gluten-free diets while keeping the dish delicious.
If you want a lighter meal, consider zoodles. Zoodles are spiralized zucchini noodles that add freshness. They taste great with the shrimp and sauce, making a fun alternative.
Try these variations to make Garlic Butter Shrimp Scampi your own!
Storage Info
Refrigeration
To store Garlic Butter Shrimp Scampi, let it cool first. Place it in an airtight container. This keeps the shrimp fresh and tasty. You can store it in the fridge for up to two days. Make sure to eat it within this time for the best flavor.
Freezing Tips
If you want to freeze this dish, it is easy! First, let the shrimp scampi cool completely. Then, transfer it to a freezer-safe container. Remember to leave some room for expansion. You can freeze it for up to three months without losing flavor. When you are ready to eat, thaw it in the fridge overnight. To reheat, place it in a pan over low heat until warm.
Reheating Guidelines
To reheat your shrimp scampi, avoid overcooking. Use a skillet on low heat. Add a splash of broth or water to keep it moist. Stir gently until heated through. This will help keep the shrimp tender and tasty. Enjoy your meal just like it was fresh!
FAQs
How long does Garlic Butter Shrimp Scampi take to make?
Garlic Butter Shrimp Scampi is quick to prepare. It takes about 10 minutes to get ready and 15 minutes to cook. In total, you need about 25 minutes. This makes it perfect for a weeknight dinner.
Can I use frozen shrimp for this recipe?
Yes, you can use frozen shrimp! Just remember to thaw them first. To thaw, place the shrimp in a bowl of cold water for about 15-20 minutes. After they are thawed, pat them dry before cooking. This helps the shrimp cook evenly.
What can I serve with Garlic Butter Shrimp Scampi?
This dish pairs well with many sides. You can serve it with garlic bread, a fresh salad, or steamed vegetables. For wine lovers, a crisp white wine like Pinot Grigio is a great choice. It enhances the flavors of the shrimp and butter.
How can I make a spicy version of this dish?
To spice things up, add more red pepper flakes. You can also toss in sliced jalapeños or chopped fresh chilies. These additions will give your dish a nice kick without overpowering the other flavors.
Is this shrimp dish suitable for meal prep?
Yes, this dish works well for meal prep. You can cook a large batch and store it in the fridge for up to three days. Make sure to keep the shrimp and pasta separate until you are ready to eat. This helps maintain their textures.
Can I make this dish without pasta?
Absolutely! If you want a low-carb option, skip the pasta. You can serve the shrimp over zoodles, cauliflower rice, or even a bed of sautéed spinach. These alternatives keep the dish light and healthy.Enjoy your cooking!
In this post, we explored making Garlic Butter Shrimp Scampi. You learned about the main ingredients, cooking methods, and variations for customization. Remember to choose fresh shrimp and adjust flavors to your liking. You can also make this dish gluten-free or even add veggies. Whether you store leftovers or share with friends, this recipe is sure to please. Enjoy creating this delightful meal at home, and don’t hesitate to experiment with flavors!


