Garlic Herb Butter Salmon Rich and Flavorful Recipe

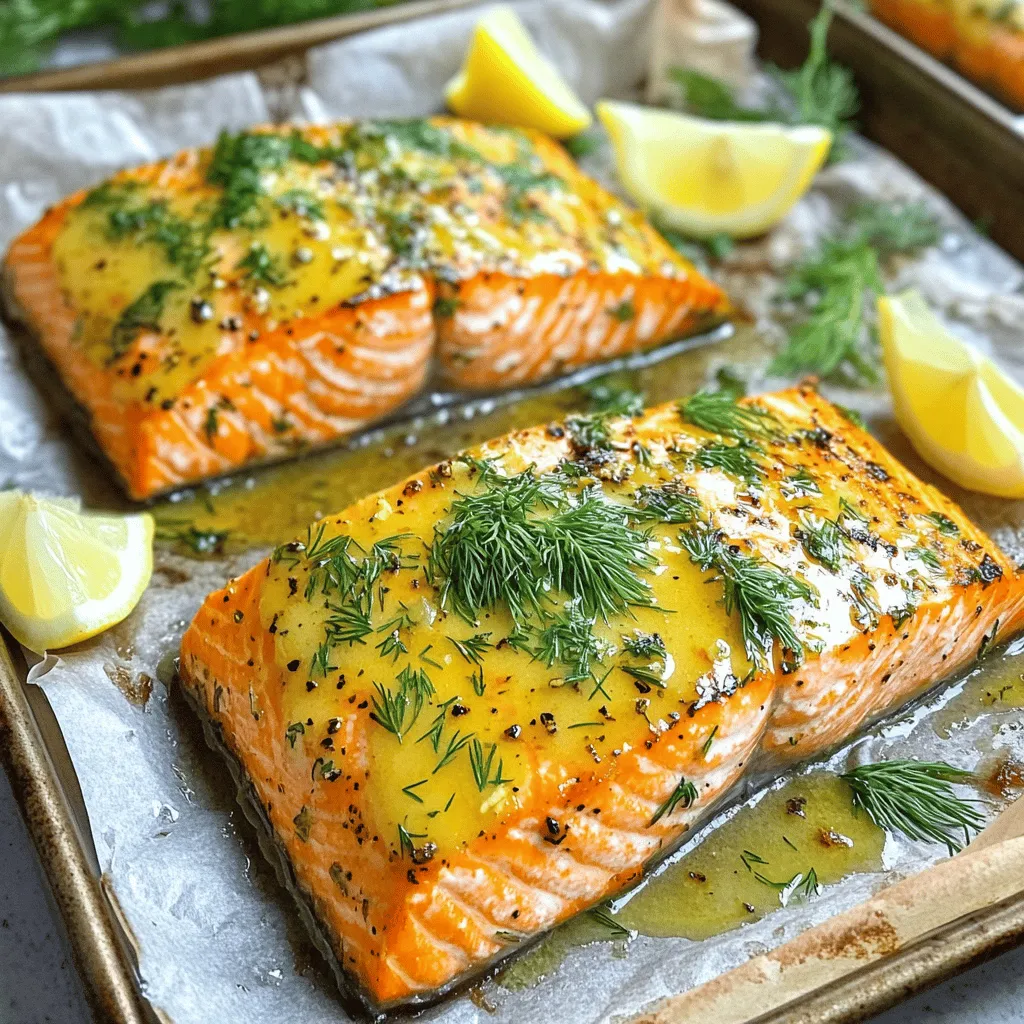
If you crave a meal that’s rich and flavorful, look no further than Garlic Herb Butter Salmon. This simple recipe packs a punch with fresh herbs and garlic, transforming ordinary salmon fillets into a gourmet dish. In just a few easy steps, you can impress your family or guests with a dinner that’s both satisfying and delicious. Ready to dive in? Let’s get cooking!
Ingredients
Main Ingredients
– 4 salmon fillets (6 oz each, skin-on for added flavor)
– 4 tablespoons unsalted butter, softened to room temperature
– 4 cloves garlic, finely minced
– 2 tablespoons fresh parsley, finely chopped
– 1 tablespoon fresh dill, finely chopped
– 1 tablespoon freshly squeezed lemon juice
Seasoning and Garnish
– Salt and freshly ground black pepper, to taste
– Lemon wedges (for serving)
– Optional: additional fresh herbs (like basil or chives) for garnish
When you prepare garlic herb butter salmon, quality ingredients matter. I always choose skin-on salmon fillets. The skin adds rich flavor and helps keep the fish moist while cooking. For the butter, use unsalted. This lets you control the salt level, making a big difference in taste.
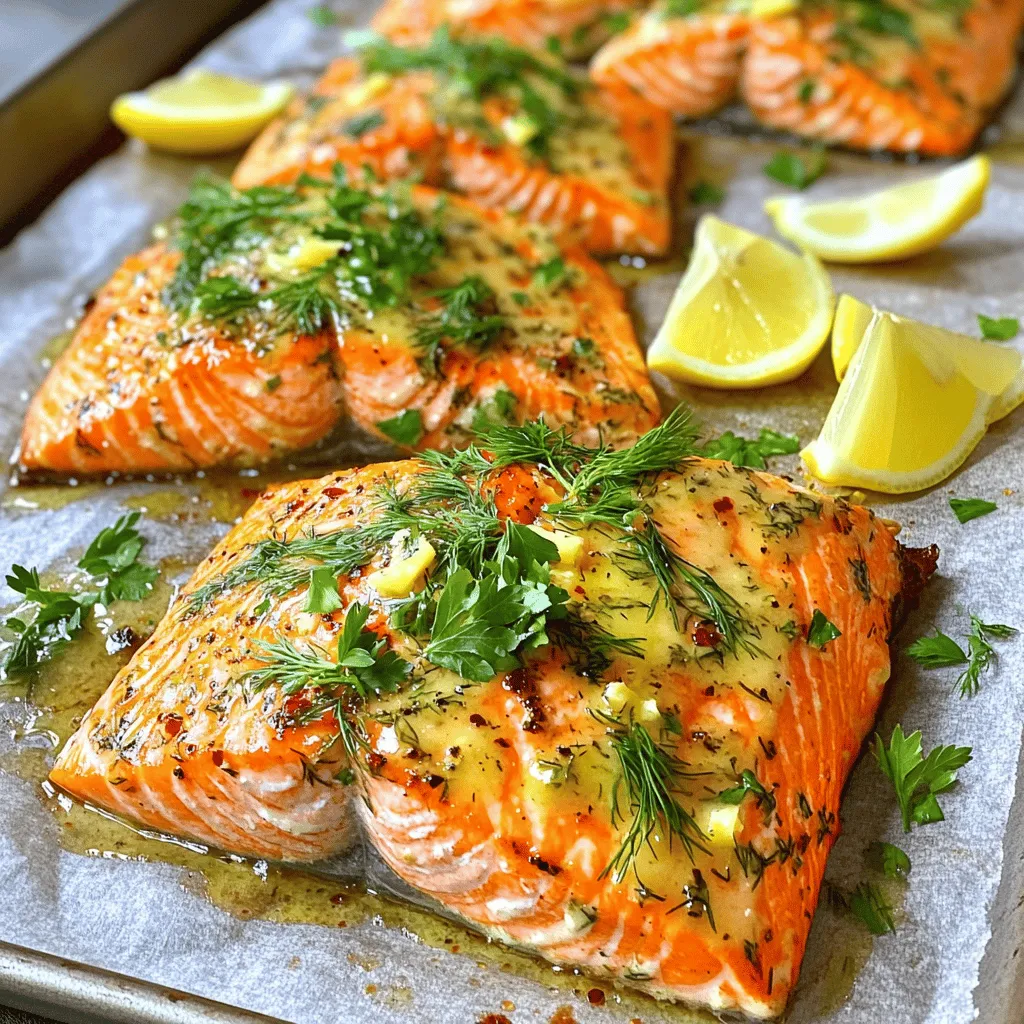
Garlic is the star here. I like to finely mince the garlic cloves. This ensures the flavor spreads evenly. Fresh herbs bring brightness to the dish. Parsley and dill work well together. They add freshness that balances the richness of the salmon.
Lemon juice adds a zesty kick. I always use fresh lemon juice for the best flavor. The seasoning is simple. Just salt and black pepper to taste. I recommend tasting as you go to find your perfect balance.
For serving, I often add lemon wedges. They brighten up the plate and give a fresh burst of flavor when squeezed on top. If you want to impress, add extra fresh herbs like basil or chives for garnish. This not only looks beautiful but enhances the flavor too.
Step-by-Step Instructions
Preheat the Oven
– Preheat your oven to 400°F (200°C).
– Line a baking sheet with parchment paper or aluminum foil.
Prepare Garlic Herb Butter
– In a mixing bowl, combine softened butter, minced garlic, chopped parsley, and dill.
– Add lemon juice and seasoning.
– Blend the ingredients until smooth.
Ready and Bake the Salmon
– Place salmon fillets skin-side down on the baking sheet.
– Season the fillets with salt and pepper.
– Spread the garlic herb butter mixture generously over the fillets.
– Bake for 12-15 minutes until the salmon is opaque and flakes easily.
This method ensures rich flavor in every bite.
Tips & Tricks
Perfecting the Salmon
To get the best salmon, start with dry fillets. Pat them down with a paper towel. This helps the fish brown nicely and gives it a great texture. If your fillets are thick, you may need to cook them a bit longer. Thin fillets will bake faster, so keep an eye on them.
Serving Suggestions
You can make your meal even better by adding sides. Steamed veggies or rice pair well with the salmon. For a beautiful touch, use fresh herbs to garnish your dish. They not only look nice but also add extra flavor. Enjoy your meal with a squeeze of lemon for a bright finish.

Variations
Herb Infusions
You can change the herbs in this recipe for a twist. Try using basil, chives, or tarragon. Each herb brings a unique taste to the dish. If you like a little heat, sprinkle in some red pepper flakes. This small addition can make a big difference.
Cooking Methods
There are more ways to cook this salmon. Grilling it gives a nice smoky flavor. You can also pan-sear it for a crisp finish. Another fun method is using a foil packet. This method locks in moisture and infuses the salmon with flavor. It keeps the fish juicy and tender.
Try these variations to create your perfect dish.
Storage Info
Storing Leftovers
You can store any leftover salmon in the fridge. Place it in an airtight container. It stays fresh for up to 3 days. Before you store it, let the salmon cool down. This helps keep it moist and tasty.
Reheating Techniques
When it’s time to eat your leftovers, you have a couple of options. You can use a microwave set on low power. This warms it up without drying it out. Another way is to gently reheat the salmon in the oven. Just avoid cooking it too long. Overheating can make the salmon tough. Enjoy your meal again with that rich garlic herb flavor!
FAQs
What is the best type of salmon for this recipe?
The best types of salmon for this recipe are King salmon and Sockeye salmon. King salmon offers a rich flavor and a buttery texture. Sockeye salmon is also flavorful and has a firm, deep red flesh. Both types enhance the dish’s taste and make each bite special.
Can I use frozen salmon fillets?
Yes, you can use frozen salmon fillets. However, it is important to thaw them before cooking. This helps the salmon cook evenly. To thaw, place the fillets in the fridge overnight or run them under cold water for faster results.
How can I tell when the salmon is cooked?
You can tell salmon is cooked when it flakes easily with a fork. The flesh should also be opaque throughout. If you see any translucent areas, the salmon needs a bit more time. Keep an eye on it while it cooks for the best results.
This post covered all the steps to make tasty baked salmon. We started with fresh ingredients like salmon, garlic, and herbs. I shared tips on baking, seasoning, and serving. Remember, the right herbs can change the flavor. You can use alternatives or different cooking methods for fun twists. Store leftovers properly for easy reheating. With these details, you’ll create delicious salmon every time. Enjoy your cooking adventures and feel free to experiment!


![- 2 cups cooked chicken, shredded - 1 cup canned black beans, rinsed and drained - 1 cup fresh or frozen corn kernels The main ingredients create the heart of the chicken enchiladas. First, shredded chicken offers a tender and juicy base. I love using rotisserie chicken for ease. Black beans add protein and fiber, making the meal hearty. Corn brings sweetness and a pop of color. Each ingredient plays a role in making this dish satisfying. - 1 small red onion, finely chopped - 2 cloves garlic, minced - 1 teaspoon ground cumin - 1 teaspoon chili powder Aromatics and seasonings elevate the flavor. The red onion adds a sweet, savory taste. Garlic brings depth and aroma that fills your kitchen. Cumin provides a warm, earthy note. Chili powder adds a gentle kick. These elements create a rich base for the enchiladas. - 8 small corn tortillas - 2 cups shredded cheese (cheddar or Mexican blend) - ¼ cup fresh cilantro, chopped (for garnish) Tortillas hold everything together. I prefer corn tortillas for their authentic flavor. They warm up nicely, making them easy to roll. Cheese melts beautifully, creating a creamy topping. I recommend using a blend for extra flavor. Fresh cilantro adds brightness and a fresh touch. Together, these elements create a delightful finish to your enchiladas. For the full recipe, check out the Spicy Chicken Enchiladas. - Preheat your oven to 350°F (175°C). - Sauté red onion and garlic until fragrant. Start by heating a drizzle of oil in a large skillet over medium heat. Add the finely chopped red onion. Sauté for about 3-4 minutes until the onion turns soft and clear. Then, add the minced garlic and cook for another minute. This step makes your kitchen smell amazing and sets the stage for great flavor. - Combine chicken, black beans, corn, onion-garlic mixture, salsa, cumin, and chili powder. In a big mixing bowl, add the shredded chicken, rinsed black beans, and corn. Pour in the sautéed onion and garlic mixture, along with your choice of salsa. To spice it up, add cumin and chili powder. Mix everything well. This filling is packed with protein and flavor, making your enchiladas both tasty and hearty. - Warm tortillas and fill with chicken mixture. - Roll and arrange in baking dish. Now, warm the corn tortillas in a dry skillet or microwave. This makes them soft and easy to roll. Take about ¼ cup of the chicken mixture and place it in the center of each tortilla. Sprinkle a little cheese on top, then roll them up tightly. Place the rolled tortillas seam-side down in a greased 9x13 inch baking dish. This step is where the magic begins! - Cover with salsa and cheese, bake with foil, then uncovered. Pour any remaining salsa over the top of the enchiladas. Sprinkle the rest of the cheese evenly on top. Cover your baking dish with aluminum foil to keep the moisture in. Bake in the preheated oven for 20 minutes. After that, remove the foil and bake for another 10 minutes. You want the cheese to melt and bubble. Once done, let the enchiladas cool for a few minutes. Garnish with fresh cilantro before serving. This adds a fresh flavor and a lovely touch. Enjoy your homemade chicken enchiladas! For more detailed steps, check out the Full Recipe. - Ensure tortillas are pliable to prevent cracking. Warm them in a skillet or microwave. - Use a mix of cheeses for more flavor. Try combining cheddar and pepper jack. - Serve with sour cream and additional cilantro for extra zest. - Integrate sides like rice or refried beans to complete the meal. - Overfilling tortillas can make them hard to roll. Stick to ¼ cup of filling. - Not letting them cool before serving can lead to a messy plate. Give them a few minutes. {{image_4}} You can make your chicken enchiladas even better for you. - Swap out cheese for a low-fat version. This change cuts calories. - Use whole wheat tortillas for extra fiber. This option boosts nutrition. Want to spice things up? Add some fun flavors! - Add jalapeños for extra heat. This will make your dish lively! - Experiment with different salsas. Try mild, medium, or spicy. Each adds a unique taste. Need to adjust for dietary needs? No problem! - Make it vegetarian by using black beans only. This keeps it hearty and filling. - Use corn tortillas for gluten-free options. They work perfectly in this dish. Feel free to explore these variations and make the recipe your own! To keep your chicken enchiladas fresh, store them in an airtight container. This helps prevent moisture loss and keeps flavors intact. Place them in the fridge where they can stay good for about 3-4 days. Label the container with the date, so you remember when you made them. If you want to save some for later, freezing is a great option. Wrap each enchilada tightly in foil before placing them in a freezer bag. This protects them from freezer burn. They can last for up to 3 months in the freezer. When you're ready to eat, simply thaw them overnight in the fridge. For the best taste and texture, reheat your enchiladas in the oven. Preheat your oven to 350°F (175°C). Place the enchiladas in a baking dish, cover with foil, and heat for about 20-25 minutes. Remove the foil for the last 5 minutes to crisp up the cheese. Enjoy them warm! Chicken enchiladas last about 3-4 days when stored properly. Keep them in an airtight container to maintain freshness. Always check for any signs of spoilage before eating leftovers. Yes, you can assemble chicken enchiladas ahead of time. Just prepare them and place them in the fridge before baking. This is a great way to save time, especially on busy days. You can add many tasty toppings to your enchiladas. Some options include: - Avocado - Guacamole - Green onions - Olives Feel free to get creative with your toppings. They can add color and flavor. You can easily customize this recipe. Adjust the spices to fit your taste. Add your favorite vegetables to the filling, like bell peppers or spinach. This makes the dish more personal and fun. Yes, you can use a slow cooker for this dish. Cook the filling in the slow cooker first. Then, assemble the enchiladas and bake them as usual. This method adds rich flavors and makes cooking easier. For the full recipe, check [Full Recipe]. Chicken enchiladas are simple and fun to make. You need cooked chicken, black beans, corn, and cheese. Follow the steps to prepare, mix, and bake them to perfection. Use tips to avoid common mistakes and enjoy variations for your taste. Remember, leftovers are easy to store and reheat. You can customize this dish with your favorite toppings too. Enjoy this tasty meal with friends and family!](https://joymealplan.com/wp-content/uploads/2025/07/08f715d1-a8ab-4086-9fca-7ff252efa8d5-768x768.webp)


