If you want a side dish that is simple, tasty, and full of flavor, look no further! Garlic roasted green beans bring that perfect crunch and rich taste to any meal. In this post, I’ll share a straightforward recipe and tips to enhance your cooking experience. Whether you are a seasoned cook or a beginner, you’ll find everything you need to make this delicious dish. Let’s dive in and get cooking!
Ingredients
Ingredient List
To make garlic roasted green beans, you’ll need these simple items:
– 1 pound fresh green beans, trimmed and rinsed
– 4 large cloves garlic, finely minced
– 3 tablespoons extra virgin olive oil
– 1 teaspoon freshly grated lemon zest
– 1 teaspoon balsamic vinegar
– ½ teaspoon red pepper flakes (optional for heat)
– Sea salt and freshly ground black pepper to taste
– 2 tablespoons finely grated Parmesan cheese (optional)
Fresh vs. Frozen Green Beans
I always prefer fresh green beans for this recipe. They taste better and have a nice crunch. Fresh beans roast evenly and soak up the flavors well. If you can’t find fresh ones, frozen beans work too. Just make sure to thaw and drain them first. They may not be as crisp, but they will still taste great.
Substitutions for Key Ingredients
You can change some ingredients if you need to. If you don’t have garlic, try using garlic powder. Instead of lemon zest, you can use orange zest for a different flavor. If you want a different vinegar, try red wine vinegar. For a dairy-free option, skip the Parmesan cheese or use a vegan cheese instead. These swaps keep the dish tasty and fun!
Step-by-Step Instructions
Preparation Steps
To start, gather your ingredients. You will need:
– 1 pound fresh green beans, trimmed and rinsed
– 4 large cloves garlic, finely minced
– 3 tablespoons extra virgin olive oil
– 1 teaspoon freshly grated lemon zest
– 1 teaspoon balsamic vinegar
– ½ teaspoon red pepper flakes (optional for heat)
– Sea salt and freshly ground black pepper to taste
– 2 tablespoons finely grated Parmesan cheese (optional)
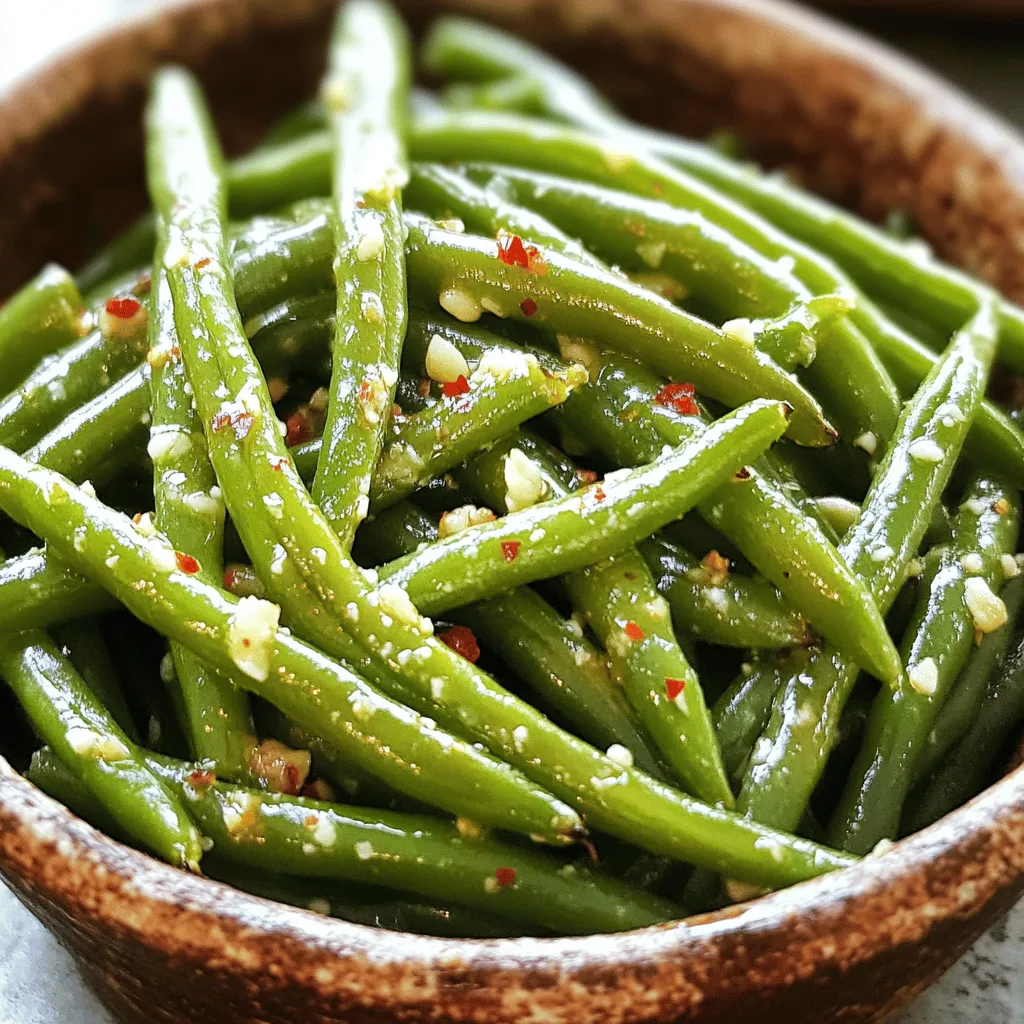
First, preheat your oven to 425°F (220°C). This step is key for crispy beans. Next, take a large mixing bowl and add the green beans. Toss in the minced garlic, olive oil, lemon zest, and balsamic vinegar. If you like a little heat, add red pepper flakes. Season with sea salt and black pepper to taste. Mix everything well. You want each bean coated with flavor.
Roasting Process
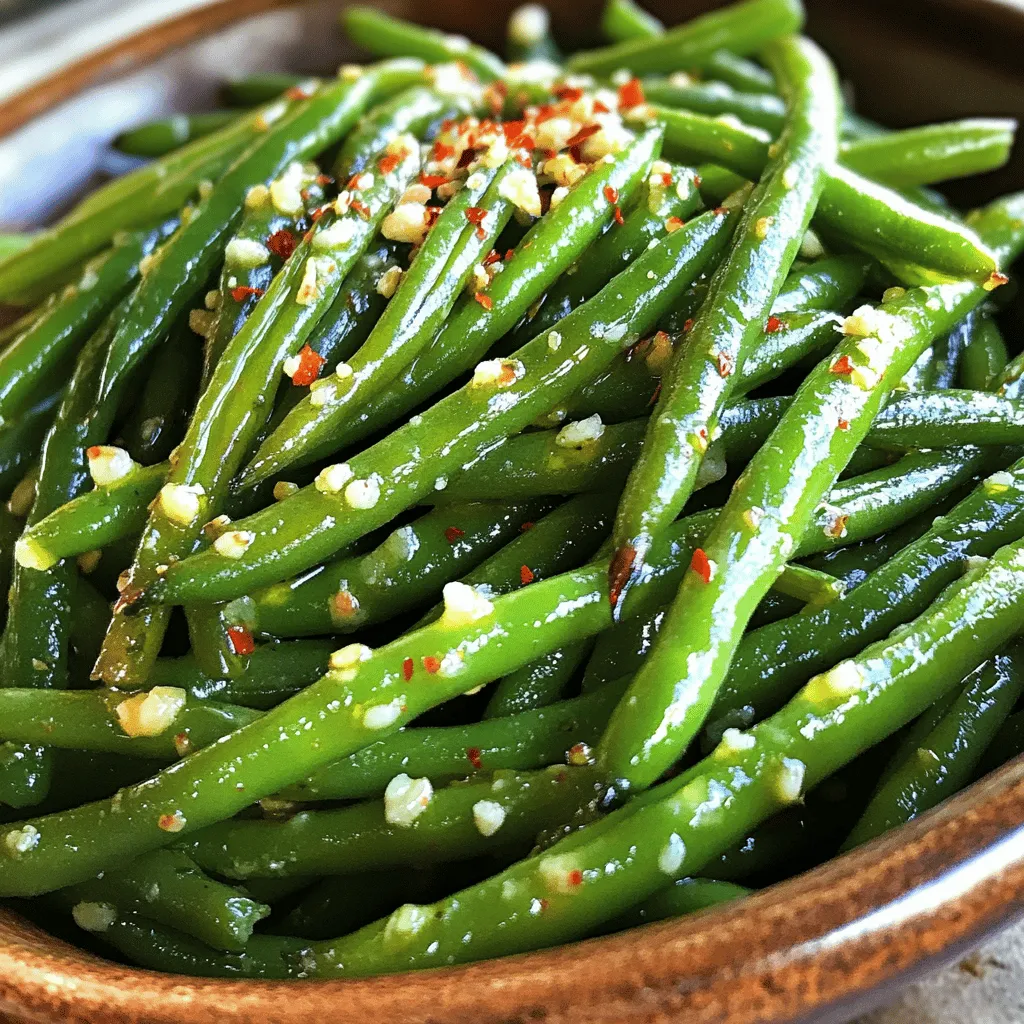
Now, it’s time to roast! Spread the green beans on a large baking sheet. Make sure they lie flat in a single layer. This helps them roast evenly. Place the baking sheet in the oven and roast for 15-20 minutes. Halfway through, give the beans a toss. This ensures they cook evenly. You’ll know they’re done when they’re tender but still have a slight crunch.
Once out of the oven, if you like, sprinkle grated Parmesan cheese on top. The heat will melt it slightly, making it even better.
Serving Suggestions
Transfer the roasted green beans to a nice serving dish. Serve them warm to your family or guests. They pair well with many main dishes. Try them with grilled chicken or fish. You can also serve them as a stand-alone snack.Enjoy your tasty green beans!
Tips & Tricks
Enhancing Flavor Profile
To boost the taste of garlic roasted green beans, add a squeeze of lemon. Lemon brings brightness and freshness. You can also use fresh herbs like thyme or rosemary. These herbs add depth and aroma. If you love heat, try adding more red pepper flakes. Just be careful not to overdo it!
Achieving Perfectly Roasted Beans
For the best texture, spread the beans on the baking sheet. Make sure they are in a single layer. This helps them roast evenly. Toss them halfway through cooking to ensure all sides get crispy. If you want them extra crispy, leave them in for a few more minutes.
Presentation Ideas
Serve your garlic roasted green beans in a nice dish. You can sprinkle extra Parmesan cheese on top for a gourmet look. Adding a few lemon wedges next to the beans can enhance the presentation. It also invites your guests to add more flavor if they wish. For a pop of color, place fresh herbs on top before serving. This will make your meal look and taste amazing!
Variations
Adding Other Vegetables
You can mix in other veggies with garlic roasted green beans. Carrots, bell peppers, and zucchini work well. Just cut them into similar sizes. This way, they all cook evenly. Toss them with the green beans in the same mix for great flavor. You can also try adding cherry tomatoes for a pop of color and sweetness.
Flavor Twists with Herbs and Spices
Add herbs to change the taste of your garlic roasted green beans. Fresh thyme or rosemary adds a lovely aroma. A sprinkle of smoked paprika gives a warm, savory hint. You can also try a dash of cumin for a unique flavor. These twists make your dish exciting and fresh each time.
Vegetarian and Vegan Options
This recipe is already vegetarian. To make it vegan, simply skip the Parmesan cheese. You can also add nutritional yeast for a cheesy flavor without dairy. It’s a great way to keep it creamy and flavorful. Enjoy these garlic roasted green beans as a side dish or main meal. Each variation keeps it fun and tasty!
Storage Info
Storing Leftovers
After enjoying your garlic roasted green beans, you might have leftovers. Cool the beans down first. Then, place them in an airtight container. They stay fresh in the fridge for about 3-4 days. When ready to eat, check for any signs of spoilage. If they look good, you can enjoy them again!
Freezing Guidelines
If you have more leftovers than you can eat, freezing is a great option. First, let the beans cool completely. Then spread them on a baking sheet in a single layer. Freeze them for about an hour. This step helps the beans stay separate. After freezing, transfer them to a freezer-safe bag. They can last up to 3 months in the freezer. Label the bag with the date so you know when to use them.
Reheating Methods
Reheating garlic roasted green beans is simple. You can use the oven or a microwave. For the oven, preheat it to 350°F (175°C). Spread the beans on a baking sheet and heat for about 10 minutes. If you use a microwave, place the beans in a safe dish. Heat them for 1-2 minutes, stirring halfway. This method keeps them tasty and warm. For extra flavor, add a splash of olive oil or a sprinkle of salt before serving. Enjoy your meal!
FAQs
How to make garlic roasted green beans?
To make garlic roasted green beans, start by preheating your oven to 425°F (220°C). In a big bowl, mix 1 pound of fresh green beans with 4 minced garlic cloves, 3 tablespoons of olive oil, 1 teaspoon of lemon zest, and 1 teaspoon of balsamic vinegar. If you like spice, add ½ teaspoon of red pepper flakes. Season with sea salt and black pepper. Toss everything until the beans are well coated. Spread the beans on a baking sheet in a single layer. Roast them for 15-20 minutes, tossing halfway. When they are tender and crisp, serve hot.
Can I prepare garlic roasted green beans ahead of time?
Yes, you can prepare garlic roasted green beans ahead of time. You can trim and wash the green beans and mix them with the garlic and oil. Store this mix in the fridge for up to a day. When you’re ready to eat, just roast them as directed. This makes dinner prep easier, and you can enjoy more time with your guests.
What can I serve with garlic roasted green beans?
Garlic roasted green beans pair well with many dishes. You can serve them alongside grilled chicken or fish for a balanced meal. They also complement pasta dishes, like spaghetti or fettuccine. If you want a vegetarian option, try them with quinoa or rice. Their bright flavor adds a nice touch to any plate.
This post covered garlic roasted green beans from ingredients to serving ideas. Fresh or frozen beans work well, and you can swap key ingredients easily. Roasting creates a rich flavor, and adding herbs boosts it even more. Don’t forget about storage; knowing how to keep leftovers can help. Remember, you can customize this dish with other veggies or herbs. Enjoy experimenting with flavors! Roasted green beans can fit any meal.


