Looking for a fun and tasty snack? This Honey Nut Snack Mix is perfect for any occasion! With crunchy nuts, sweet honey, and a sprinkle of cinnamon, you’ll love how easy it is to make. Whether you’re prepping for a party or need a quick treat, this guide covers everything you need. Let’s dive into the recipe and create something delicious together!
Ingredients
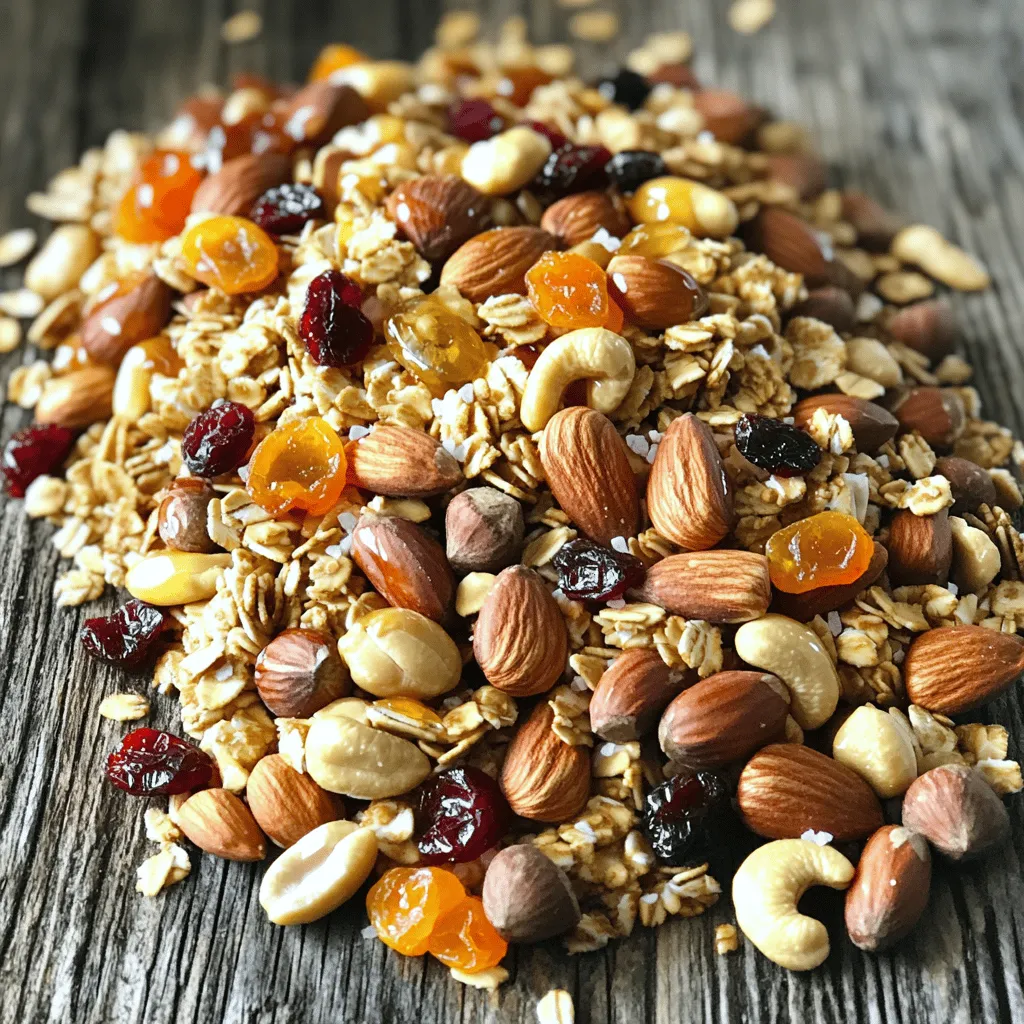
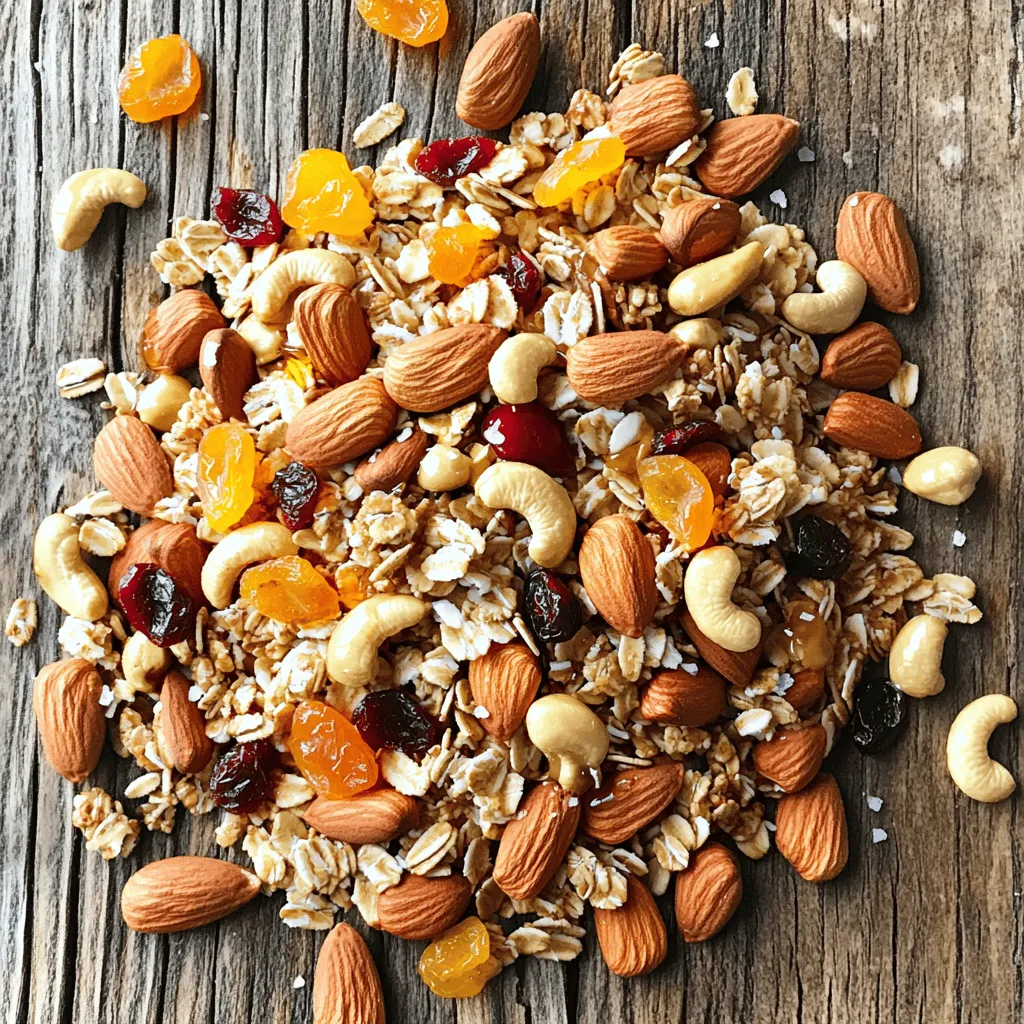
List of Ingredients
– Mixed nuts: Use 2 cups of mixed nuts like almonds, cashews, and pecans. These add a crunchy texture and healthy fats. You can switch the types based on your taste or what you have at home.
– Sweeteners: Choose between ½ cup of honey or ¼ cup of pure maple syrup. Honey gives a floral taste, while maple syrup has a rich flavor. You can mix both for a unique taste, but keep the total amount the same.
– Additional components: Add 1 cup of rolled oats and 1 cup of puffed rice cereal for more crunch. These ingredients help bind the mix and add fiber. You can also sprinkle in 1 teaspoon of ground cinnamon for warmth and flavor.
This blend of ingredients creates a tasty and satisfying snack. Each component plays a role in making the Honey Nut Snack Mix both delicious and healthy.
Step-by-Step Instructions
Preparation Overview
1. Preheat the Oven: Start by setting your oven to 350°F (175°C). This ensures a proper bake for your mix. Line a large baking sheet with parchment paper. This will keep the mix from sticking.
2. Mix Dry Ingredients: In a big bowl, combine 2 cups of mixed nuts, 1 cup of rolled oats, and 1 cup of puffed rice cereal. Use a spatula or your hands to mix them well. You want everything evenly spread.
3. Prepare the Liquid Mixture: In a small saucepan, add ½ cup of honey and ¼ cup of pure maple syrup. Heat this mixture on low. Stir it for about 2-3 minutes until it becomes smooth.
Combining Ingredients
1. Flavor the Syrup: After warming, take the saucepan off the heat. Add 1 teaspoon of cinnamon and ½ teaspoon of fine sea salt. Stir this until the spices mix in well.
2. Combine Wet and Dry: Pour the warm syrup over the nut and oat mixture. Use a spatula or wooden spoon to mix it all together. Make sure every piece gets the sticky goodness.
Baking the Snack Mix
1. Spread on Baking Sheet: Transfer the mix to your prepared baking sheet. Use a spatula to spread it out into a single layer. This helps it toast evenly.
2. Bake to Perfection: Place the baking sheet in the oven. Bake for 15-20 minutes. Stir it every 5 minutes to ensure even toasting. Look for a golden brown color and a nice smell.
3. Cool the Mixture: After baking, take the sheet out of the oven. Let the snack mix cool completely on the sheet. This helps it crisp up.
4. Add Finishing Touches: Once cooled, fold in ½ cup of dried fruit and ½ cup of chocolate chips, if you want.
This recipe is not just tasty; it’s easy too!
Tips & Tricks
Enhancing Flavor
To boost the taste of your honey nut snack mix, try adding spices. Cinnamon is a great start, but you can also use nutmeg or vanilla extract. If you want a kick, add a pinch of cayenne pepper for a bit of heat. Adjust the sweetness to fit your taste. If you like it sweeter, add more honey or maple syrup. If you prefer less sweetness, cut back on the sweeteners.
Preparing in Advance
Meal prepping this snack mix is easy and smart. You can mix the dry ingredients ahead of time and store them in a jar. Keep the wet ingredients in a separate container. This way, all you have to do is mix and bake when you’re ready. For freshness, store your nuts and dried fruits in airtight containers. This keeps them crunchy and tasty longer.
Serving Suggestions
Get creative when serving your snack mix. You can use small mason jars for a fun and cute presentation. Fill each jar with the mix and tie a ribbon around it for gifts or parties. You can also serve it in bowls for family movie night. Pair the mix with yogurt or fruit for a tasty snack. It’s perfect for any occasion, from picnics to game days.
Variations
Nut Alternatives
If you want a nut-free mix, try seeds like pumpkin or sunflower. These give a nice crunch and add nutrition. You can also use roasted chickpeas for a different texture. For flavor, consider using different nuts. Walnuts, hazelnuts, or macadamia nuts can change things up. Each nut has a unique taste that can make your mix special.
Sweetness Adjustments
While honey and maple syrup are great, there are other sweet options. Agave nectar or brown rice syrup can work well too. If you want to cut sugar, try stevia or monk fruit sweetener. These natural sweeteners can still give you that sweet taste without extra calories. Adjust the amount to match your taste.
Additional Mix-in Ideas
Get creative with dried fruits! Options like raisins, apricots, or even banana chips can add flavor. You can also try adding seeds like chia or flax. They boost the nutrition and add a nice crunch. Want a sweet touch? Toss in some dark chocolate or yogurt-covered raisins. For a kick, sprinkle in some cinnamon or nutmeg. This way, you can make your mix truly yours.
Storage Info
Best Storage Practices
To keep your honey nut snack mix fresh, use an airtight container. Glass jars or plastic bins work well. Make sure the lid seals tightly. This helps keep moisture out and preserves the mix’s crunch.
Shelf Life
When stored correctly, your snack mix can last up to two weeks. After this, it may lose its taste and texture. If you notice a soft or chewy feel, it’s time to toss it. Staleness can also show in a dull color or off smell.
Freezing Options
Freezing is a great way to extend the life of your snack mix. Place it in an airtight freezer bag or container. Keep it in the freezer for up to three months. When ready to eat, take it out and let it thaw at room temperature. If it feels a bit soft, pop it in the oven at 350°F for a few minutes to crisp it up. This helps refresh the flavors and texture.
FAQs
What are the health benefits of honey nut snack mix?
Honey nut snack mix is a tasty treat packed with nutrients. Here’s a breakdown of its key ingredients:
– Mixed nuts: Nuts provide healthy fats, protein, and fiber. They can help keep you full and satisfied.
– Rolled oats: Oats are rich in fiber, which aids digestion. They also help lower cholesterol.
– Puffed rice cereal: This adds a light crunch. It’s low in calories and can provide some carbs for energy.
– Honey: Honey is a natural sweetener. It offers antioxidants and may soothe a sore throat.
– Maple syrup: This adds a unique flavor and more antioxidants. It can help regulate blood sugar levels.
– Cinnamon: This spice may help lower blood sugar. It also adds a warm, sweet flavor to the mix.
– Dried fruit: Fruits like cranberries or apricots add vitamins and minerals. They also provide a natural sweetness.
Can I make this snack mix gluten-free?
Yes, you can easily make this snack mix gluten-free. Here are some tips:
– Use gluten-free oats: Make sure to check the label. Some oats may be processed with gluten products.
– Puffed rice cereal: Choose a gluten-free brand. Many puffed rice cereals are naturally gluten-free.
– Mixed nuts: Ensure the nuts are raw or roasted without gluten-containing seasonings.
How can I adjust this recipe for dietary restrictions?
Adjusting this snack mix is simple. Here are some ideas:
– Vegan: Replace honey with agave syrup or maple syrup. Both work well and keep it sweet.
– Nut-free: Use seeds like pumpkin or sunflower seeds. They offer a similar crunch and nutrition.
– Low-sugar: Cut back on honey and maple syrup. You can also use a sugar substitute like stevia or monk fruit.Enjoy making this delicious snack!
In this blog post, we explored how to create a tasty honey nut snack mix. We covered ingredients, preparation steps, and helpful tips for flavor and storage. You learned about variations to meet your own taste and dietary needs. With simple adjustments, you can easily tailor this mix for any occasion. Remember, it’s about having fun and enjoying the process. Now, gather your ingredients and start making your perfect snack mix today!


