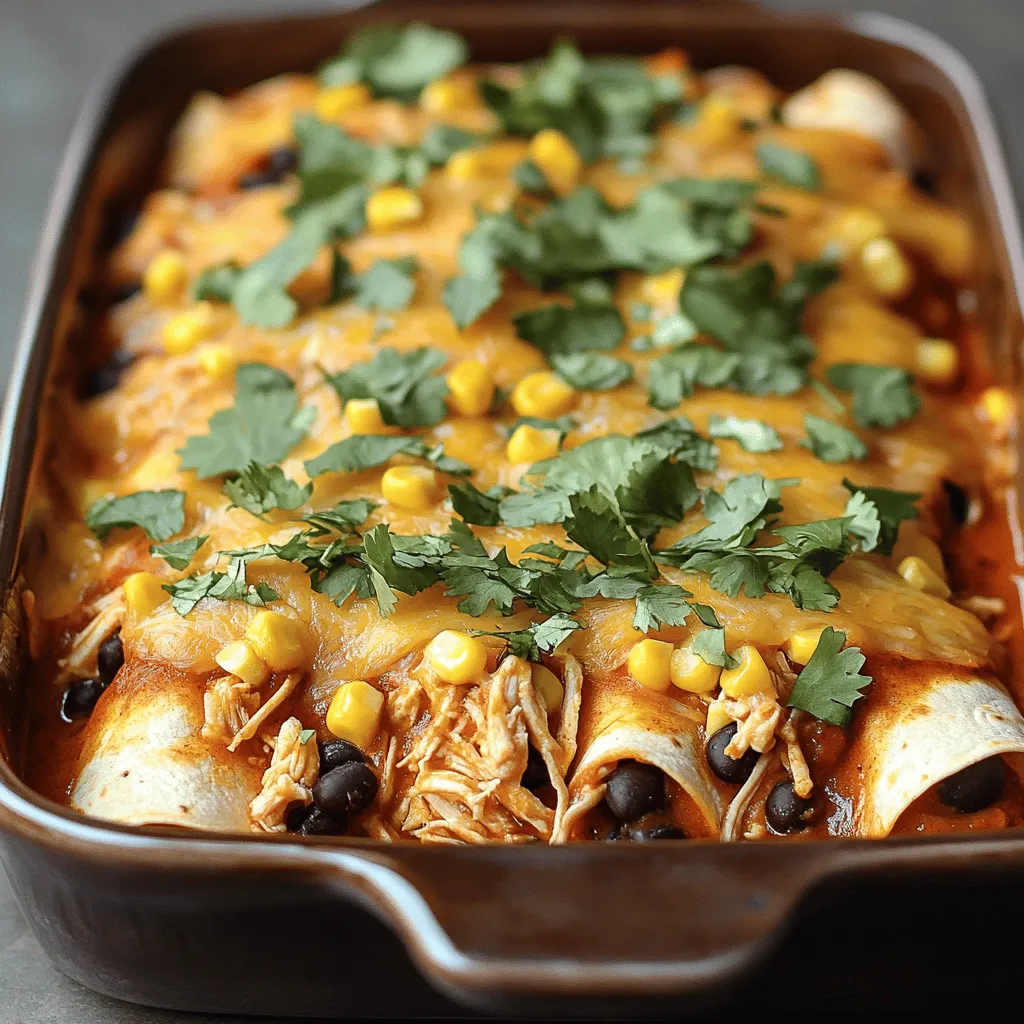
Are you ready to spice up your dinner routine? My Ingredient Chicken Enchiladas are a simple yet tasty option that your whole family will love. Packed with juicy chicken, savory beans, and gooey cheese, this dish is easy to make and even easier to customize. Whether you’re a busy parent or just looking for a fun meal, these enchiladas are here to impress. Let’s dive into the ingredients and get cooking!
Ingredients for Chicken Enchiladas
Main Ingredients
– 2 cups cooked chicken, shredded
– 1 cup canned black beans, rinsed and drained
– 1 cup fresh or frozen corn kernels
The main ingredients create the heart of the chicken enchiladas. First, shredded chicken offers a tender and juicy base. I love using rotisserie chicken for ease. Black beans add protein and fiber, making the meal hearty. Corn brings sweetness and a pop of color. Each ingredient plays a role in making this dish satisfying.
Aromatics and Seasonings
– 1 small red onion, finely chopped
– 2 cloves garlic, minced
– 1 teaspoon ground cumin
– 1 teaspoon chili powder
Aromatics and seasonings elevate the flavor. The red onion adds a sweet, savory taste. Garlic brings depth and aroma that fills your kitchen. Cumin provides a warm, earthy note. Chili powder adds a gentle kick. These elements create a rich base for the enchiladas.
Tortillas and Cheese
– 8 small corn tortillas
– 2 cups shredded cheese (cheddar or Mexican blend)
– ¼ cup fresh cilantro, chopped (for garnish)
Tortillas hold everything together. I prefer corn tortillas for their authentic flavor. They warm up nicely, making them easy to roll. Cheese melts beautifully, creating a creamy topping. I recommend using a blend for extra flavor. Fresh cilantro adds brightness and a fresh touch. Together, these elements create a delightful finish to your enchiladas.
Step-by-Step Instructions
Preparation
– Preheat your oven to 350°F (175°C).
– Sauté red onion and garlic until fragrant.
Start by heating a drizzle of oil in a large skillet over medium heat. Add the finely chopped red onion. Sauté for about 3-4 minutes until the onion turns soft and clear. Then, add the minced garlic and cook for another minute. This step makes your kitchen smell amazing and sets the stage for great flavor.
Mixing the Filling
– Combine chicken, black beans, corn, onion-garlic mixture, salsa, cumin, and chili powder.
In a big mixing bowl, add the shredded chicken, rinsed black beans, and corn. Pour in the sautéed onion and garlic mixture, along with your choice of salsa. To spice it up, add cumin and chili powder. Mix everything well. This filling is packed with protein and flavor, making your enchiladas both tasty and hearty.
Assembling the Enchiladas
– Warm tortillas and fill with chicken mixture.
– Roll and arrange in baking dish.
Now, warm the corn tortillas in a dry skillet or microwave. This makes them soft and easy to roll. Take about ¼ cup of the chicken mixture and place it in the center of each tortilla. Sprinkle a little cheese on top, then roll them up tightly. Place the rolled tortillas seam-side down in a greased 9×13 inch baking dish. This step is where the magic begins!
Baking the Enchiladas
– Cover with salsa and cheese, bake with foil, then uncovered.
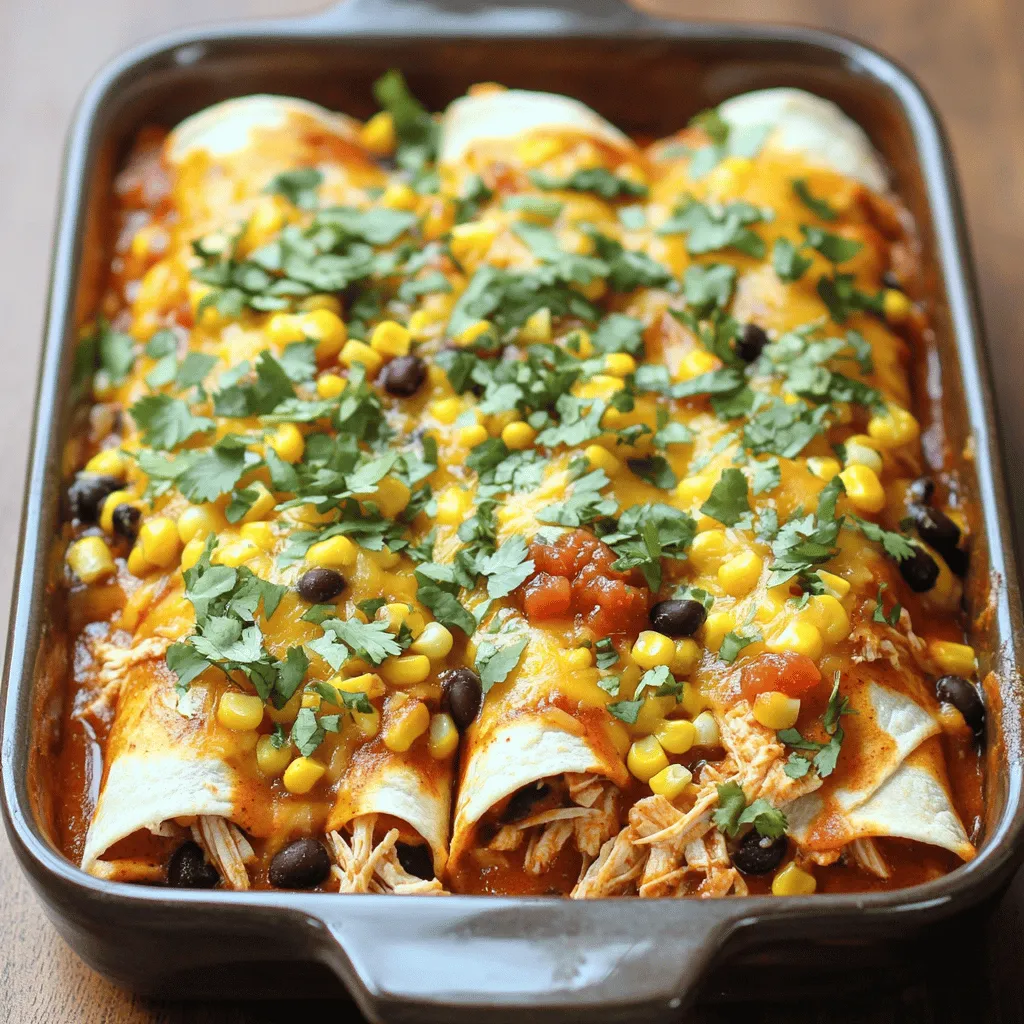
Pour any remaining salsa over the top of the enchiladas. Sprinkle the rest of the cheese evenly on top. Cover your baking dish with aluminum foil to keep the moisture in. Bake in the preheated oven for 20 minutes. After that, remove the foil and bake for another 10 minutes. You want the cheese to melt and bubble.
Once done, let the enchiladas cool for a few minutes. Garnish with fresh cilantro before serving. This adds a fresh flavor and a lovely touch. Enjoy your homemade chicken enchiladas!
Tips & Tricks
Cooking Tips
– Ensure tortillas are pliable to prevent cracking. Warm them in a skillet or microwave.
– Use a mix of cheeses for more flavor. Try combining cheddar and pepper jack.
Serving Suggestions
– Serve with sour cream and additional cilantro for extra zest.
– Integrate sides like rice or refried beans to complete the meal.
Common Mistakes to Avoid
– Overfilling tortillas can make them hard to roll. Stick to ¼ cup of filling.
– Not letting them cool before serving can lead to a messy plate. Give them a few minutes.
Variations
Healthier Alternatives
You can make your chicken enchiladas even better for you.
– Swap out cheese for a low-fat version. This change cuts calories.
– Use whole wheat tortillas for extra fiber. This option boosts nutrition.
Flavor Variations
Want to spice things up? Add some fun flavors!
– Add jalapeños for extra heat. This will make your dish lively!
– Experiment with different salsas. Try mild, medium, or spicy. Each adds a unique taste.
Dietary Modifications
Need to adjust for dietary needs? No problem!
– Make it vegetarian by using black beans only. This keeps it hearty and filling.
– Use corn tortillas for gluten-free options. They work perfectly in this dish.
Feel free to explore these variations and make the recipe your own!
Storage Info
Storing Leftovers
To keep your chicken enchiladas fresh, store them in an airtight container. This helps prevent moisture loss and keeps flavors intact. Place them in the fridge where they can stay good for about 3-4 days. Label the container with the date, so you remember when you made them.
Freezing Tips
If you want to save some for later, freezing is a great option. Wrap each enchilada tightly in foil before placing them in a freezer bag. This protects them from freezer burn. They can last for up to 3 months in the freezer. When you’re ready to eat, simply thaw them overnight in the fridge.
Reheating Instructions
For the best taste and texture, reheat your enchiladas in the oven. Preheat your oven to 350°F (175°C). Place the enchiladas in a baking dish, cover with foil, and heat for about 20-25 minutes. Remove the foil for the last 5 minutes to crisp up the cheese. Enjoy them warm!
FAQs
How long do Chicken Enchiladas last in the fridge?
Chicken enchiladas last about 3-4 days when stored properly. Keep them in an airtight container to maintain freshness. Always check for any signs of spoilage before eating leftovers.
Can I make Chicken Enchiladas in advance?
Yes, you can assemble chicken enchiladas ahead of time. Just prepare them and place them in the fridge before baking. This is a great way to save time, especially on busy days.
What toppings can I add?
You can add many tasty toppings to your enchiladas. Some options include:
– Avocado
– Guacamole
– Green onions
– Olives
Feel free to get creative with your toppings. They can add color and flavor.
What’s the best way to customize this recipe?
You can easily customize this recipe. Adjust the spices to fit your taste. Add your favorite vegetables to the filling, like bell peppers or spinach. This makes the dish more personal and fun.
Can this be made in a slow cooker?
Yes, you can use a slow cooker for this dish. Cook the filling in the slow cooker first. Then, assemble the enchiladas and bake them as usual. This method adds rich flavors and makes cooking easier.
Chicken enchiladas are simple and fun to make. You need cooked chicken, black beans, corn, and cheese. Follow the steps to prepare, mix, and bake them to perfection. Use tips to avoid common mistakes and enjoy variations for your taste. Remember, leftovers are easy to store and reheat. You can customize this dish with your favorite toppings too. Enjoy this tasty meal with friends and family!


