Craving a dish that bursts with flavor but is simple to make? Look no further! This Lemon Butter Shrimp Pasta is both delightful and quick. With fresh shrimp, zesty lemon, and a rich garlic sauce, it’s a meal that impresses without the fuss. I’ll guide you through easy steps, tips, and variations to make it your own. Let’s dive into this tasty recipe and elevate your dinner game!
Ingredients
List of Ingredients
To make Lemon Butter Shrimp Pasta, gather these items:
– 8 oz linguine or spaghetti
– 1 lb large shrimp, peeled and deveined
– 4 tablespoons unsalted butter
– 3 cloves garlic, minced
– Zest and juice of 1 large lemon
– 1/2 teaspoon crushed red pepper flakes (optional)
– Salt and freshly ground black pepper, to taste
– 1/4 cup fresh parsley, finely chopped
– Grated Parmesan cheese for serving (optional)
Ingredient Substitutes
If you need substitutes, here are some ideas:
– Use fettuccine instead of linguine or spaghetti.
– Swap shrimp for scallops or chicken.
– Use olive oil in place of butter for a lighter dish.
– Fresh garlic can be replaced with garlic powder, but use less.
Freshness and Quality Tips
To ensure great taste, focus on freshness:
– Buy shrimp that smells clean, like the ocean.
– Look for shrimp with a firm texture and a slight sheen.
– Choose fresh parsley with vibrant green leaves.
– Use fresh lemons for the best flavor, avoiding dried or bottled juice.
These tips help create a dish that is as delightful as it is simple.
Step-by-Step Instructions
Cooking the Pasta
Start by boiling a large pot of salted water. Once it bubbles, add 8 oz of linguine or spaghetti. Cook until the pasta is al dente. This usually takes about 8 to 10 minutes. Before draining, save 1/2 cup of the pasta water. Drain the pasta and put it in a big bowl.
Sautéing the Shrimp
In a large skillet, melt 2 tablespoons of unsalted butter over medium heat. When the butter bubbles, add 1 lb of peeled and deveined shrimp. Sprinkle salt, black pepper, and crushed red pepper flakes if you want some heat. Cook the shrimp for 3 to 4 minutes until they turn pink and opaque. Take the shrimp out and set them aside on a plate.
Making the Lemon Garlic Sauce
In the same skillet, add 2 more tablespoons of unsalted butter. Then, add 3 cloves of minced garlic. Sauté for about a minute. You want the garlic fragrant but not browned. Next, stir in the zest and juice of 1 large lemon. Mix well until combined.
Combining Pasta and Sauce
Now, add the cooked pasta to the skillet with the lemon garlic sauce. Toss gently to coat the noodles. If it feels dry, add a little of the reserved pasta water. Keep tossing until the pasta reaches a creamy texture.
Final Touches and Serving
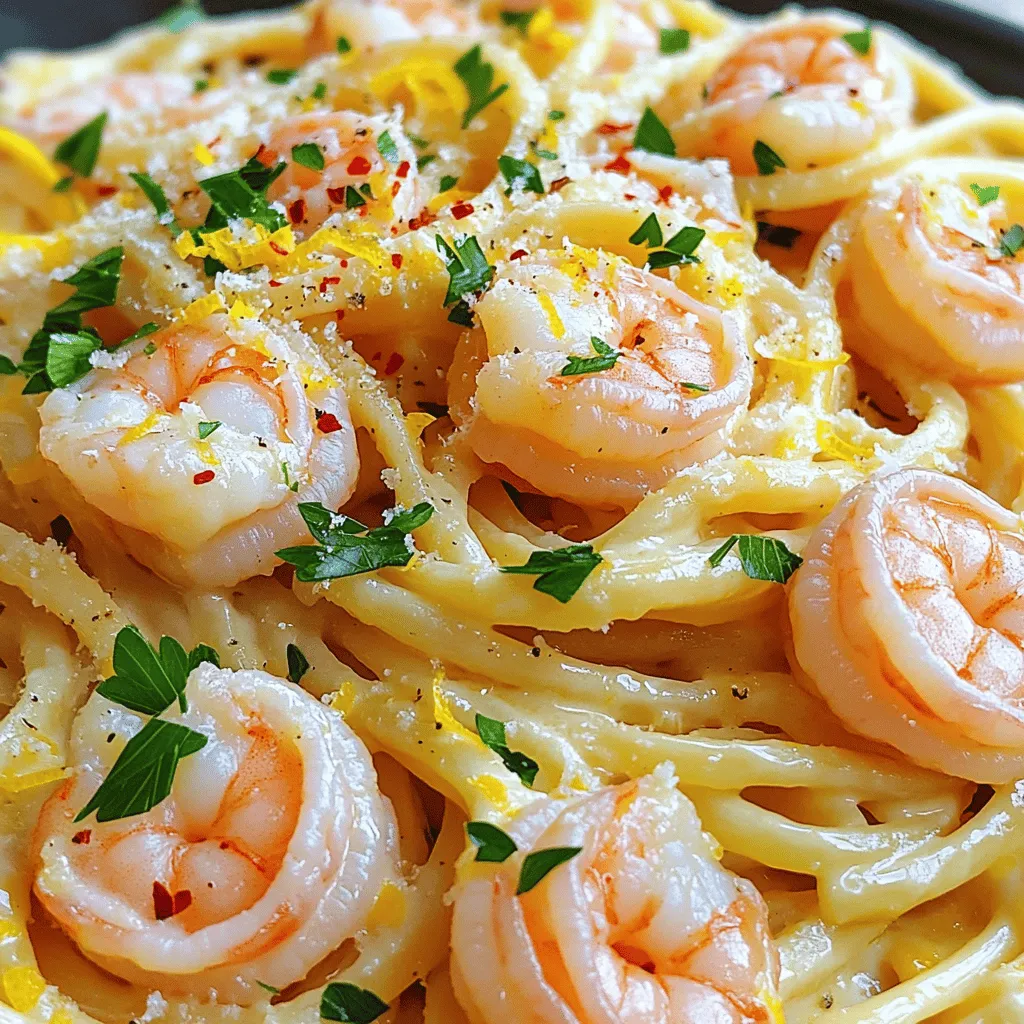
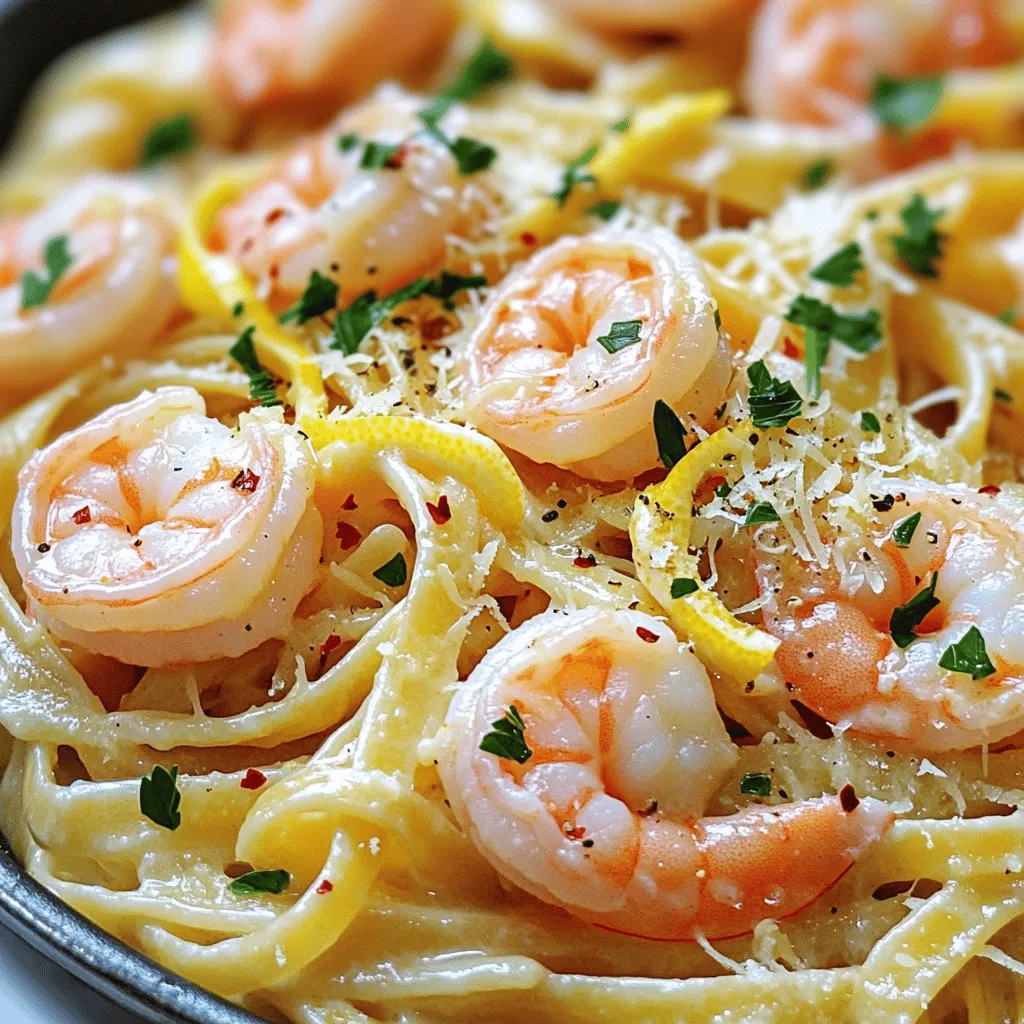
Fold in the cooked shrimp and 1/4 cup of chopped parsley. Make sure everything is evenly mixed. Taste the dish. Adjust the flavor with extra salt or black pepper if needed. Serve the pasta hot in shallow bowls. For a nice touch, add extra parsley and a sprinkle of grated Parmesan cheese on top.
Tips & Tricks
Perfecting the Shrimp Cook Time
To cook shrimp just right, time is key. You want shrimp to turn pink and opaque. This usually takes about 3 to 4 minutes on medium heat. If you overcook them, they become tough. Keep an eye on them while they sauté. If they curl tightly, they are likely overdone. Take them out as soon as they are done.
Balancing the Lemon Flavor
Lemon is the star of this dish. Zest and juice both bring bright flavor. Start with just the juice of one lemon. Taste the pasta sauce before adding more. If it’s too sour, add a pinch of sugar. This helps balance the flavors. You can also add more butter to soften the lemon taste.
Troubleshooting Common Issues
Sometimes things don’t go as planned. If your sauce is too thick, add some of the reserved pasta water. This will help loosen it up. If the shrimp seems bland, sprinkle a little more salt. For a bit of heat, add extra crushed red pepper flakes. Just remember to adjust slowly and taste often.
Variations
Adding Vegetables
You can make this dish even better by adding veggies. Spinach, cherry tomatoes, and bell peppers work well. Just sauté them with the shrimp for a quick cook. For a fresh crunch, try adding arugula or zucchini at the end. This boosts flavor and nutrition.
Alternative Proteins
If you want to switch up the protein, consider using scallops or chicken. Scallops cook fast like shrimp. Just remember to adjust the cook time. Chicken needs a bit longer. Cut it into small pieces to ensure even cooking. You can also use tofu for a vegetarian option.
Gluten-Free Options
If you need a gluten-free option, swap regular pasta for gluten-free pasta. Rice noodles or zucchini noodles are great choices. They absorb the sauce well and keep the dish light. Always check labels to ensure your ingredients are gluten-free.
Storage Info
Refrigeration Guidelines
To keep your lemon butter shrimp pasta fresh, store it in an airtight container. Place it in the fridge within two hours of cooking. It will stay good for up to three days. When you’re ready to eat, check for any signs of spoilage, like a sour smell or unusual texture.
Freezing Instructions
You can freeze this dish for longer storage. Allow the pasta to cool completely before freezing. Use a freezer-safe container or bag, and try to remove as much air as possible. It can last in the freezer for about two months. When you are ready to enjoy it, thaw it in the fridge overnight.
Reheating Tips
For reheating, use the stovetop for best results. Place the pasta in a skillet over medium heat. Add a splash of water or broth to help revive the sauce. Stir often until heated through. You can also use the microwave, but be sure to cover it to keep moisture in. Heat it in short bursts, stirring in between. This will help keep the pasta from drying out. For extra flavor, add a squeeze of fresh lemon juice before serving.
FAQs
How do I make Lemon Butter Shrimp Pasta?
To make Lemon Butter Shrimp Pasta, start by cooking the pasta. Boil salted water, add linguine or spaghetti, and cook until al dente. Reserve some pasta water before draining. Next, melt butter in a skillet over medium heat. Add shrimp, season with salt and pepper, and sauté until pink. Remove shrimp and cook garlic in the same skillet. Add lemon zest and juice, then return the pasta and shrimp. Toss everything together, adding reserved pasta water as needed. Finish with parsley and serve hot.
What can I serve with Lemon Butter Shrimp Pasta?
You can serve Lemon Butter Shrimp Pasta with a fresh green salad or garlic bread. A light, crisp white wine pairs well too. For added flavor, consider a side of roasted vegetables. These options enhance the meal and balance the rich flavors.
Can I use frozen shrimp for this recipe?
Yes, you can use frozen shrimp. Just thaw them before cooking. Place the shrimp in cold water for about 15-20 minutes. After they are thawed, peel and devein if needed. This allows you to enjoy this dish even when shrimp is not fresh.
How do I prevent the pasta from sticking together?
To prevent pasta from sticking, use plenty of water when boiling. Stir the pasta during the first few minutes of cooking. Drain it well and toss it with a little olive oil after draining. This keeps the noodles separate and ready for the sauce.
What is the best type of pasta for Lemon Butter Shrimp Pasta?
Linguine and spaghetti are the best choices for this dish. They hold the sauce well and complement the shrimp. You can also try fettuccine for a thicker noodle. Choose a pasta that you enjoy, as it can enhance your overall experience.
In this blog post, I covered the key ingredients for Lemon Butter Shrimp Pasta and offered tips on making it shine. You learned how to cook shrimp perfectly and balance that bright lemon flavor. I shared variations to suit your taste and provided essential storage info for leftovers.
With these steps, you can create a delicious meal. Try new ingredients or variations to keep things exciting. Enjoy making this dish and impressing your family and friends!


